

Above: Lipavi C10 container, N10 polycarbonate rack. Lipavi C10L-UNIR lid.
Serves: 4-6
Level of difficulty–2.5
Note: This procedure can streamline almost any recipe that calls for beef short ribs. Once processed, they are fully tenderized, pasteurized, and preserved. The browning, braising, and simmering steps of most recipes become greatly accelerated. In some cases, they are rendered optional or even unnecessary. The less time spent hovering over a hot stove, the better!
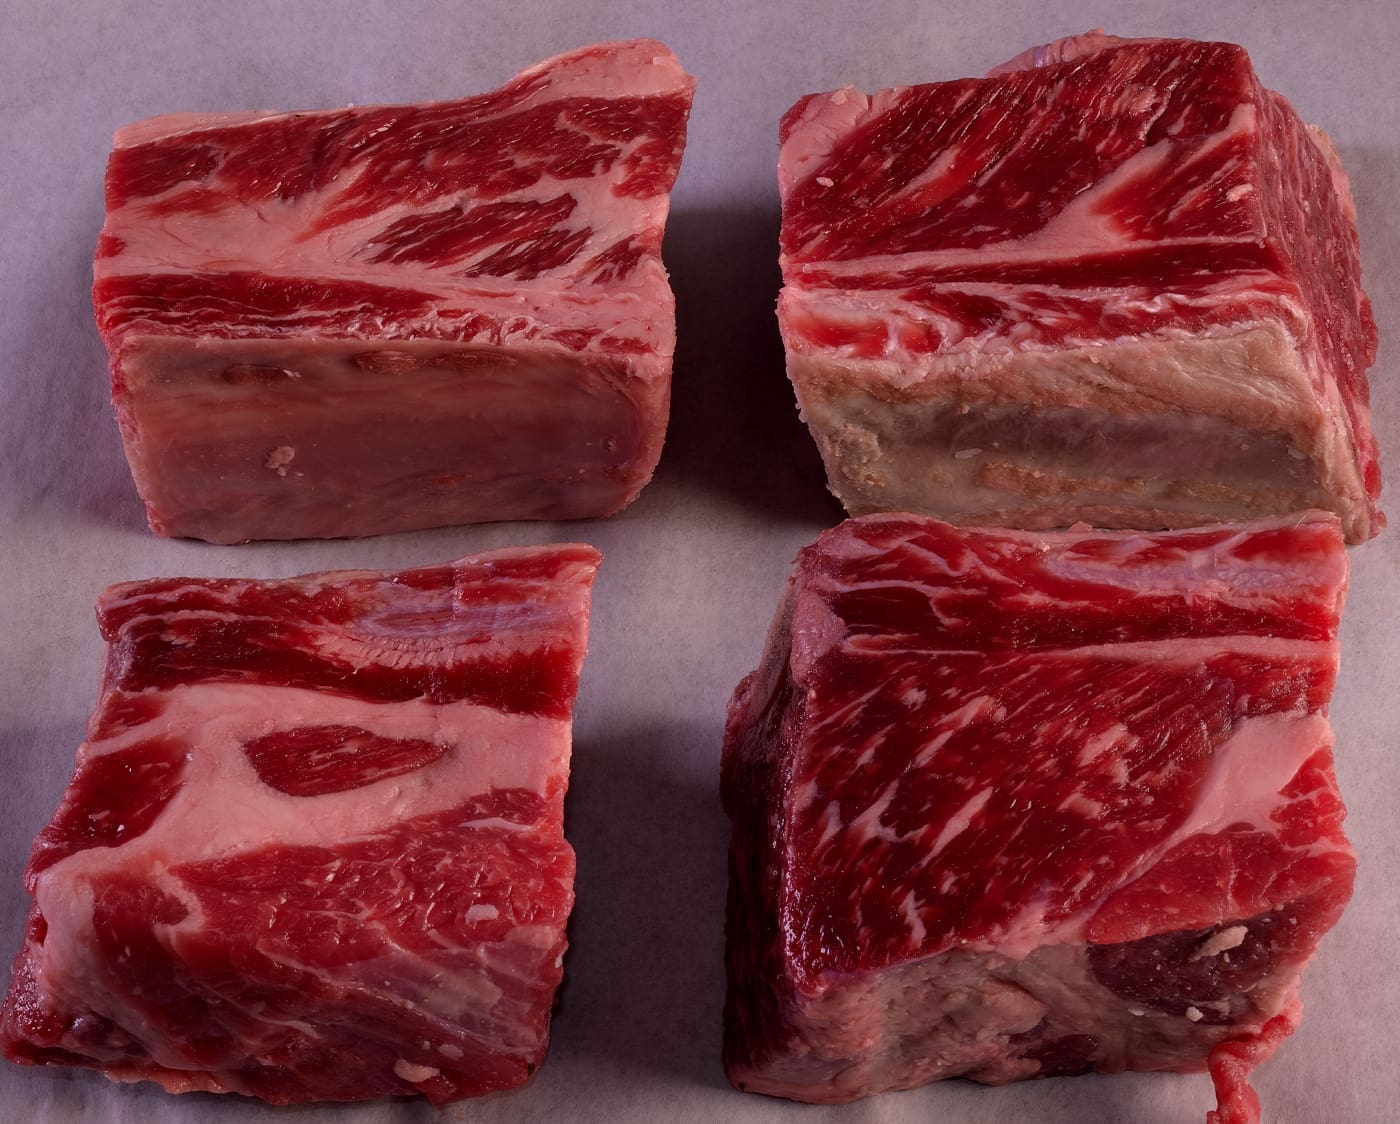
Beef short ribs come in a few different cuts with assorted monikers–usually flanken (thin sliced), English cut, or “Old Fashioned.”
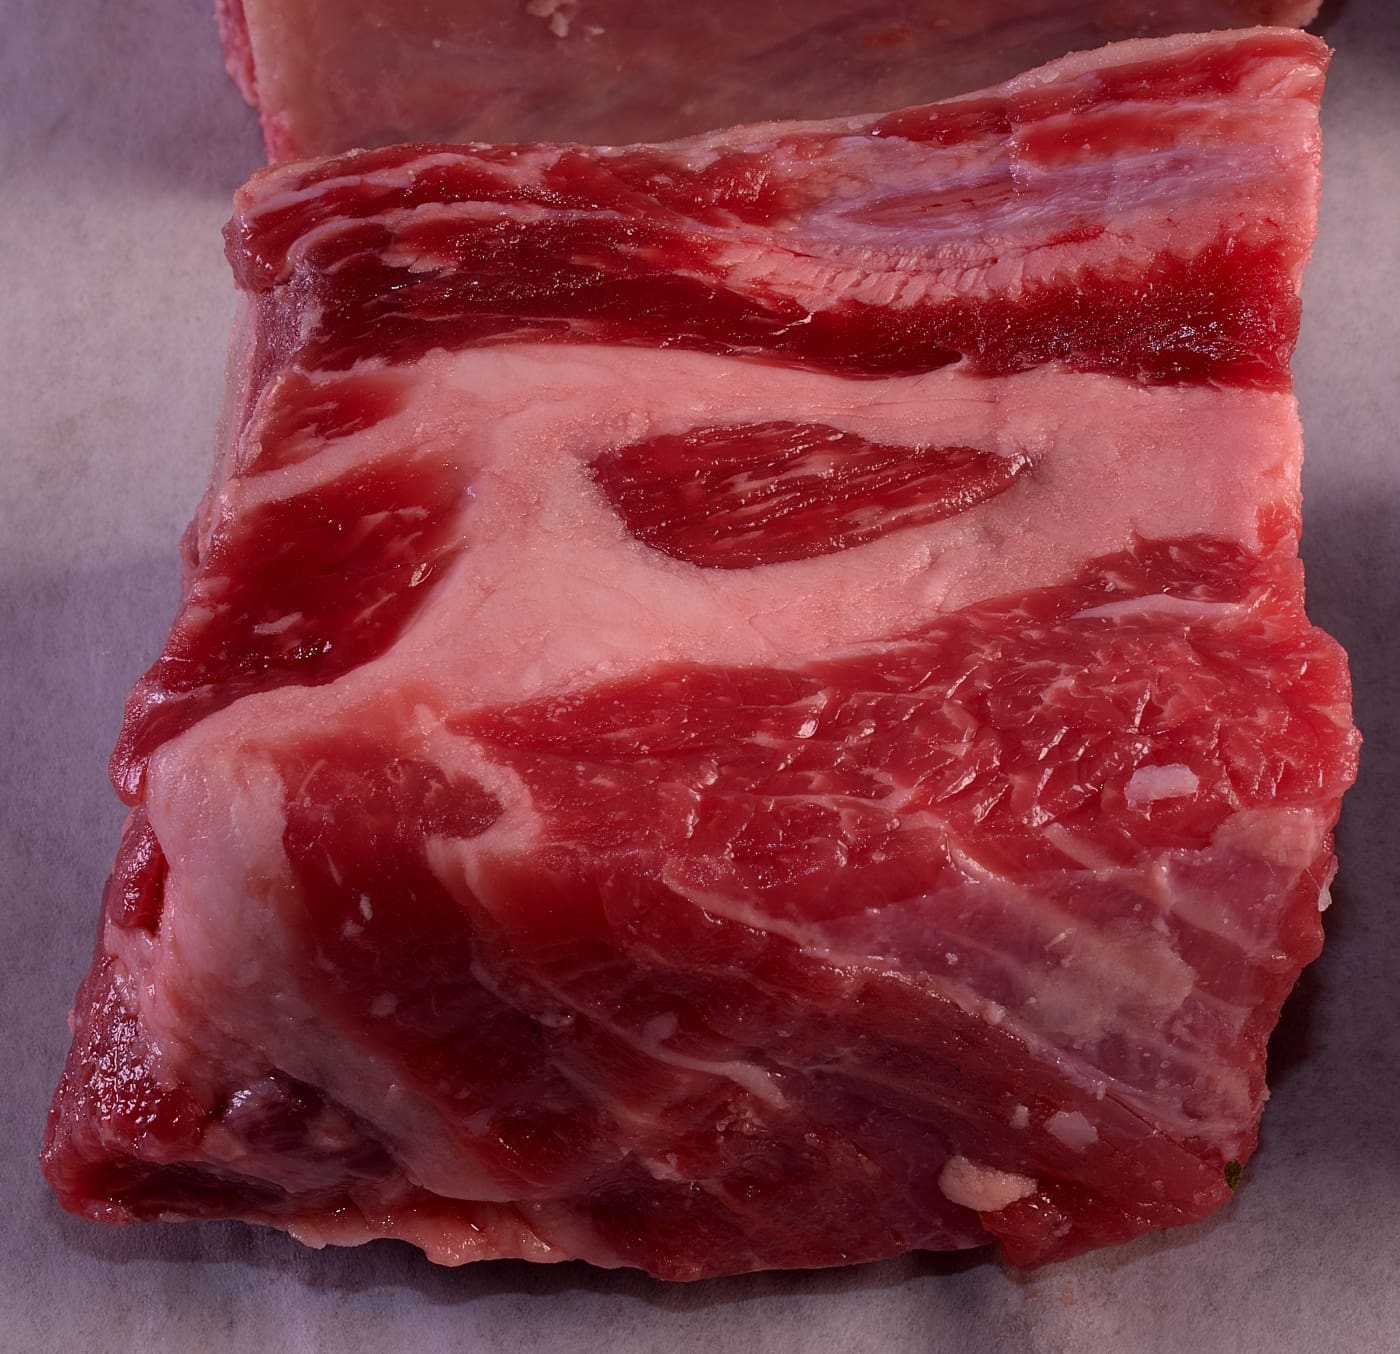
These are the latter–single bone, approximately 3″ thick. Place the short ribs on parchment or another clean surface.
Procedure:
Always preheat the sous vide bath. For this recipe, we utilized 140 F/60 C.
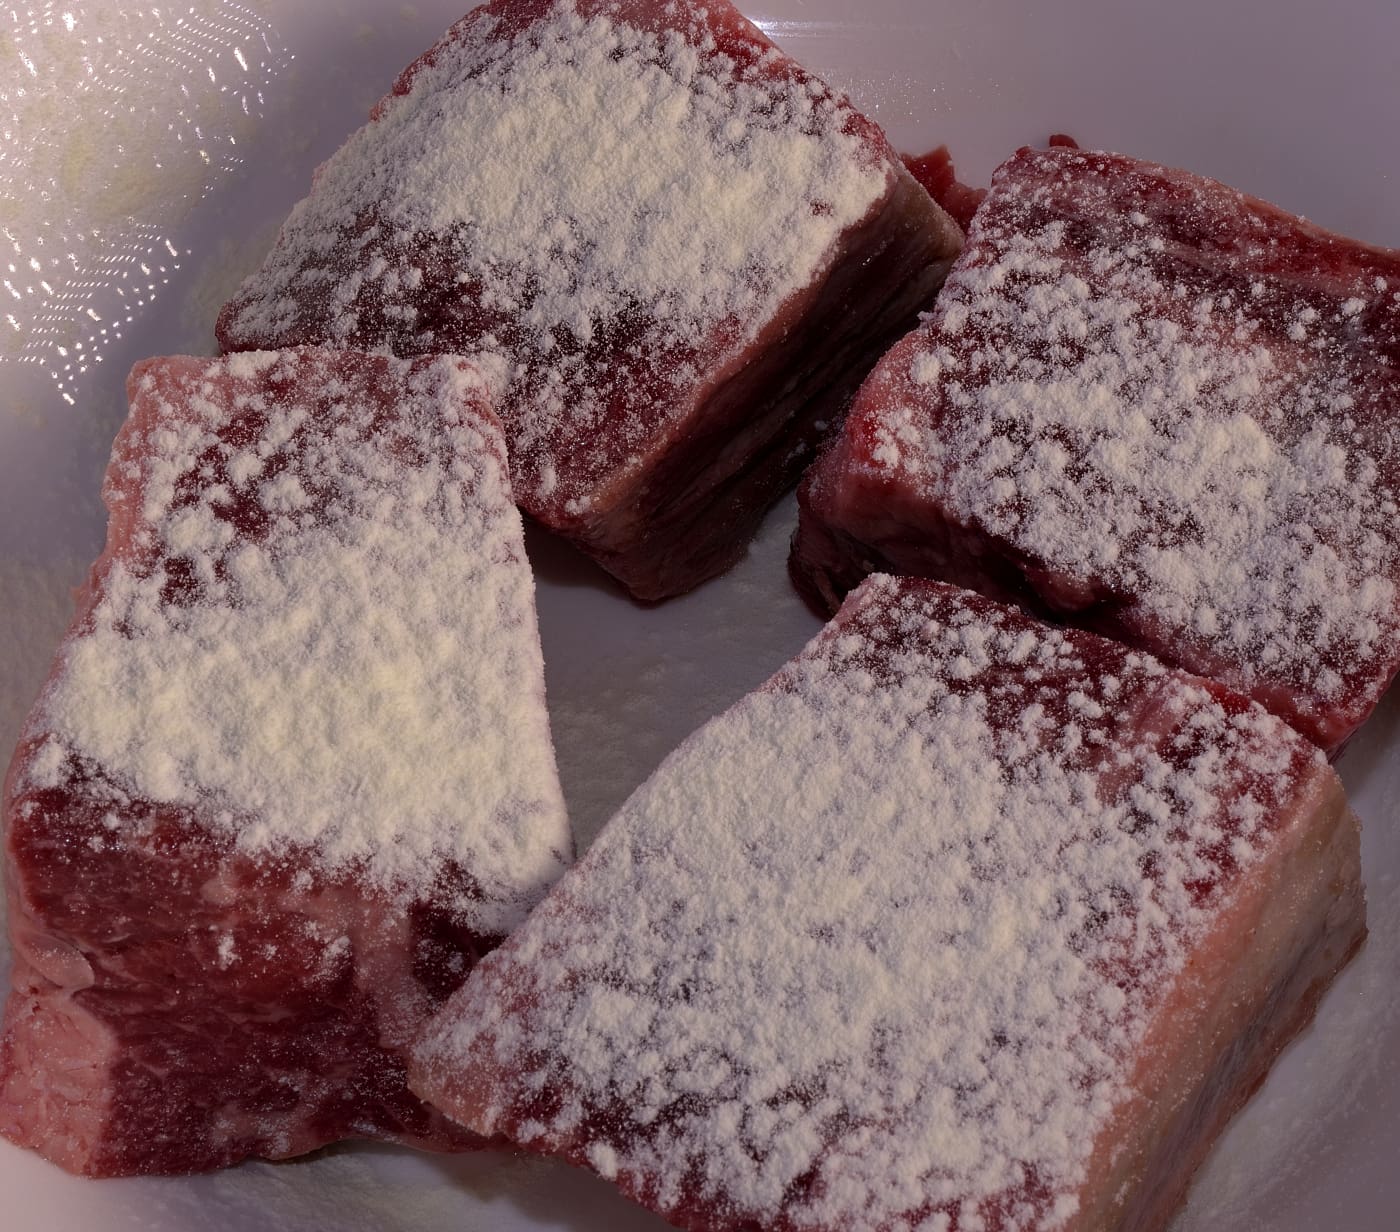
Sprinkle with powdered egg white on all sides (or fresh, sparingly).
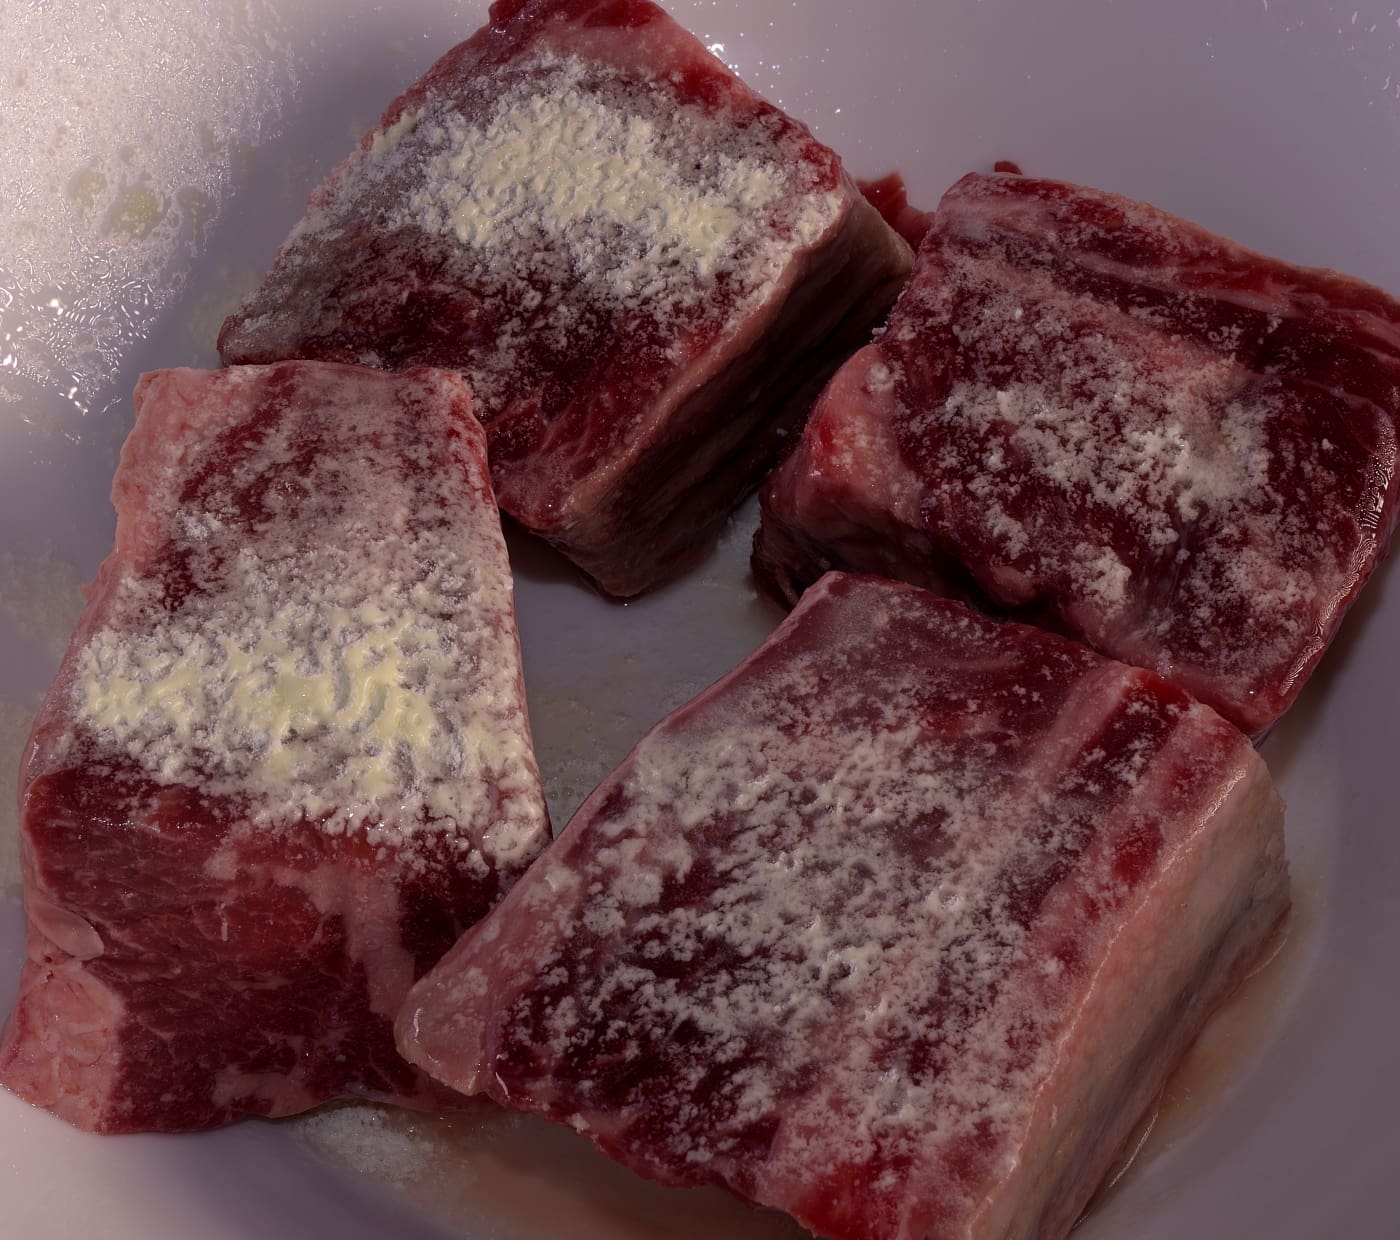
Mist with water to moisten (not necessary if you use fresh egg whites). This will create a sticky surface for the seasonings to cling to. Otherwise, most of them will be left in the skillet.
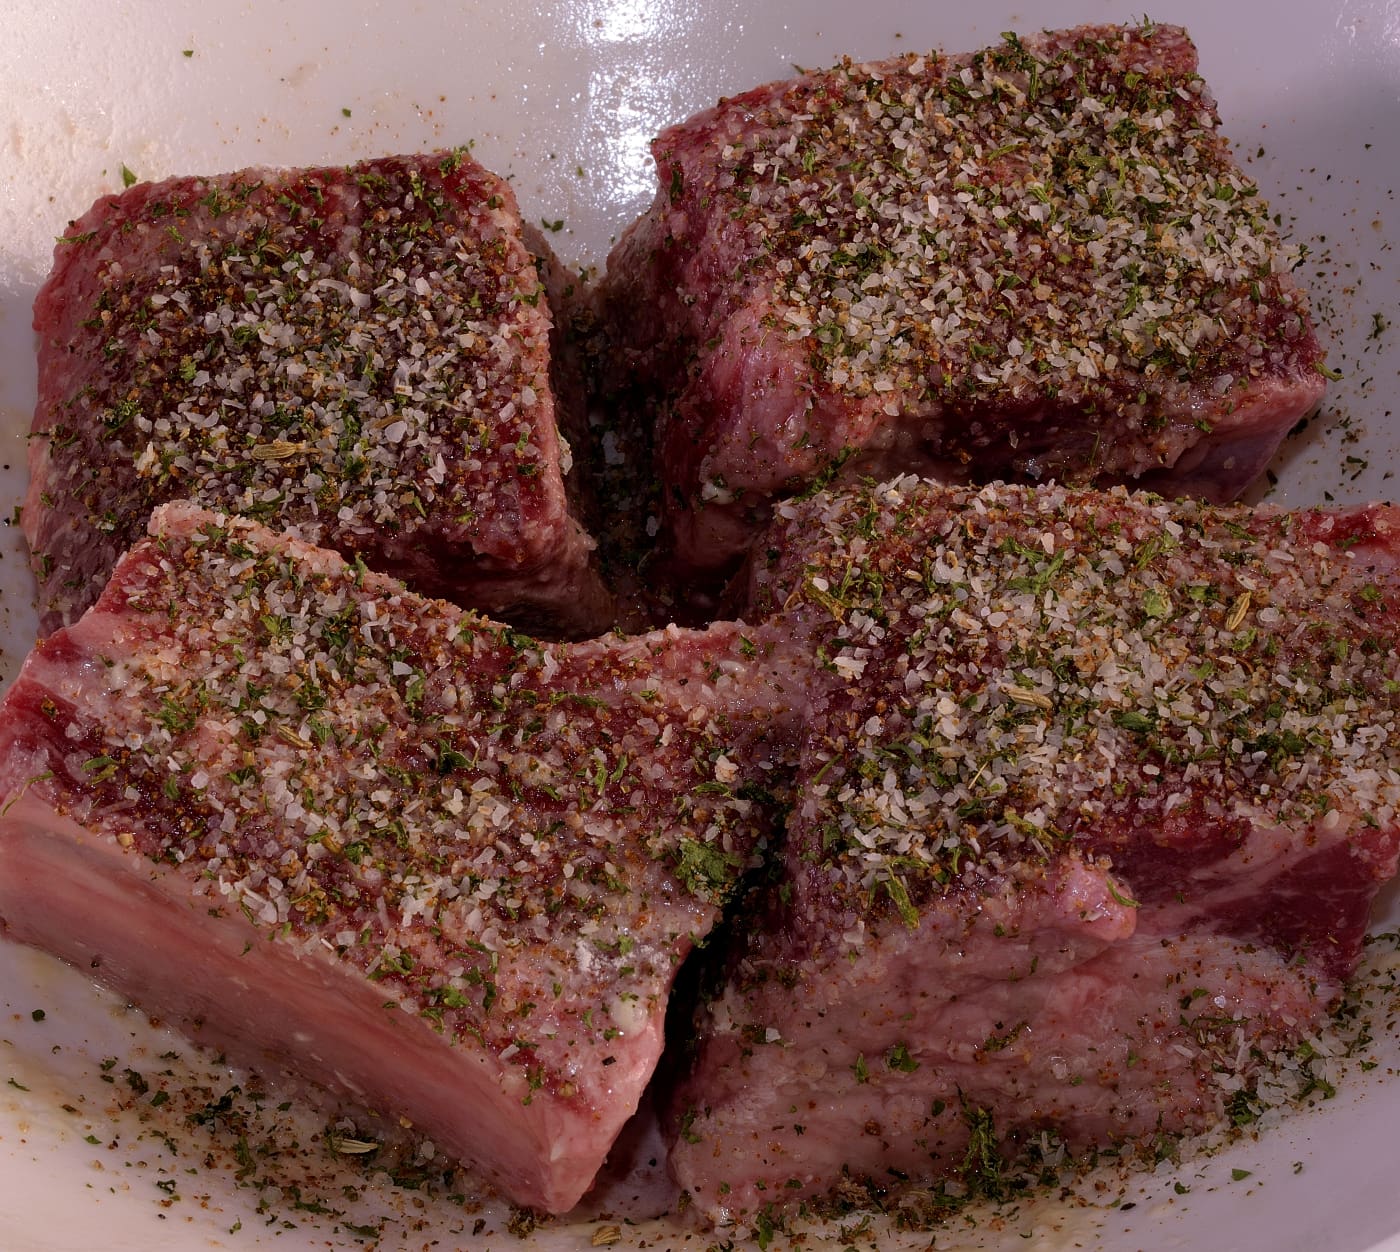
Sprinkle with desired seasonings. For this model, we used a variation on the Cajun Seasoning without the paprika and cayenne. Preheat a large skillet to approximately 250 F/120 C.
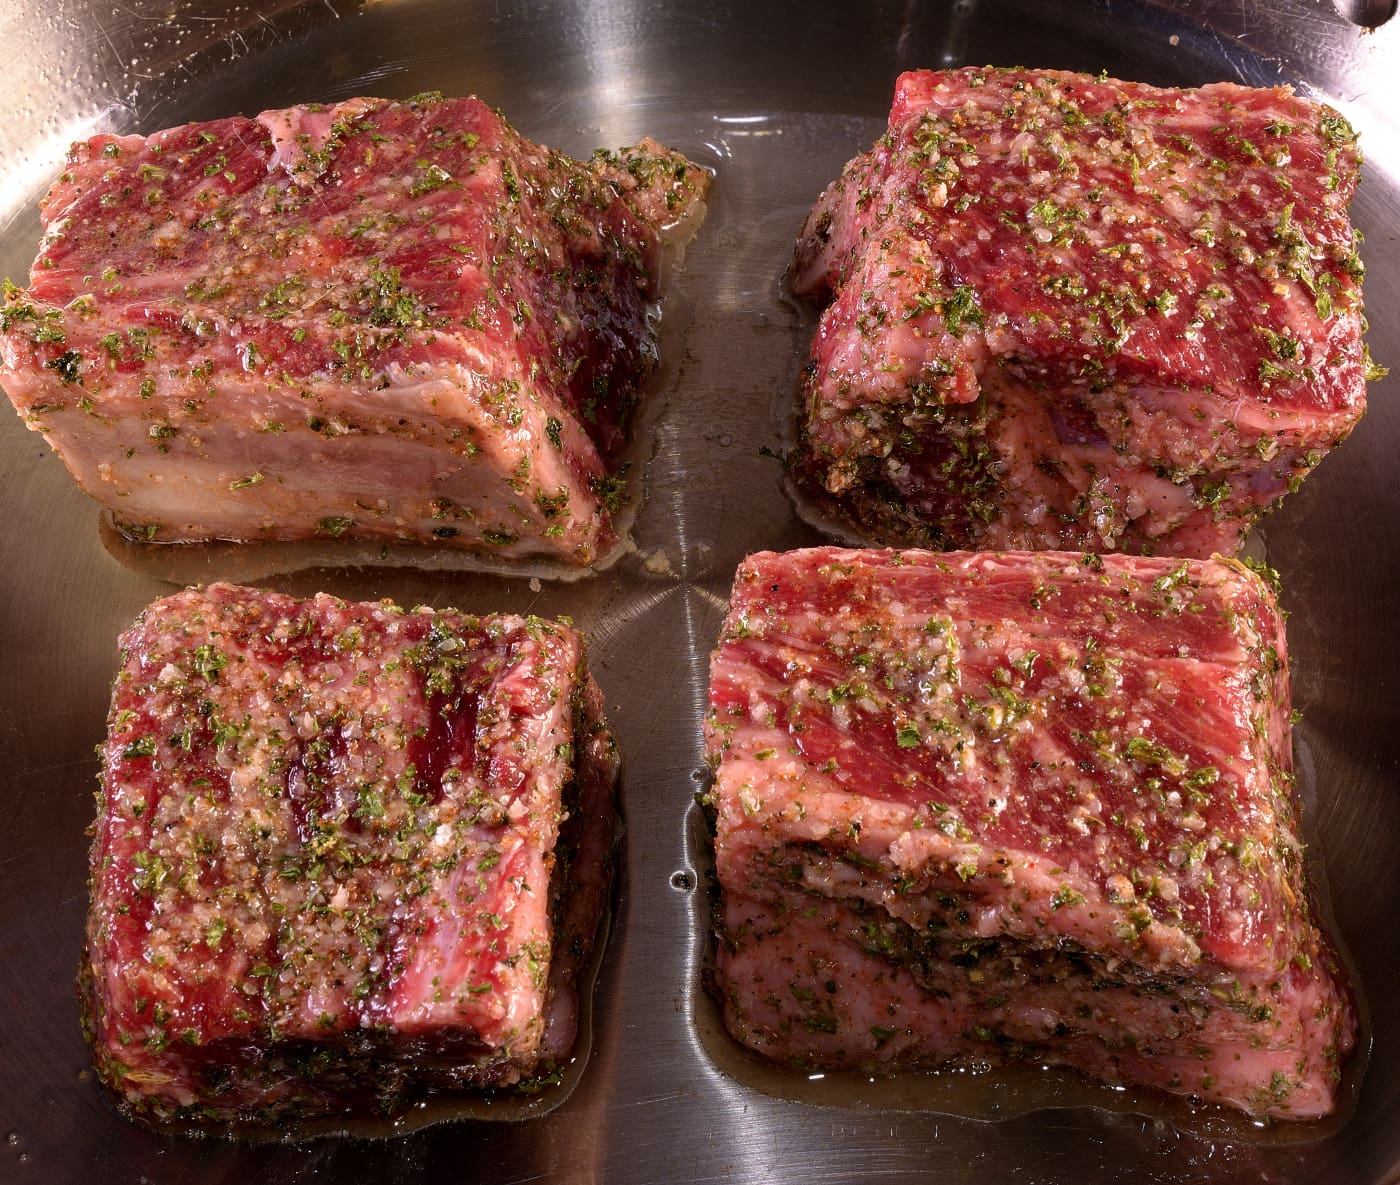
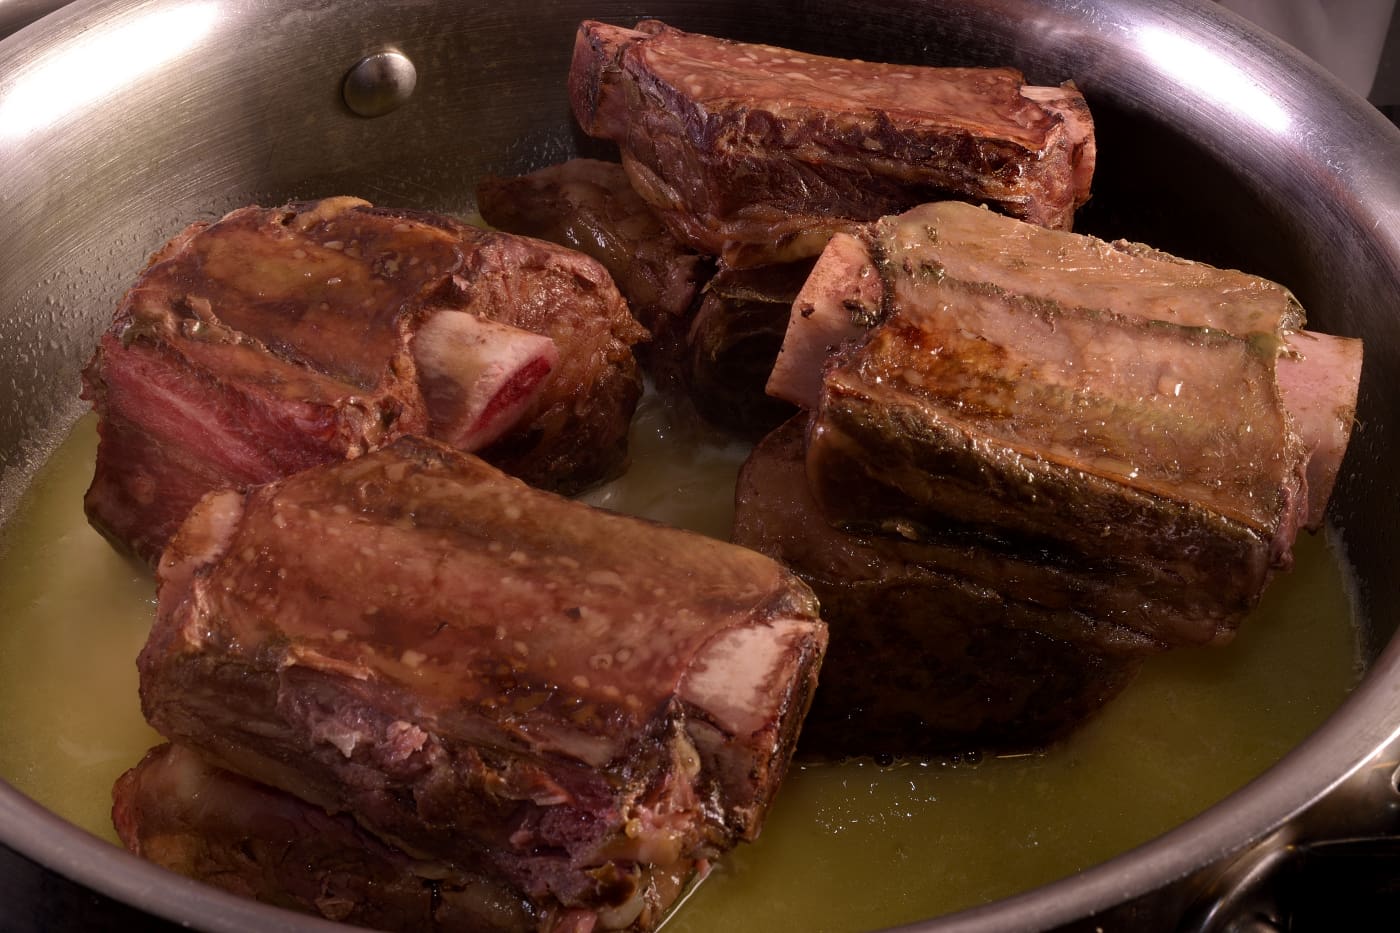
Add enough oil to coat the bottom of the pan and add the short ribs. For best results, allow at least 1″/2.5 cm between each piece.
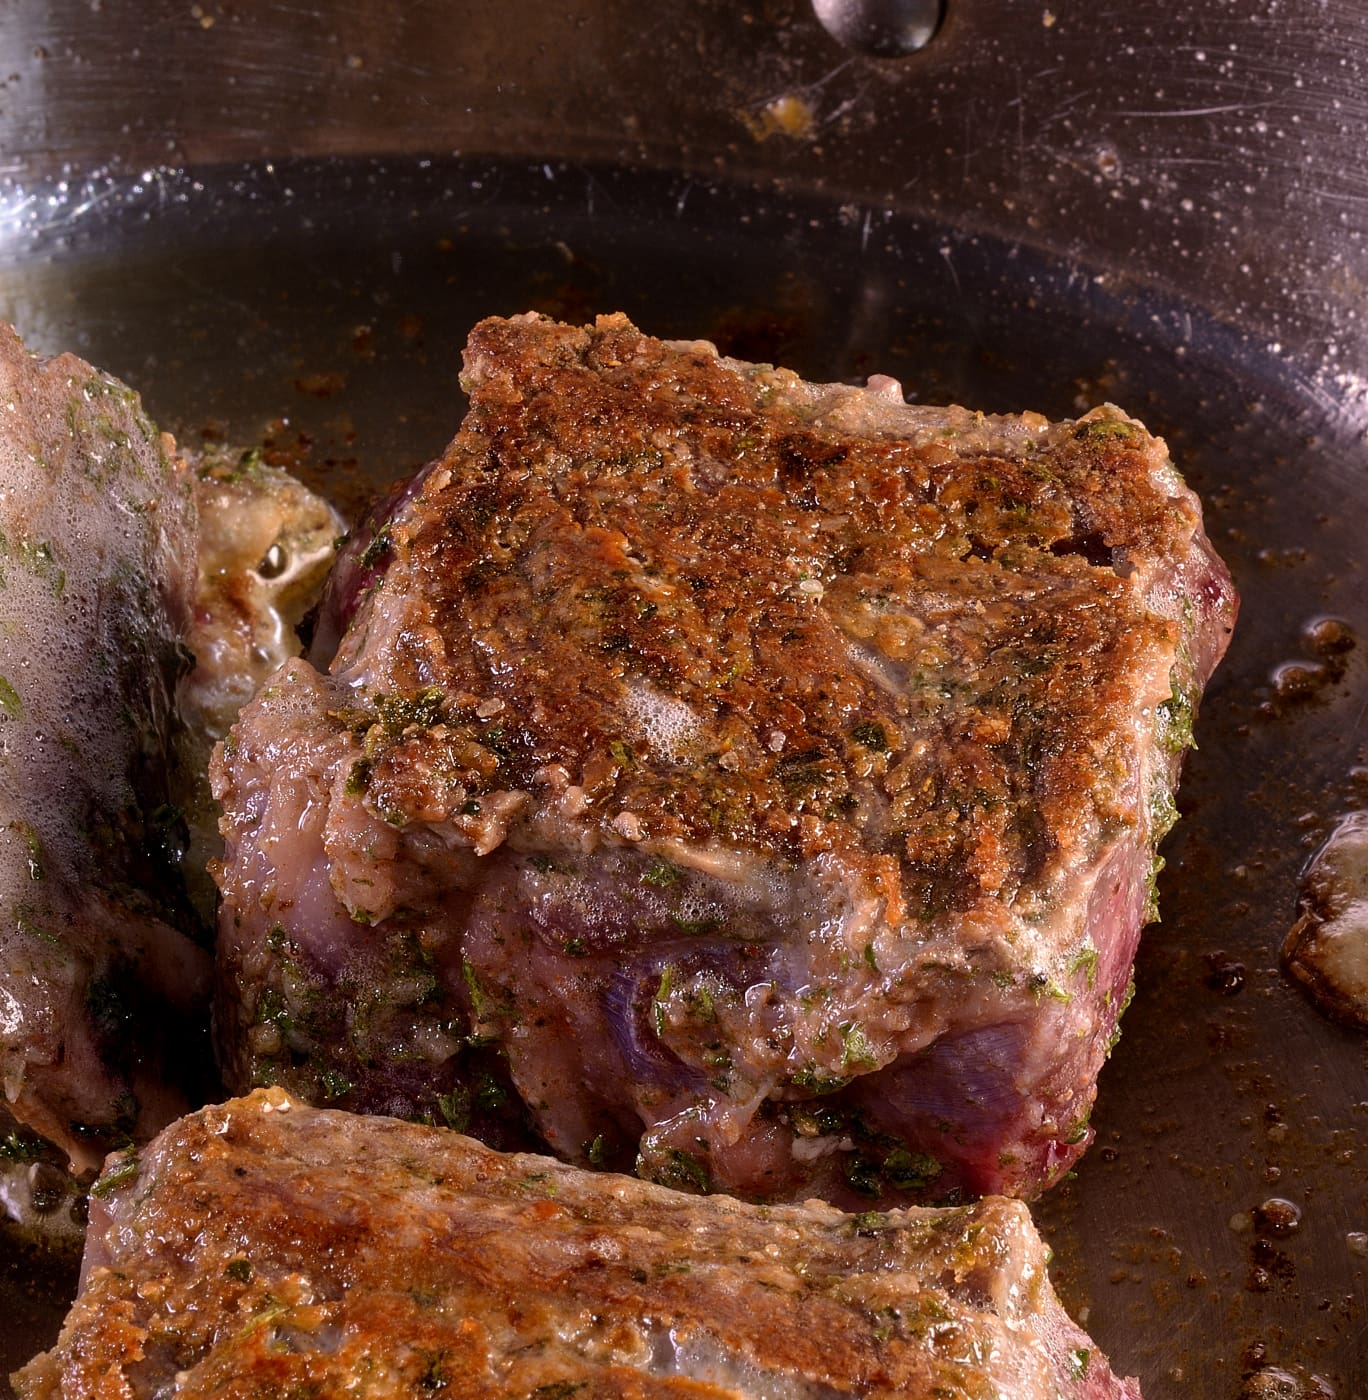
Brown well–usually about five minutes per side. The sound of sizzling should continue uninterrupted. If you detect hissing or steaming, increase the heat. If you hear popping sounds, reduce the heat until you hear sizzling again. Melt away as much fat as possible.
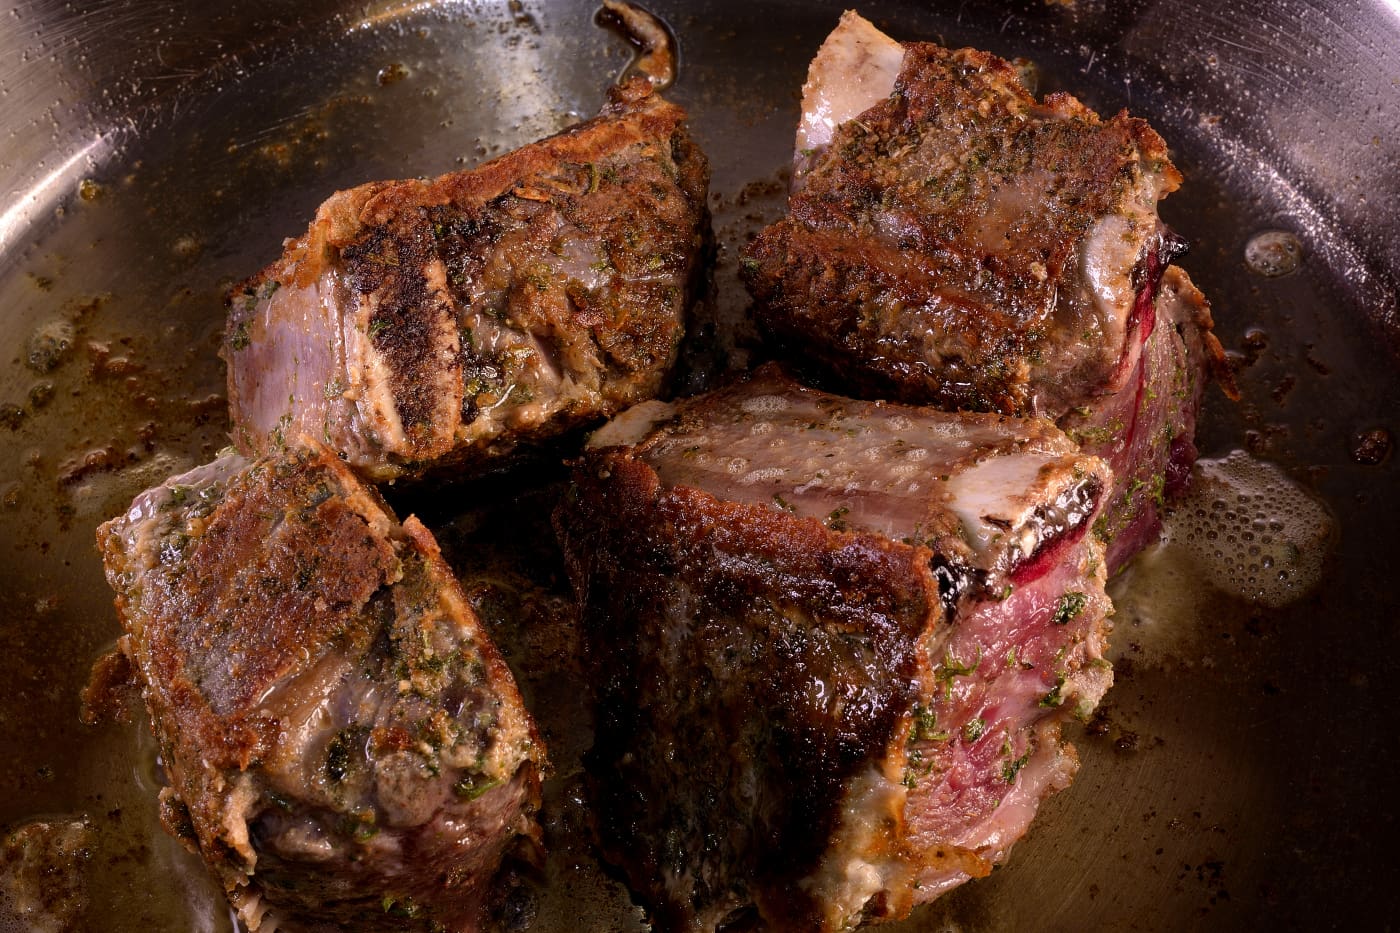
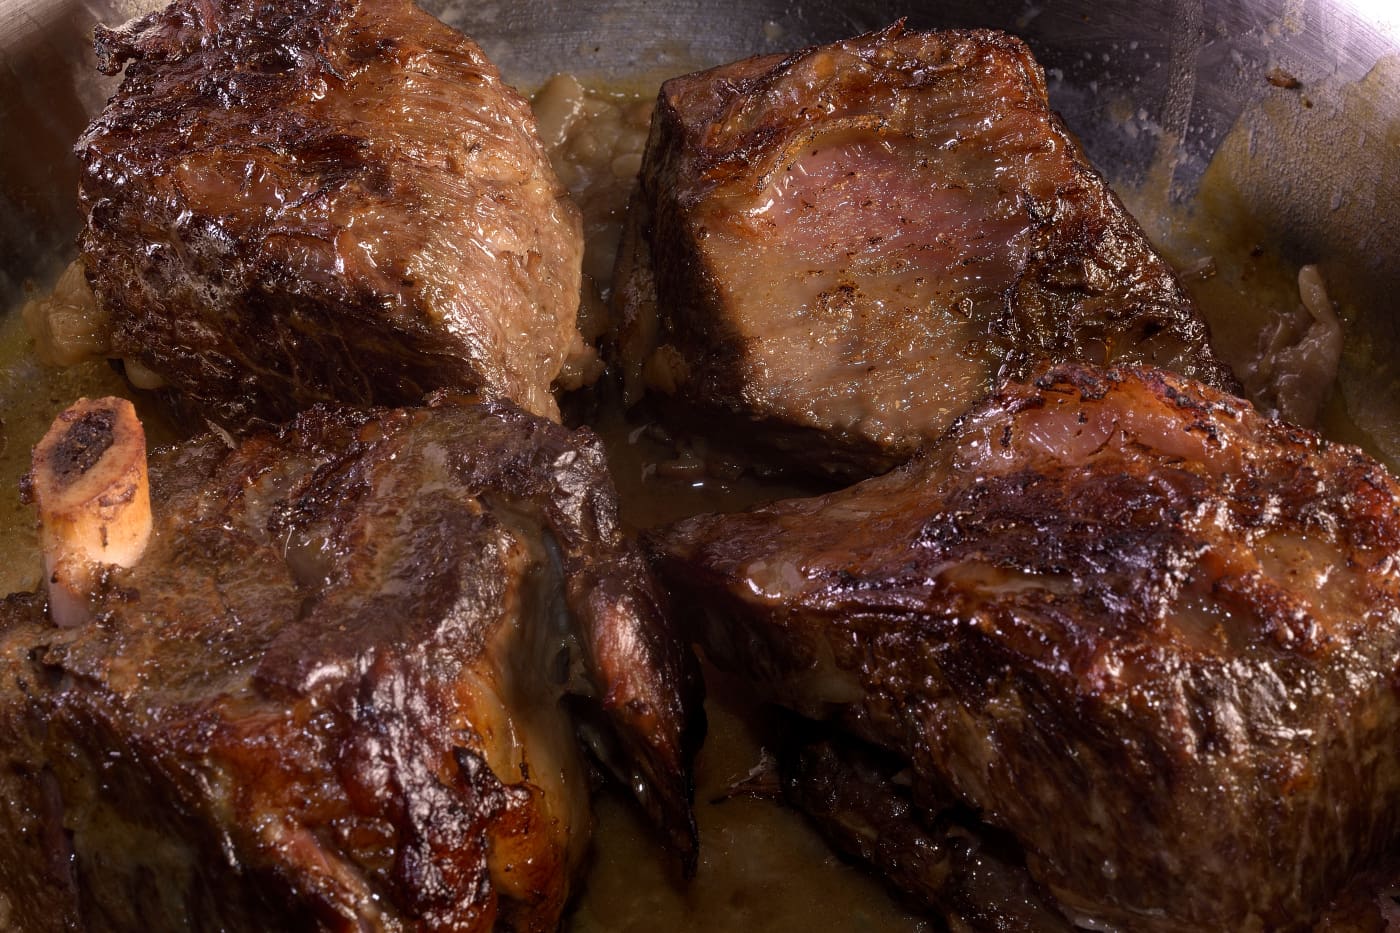
Brown well on all sides.
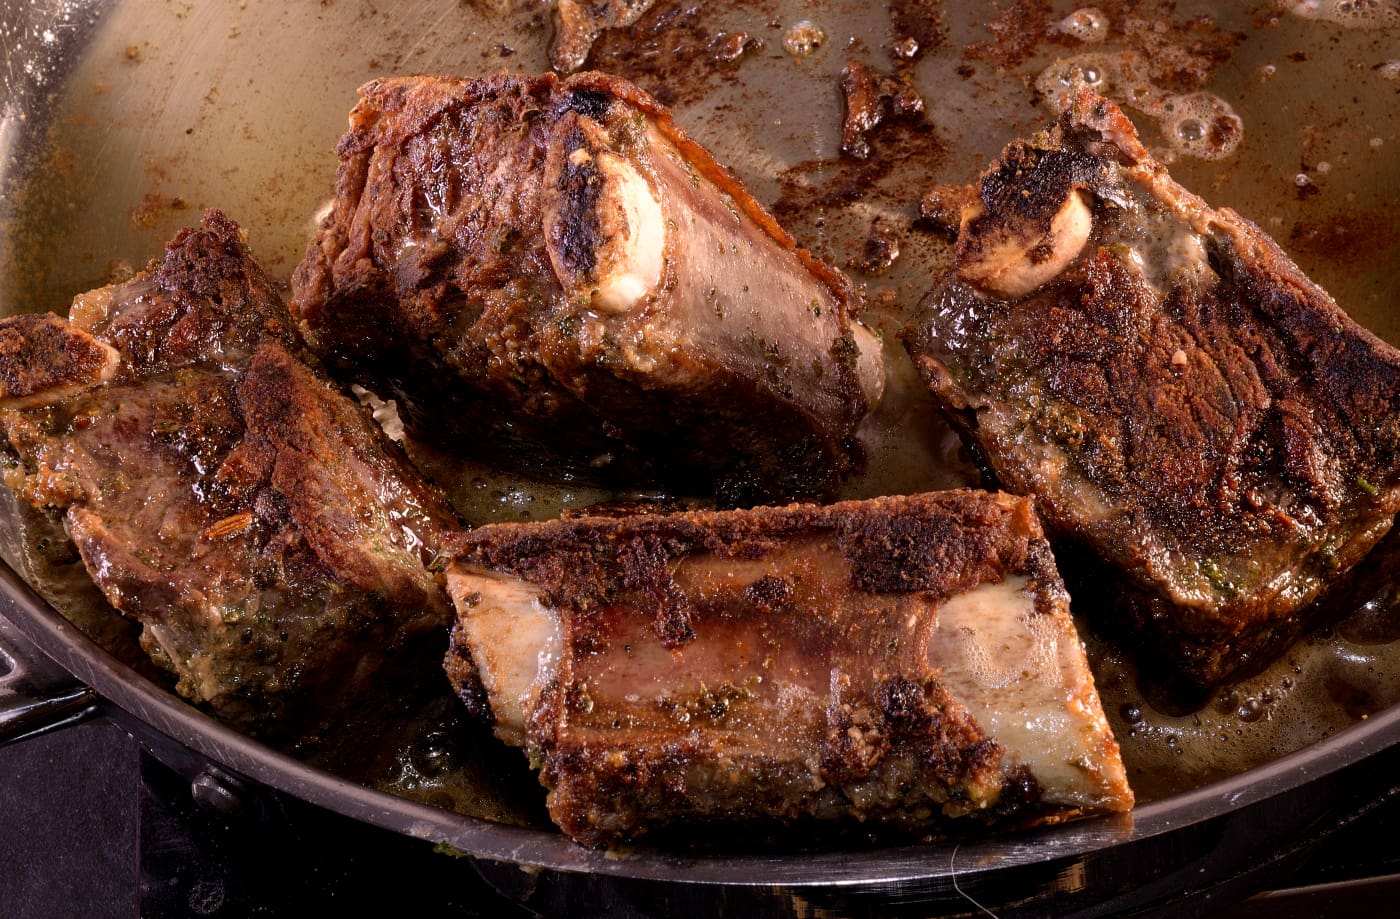
There should be a well developed crust on all sides. Remove from the pan to a paper towel to drain.
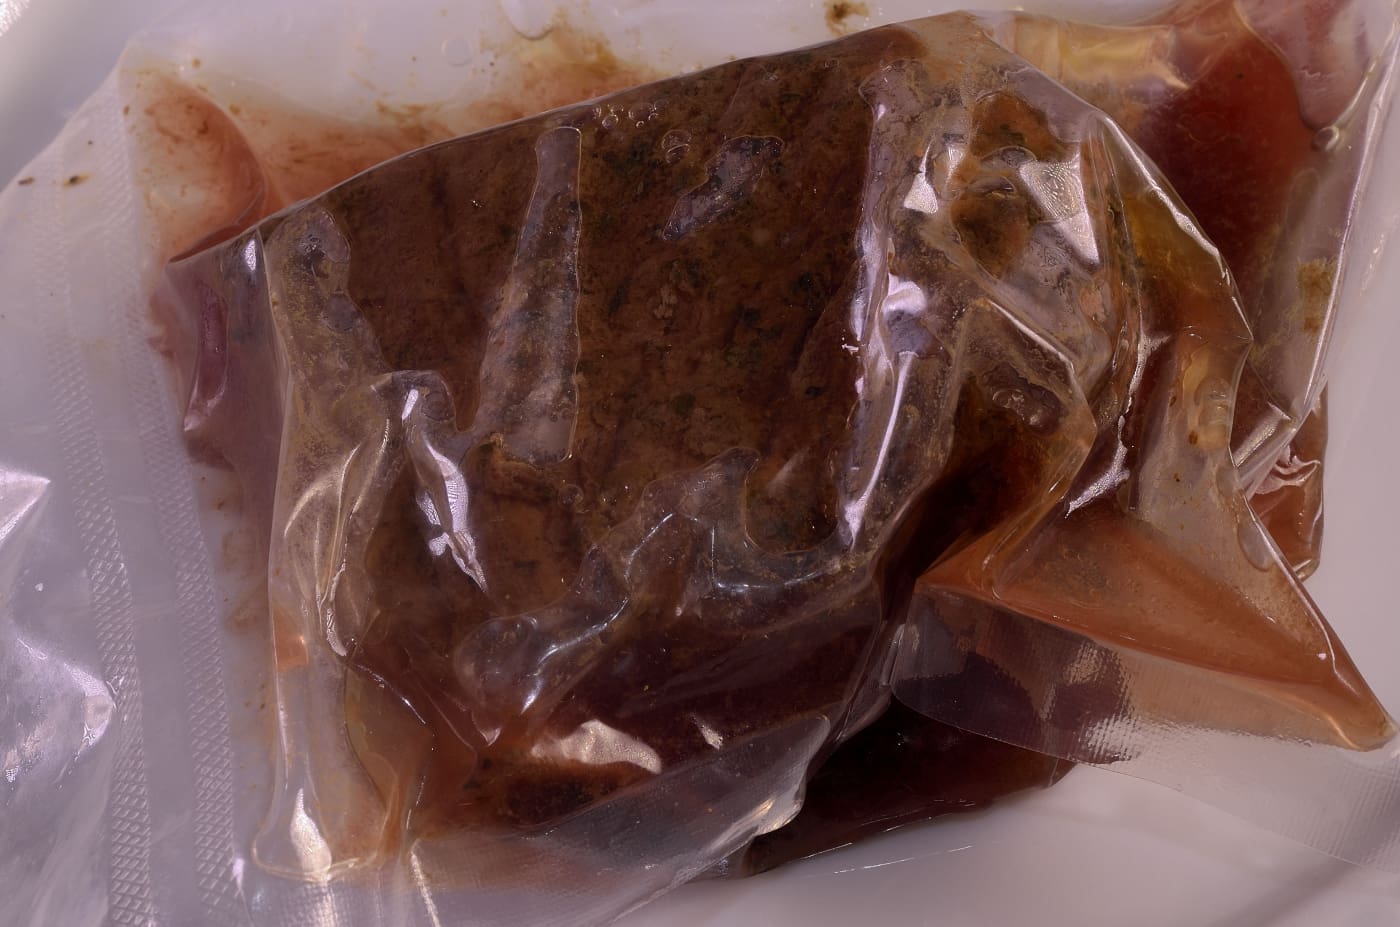
Vacuum seal the meat. Small bags with just one or two short ribs per bag are the easiest to handle and arrange in the bath. Your circumstances of service may only require one or two pieces at a time. Individual packages also make cold shocking quicker/safer. They are easier to organize in the refrigerator. Remember–if the seal on the bag is not broken, the shelf life of the contents at 40 F/4 C is at least two weeks.
How long is long enough?
While processing time determines the texture of your short ribs, a clock cannot be used measure tenderness. It is easy to learn how to determine whether the protein is properly tenderized using the method explained HERE. While you develop your sense of touch, you can always cut open one bag and take a bite. Another good reason to pack the short ribs individually.
Sous vide process the short ribs for 72 hours.
After the interval has elapsed, the ribs can be served immediately. They can also be shocked cold to be rethermed and served at a later date. If this is your intention, submerge the bags in iced water until they reach 70 F/21 C. Refrigerate at 40 F/4 C until use. Now you can execute your favorite recipe at your convenience without devoting an entire day to preparing it. The packages can be reheated in the sous vide bath set to at least the original processing temperature or by using a pan, the oven, or a combination of the two. Make sure you re-achieve an internal temperature of 140 F/60 C.
Place the package on a clean surface.

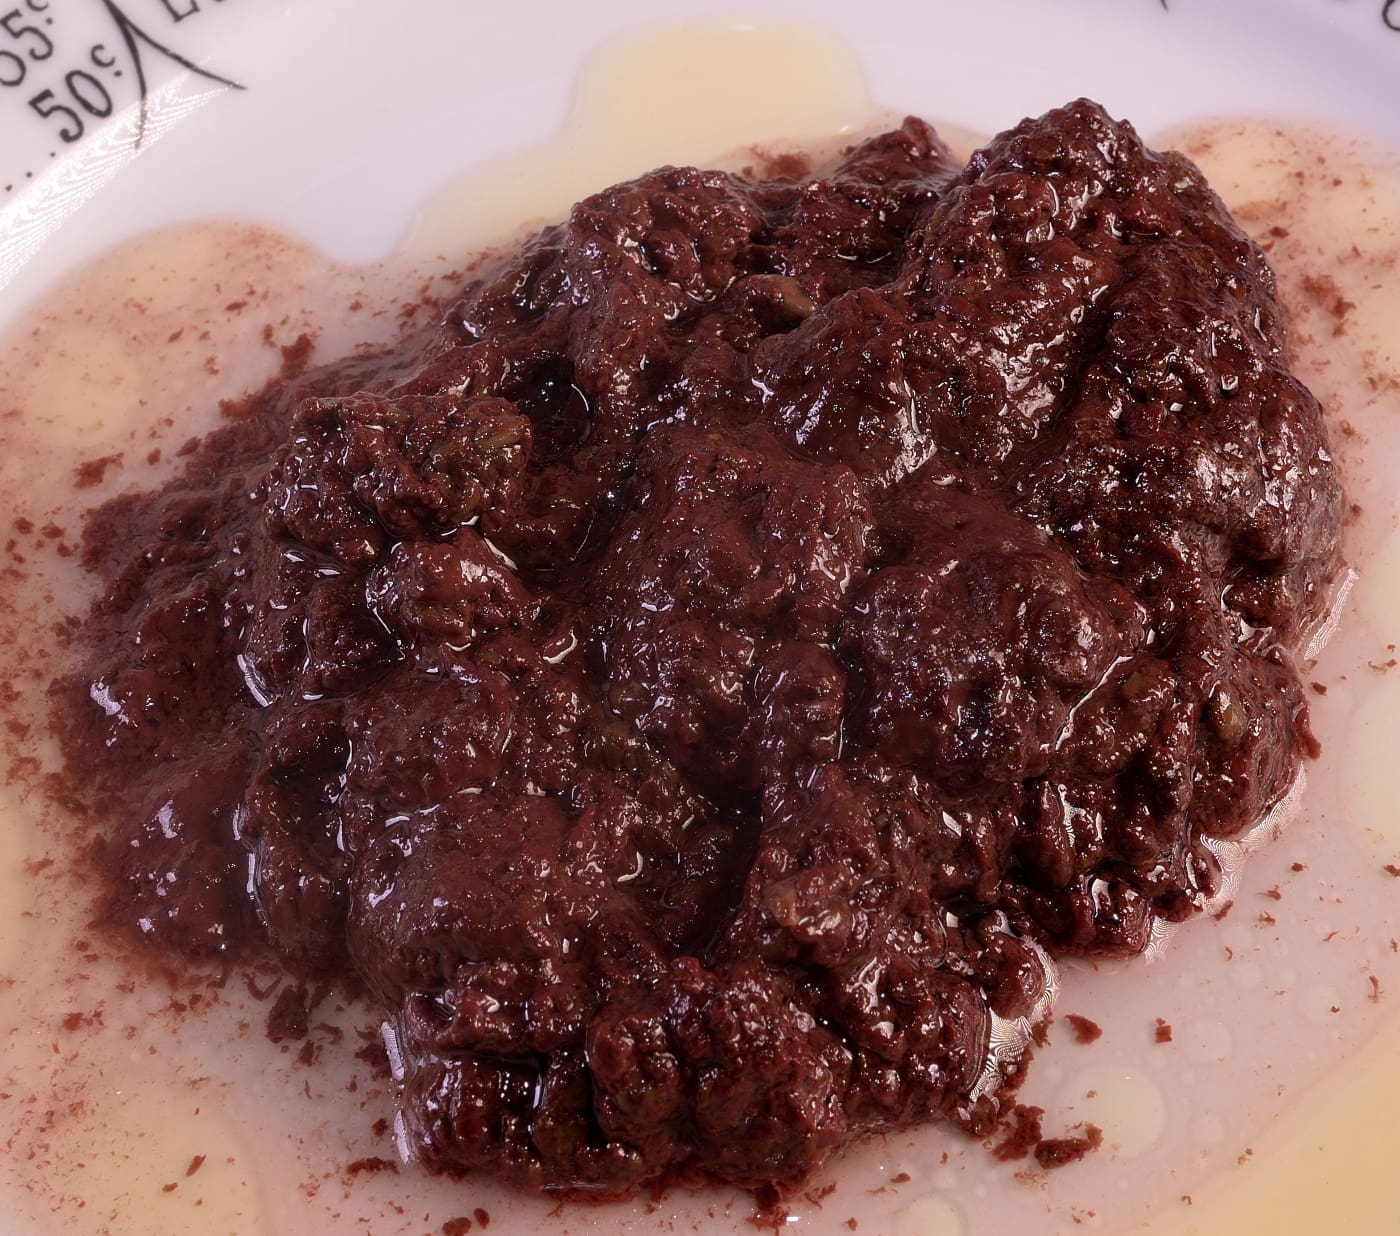
Remove the short rib from the package. Although the salt in the surface treatment can slightly penetrate the surface of the protein, the rest of the seasonings and the caramelization effects have been released into the juices in the pouch. Keep warm.
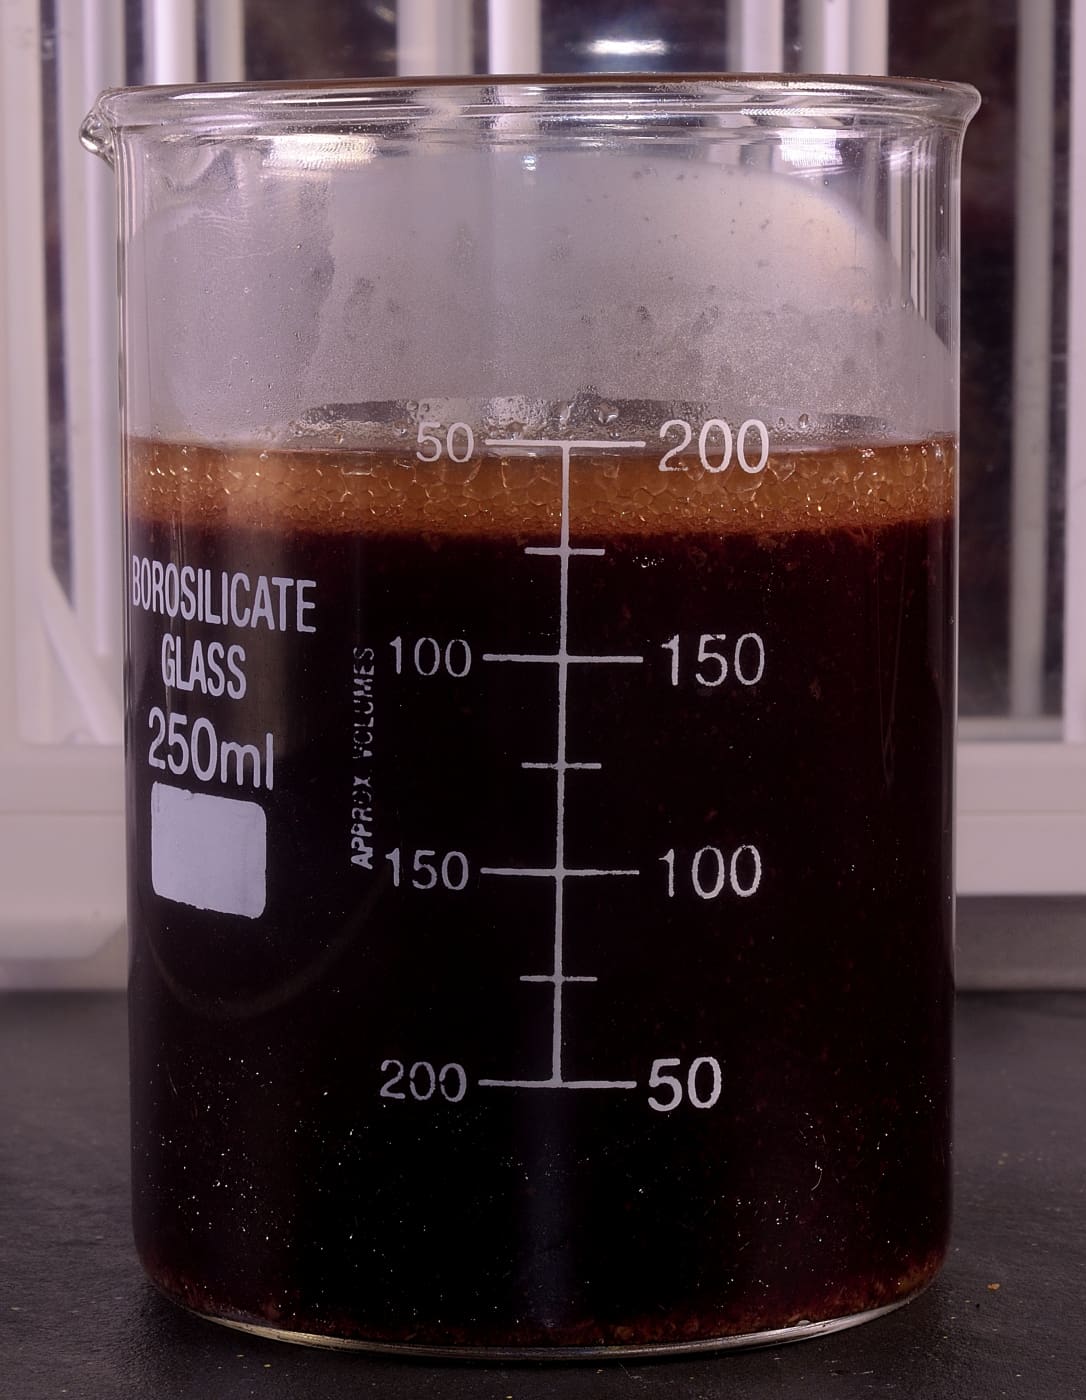
Harvest the juices. Clarify according the simple process described HERE. Why? See below…
The protein releases a considerable amount of myoglobin and albumins as part of the natural cooking process. Clarification removes this. Some people leave this in their “pan sauce.” Some people feed it to their dogs. I discard it.

Leaving us with this. Measure the volume of the clarified juices–about 0.5 cups/125 ml in this case.

Add the juices to a large, flat bottomed skillet.
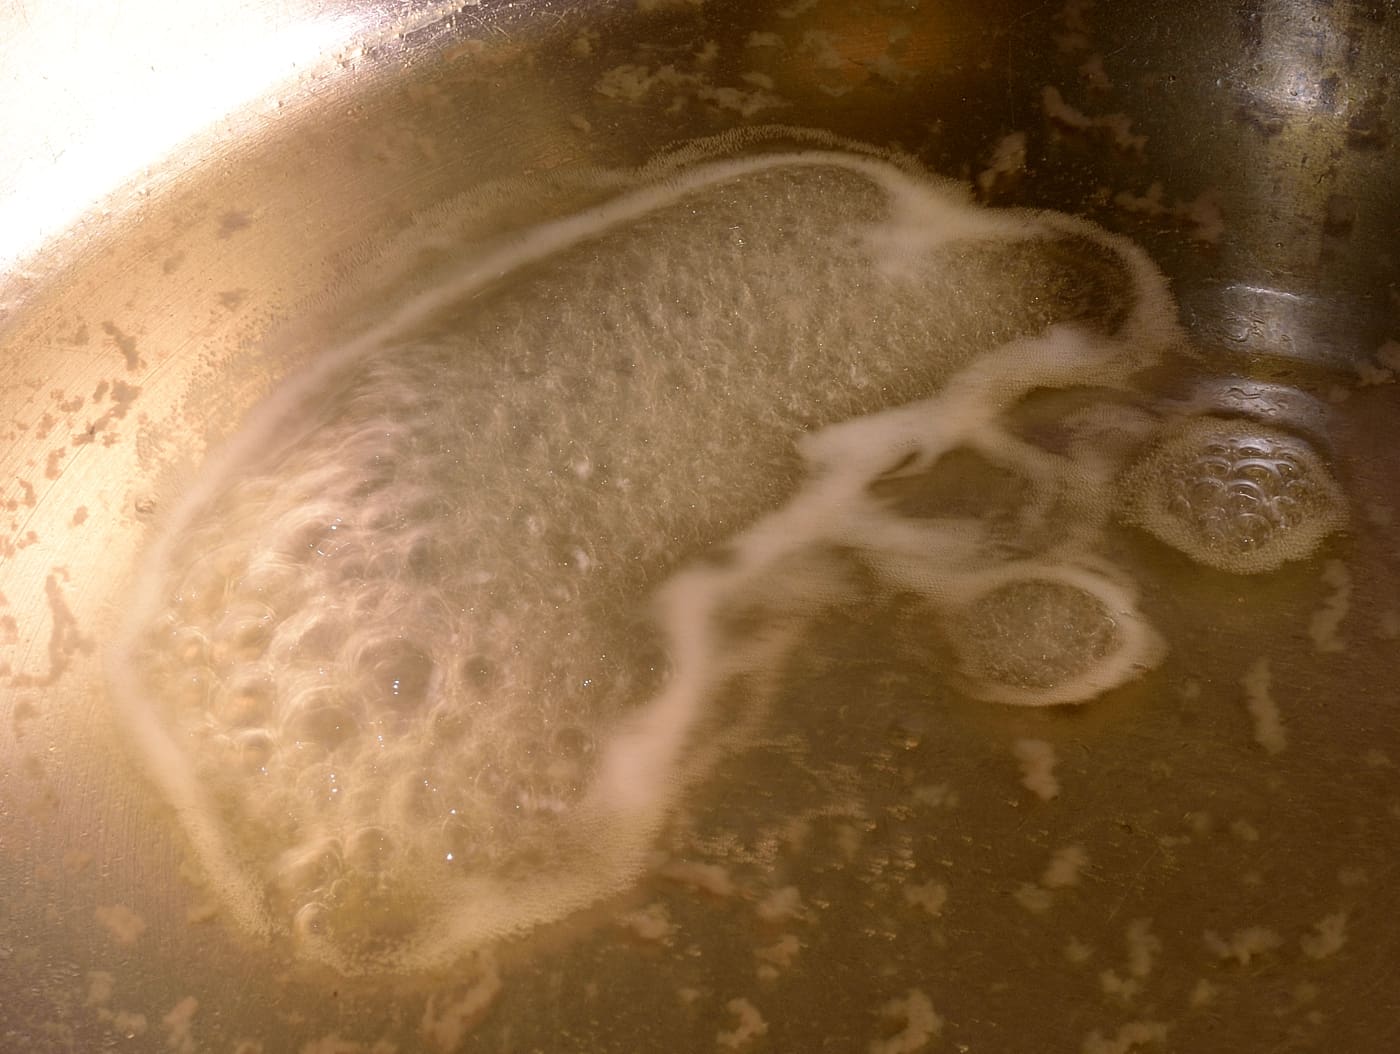
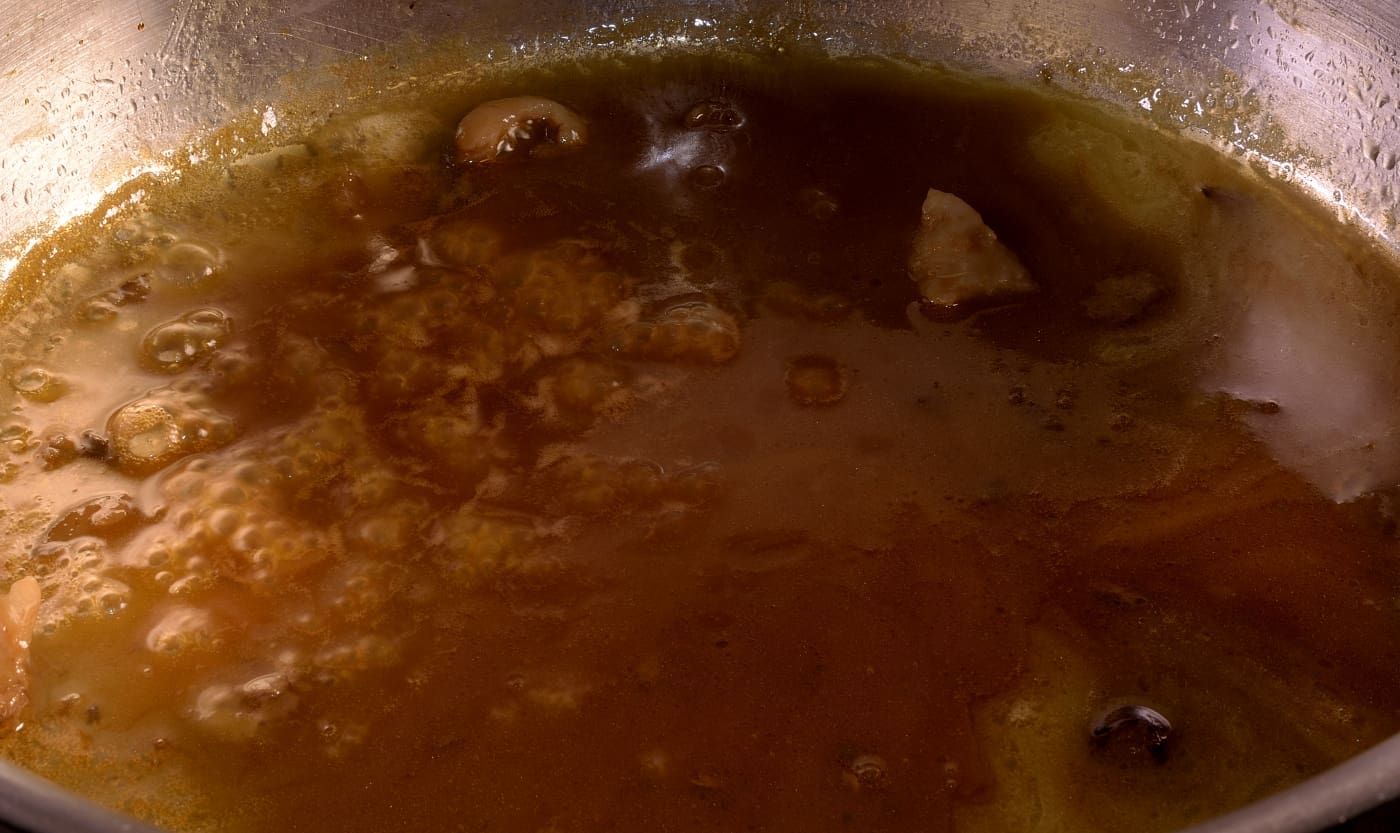
Bring to an actual boil.
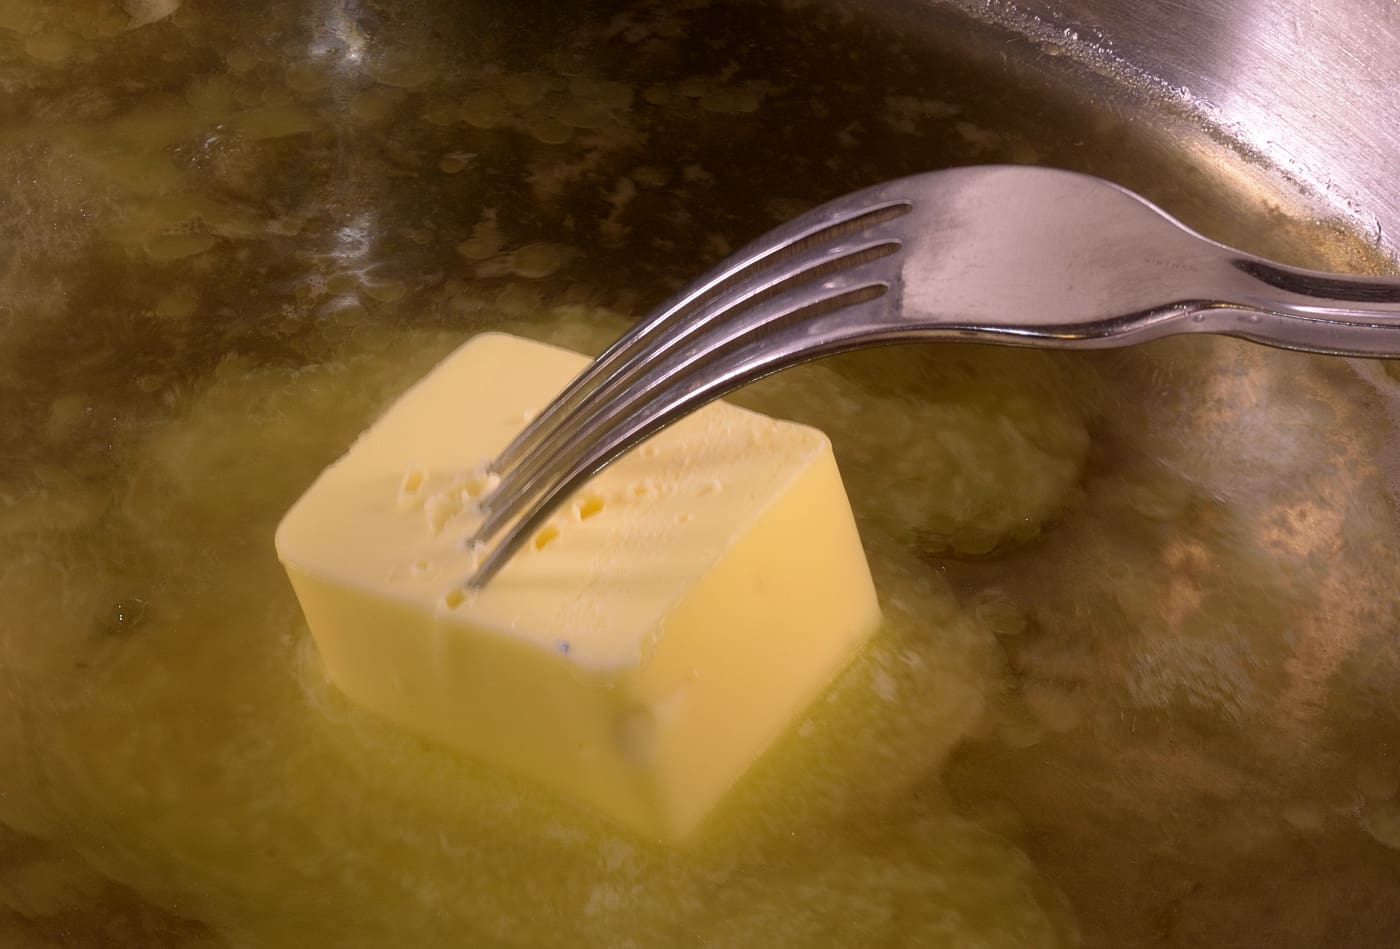
Add approximately 3 oz/90 g of cold butter and use a fork to move it around the simmering broth.
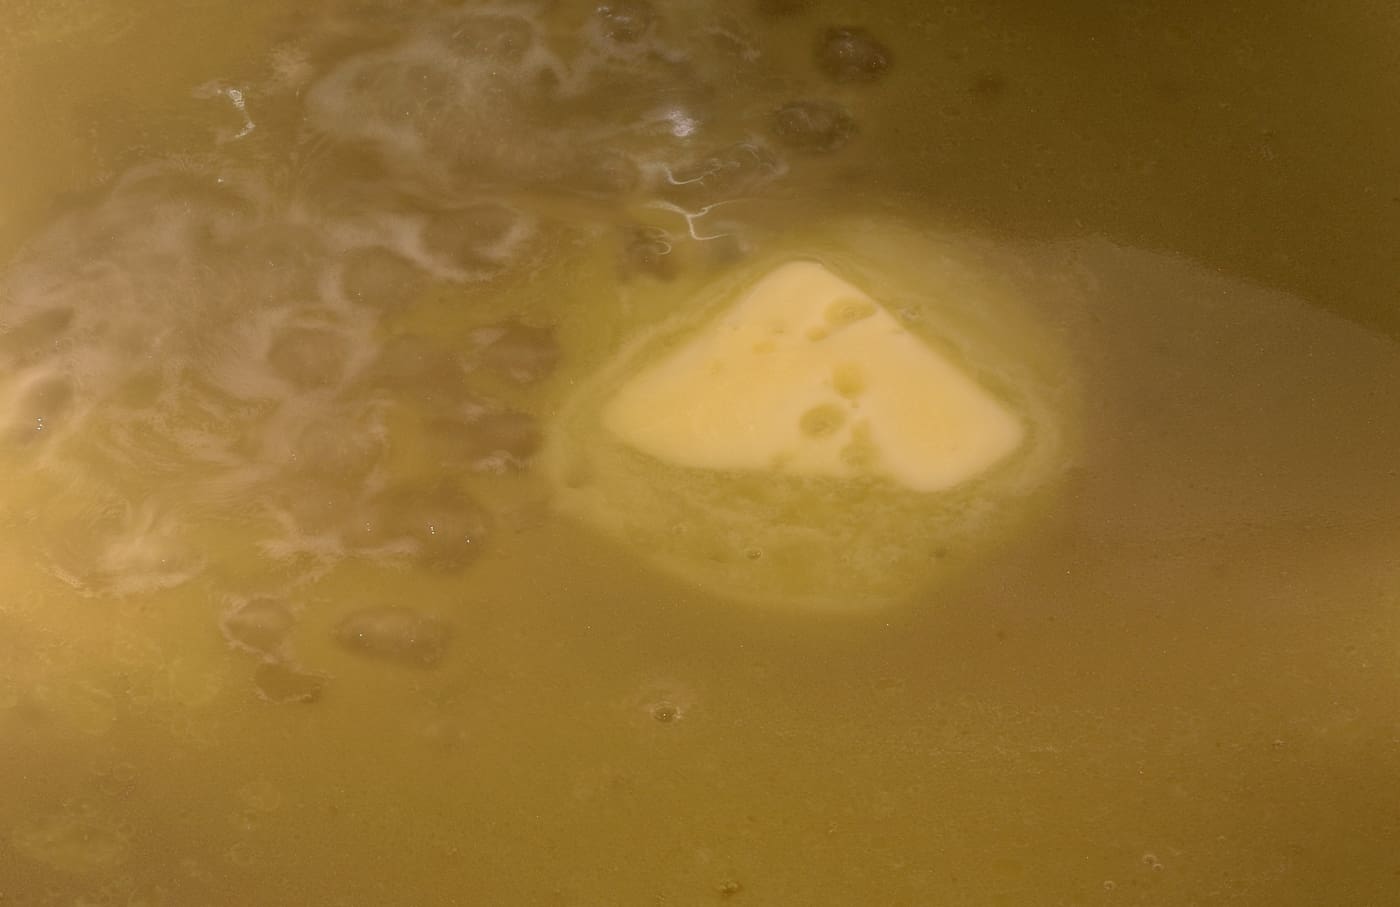
Continue cooking until the butter has melted.
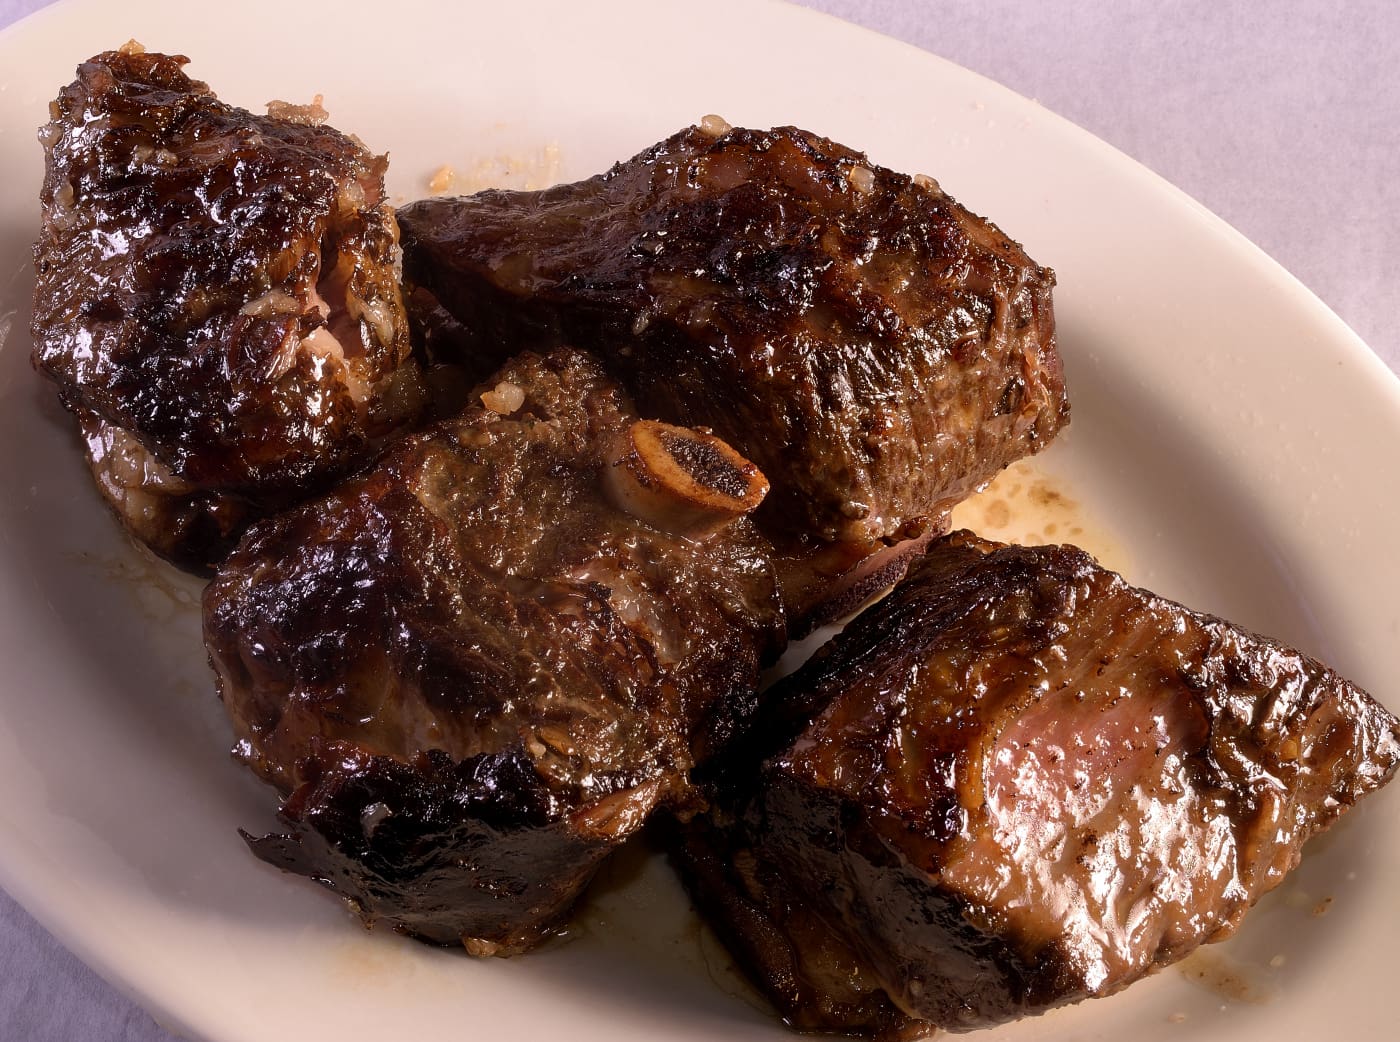
Add the short ribs to the pan…
and coat with the emulsified “lacquer.”
Remove the short ribs to a platter.
Return the sauce to a simmer. This will create a slightly “sticky” emulsion.
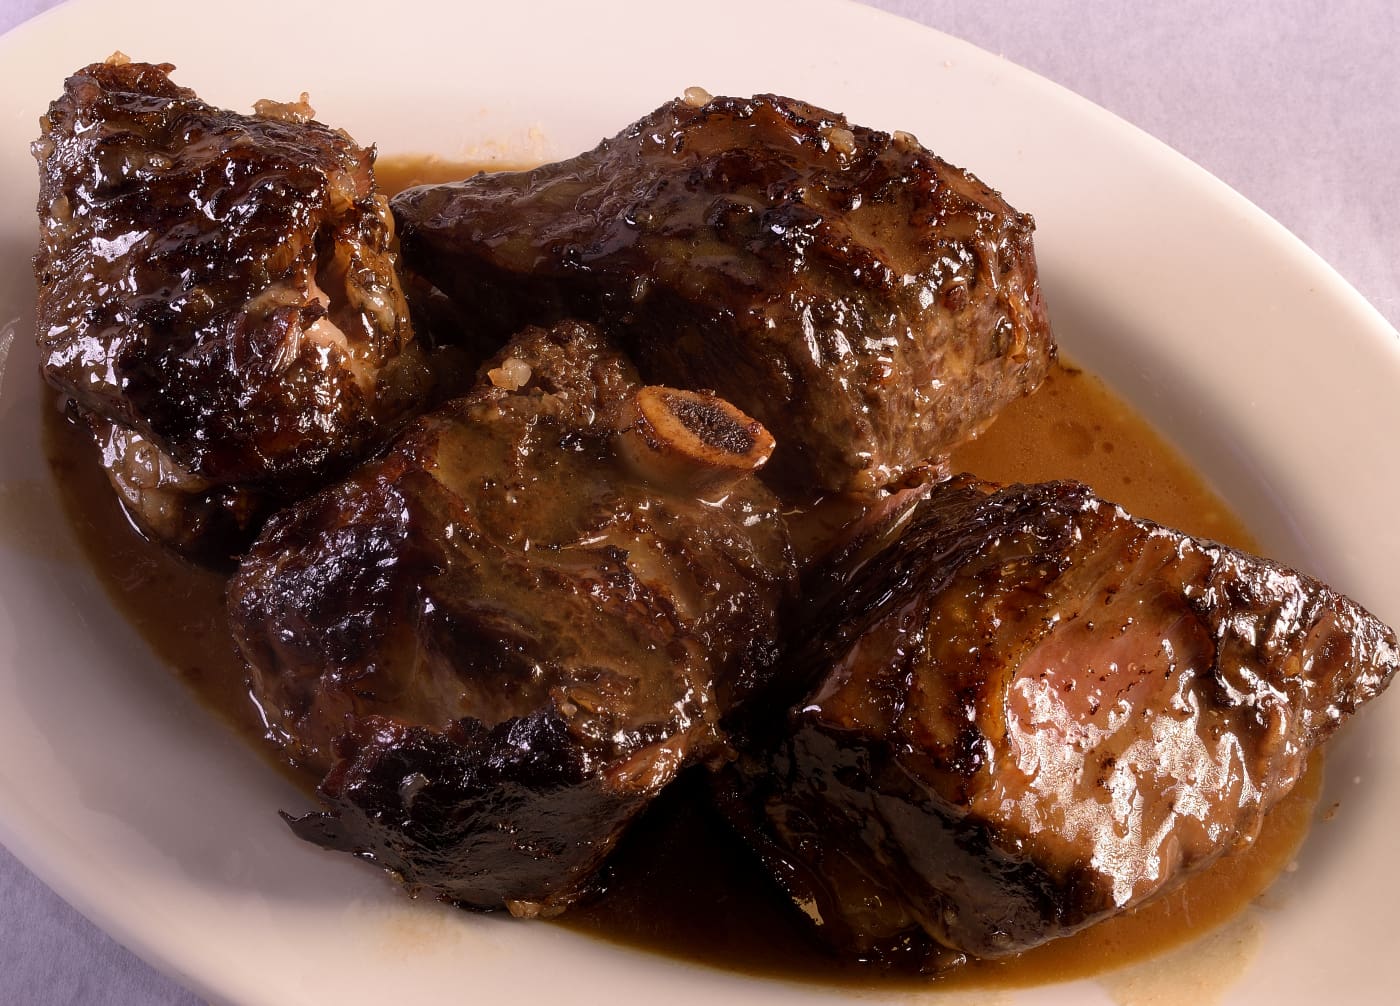
Pour the sauce over the ribs.
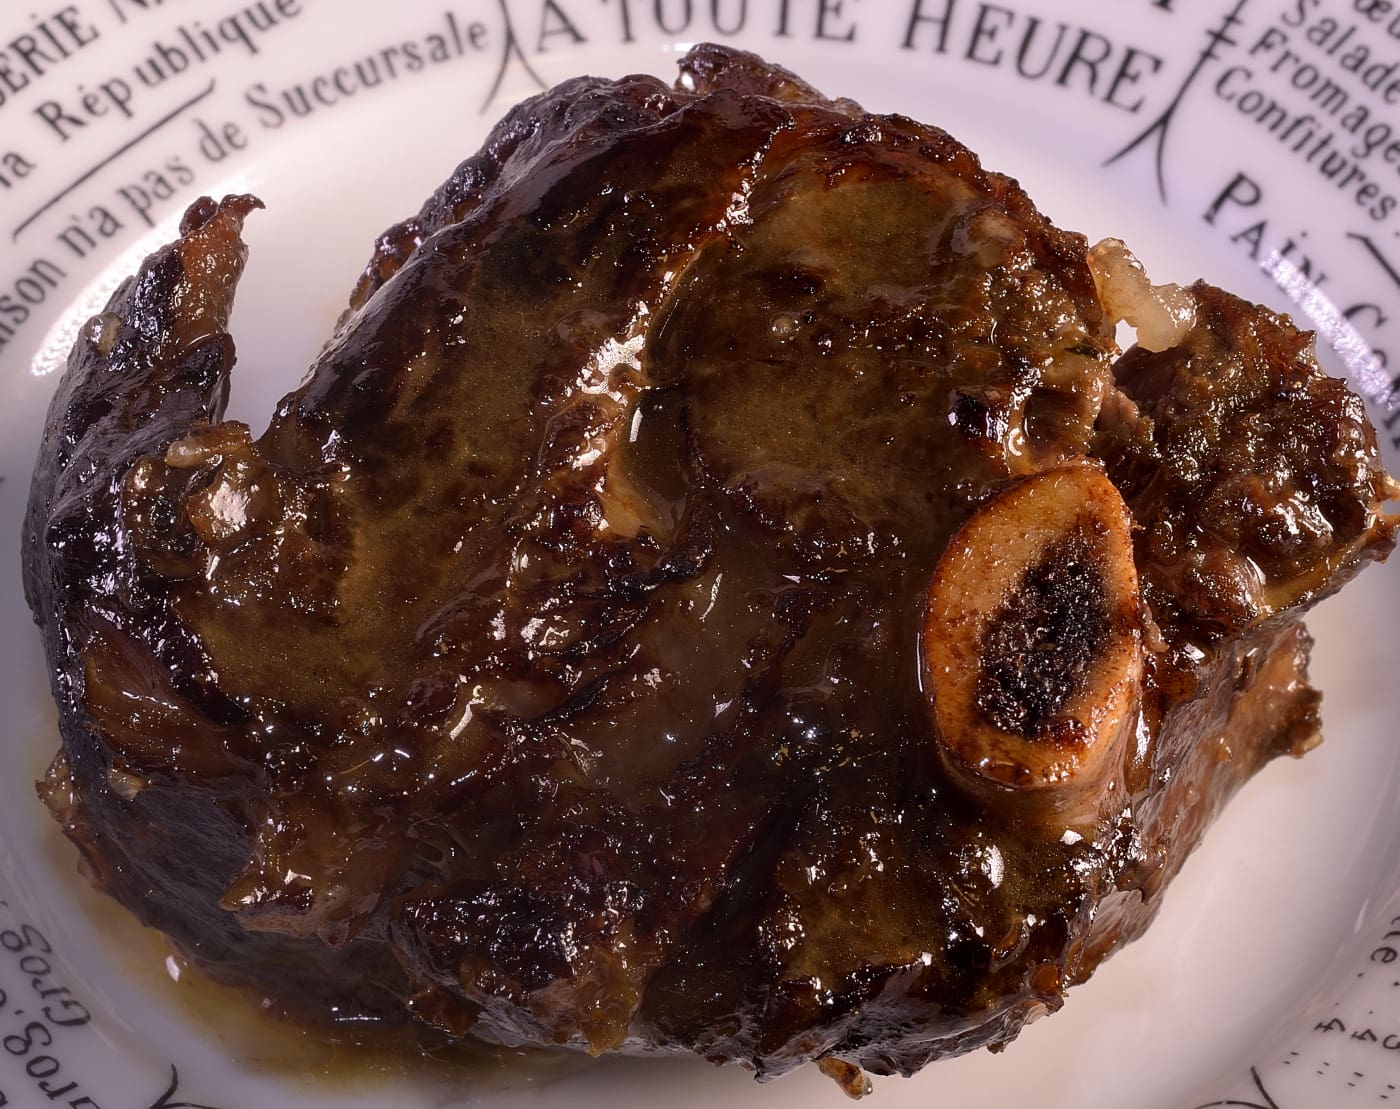
The lacquered rib…
Click HERE for Advance Seared Short Ribs with Pumpkin Seed Romesco, Fennel Bulb and Saffron Rice, as pictured at the top of the page.
Click HERE for Herb Crusted Short Ribs with Roasted Vegetables.
Wow, marvelous weblog structure! How long have you ever been blogging for?
you make blogging look easy. The full look of your site
is wonderful, let alone the content! You can see similar here sklep internetowy