Level of difficulty: 1.5
Procedure:
If you want to use self sealing bags (Ziploc freezer bags) for this, remove the air from the bag using the water displacement method.
How do you like your steak?
There is debate as to the exact definition of “rare,” “medium rare,” “à point,” etc. A little practice will help you learn just exactly what temperature corresponds to your preferred appearance of doneness.
Here are some basic temperature setting guidelines:
Rare: 125 F/52 C.
Medium Rare: 129 F/54 C.
Medium: 135 F/57 C.
Medium Well: 140 F/60 C.
Well: 150 F+/66 C+.
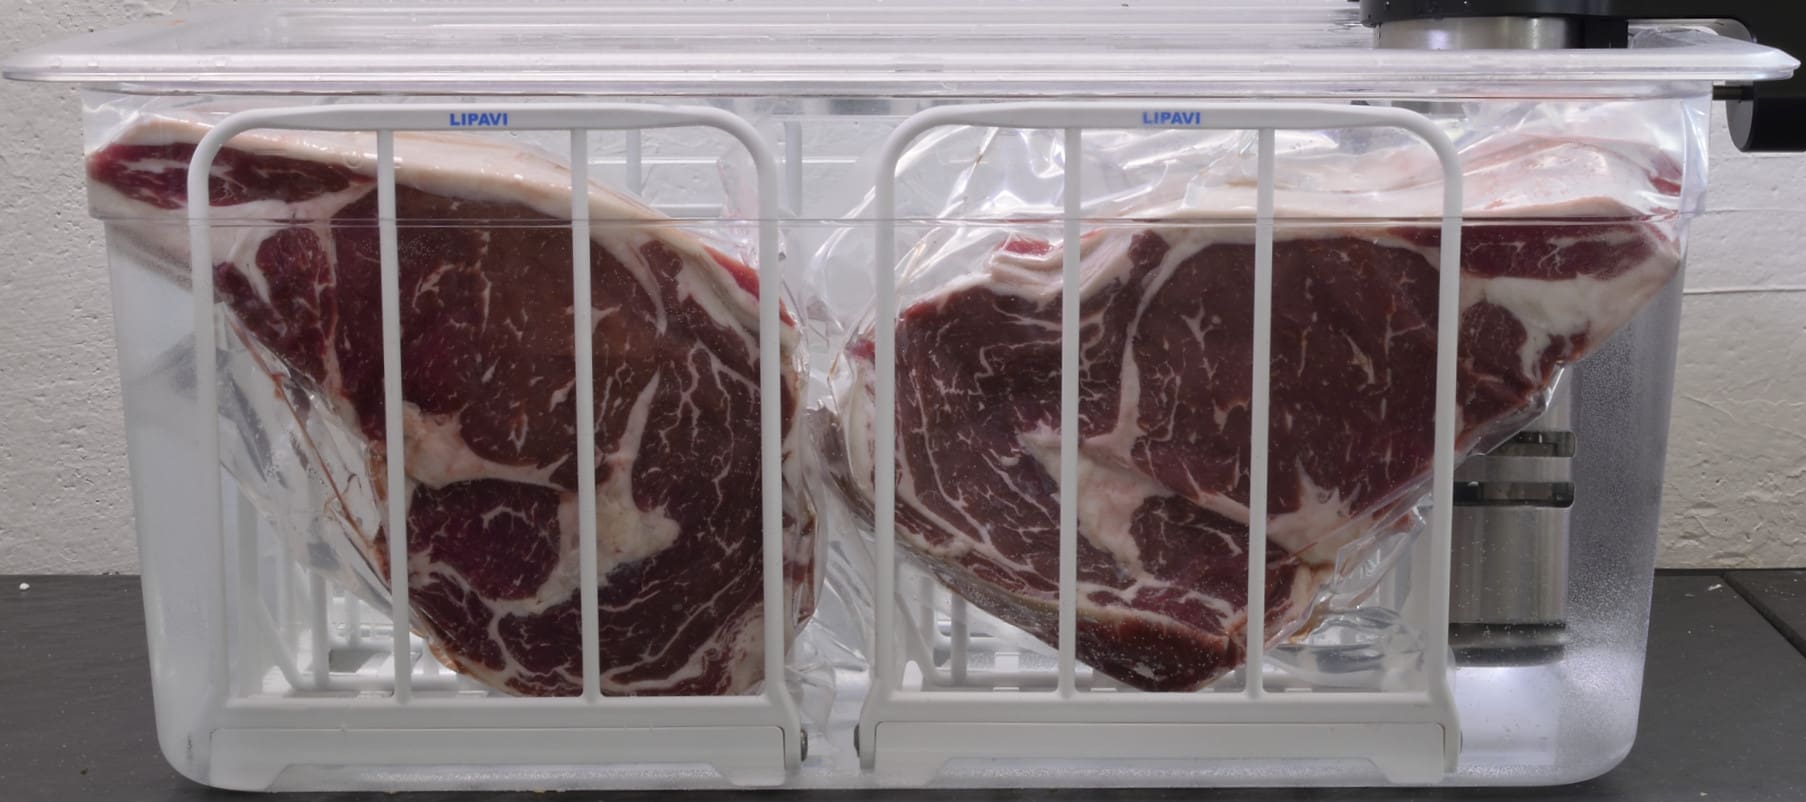
Stage each rib eye steak into a dedicated vacuum bag. Seal and sous vide process at the temperature best suited to your preferences for a minimum of two hours. We recommend four hours or more for best results. If you want to process several steaks at different degrees of apparent doneness, click HERE for the “how to”…
For enthusiasts who like their steaks extremely rare, they can be safely processed at temperatures as low as 122F /50 C;
Since the steaks will not achieve pasteurization at these temperatures, the processing time should be limited to TWO HOURS in order to meet USDA standards of food safety. The steaks should then be consumed immediately, just as one would if sous vide were not being utilized in the first place.
Finishing:
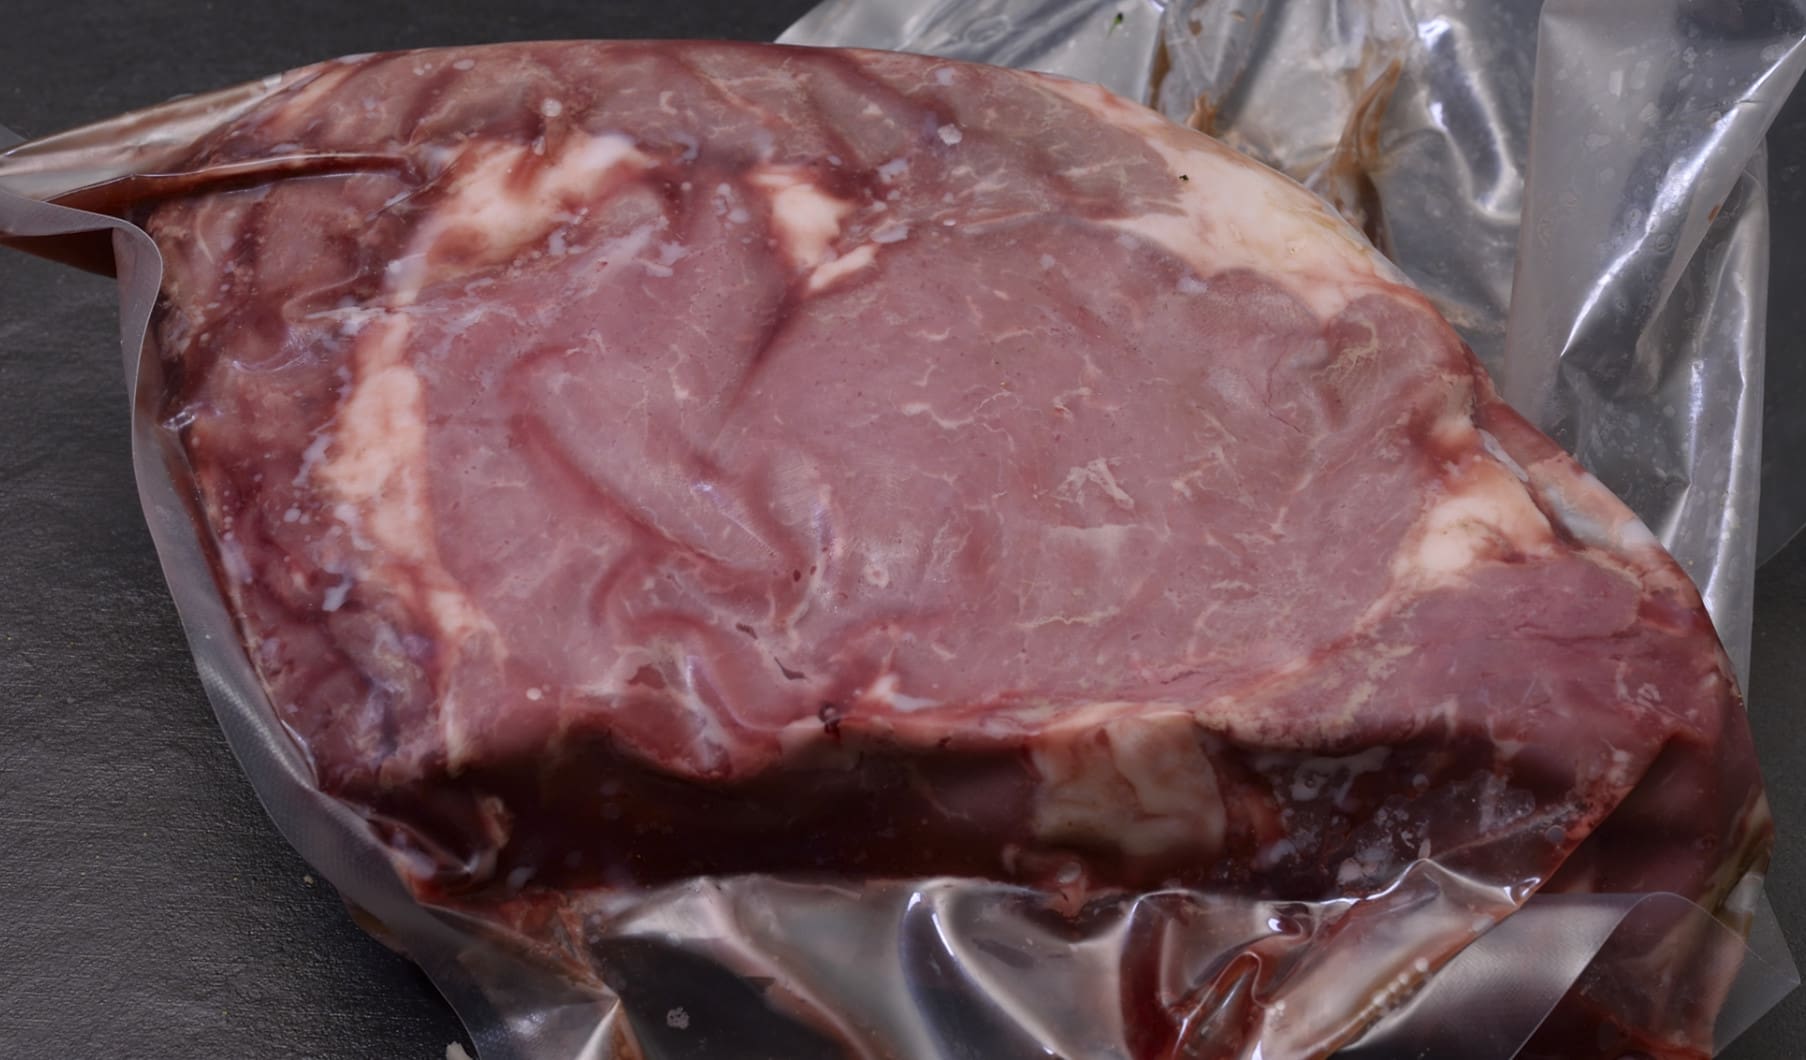
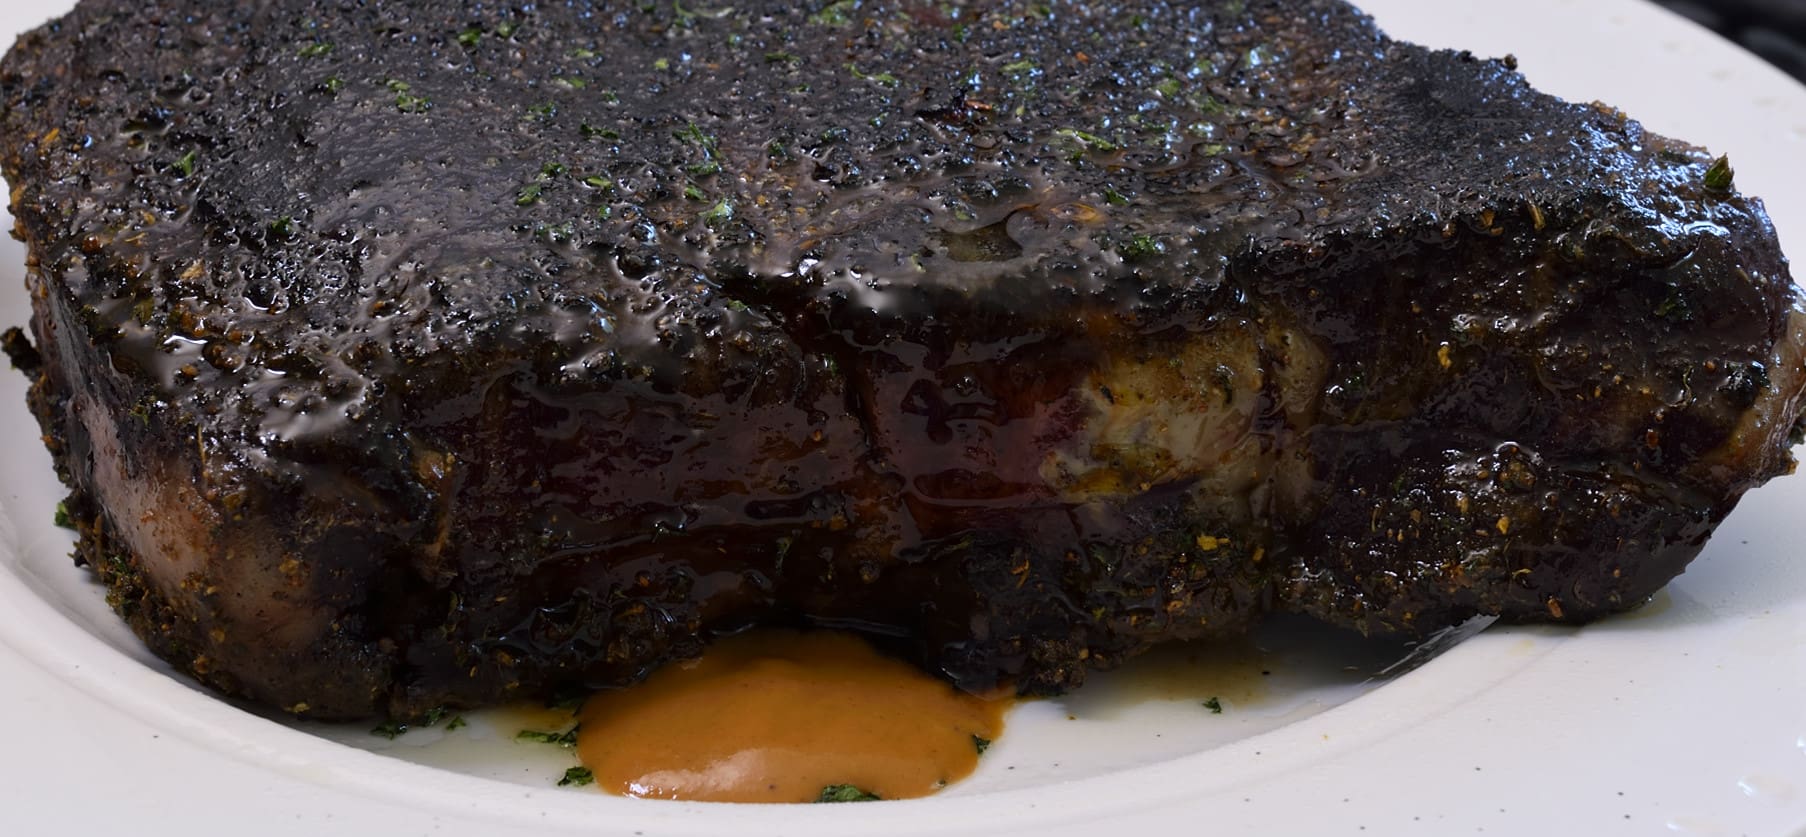
Once your steak(s) are processed, they are ready to be seasoned, seared and served. Allowing the steaks to rest at room temperature for up to 15 minutes will allow the surface to cool off slightly. This will prevent the internal temperature of the steak from exceeding the original target temperature during the searing process. Remove the steaks from the bags and harvest the juices; save for later use (or discard).
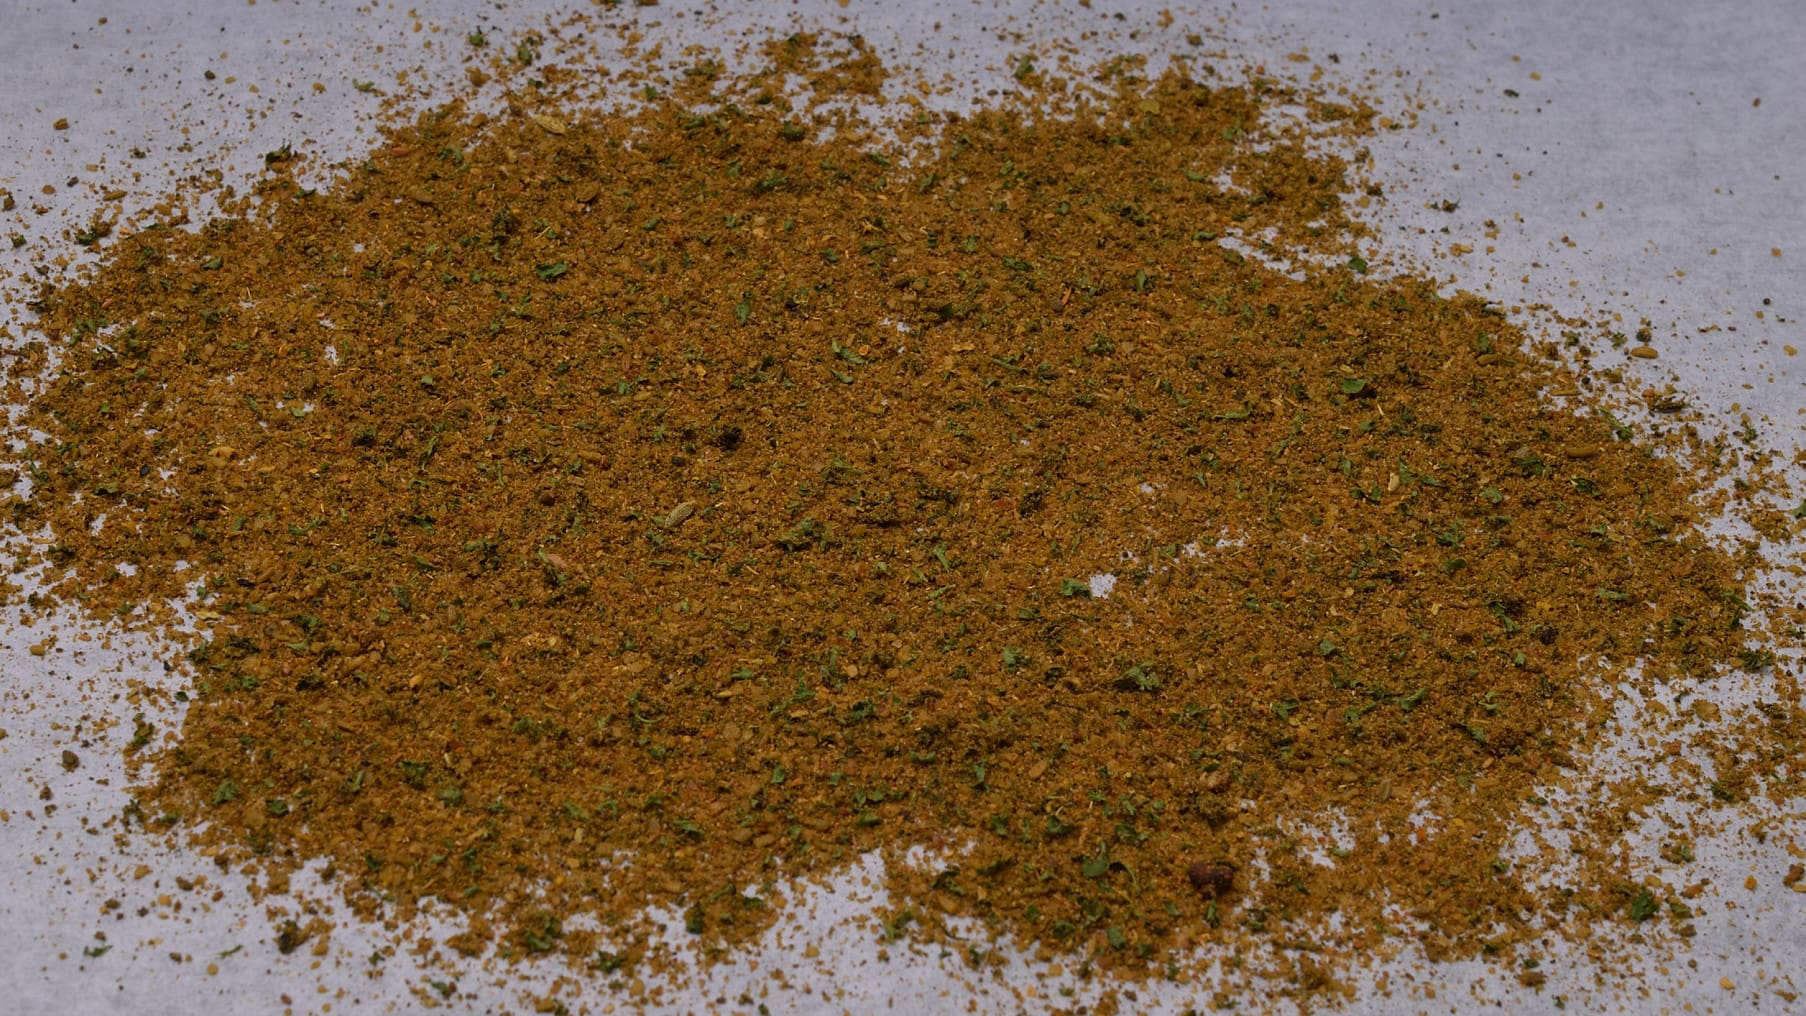
Sprinkle some seasoning on the work space–I use a sheet of parchment–this makes for a quick and easy clean up!

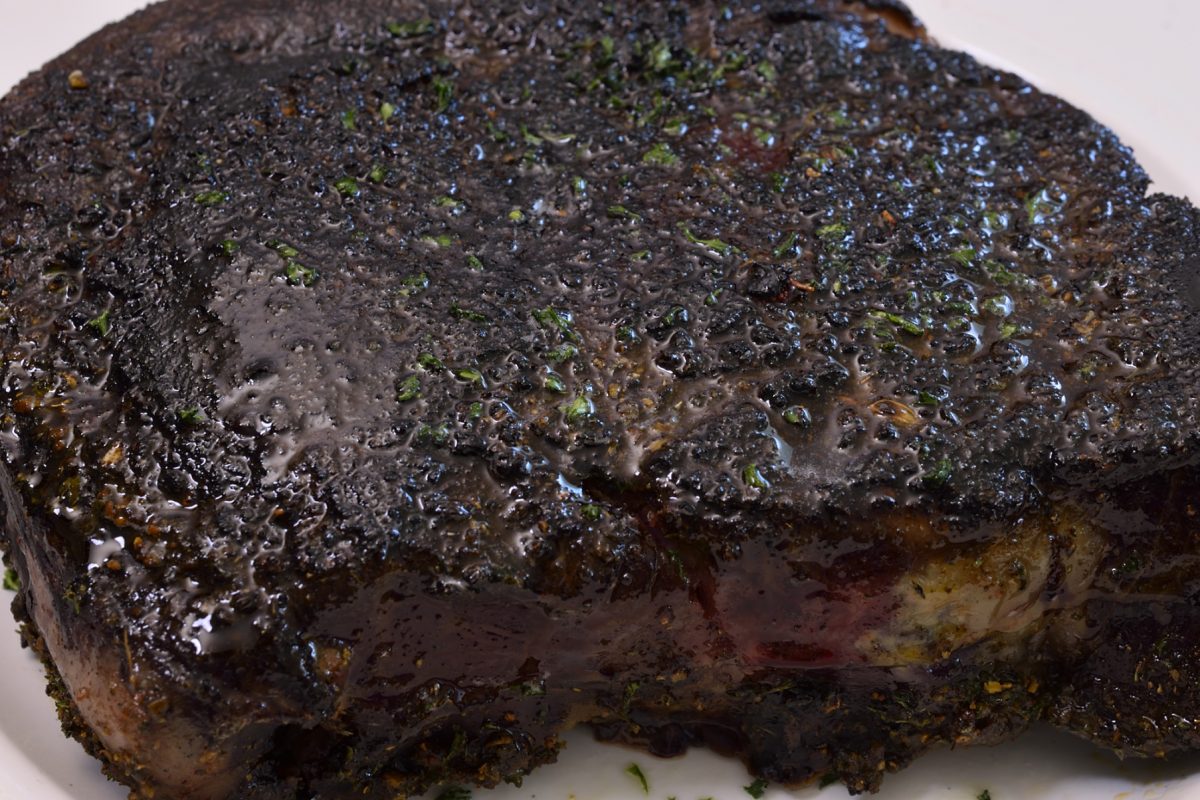
Use a fork to vigorously beat the egg white with 10oz/30 ml of water. Pasteurized liquid egg whites are available in some markets–reasonably priced, they prevent the accumulation of egg yolks in the fridge! Use this solution to slightly moisten one side of the steak, which is then placed on top of the seasoning. Coat the top of the steak with the egg white solution.

Sprinkle the steak with the seasonings on the up side.
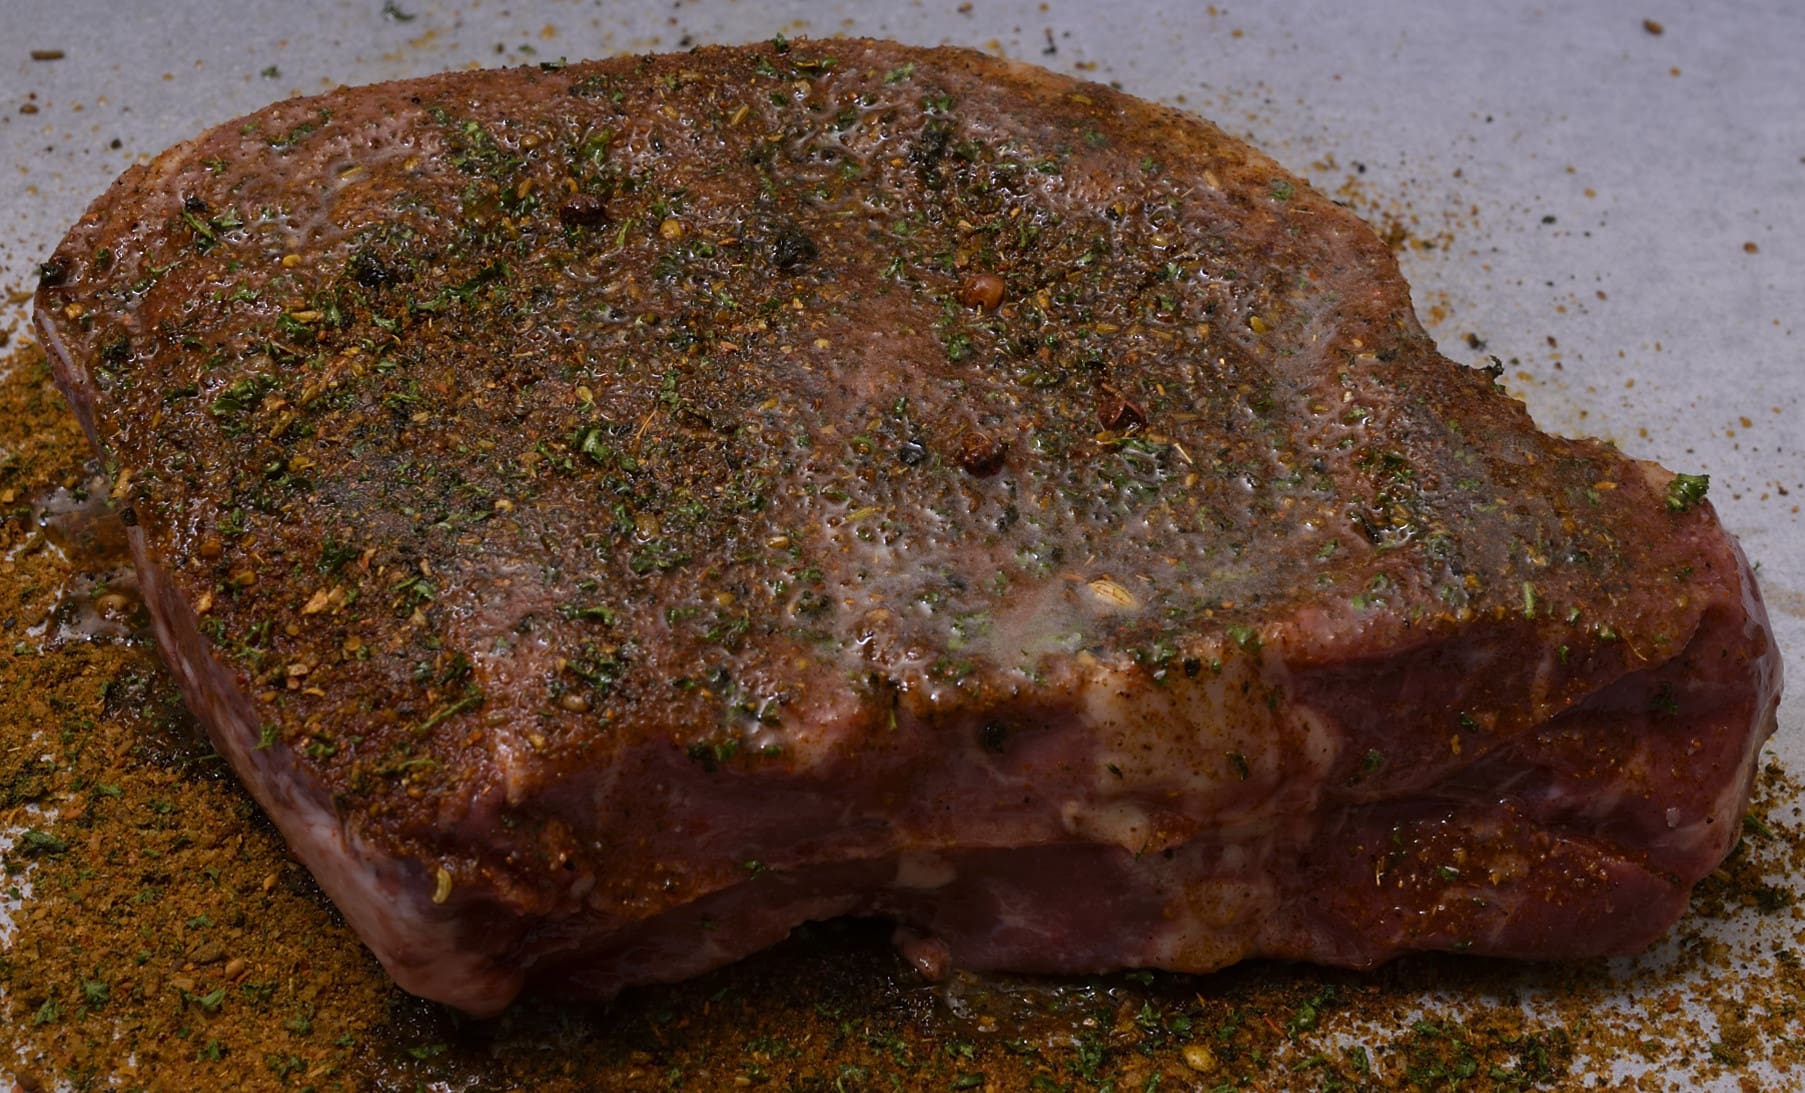
Drizzle or spray with a little oil. Heat the surface of the pan to approximately 375 F/190 C–you may need to put a drop of oil in the pan in order for an infra red thermometer to properly register. Adding more oil to the pan at this time may cause it to smoke–this is why I oil steaks. Sear the individual steaks in the hot pan. Avoid moving or excessively flipping steaks–this cools the pan. The searing process usually takes about 1-2 minutes per side.
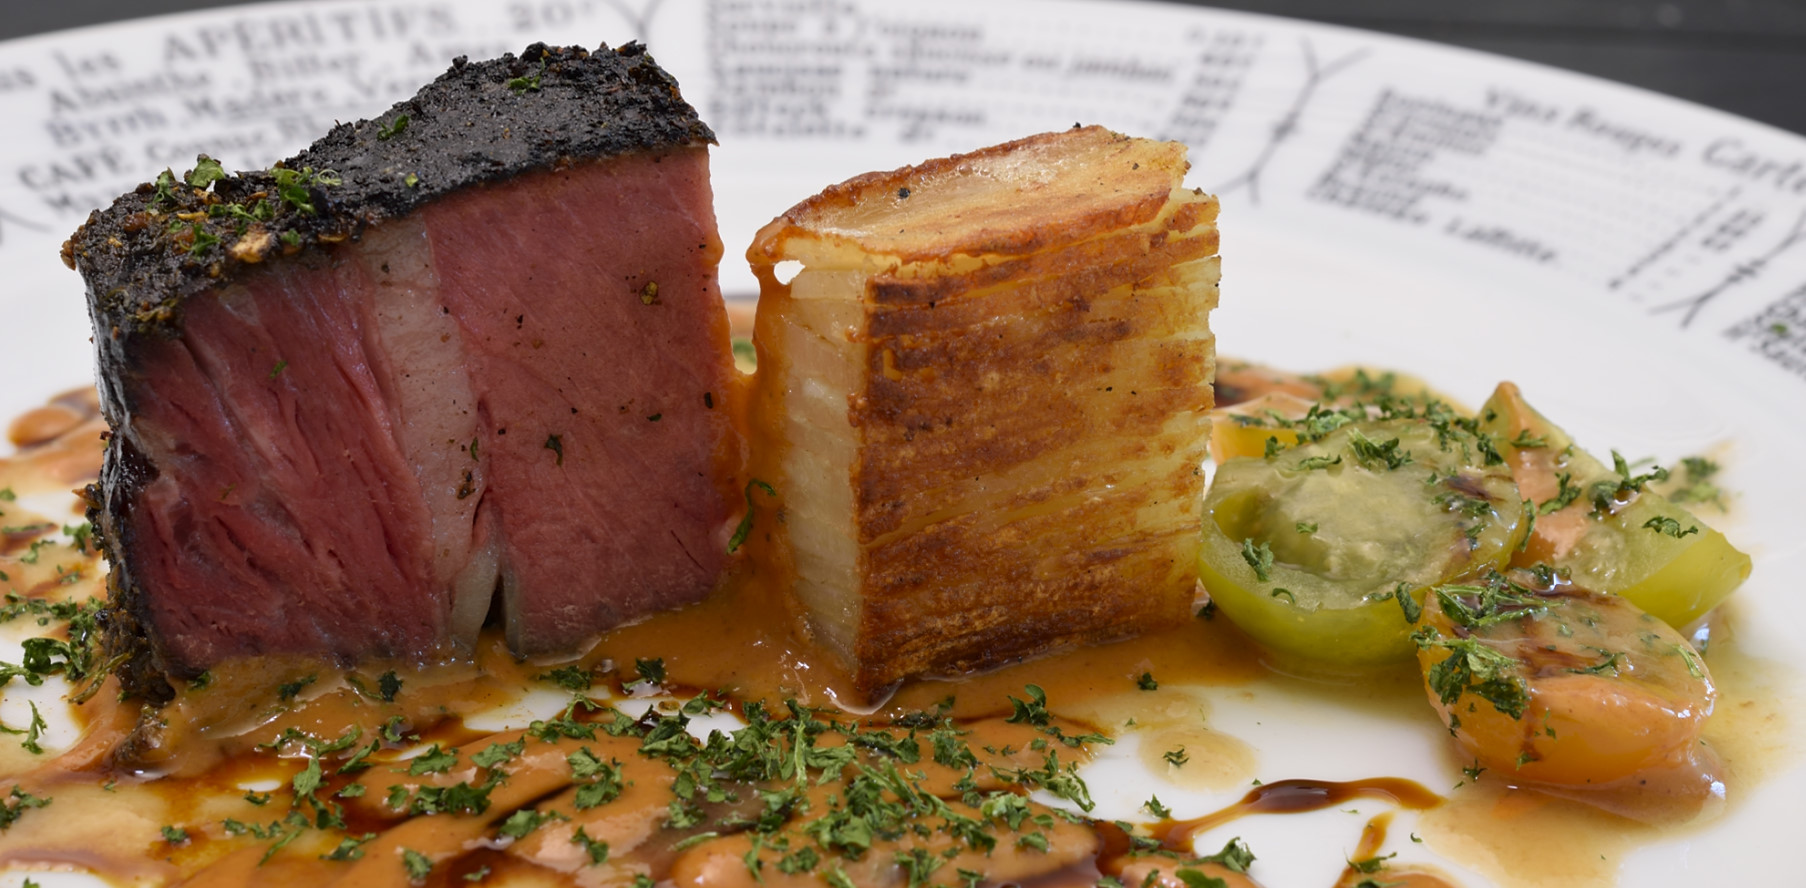
The steaks do not require any further cooking, so one need only achieve the desired color. Remove from heat and coat the steaks with a little butter, allow to rest for two minutes.
Note:
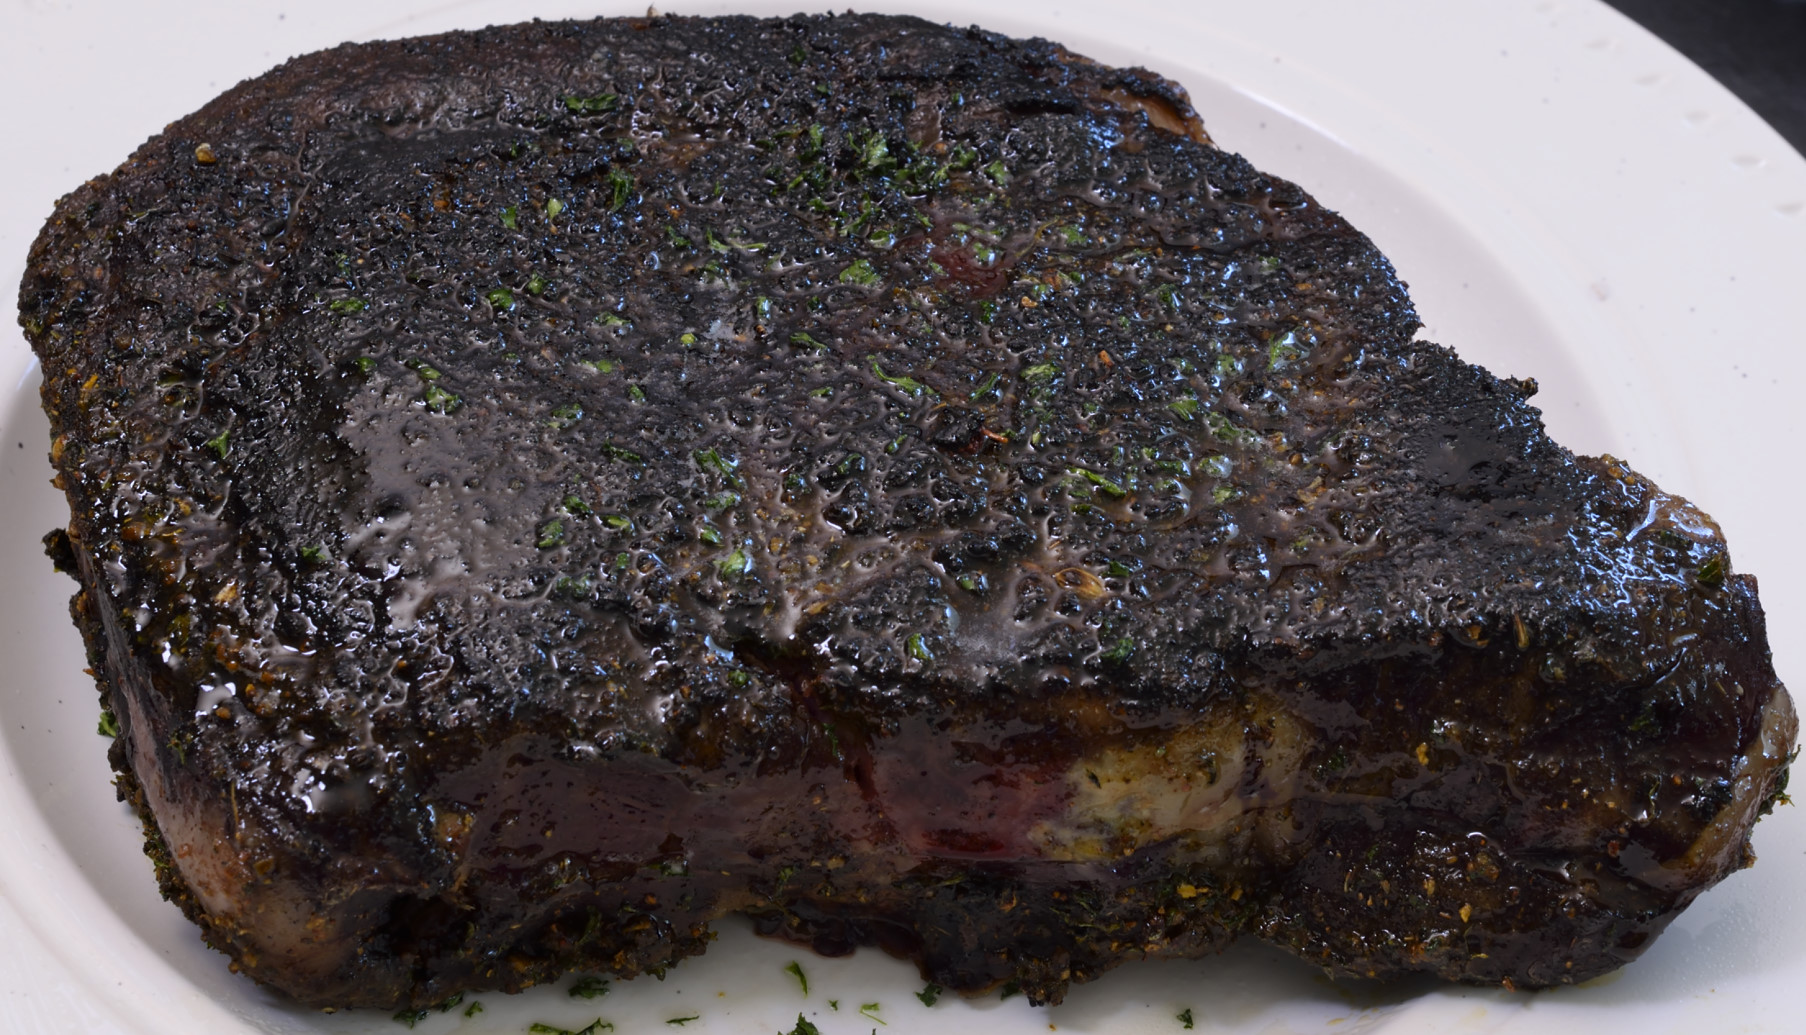
At service, and regardless of any other components that may share the plate, the steak should be presented as depicted above–with the rounded side away from the diner, and the small triangular shaped tip to the right. And there is a reason!
MOST people take their fork in their left hand and their knife in the right hand to cut their steak (apologies to lefties). Logically, they take their first “stab” at approximately the “7 o’clock” position, which will lead them to this favorable and most tender first impression. On the right end, you can see see a distinct, triangular nugget of meat that is alternately called the head or the tail, depending on chefs’ viewpoints. Although delicious and unctuous, this is a the least tender piece of the steak and many people run out of appetite before they actually get to it. The rest of us look forward to testing our jaw muscles on this flavorful section.

Some contemporaries opt for the “chunky” presentation to display the apparent doneness upon presentation to the diner.

The sauce that you are wondering about is linked HERE.
Norm
And, the bonus round: as a multi-course service, assorted sauces, the potato recipe is HERE.