
Above: Lipavi C10 container, N10 polycarbonate rack. Lipavi C10L lid.
Actual prep time: 1 hour
Serves 4+
Level of difficulty: 2.75
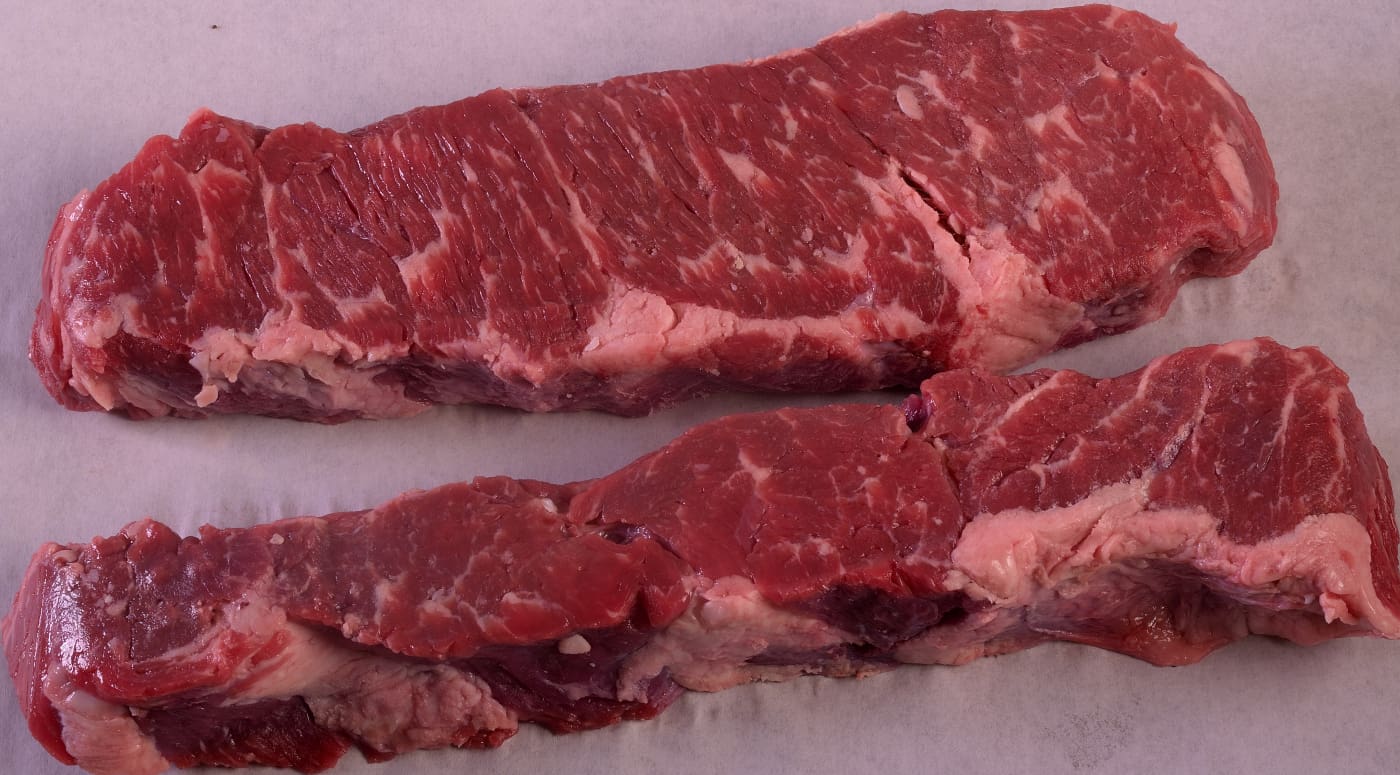
The resemblance to a New York/Sirloin steak can be deceptive. This is a hard working, tough cut of meat.
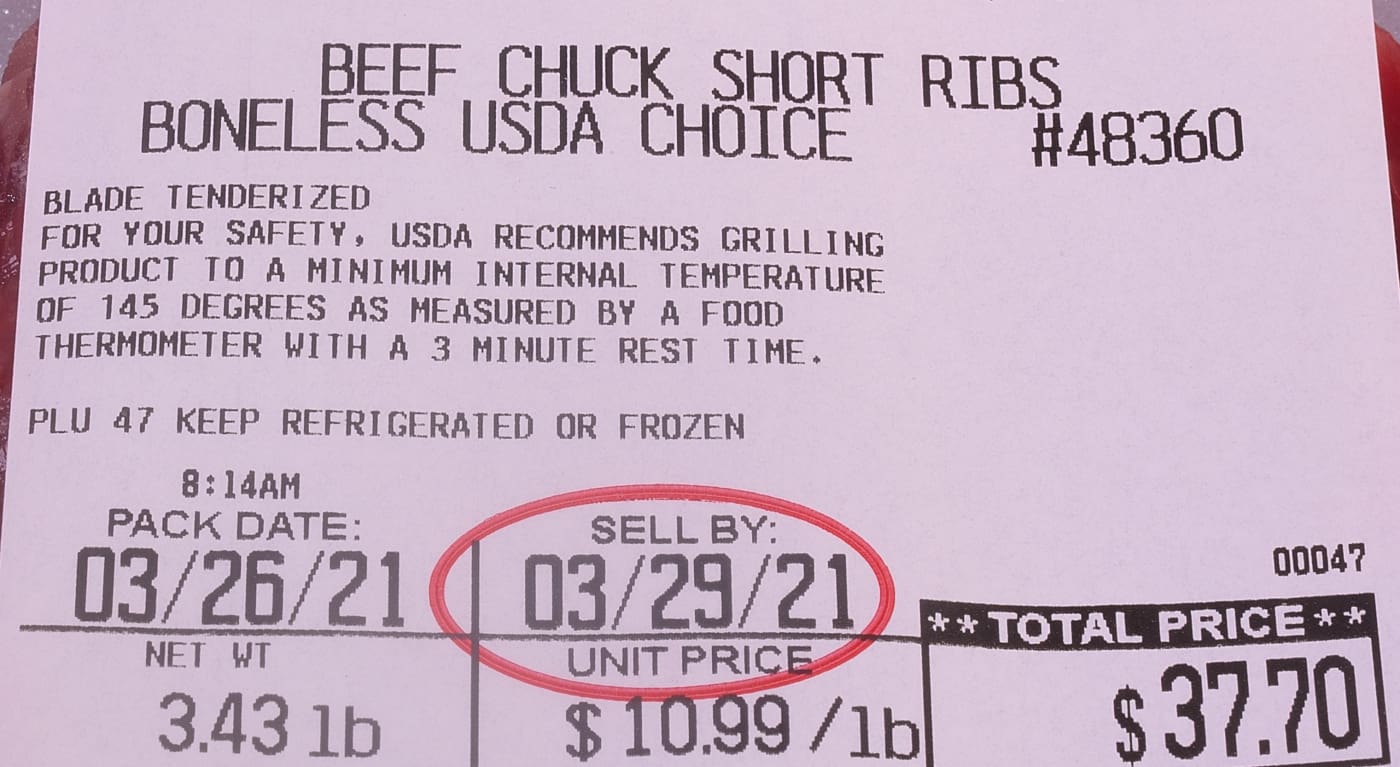
Sign of the times
The label above reveals that the meat has been “BLADE TENDERIZED.” This process involves a series of needle-like cutting edges inserted into the meat to sever the connective fibers of the meat. The practice is legal/safe and can shorten the interval required for tenderization of the short ribs. Blade tenderization will NOT render the meat tender enough to grill and serve like a higher priced steak, although they seem to be charging you as if it did. This is one of the many reasons I prefer to buy primal cuts–they are at least less likely to have been “Jaccardized.”
Procedure:
Vacuum seal the ribs in heat rated plastic bags and process at 140 F/60 C. If the meat has not been blade tenderized, expect a minimum of 36 hours to achieve the desired level of tenderness–somewhat less if the meat has been “needled.” For predictable results, click the link HERE to learn how to measure tenderness in real time. The final product will be fully pasteurized/preserved. Cold shock the sealed packages in iced water until they achieve 70 F/21 C and refrigerate at 40 F/4 C. In this state, the short ribs can remain refrigerated safely for at least two weeks.
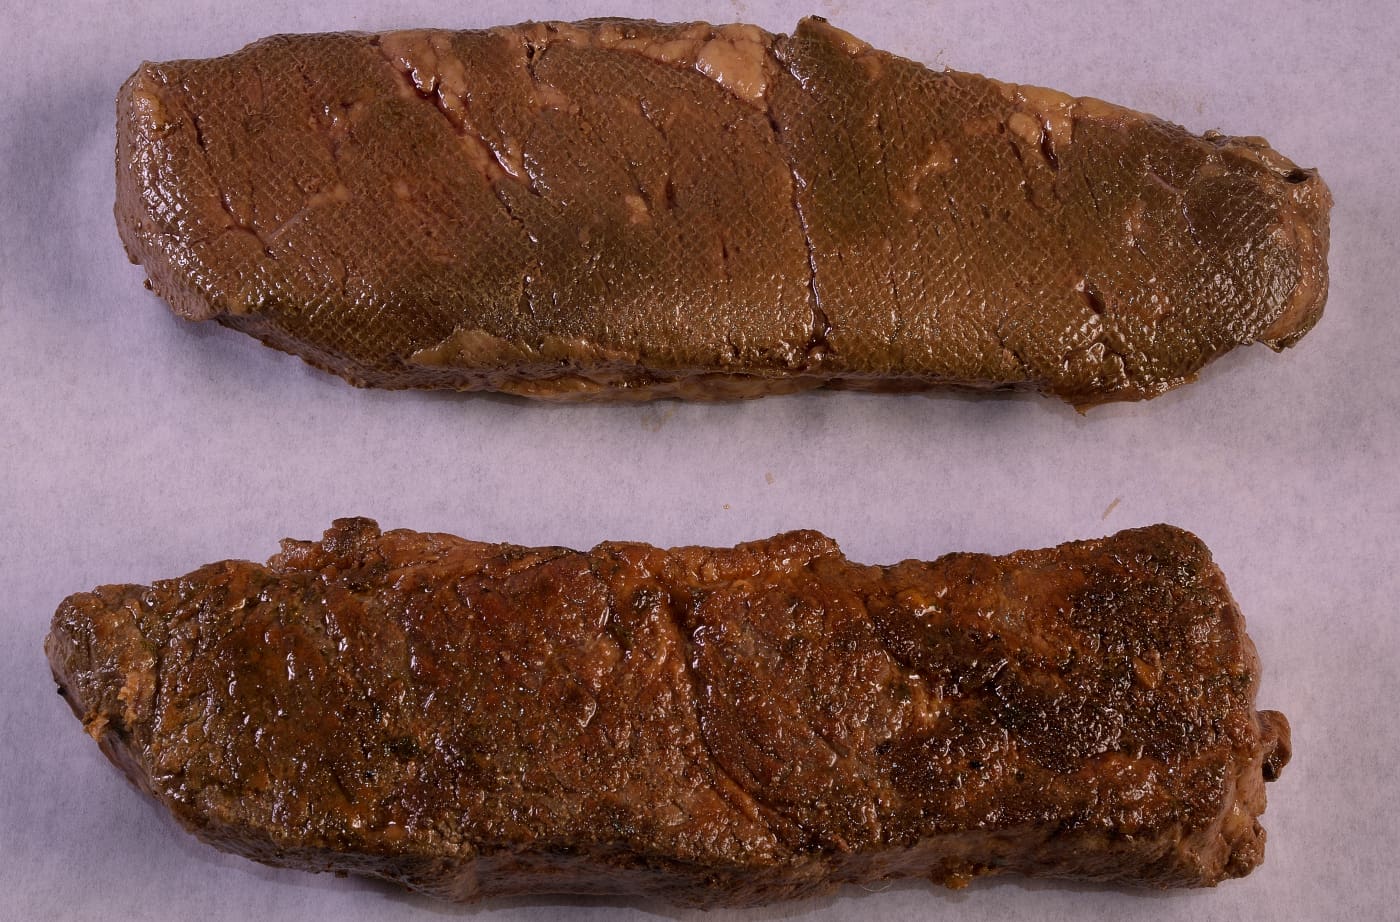
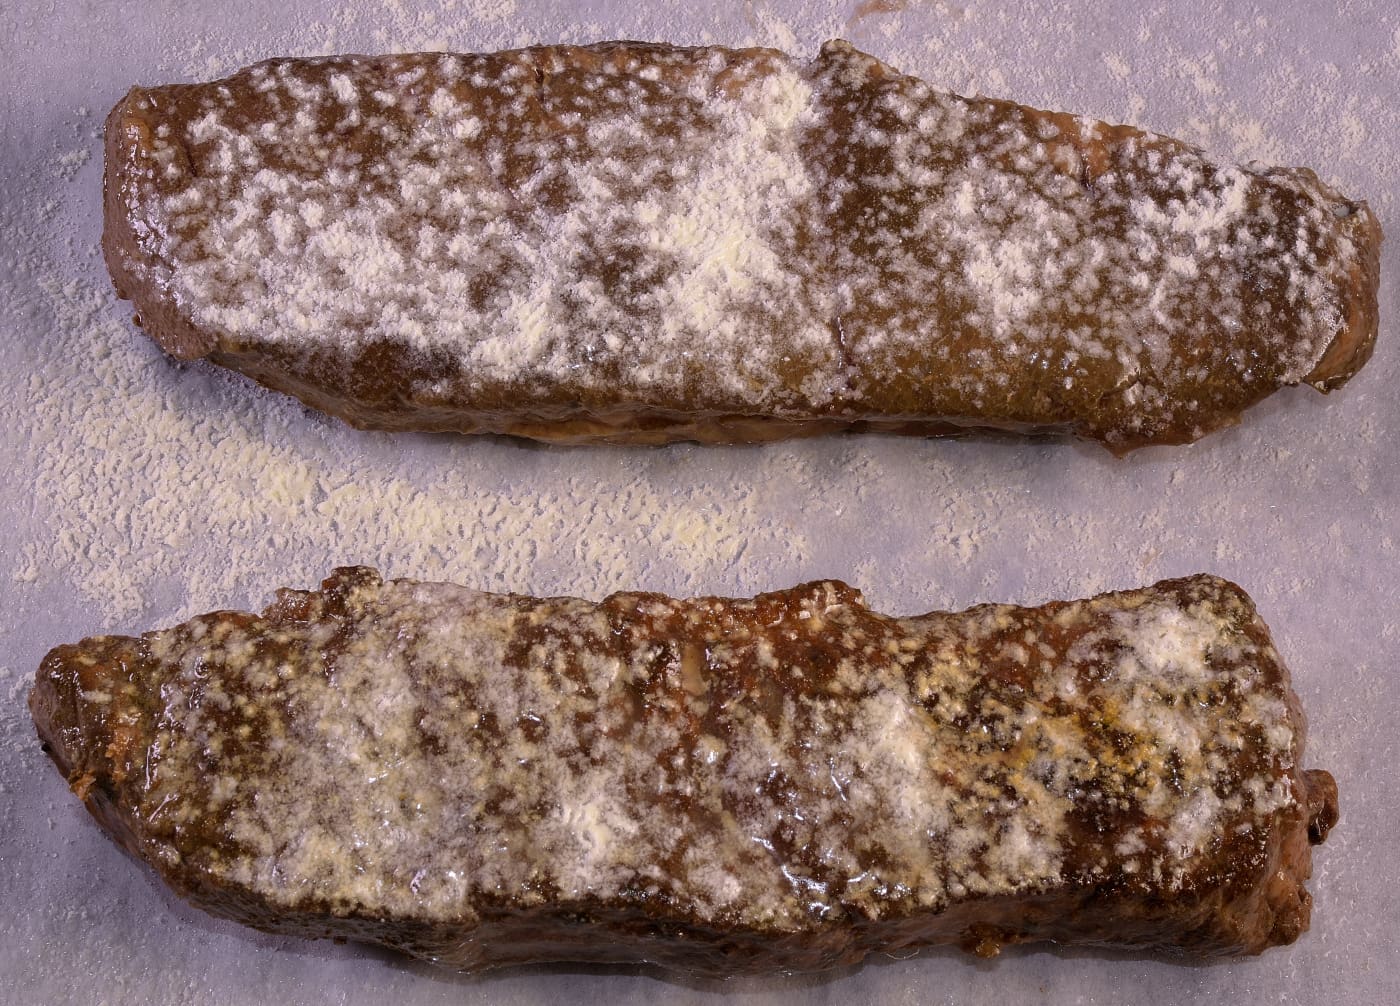
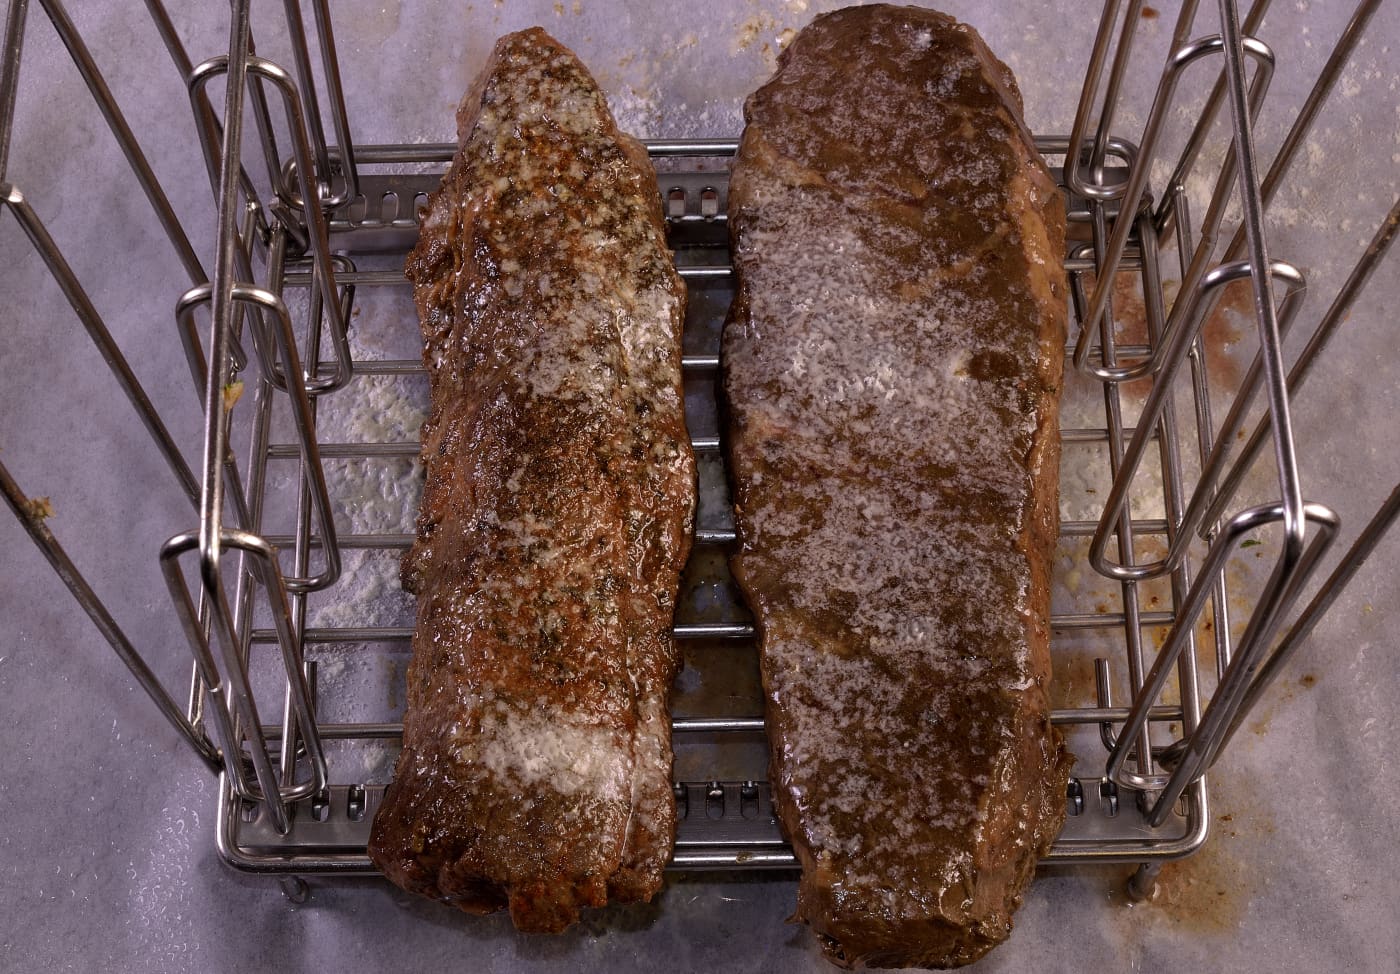
Submerge the chilled packages in hot tap water 110 F/43 C until the gel/juices melt. Remove the short ribs from the bag and stage onto a clean work surface. Save the juices. In the picture above, the short rib at the top of the frame was processed “naked.” The short rib in the bottom of the frame was pre-seasoned and seared according to the method explained HERE.
Note: it is absolutely safe to add seasonings to the bag and/or pre-sear. The benefit is open to debate. Salt is the only flavoring that can penetrate the surface of the protein matrix–other flavorings/colorings simply dissolve into the juices in the pouch. Exposing the meat to salt before processing for hours/days will allow the salt to slowly travel towards the center. Keep in mind that this may trigger the curing process, causing noticeable changes not only in appearance but in texture and flavor. Beef may take on the appearance of having been “half corned.” Ultimately, I find it easier to flavor the meat AND the Sous Jus after processing.
Clarify the juices according the method explained HERE. Set aside for future use or incorporate into the 10-2-4 BBQ sauce recipe.
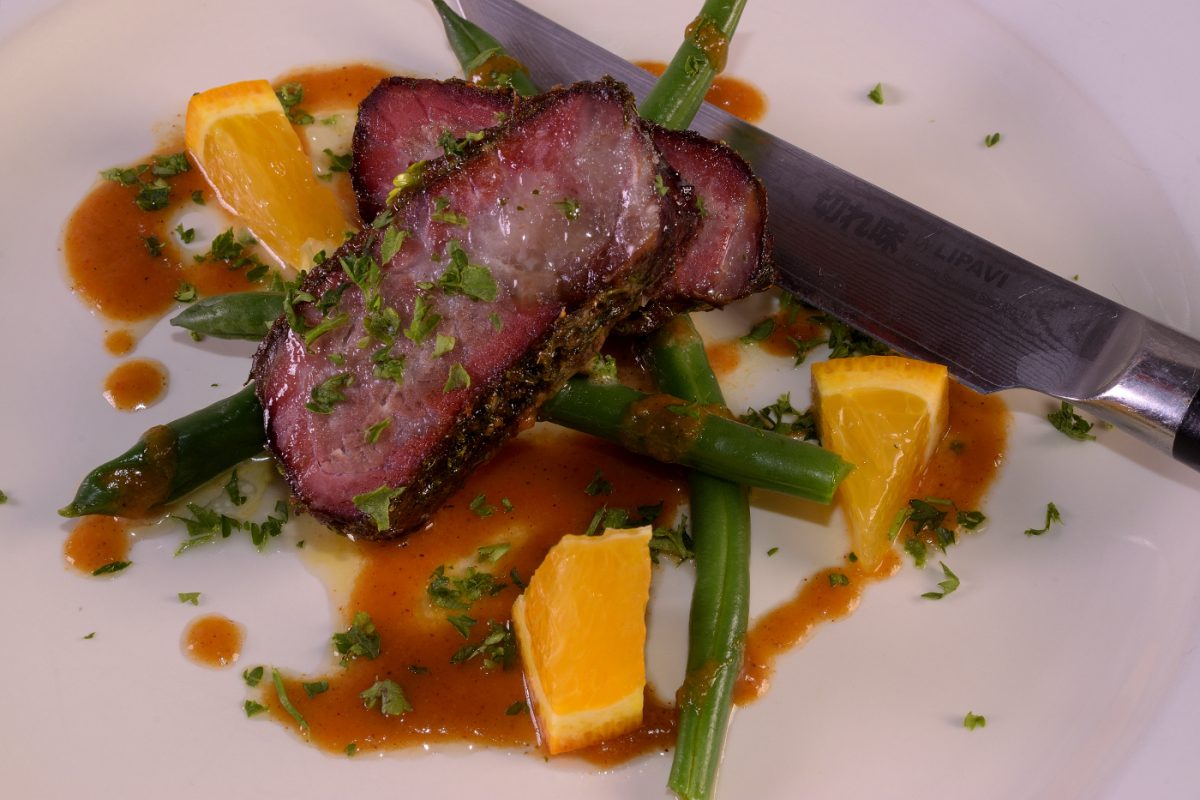
Above: something to look forward to!
Be a Surface Pro
We want to create a sticky surface for seasonings to cling to.
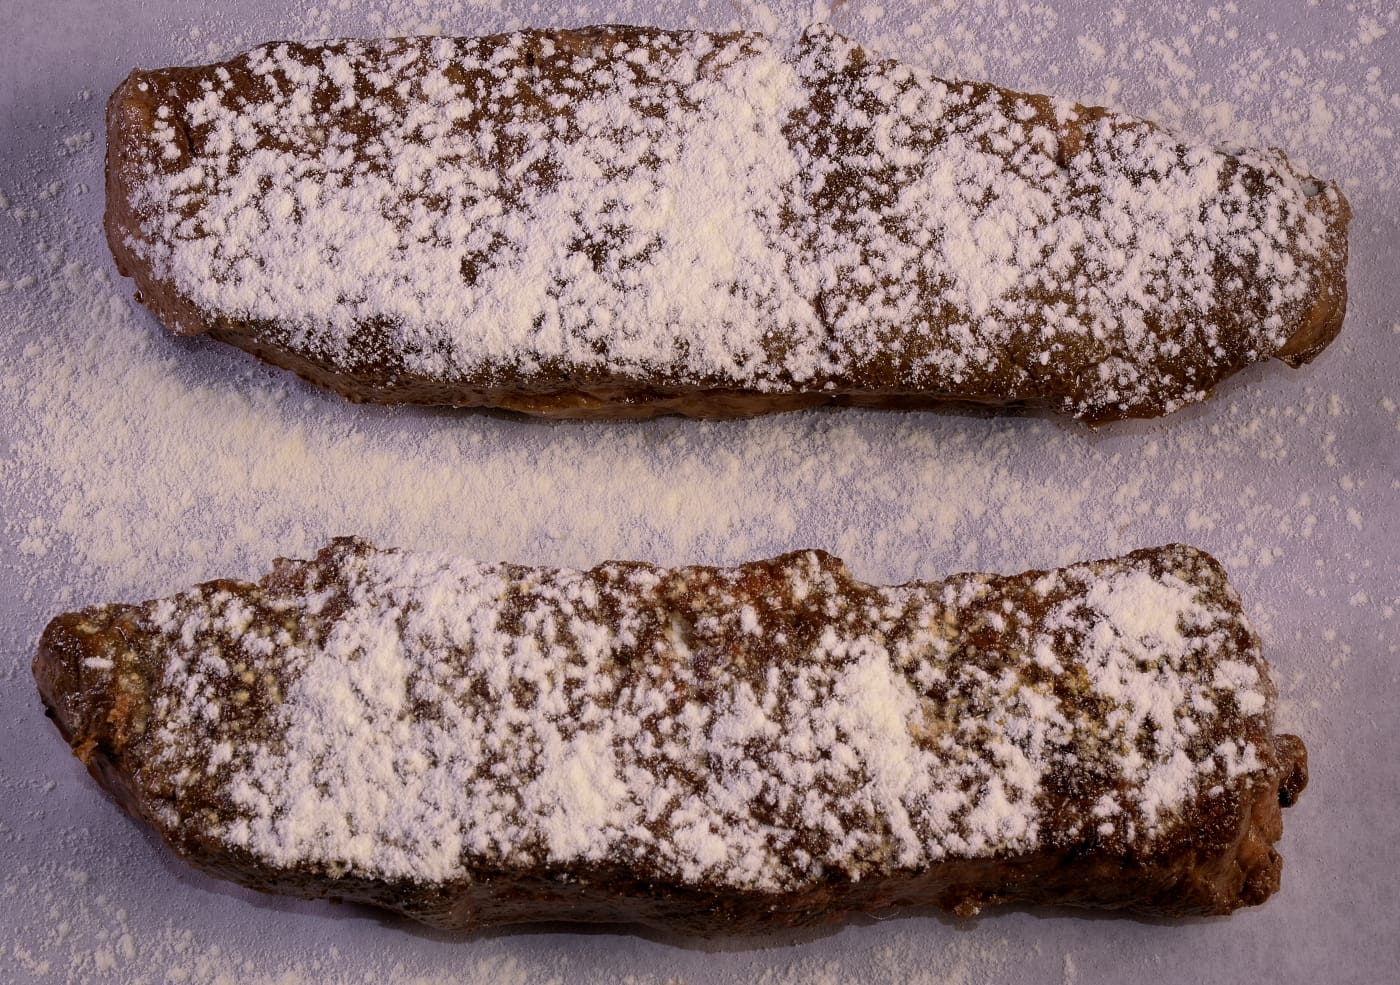
Dust both sides with powdered egg white. Fresh egg whites can also be used–mix one egg white well with 1 oz/30 ml water and use sparingly. Note: Allergic to egg products? The egg white step can be omitted.
Mist with a spray bottle to dissolve the egg whites (not necessary if you are using fresh).
Stage the “steaks” onto a rack. We used a Lipavi L10 linked HERE. Lipavi stainless steel racks are water proof, dishwasher proof and oven proof.
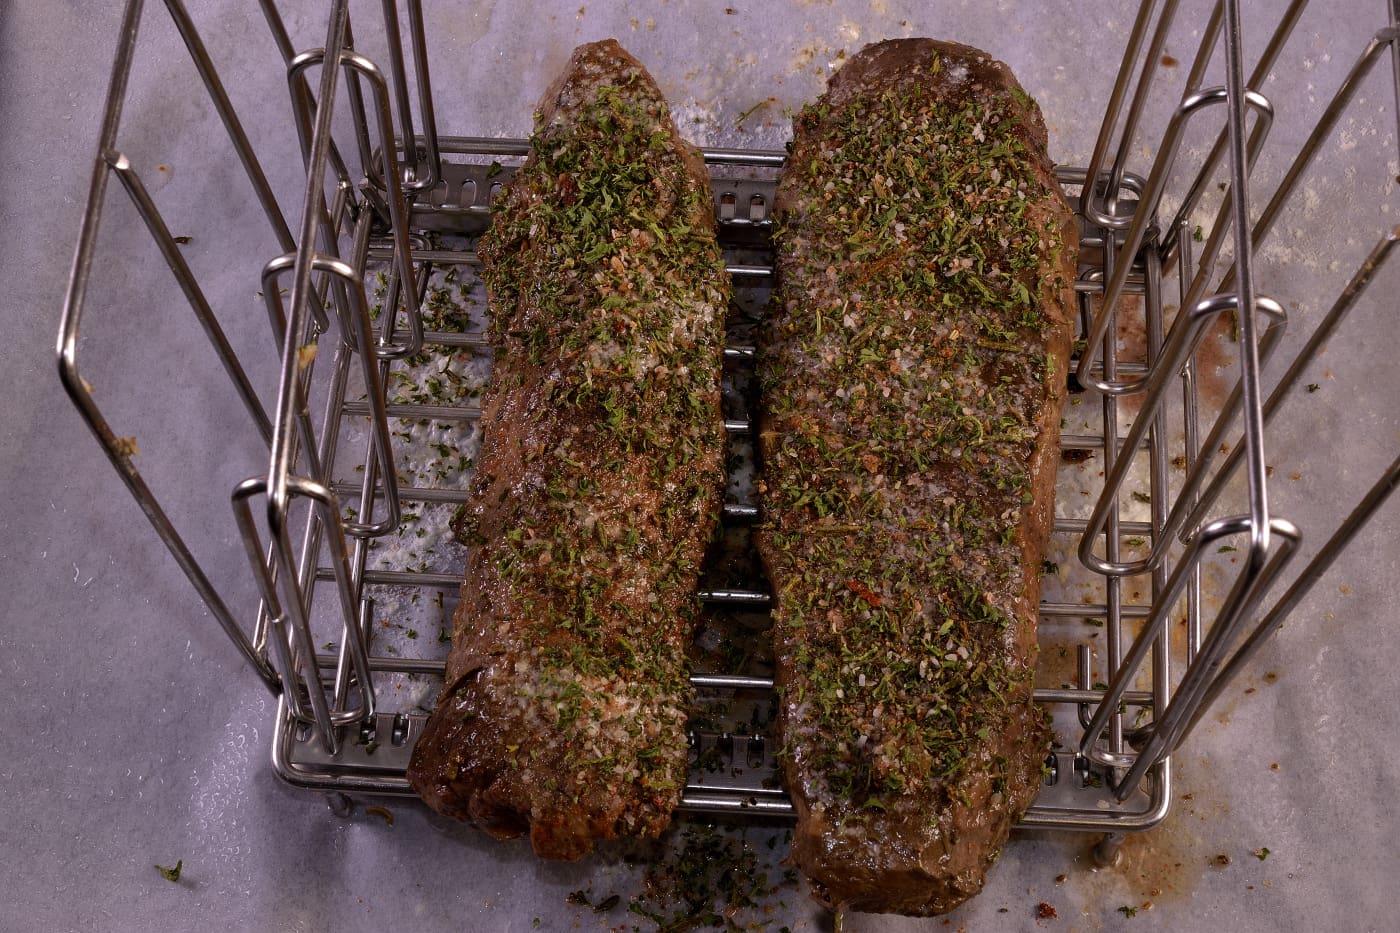
Season on all sides–we have a wide assortment of easy to make rub/seasonings linked HERE. For this project we used Lipavi #3 with a little extra sugar.
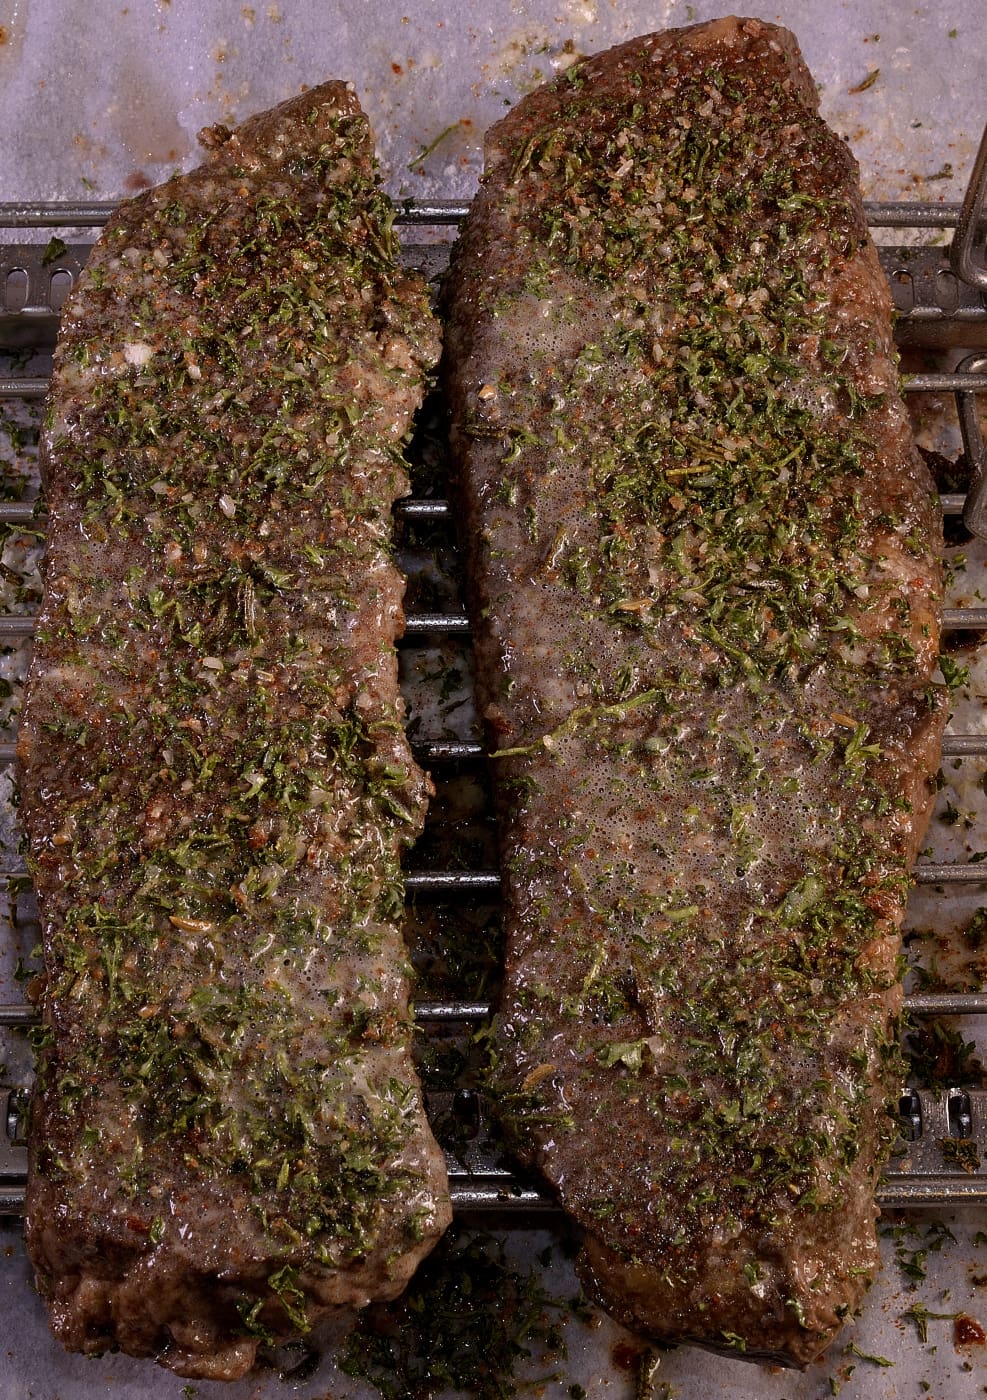
Spray or drizzle lightly with oil–this prevents the herbs in the seasoning from scorching. Set aside to give the coating a few minutes to attach itself.
Smoking
Set your smoker to 180 F/80 C or as close as possible. Smoke for a minimum of two hours or until the desired appearance is achieved. Baste with the sauce and return to the smoker for another two hours. The ultimate Internal temperature should be at least 125 F/5 C, generally considered to be “mouth hot.” Exceeding this temperature will affect the end results but will not negate the benefits of the sous vide processing–this gives the practitioner the opportunity to satisfy their own particular preferences.
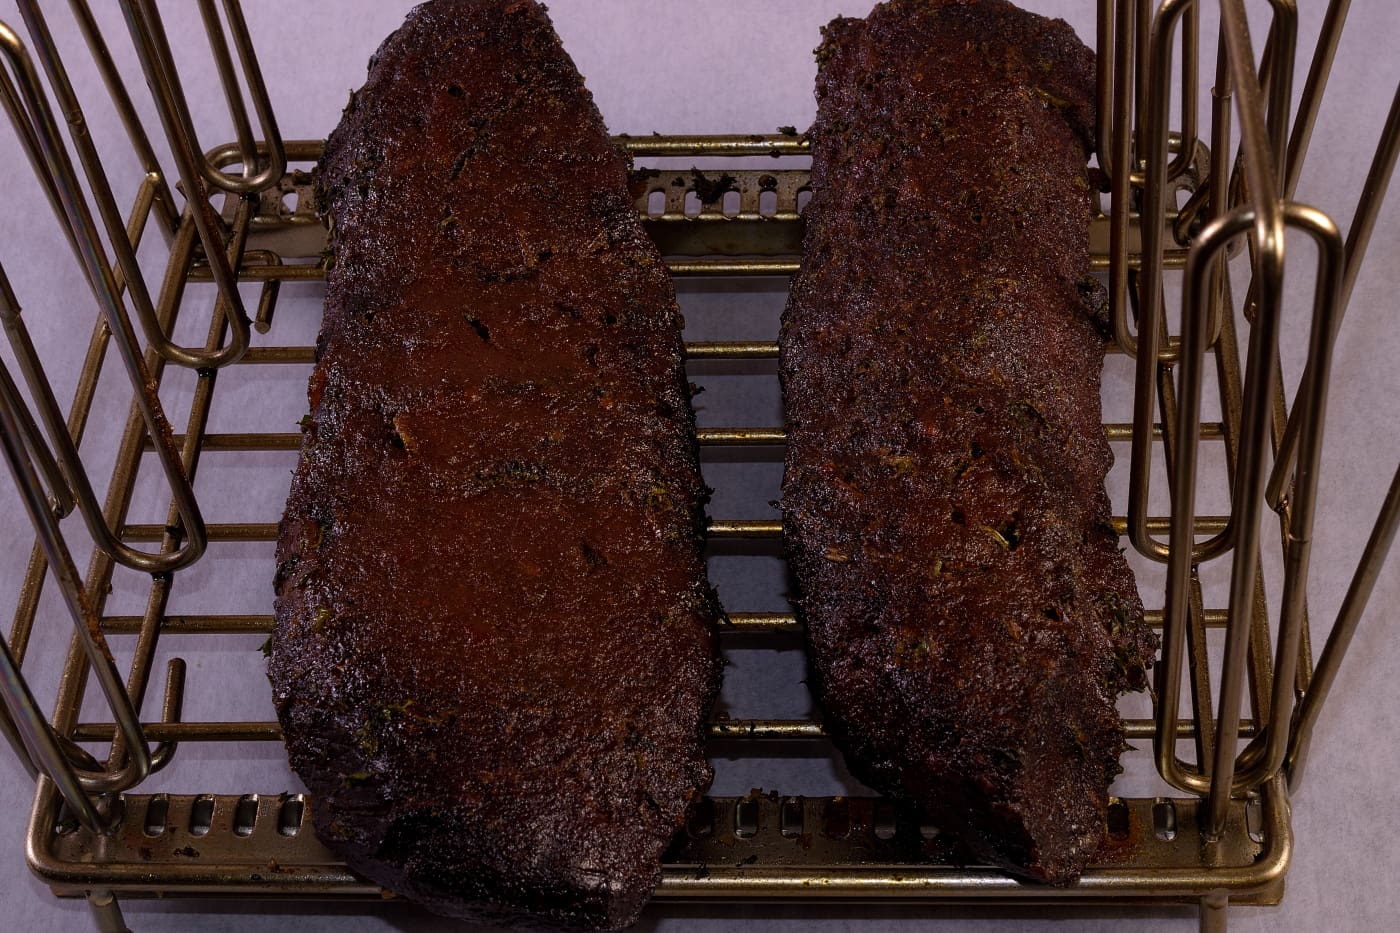
The longer the roast remains in the smoker, the more concentrated the smoky, beefy flavor will become–with the proviso that moisture loss will also continue to increase.
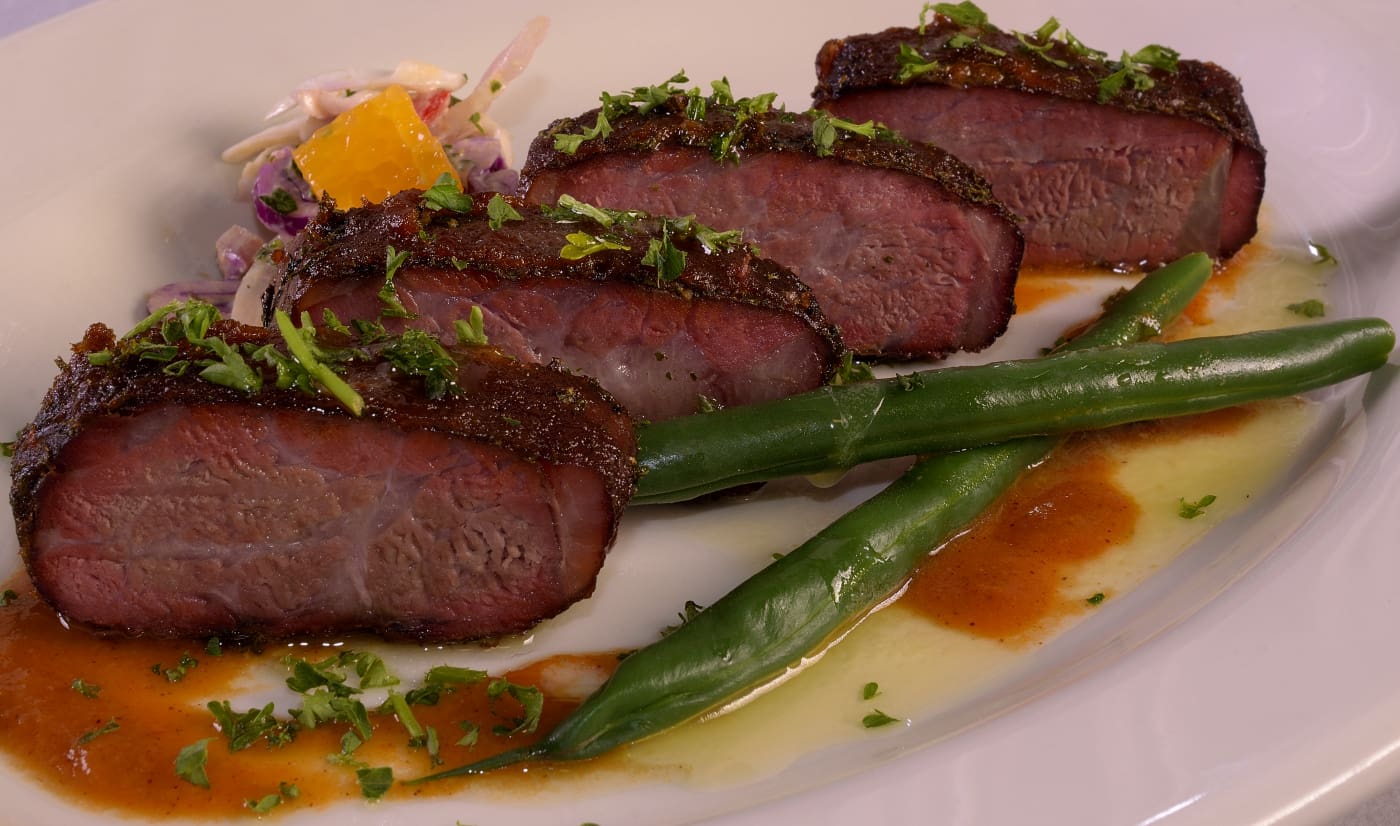
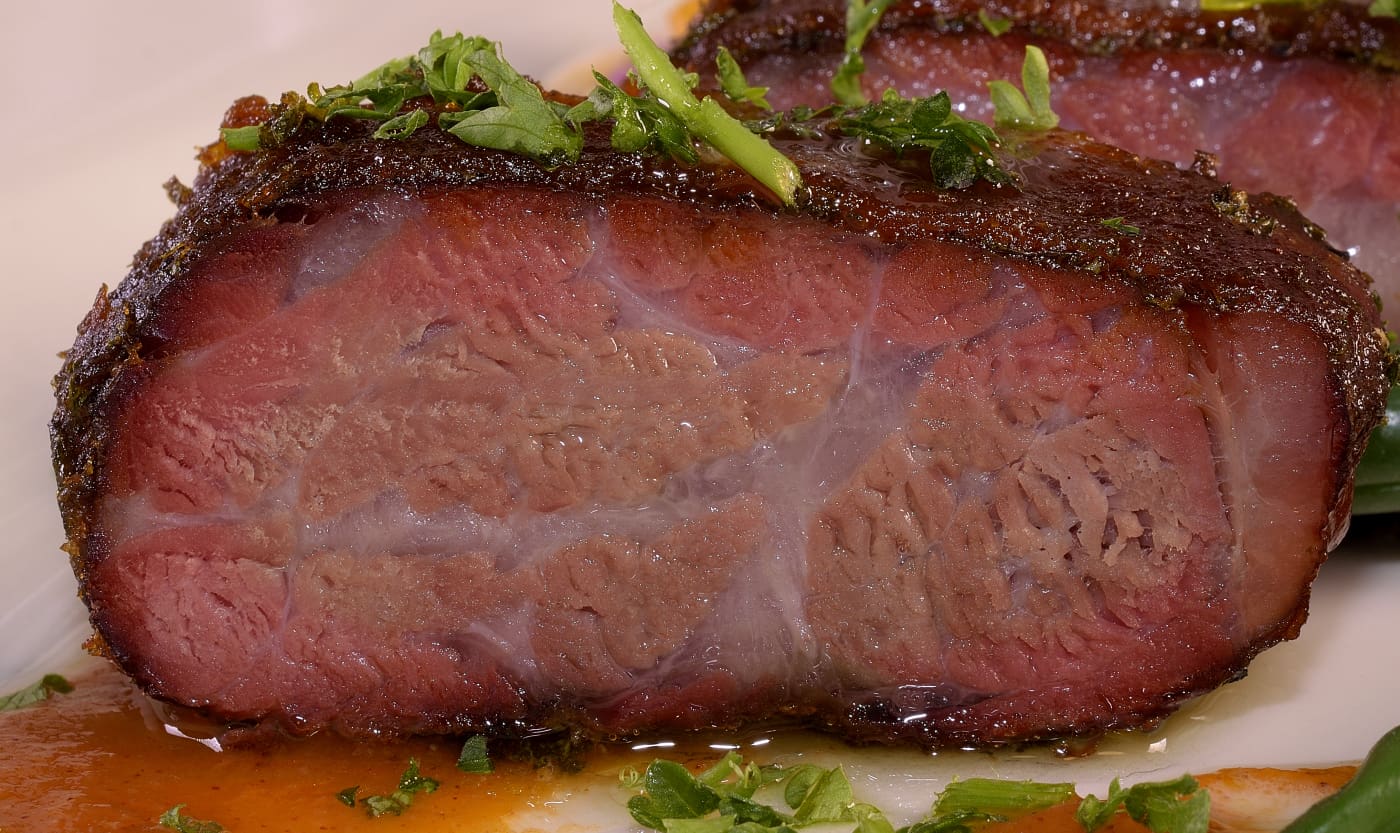
Slice as desired and use extra sauce as a drizzle. Don’t be afraid to bless with a few drops of butter.
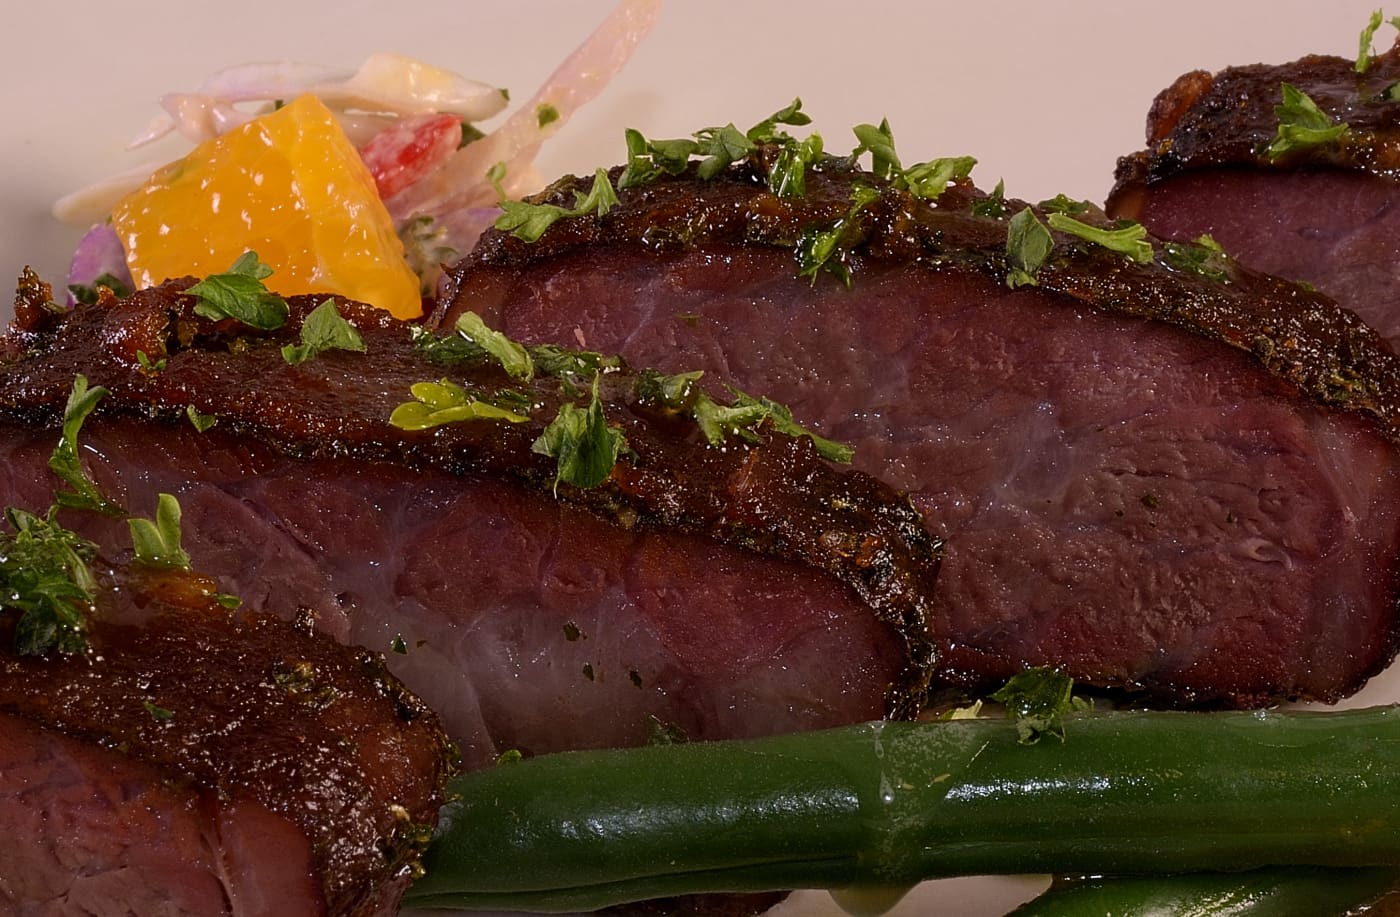
The crusty glaze is appealing. The visible “smoke ring” indicates exposure to Nitric Oxide (NO) and Carbon Monoxide (C0) in the smoker cabinet, but does not actually carry flavor in and of itself.
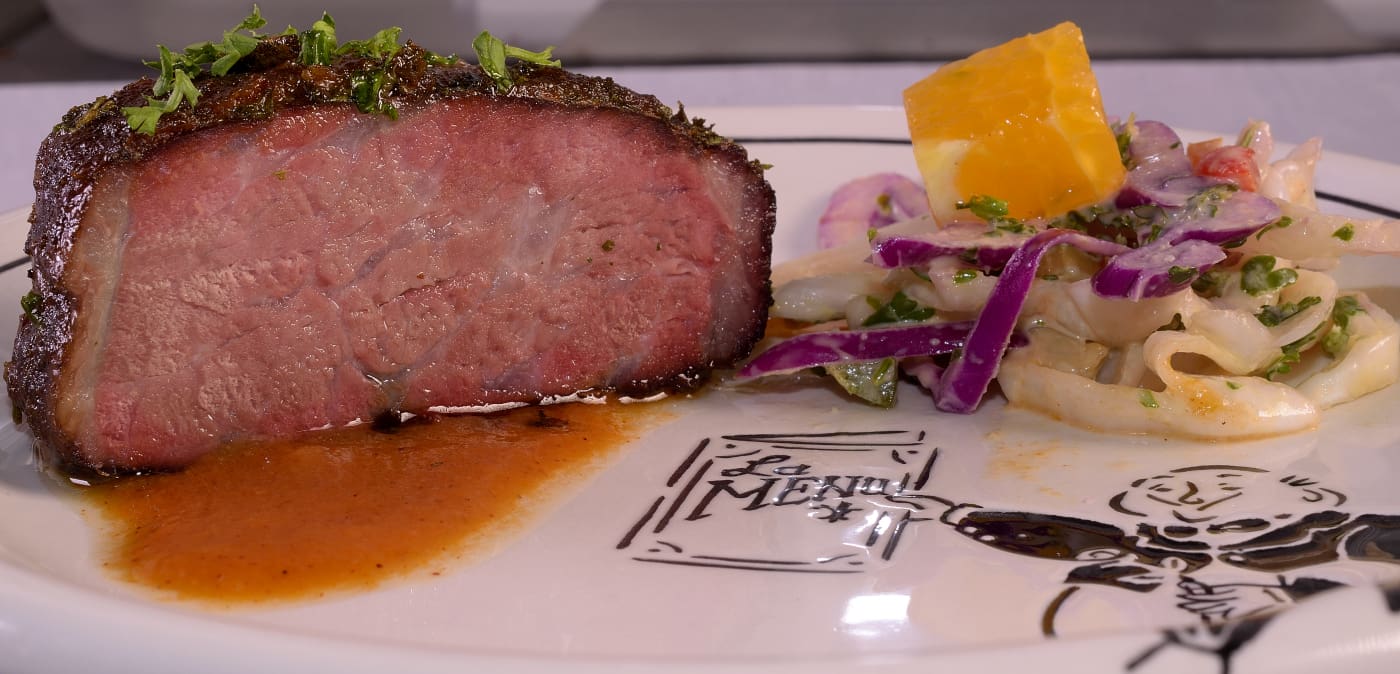
A single slice makes for a sensational appetizer.
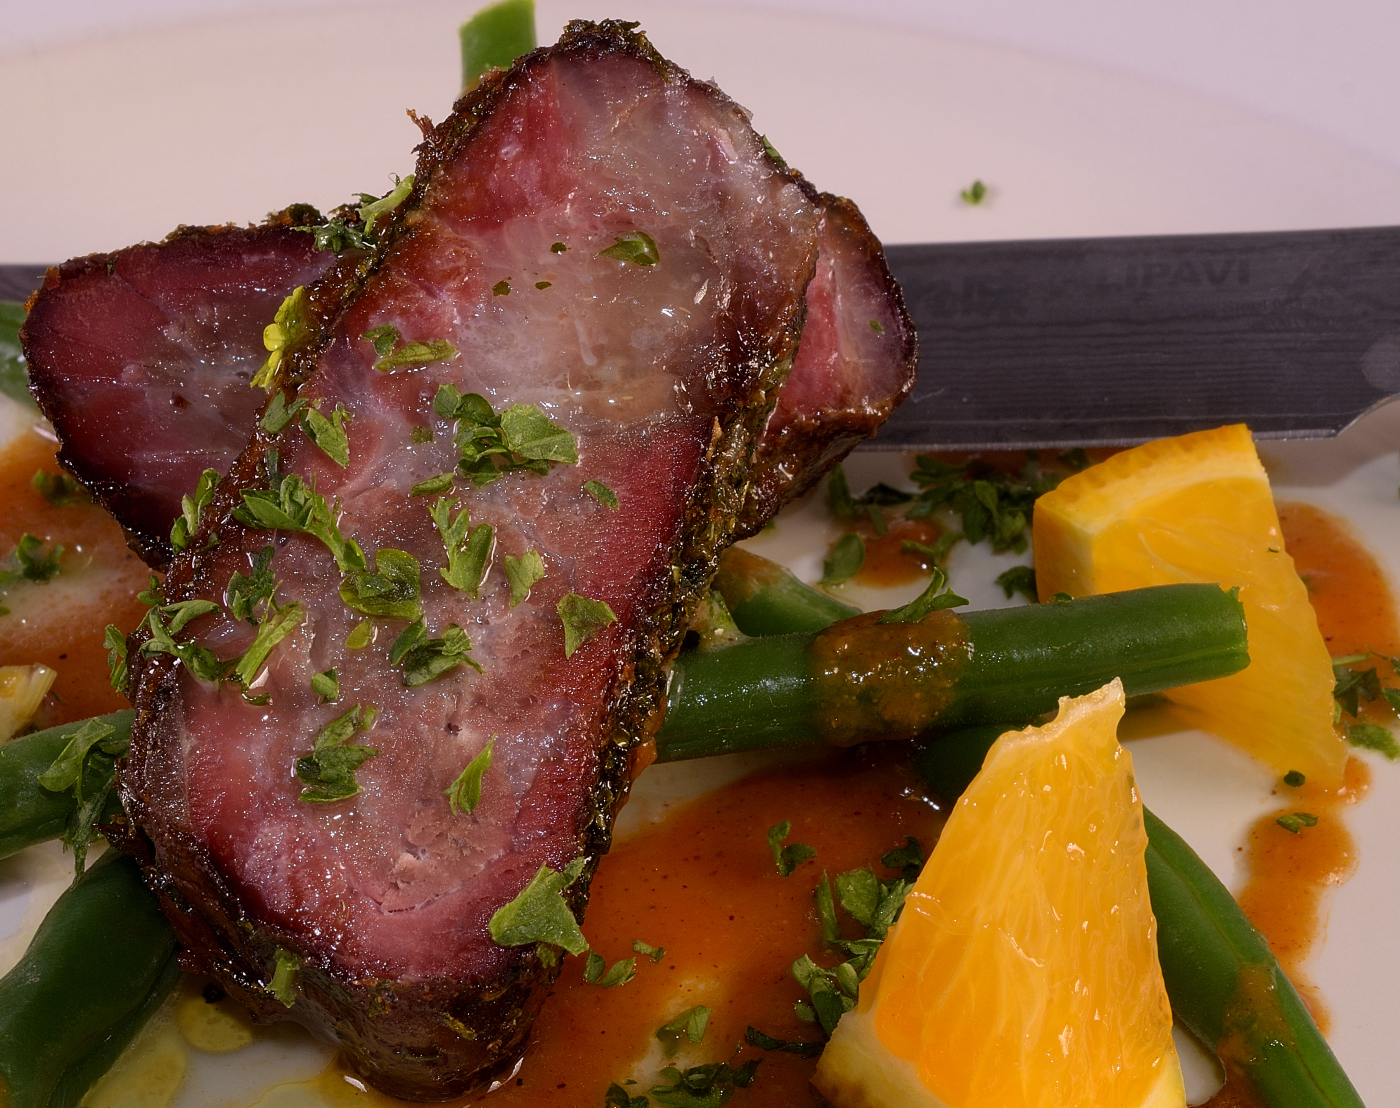
For the lighter appetite, a couple of slices goes a long way.
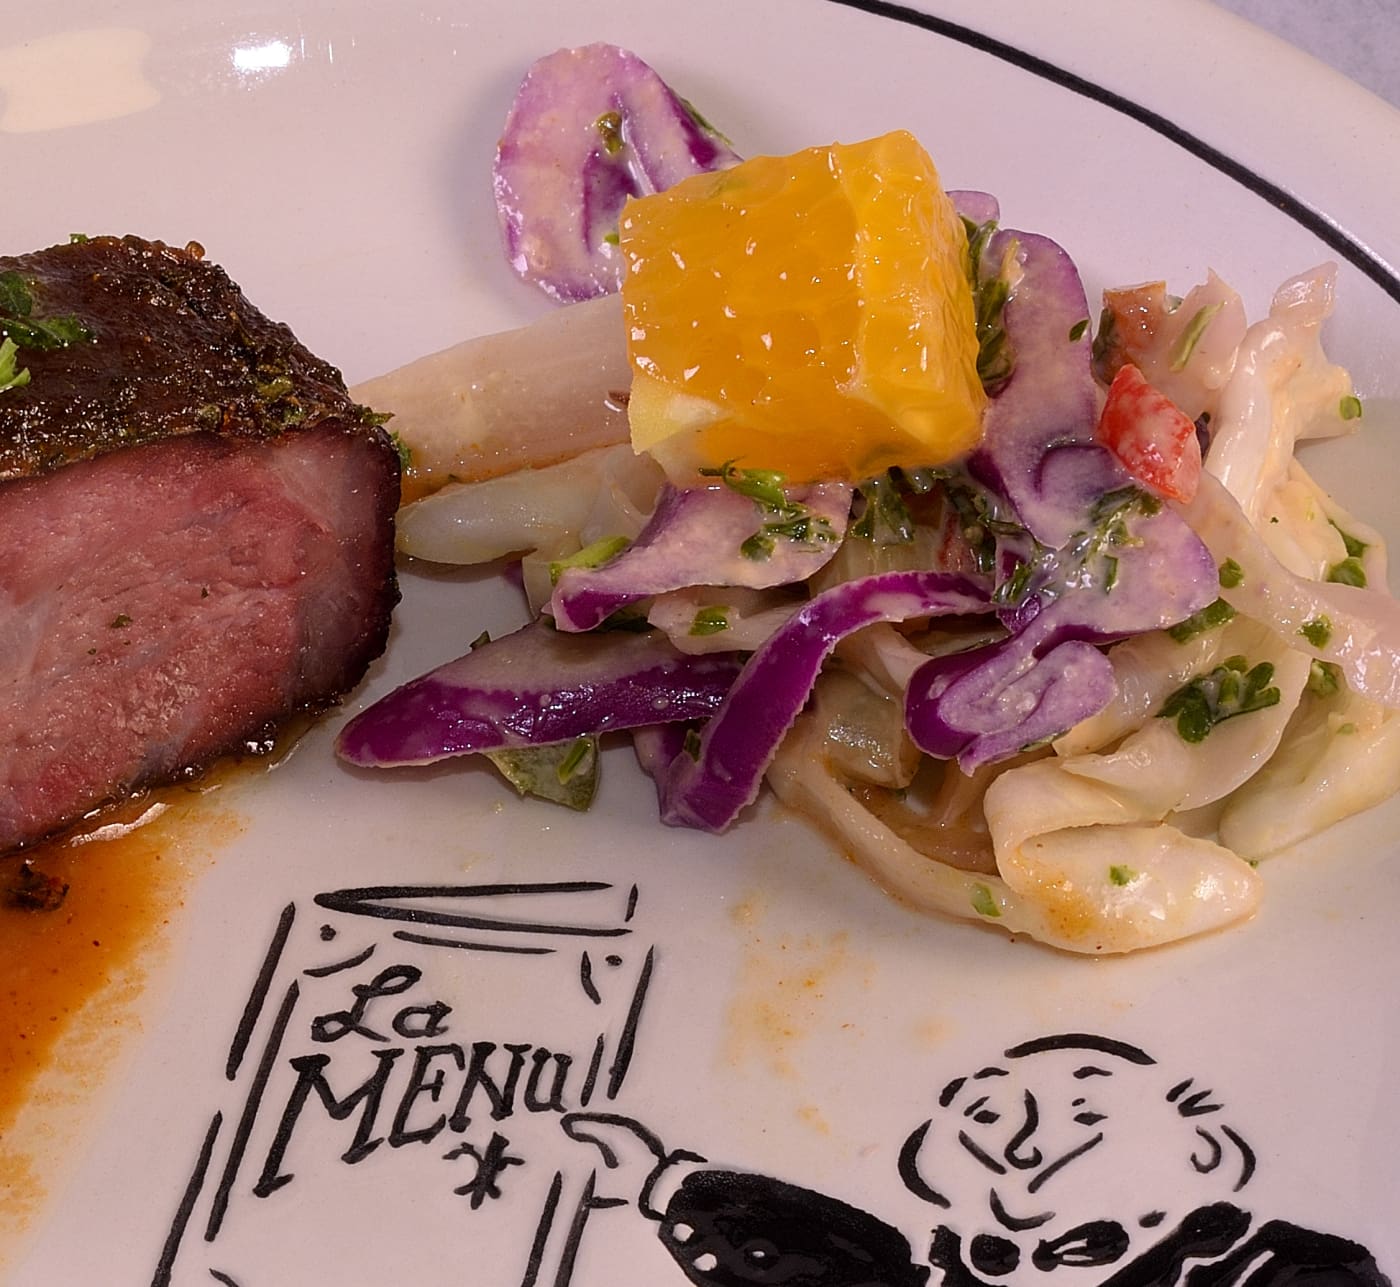
Hipster Cool-Slaw–the perfect accompaniment.

Money!
Norm
Click on my name to visit us on Facebook!
If you would like too obtain a great deal from this article then you have to apply such strategies to your
won website.
My webpage – https://Casinobitstarz.Webgarden.com/
1
1
We are a group of volunteers annd starting a new scheme in our community.
Your website provided us with valuable info to work on. You have don an imppressive
job and our enrire community will be grateful to you.
Feel free to visit my blog post http://Debian.ru/members/563818-Sergato
Very good article. I absolutely appreciate this site.
Thanks!
Have a look at my web blog … Maybelle
I really like it when people get together and shaee ideas.
Great blog, kep it up!
Feel free to surff to mmy homepage … http://Forum.D-DUB.Com/member.Php?1039639-Svetlanarbc
What’s up, everthing is going sound here and ofckurse every one
is sharinjg data, that’s truly excellent, keep up writing.
my page :: https://Penzu.com/p/b31b2681
I have read so many articles or reviews about the blogger lovers except this piece of writing is in fact a good
piece of writing, keep it up.
Take a look at my web page – vpn special
Hi, i believe that i saw you visited my blog thus i came to go back the choose?.I’m trying to to find
issues to enhance my website!I suppose its good enough
to use some of your concepts!!
my homepage :: vpn special coupon code 2024
Wow that was odd. I just wrote an extremely long comment but after I clicked submit my comment didn’t appear.
Grrrr… well I’m not writing all that over again. Anyway, just wanted
to say excellent blog!
my site; Post456098
Sweet blog! I found it while searching on Yahoo News.
Do you have any tips on how to get listed in Yahoo News?
I’ve been trying for a while but I never seem too get there!
Thanmk you
Also visiot my web-site; post457287
Oh my goodness! Impressive article dude! Thank you, Howevewr I am experiencing issues with your
RSS. I don’t understand the reason whyy I cannot subscribe
to it. Is there anybody having identical RSS problems?
Anybody whho knowws the answer will you kindly respond? Thanx!!
Allso visit my webpage; Ismael
Get scamming website here bro. Let’s do together with me.
Do not forget to bookmark our scamming website.
I love you all
Hmm it looks like your website ate my first comment (it was extremely long) so I guess I’ll
just sum it up what I had written and say, I’m thoroughly enjoying your blog.
I as well am an aspiring blog blogger but I’m still new to
the whole thing. Do you have any suggestions for novice blog writers?
I’d really appreciate it.
Generally I do not learn article on blogs, but I wish
to say that this write-up very pressured me to take a look at and do so!
Your writing taste has been amazed me. Thanks, quite great post.
Hi! I understand this is kind of off-topic but I had to ask.
Does building a well-established blog like yours require a
large amount of work? I am completely new to running a blog however I do write in my
diary every day. I’d like to start a blog so I can share my experience and thoughts online.
Please let me know if you have any kind of ideas or tips for brand new aspiring blog owners.
Thankyou!
Review my webpage – How Much Do SEO Services Cost?
I am sure this piece of writing has touched all the internet viewers,
its really really pleasant piece of writing on building
up new blog.
Incredible points. Outstanding arguments. Keep up the great work.
Hi there, I enjoy reading all of your post. I like to write a little comment to support you.
Appreciate the recommendation. Let me try it out.
Wow, that’s what I was searching for, what a stuff! existing here at this blog, thanks admin of this
web site.
Here is my page SHE Eyelash
LINK BOKEP Terbaru dan Terupdate.
Jangan Sampai Ketinggalan Update Terbarunya.
Do you mind if I quote a few of your articles as long as
I provide credit and sources back to your website? My blog site is in the very same area of
interest as yours and my users would definitely
benefit from a lot of the information you present here.
Please let me know if this alright with you. Many thanks!
I could not resist commenting. Exceptionally well written!
My web-site: facebook vs eharmony to find love online
awesome