Serves 4+
Level of difficulty 2.75

Procedure:
How do you like your steak?
Here are some basic appearance of doneness guidelines:
Rare: 129 F/54 C.
Medium rare: 132 F/55 C,
Medium: 140 F/60 C.
Medium well: 145 F/63 C.
Well done: 150 F/66 C.
Preheat the water in your sous vide bath to the temperature that most closely matches your preference. For this demonstration, we used 129 F/54 C. We recommend that the temperature setting used should be the LOWEST degree of doneness preferred by the people at the table. At service, appearance of doneness can be increased while searing the steak “in the pan.” However, it cannot be reversed!
Preheat the sous vide bath to
129 F/54 C (or your preferred temperature setting as explained above).

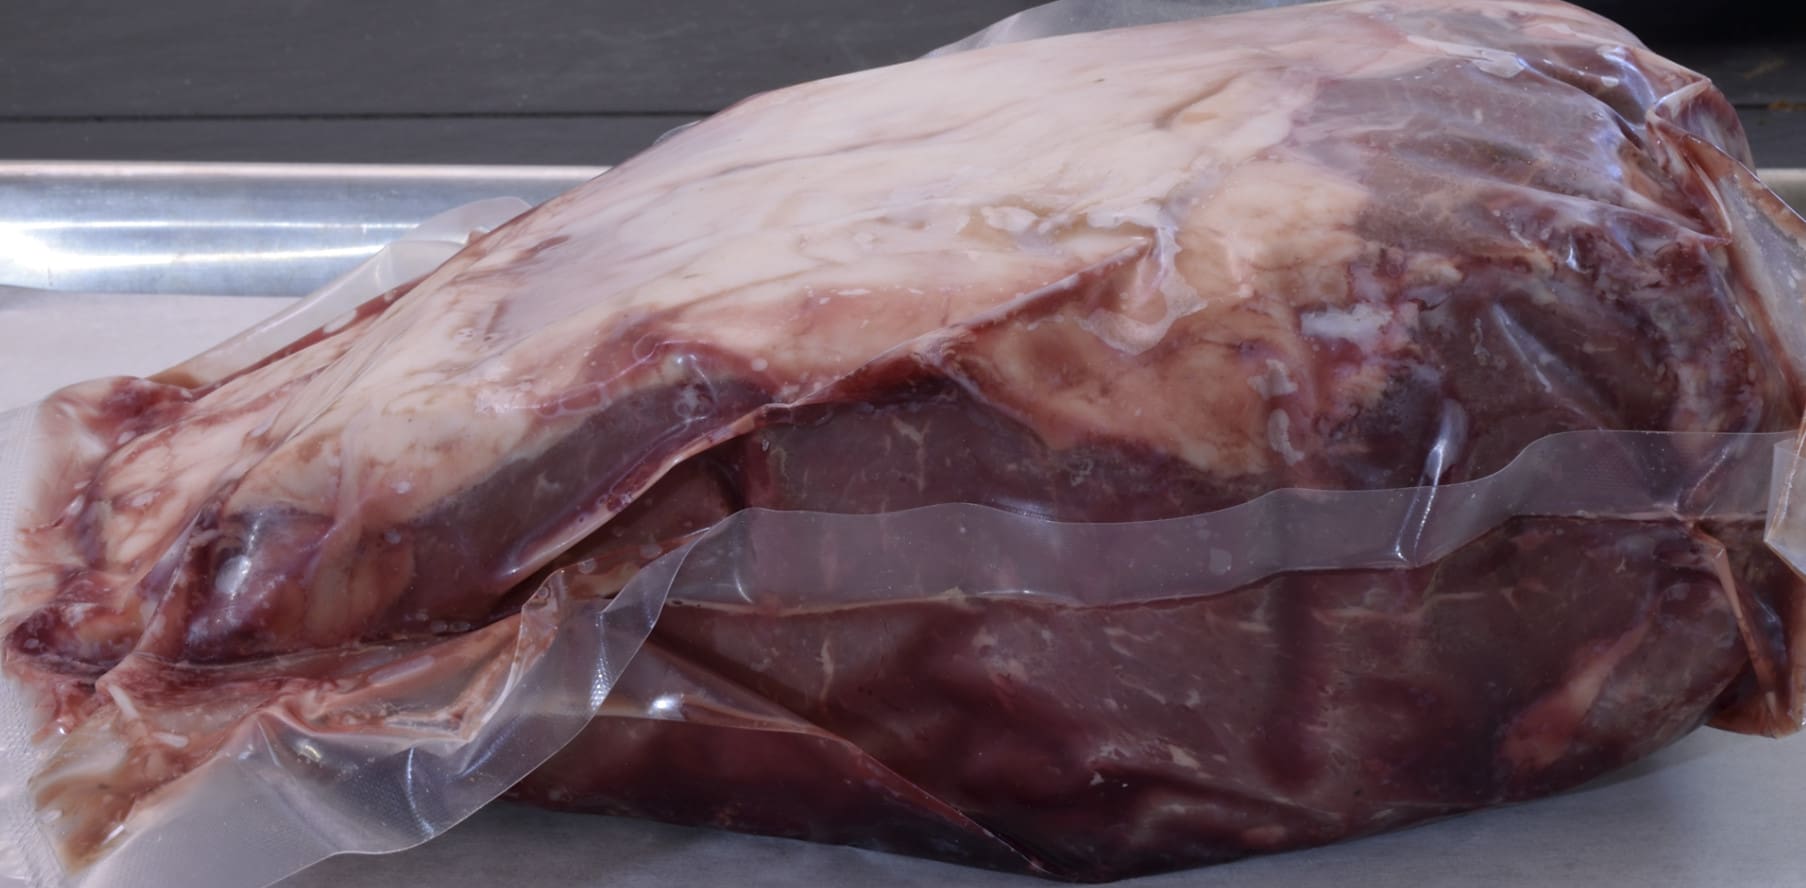
Stage the roast into a heat rated bag and sous vide process fully submerged for 8-12 hours–whichever is more befitting your personal convenience. Sous vide intervals are very forgiving and the difference in outcome between the two times (in this case) is negligible if even detectable at all. At such a low temperature, collagen is converted to gelatin at an extremely slow rate. This means we needn’t worry about the roast becoming “over-tenderized.” The purpose of the long interval is to achieve uniform appearance of doneness at service. This combination of time/temperature will also serve to pasteurize the roast!
Temperature management–a delicate balance
After 8-12 hours, remove the roast from the bath. Do NOT remove the roast from the package. The roast is too hot to safely stage into the refrigerator so submerge the package in at least 1 gallon/4 L iced tap water until it achieves approximately 70 F/21 C–usually about a half an hour. Remove the package from the cold water and refrigerate at 40 F/4 C or lower. Make sure there is plenty of empty space in the refrigerator for air to circulate around the package. This will minimize the time required to achieve the safe temperature. As long as the seal is not broken, the roast will keep refrigerated for at least two weeks. Once the seal is broken, the product should be consumed (or frozen) within five days.
Day(s) of Service
Links to Contents:
- Steak sandwich
- Full sized rib eye steak
- Rib eye tournedos
- Pasteurized Carpaccio
- Smoked Strip loin
- Smokey rib eye sandwich
Now it’s time to cut the roast into portions of the desired shapes and sizes. There are a lot of things you can do. We have created a few different models to accommodate diverse tastes and preferences.
Submerge the roast in hot tap water (or the sous vide bath if you have one operating) for five minutes to dissolve the gel inside the pouch. Cut a corner of the package and drain out the juices. These can be discarded or saved and utilized according to the method linked HERE.
Remove the roast and use paper towels to pat it dry.
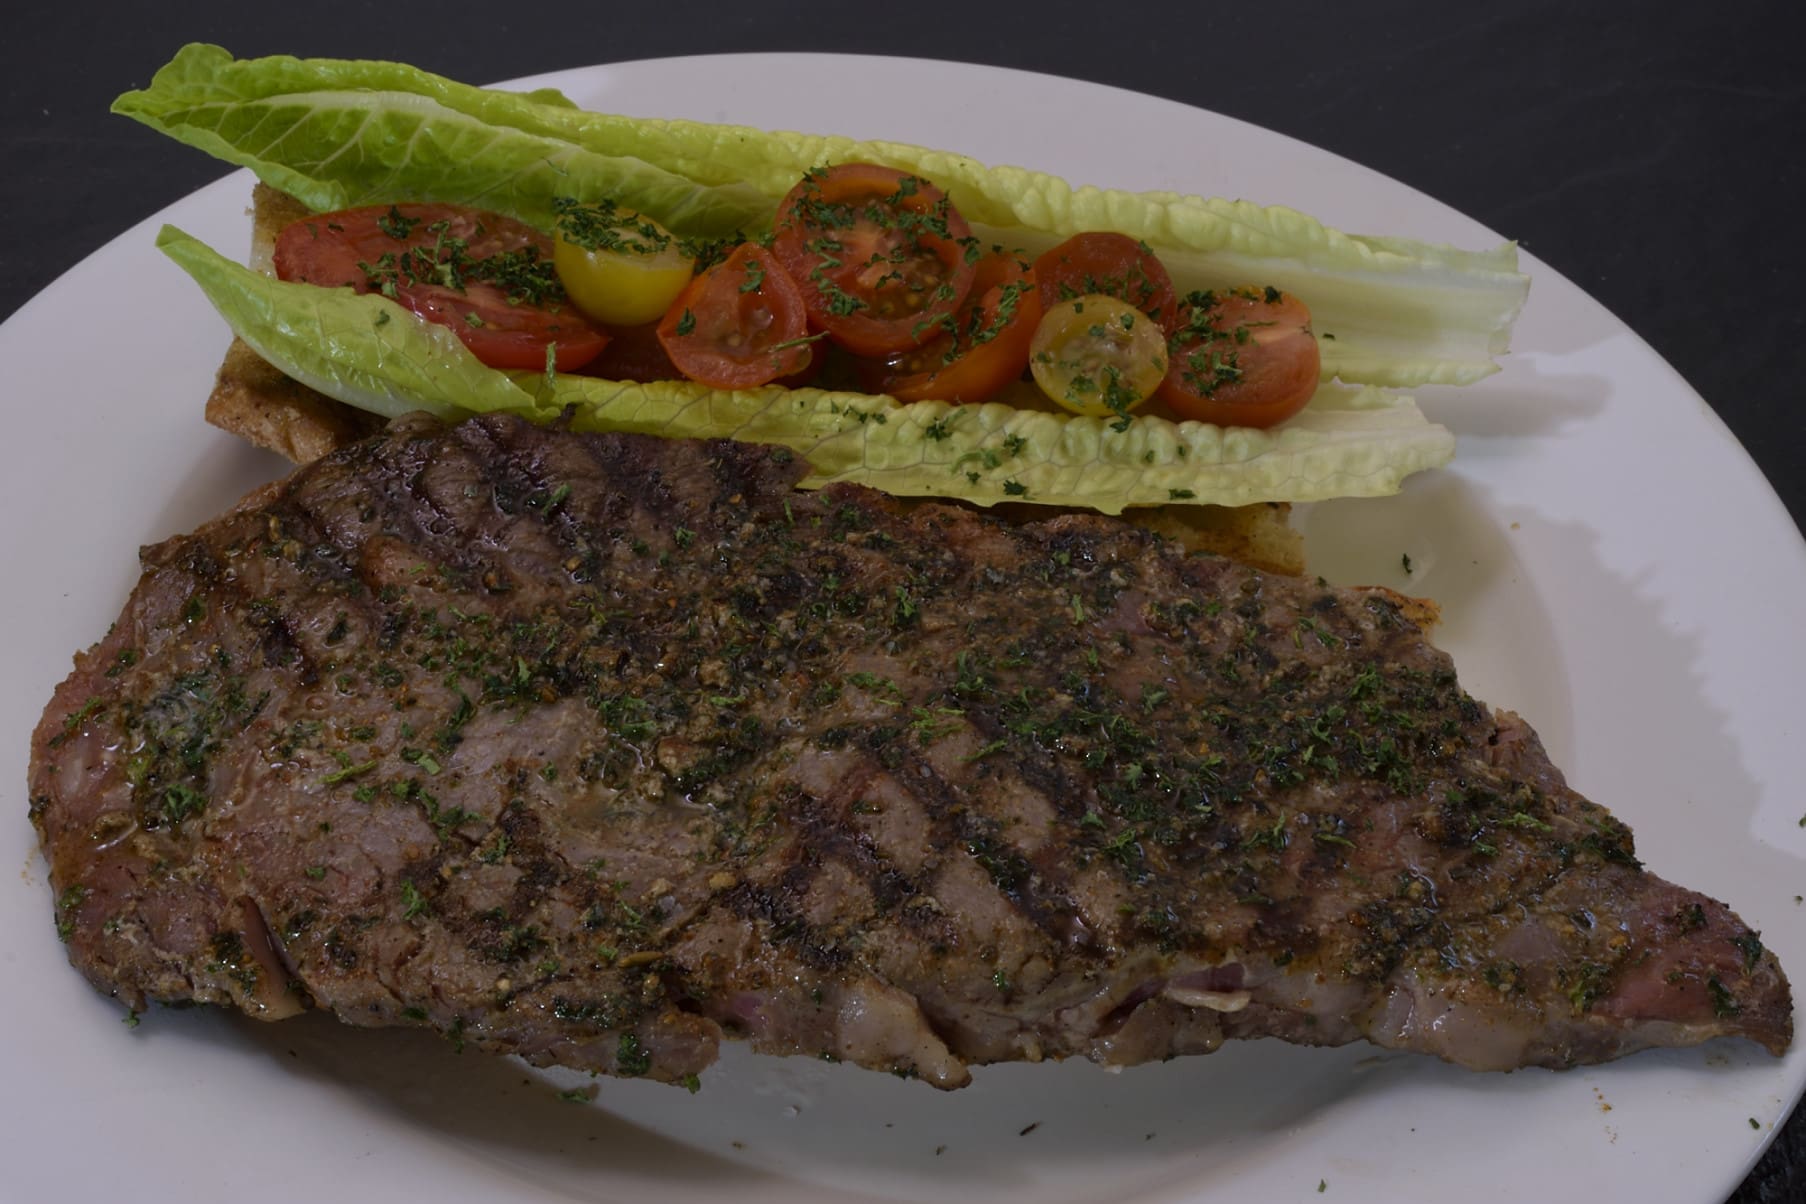
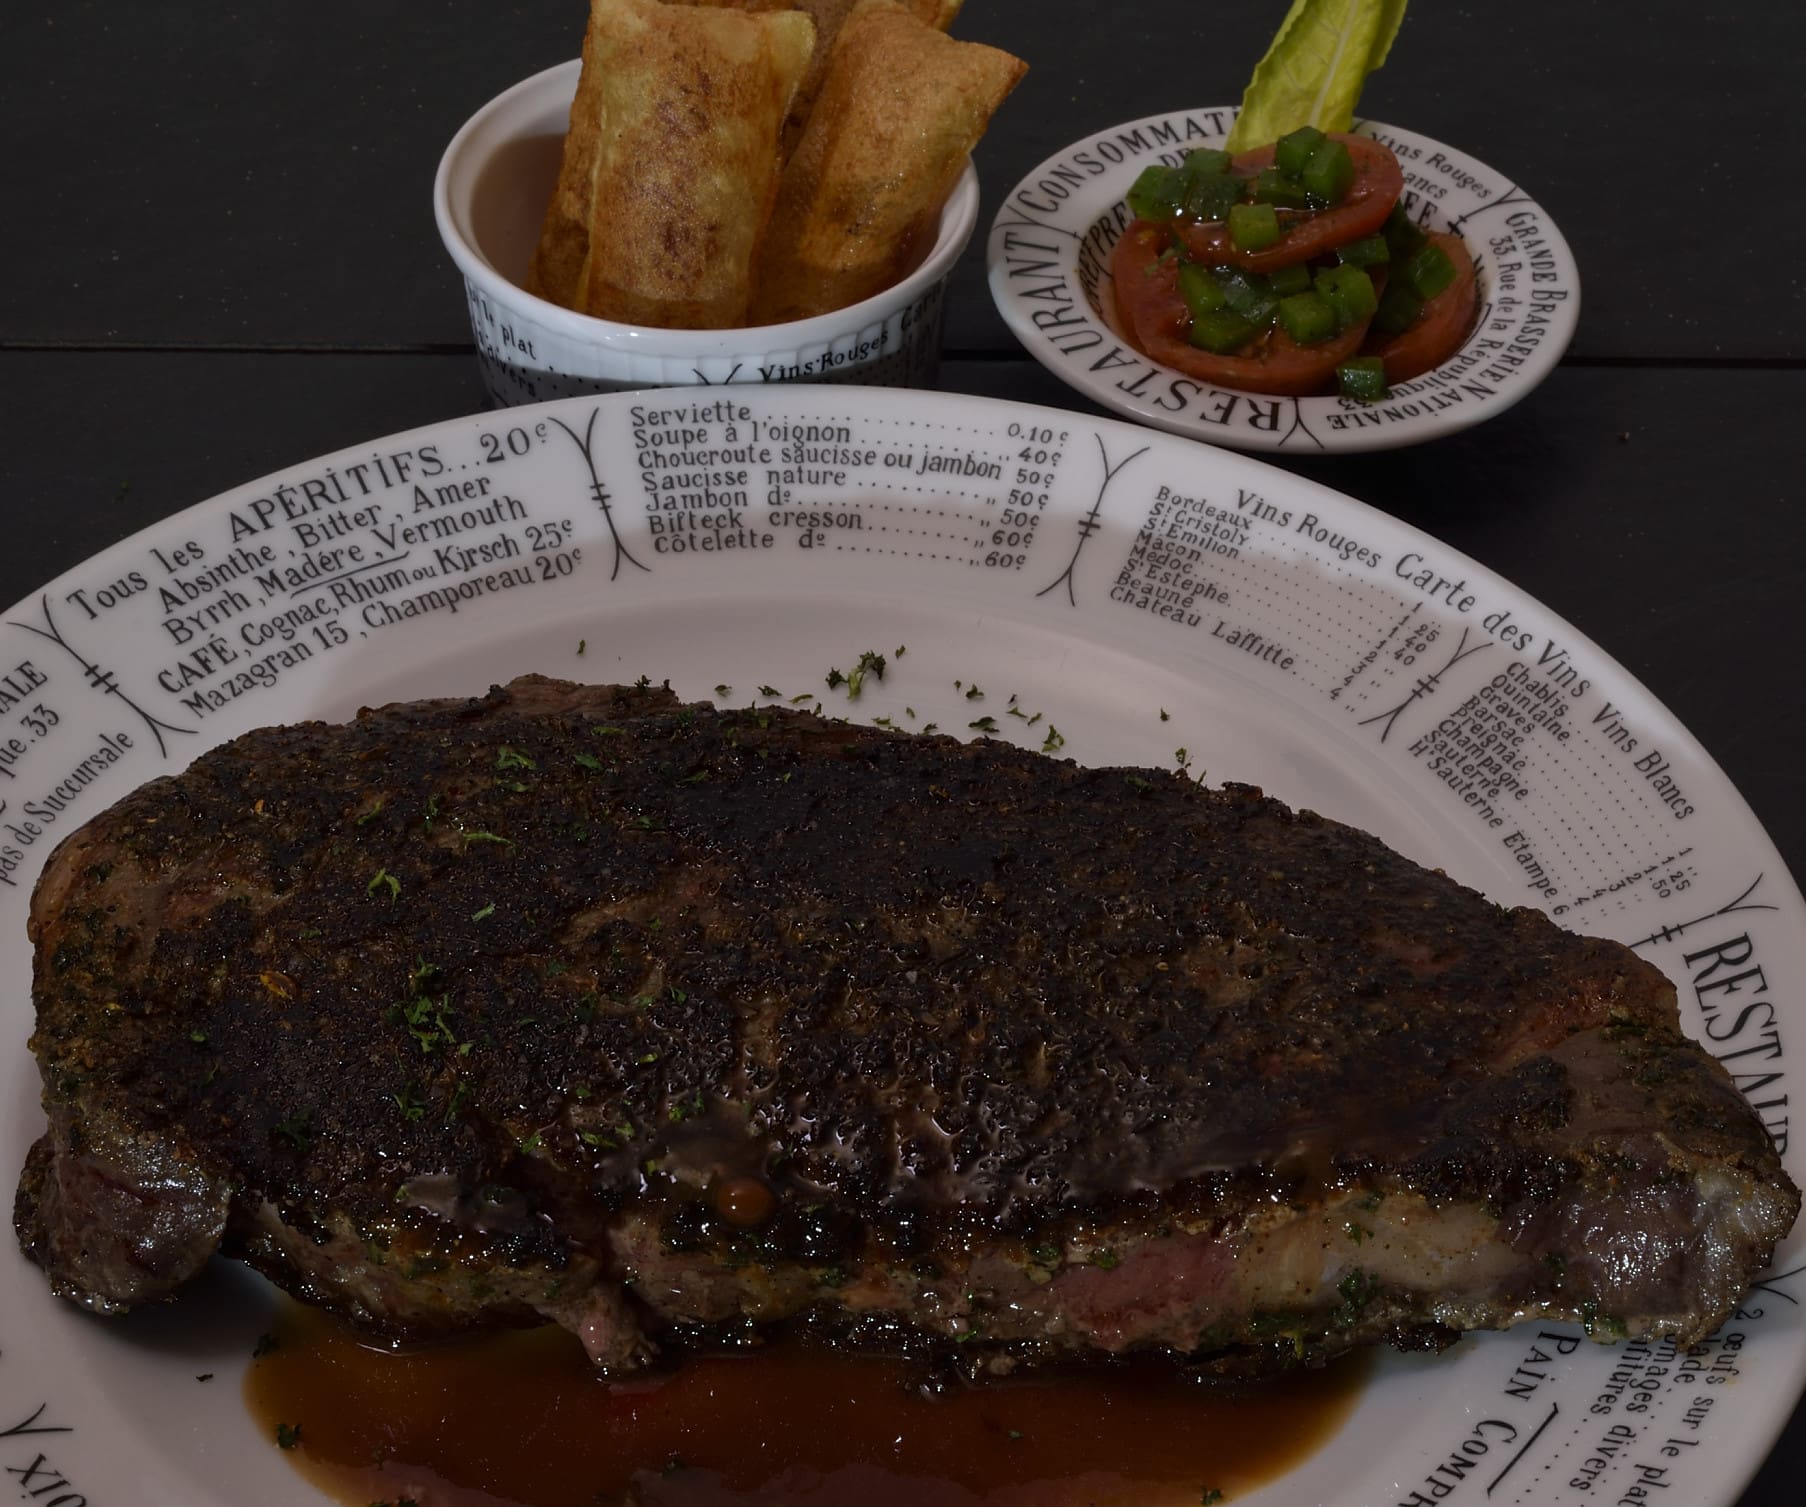
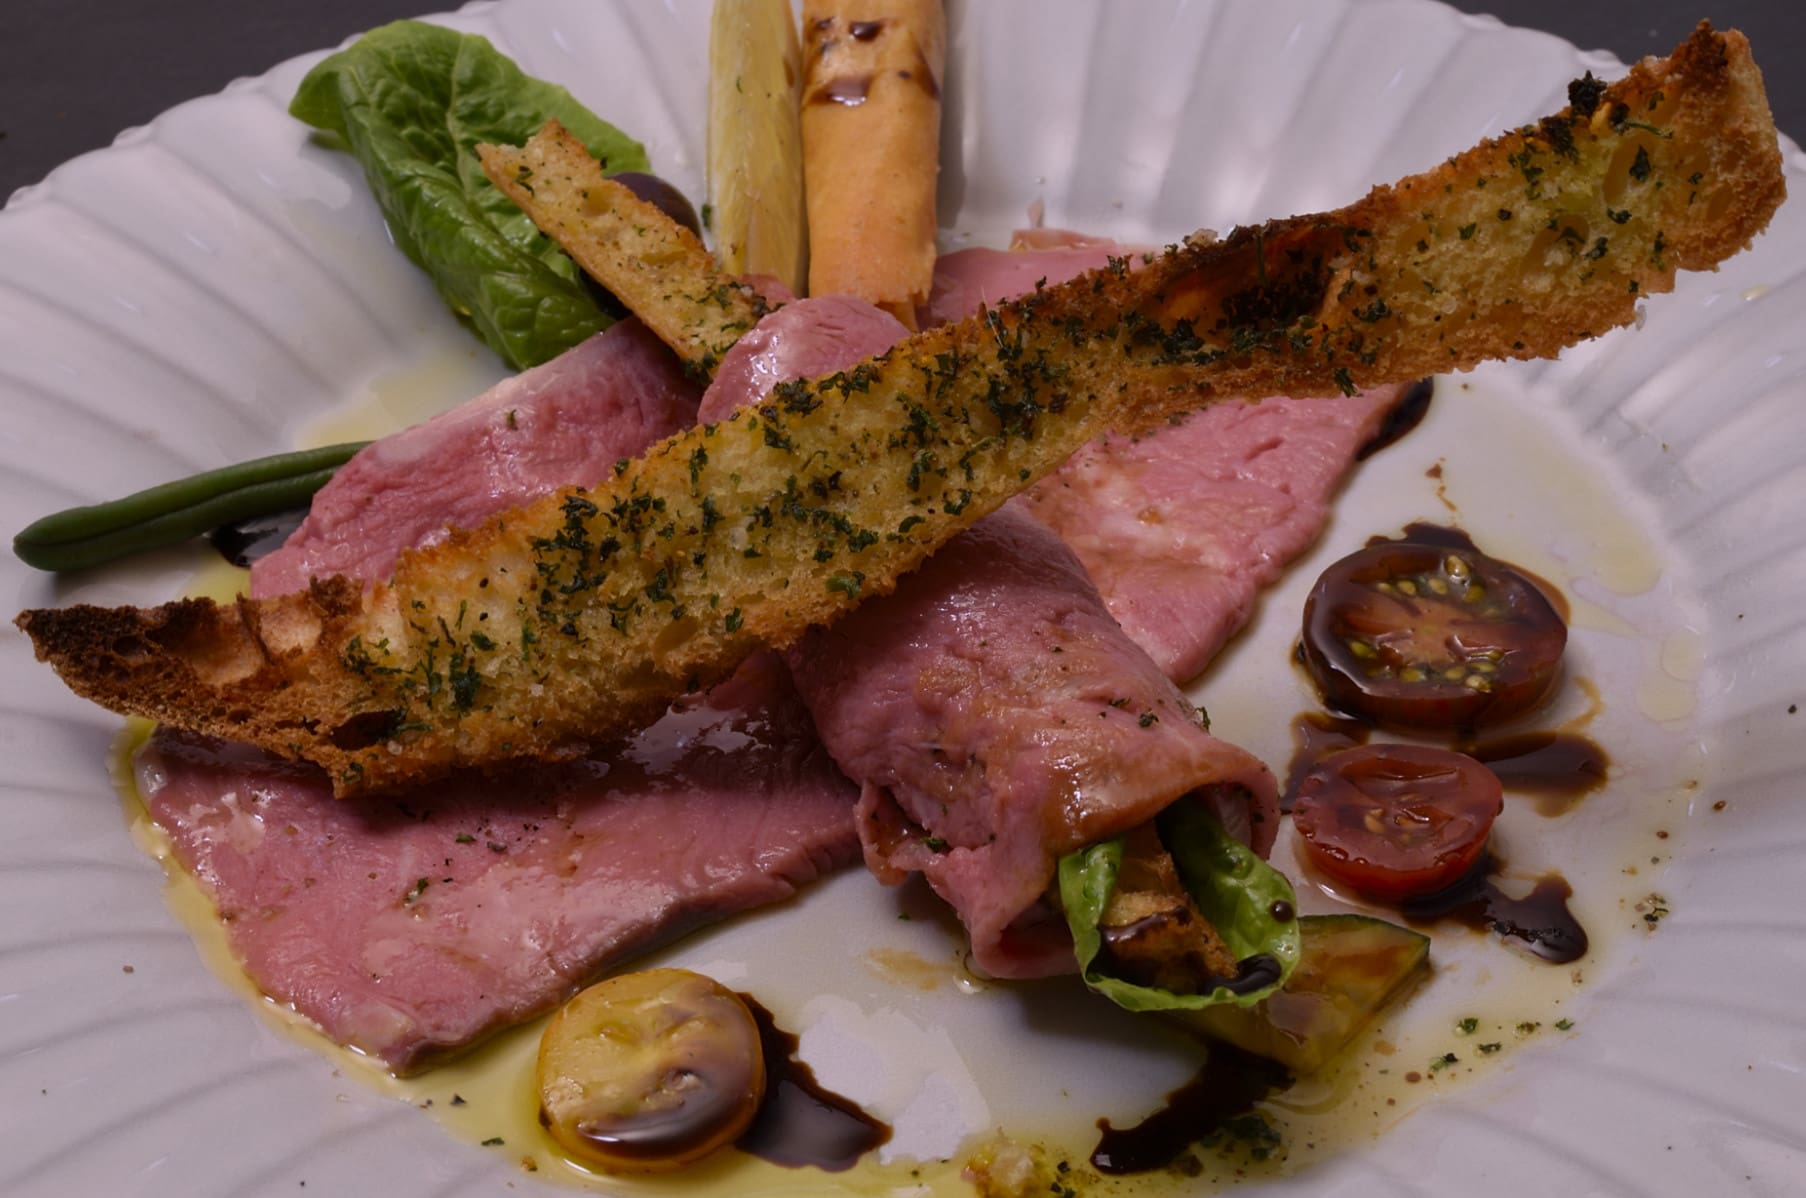
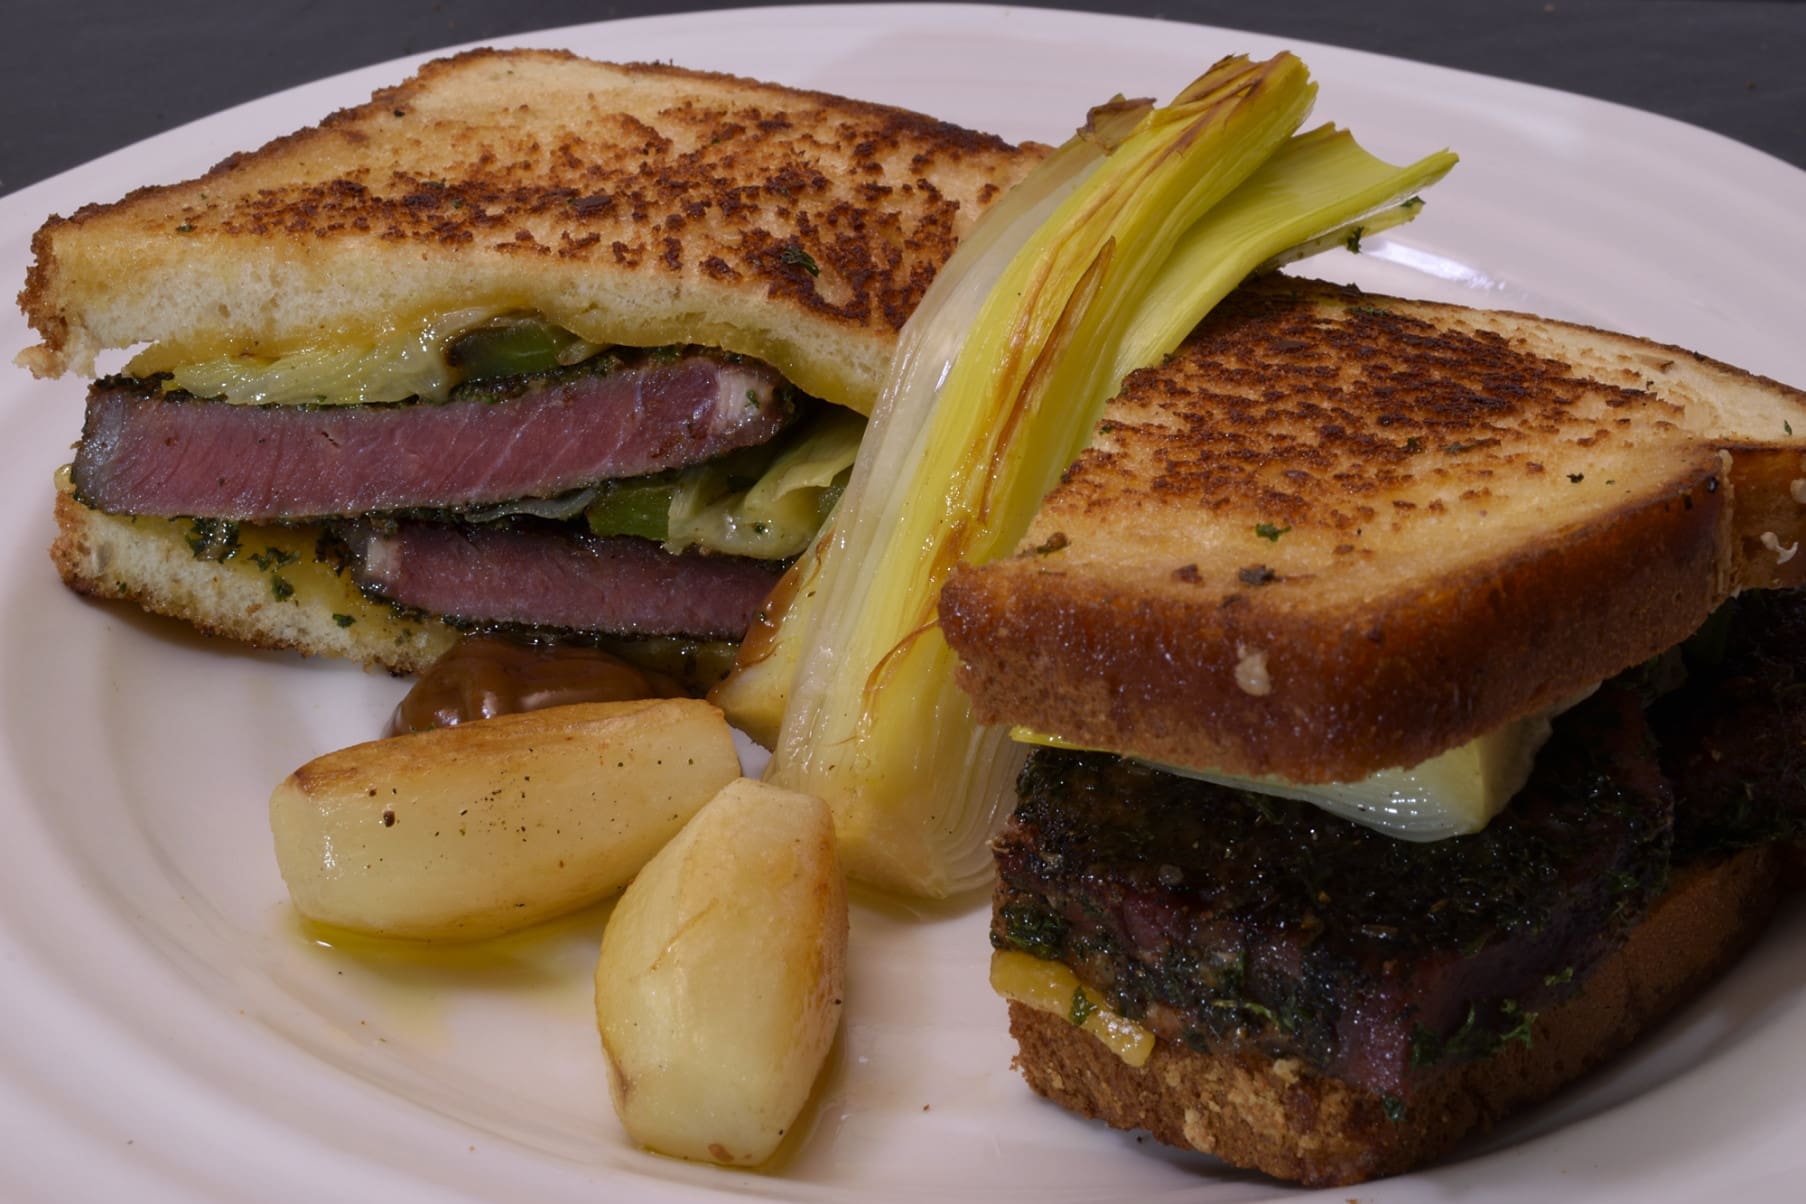
The Iconic Steak Sandwich
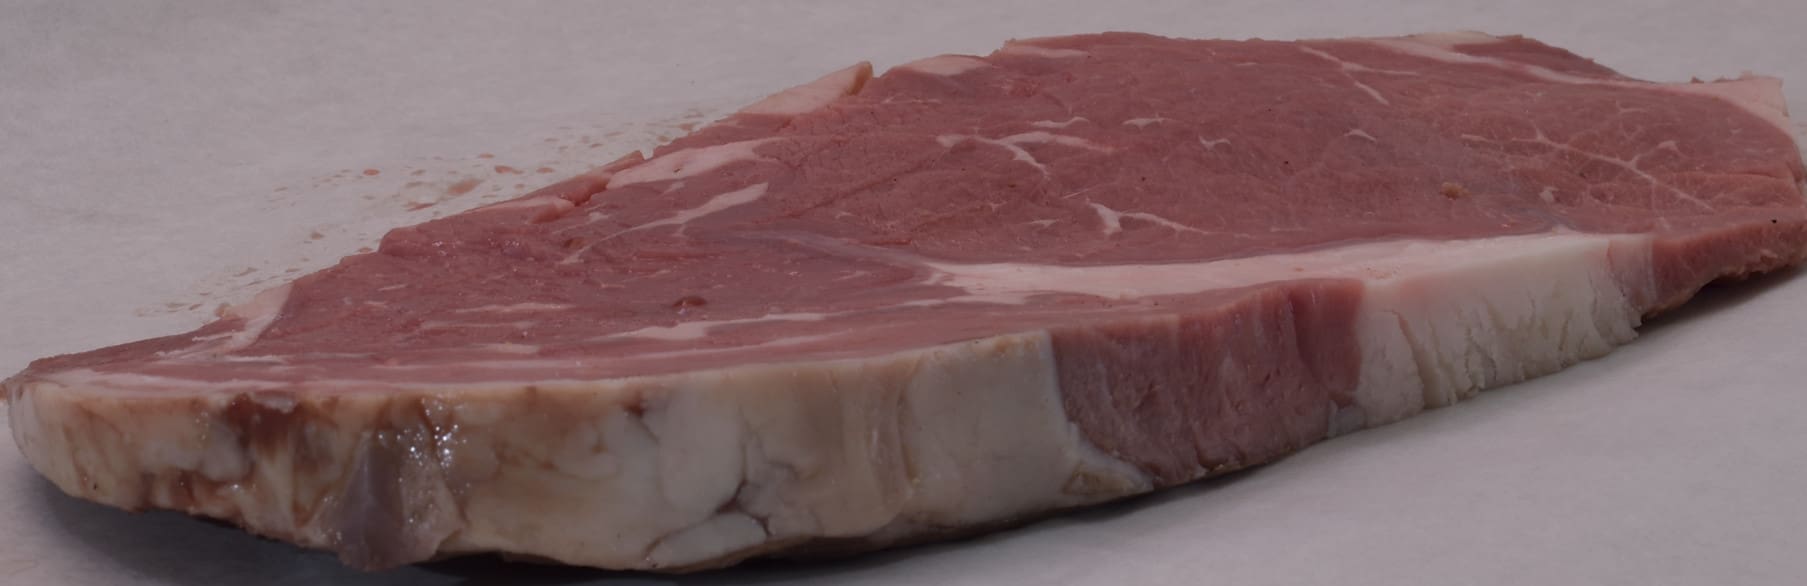
When traditionally prepared from the raw state, steaks cut thin have an annoying tendency to curl up wherever there is connective tissue. Sous vide processing tenderizes the entire cut equally so the steak’s reaction to the application of heat is uniform.
Raw steaks cut this thin also tend to come out under-cooked in some places and well done in others. Because of the large surface area exposed to heat, they invariably come out somewhat dry. Sous vide moderates these effects as well.
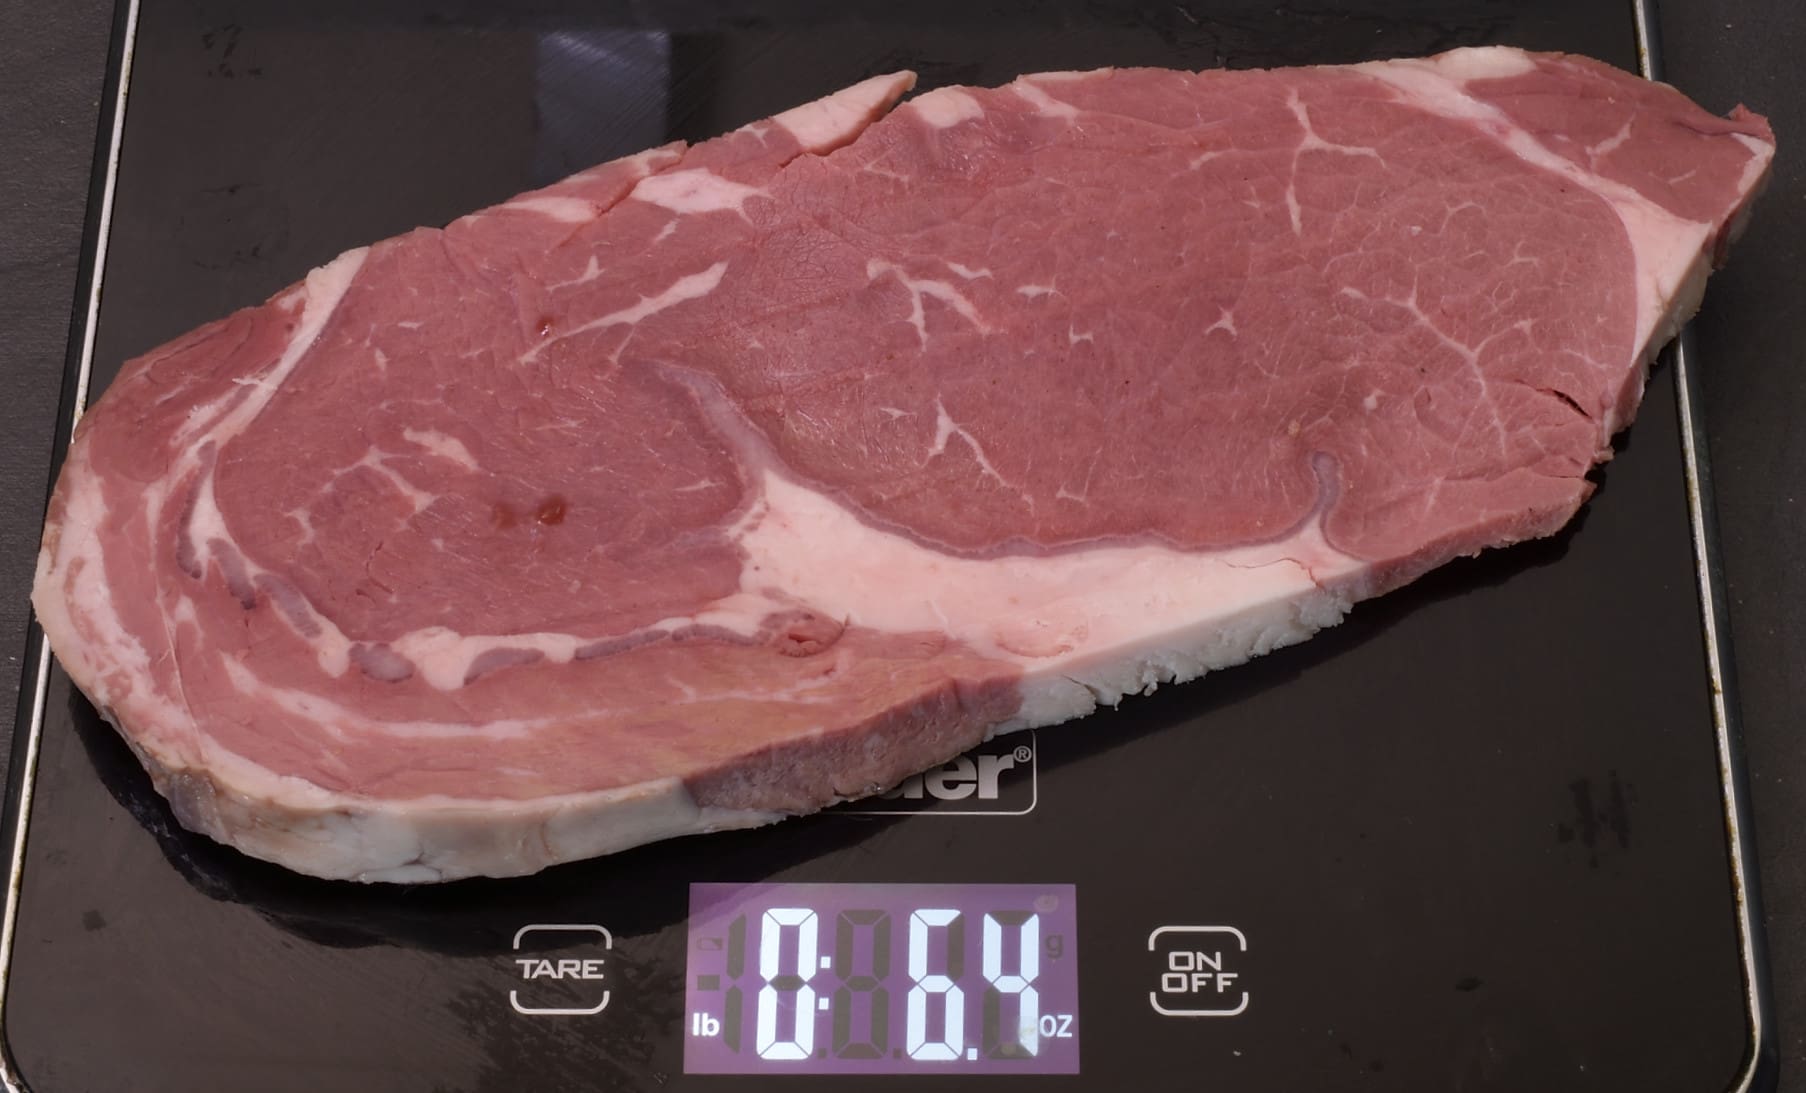
This slice that we took from the very end of the rib eye is just about the perfect weight for the classic “steak sandwich.”
Sous vide is going to help us overcome the problems typically caused by the large circumference of the rib eye primal. It may sound like I’m trying to sell something, but I have no motive! Sous vide is so amazing, once you learn how to utilize it, it sells itself! Sous vide processed steaks are easier to handle than raw, as we will show in the next few frames.
Barely visible except for a drop or two in the foreground, we apply a thin coating of the egg white solution to create cling on the surface.
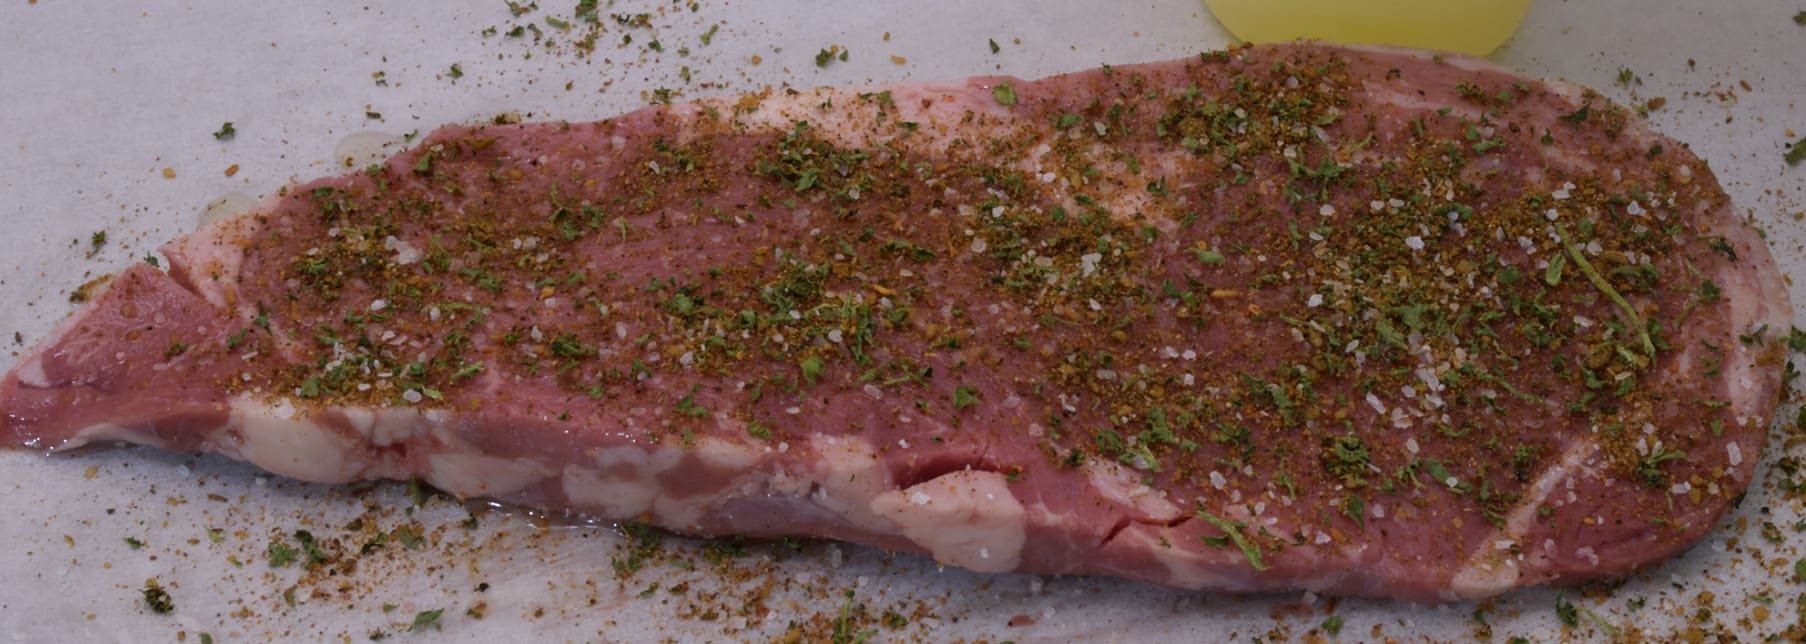
Sprinkle with seasoning, turn over and repeat.
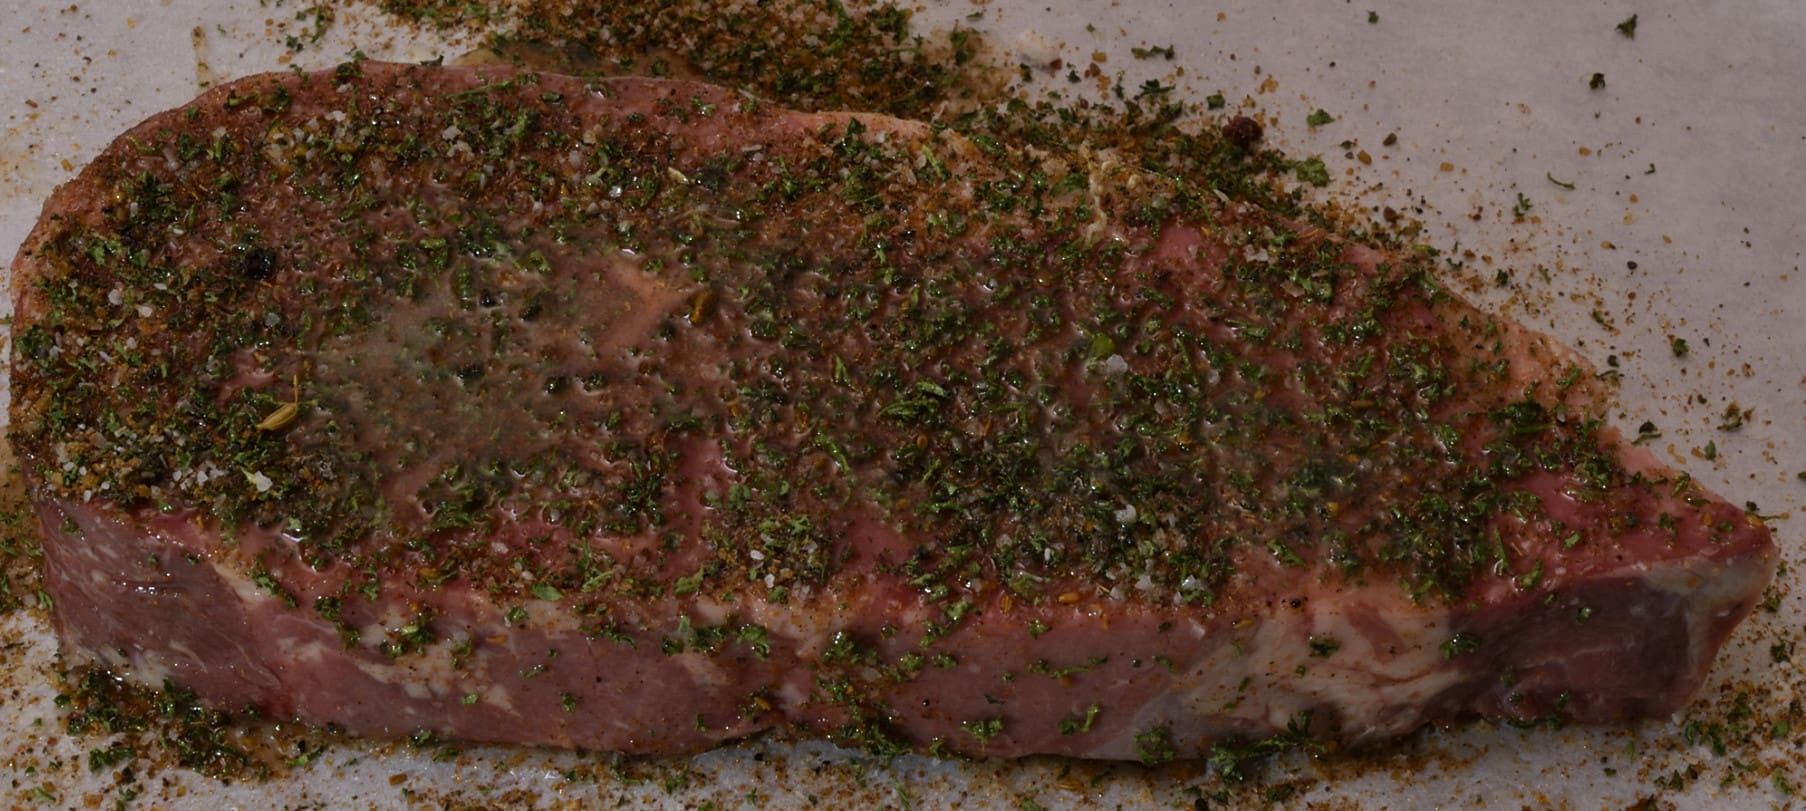
Drizzle or spray with a little oil and give it a few minutes to cling.
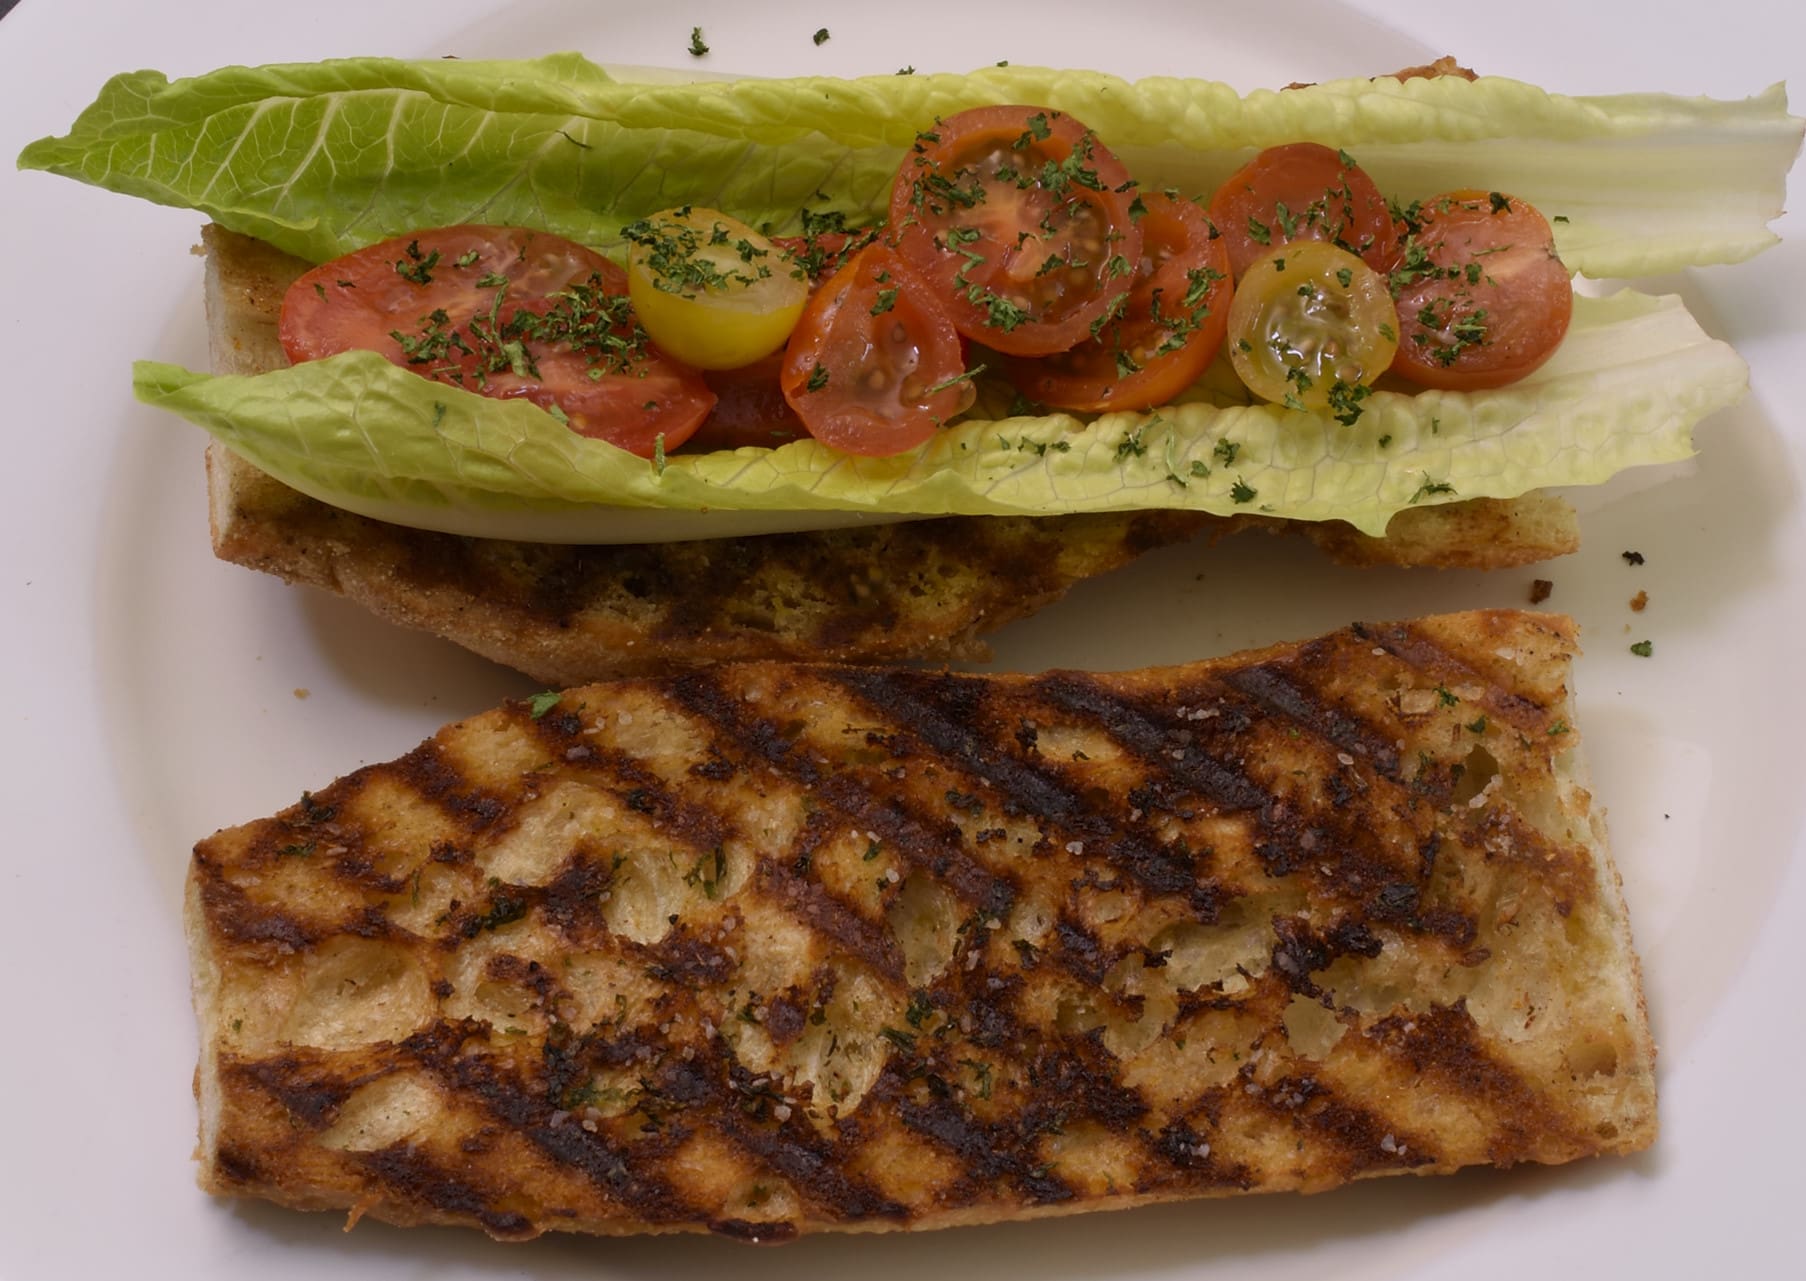
Put everything else together. We buttered, seasoned and grilled some baguette, a little this, a little that.
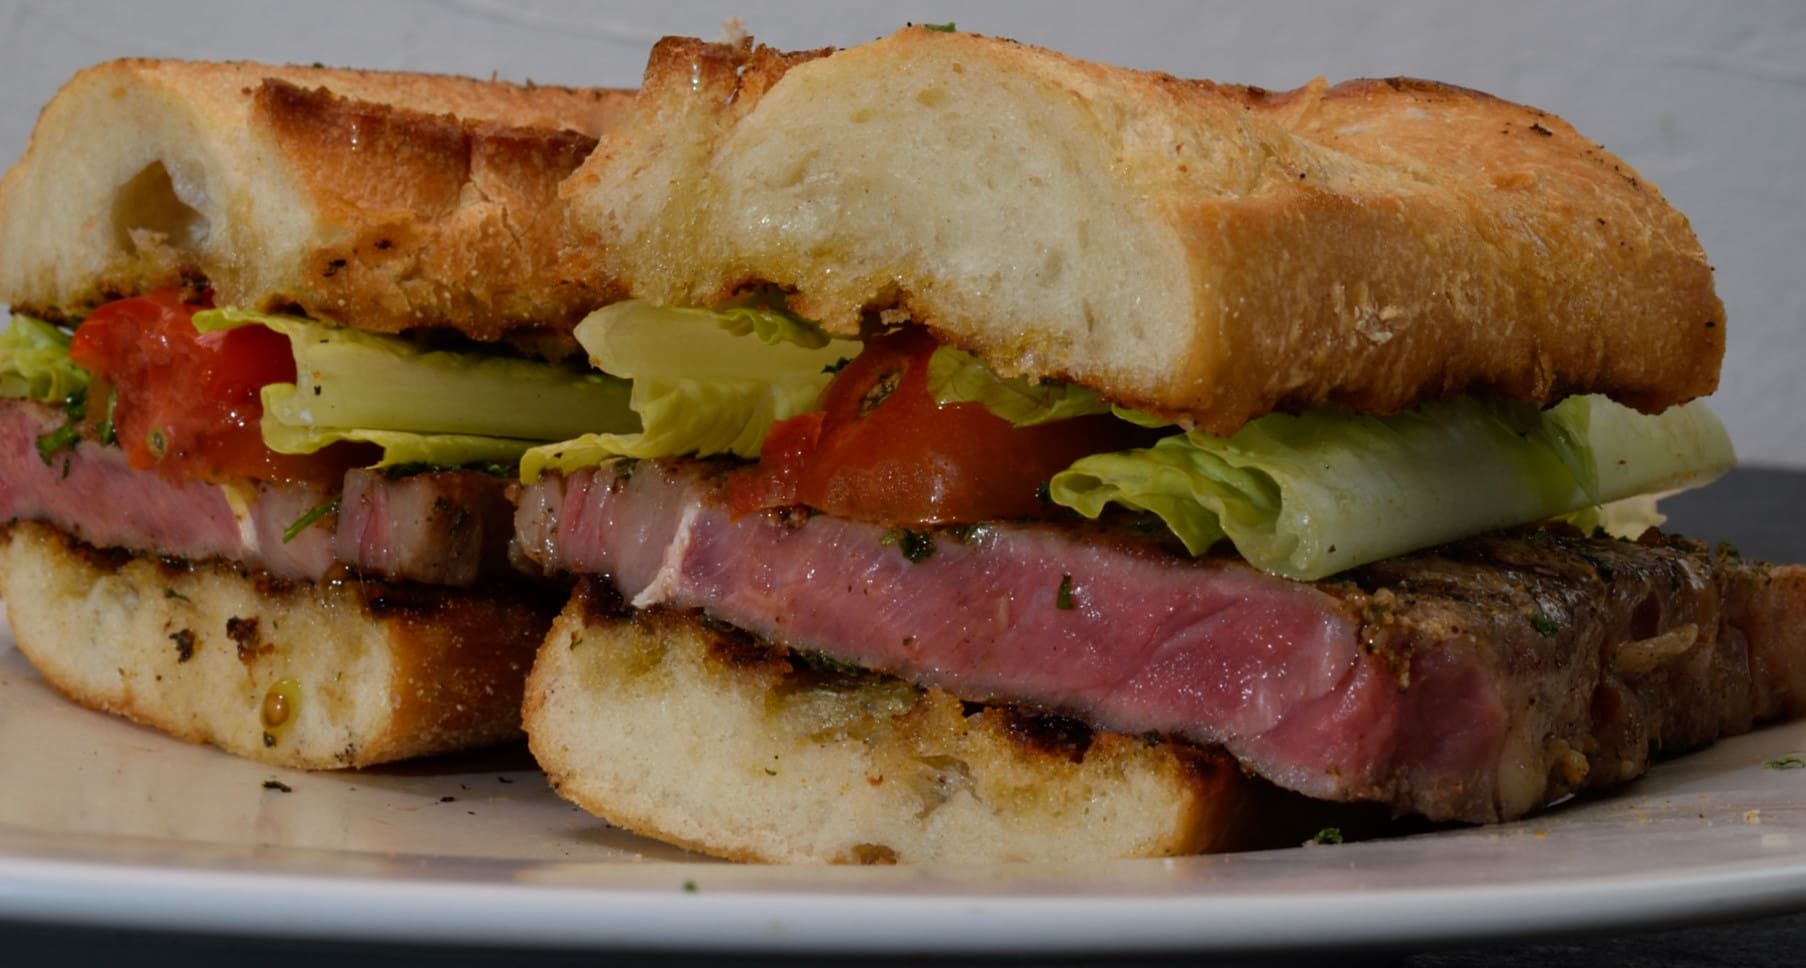
Open a window, turn the hood fan all the way up, heat the cast-iron broiler pan to as hot as you can get it without setting off the smoke alarms. Do not oil the pan. That just creates smoke–that’s why we oil the steak! Put the oiled side of the steak in the pan, do not cover. After 15 seconds, rotate 90 degrees, 15 seconds more, flip, 30 seconds more. No need to rotate 90 degrees on the flip side. Nobody is going to see the bottom of the steak, right? Money (see below).

Aw, YISS!
Done well
As discussed in the previous article, many people prefer there steaks more done or even quite WELL done. If this is the case reduce the heat and continue to cook in the pan until the desired effect is created. I do not advocate putting a lid on the pan under any circumstances. This creates steam which can alter the texture of the steak in an unpleasant way.
There is no shame in well done and there is no shame in ketchup either. There is no accounting for taste and people should eat what they like the way they like it. People that look down their noses at ketchup consumption are the same people that eagerly apply other similar condiments provided the labels are printed in a foreign language. There, I said it!
NEXT!
If you continue cutting the roast into steak sandwich sized pieces, it will yield up to 10 portions. Rather than do that, we will continue demonstrating some of the other alternatives.
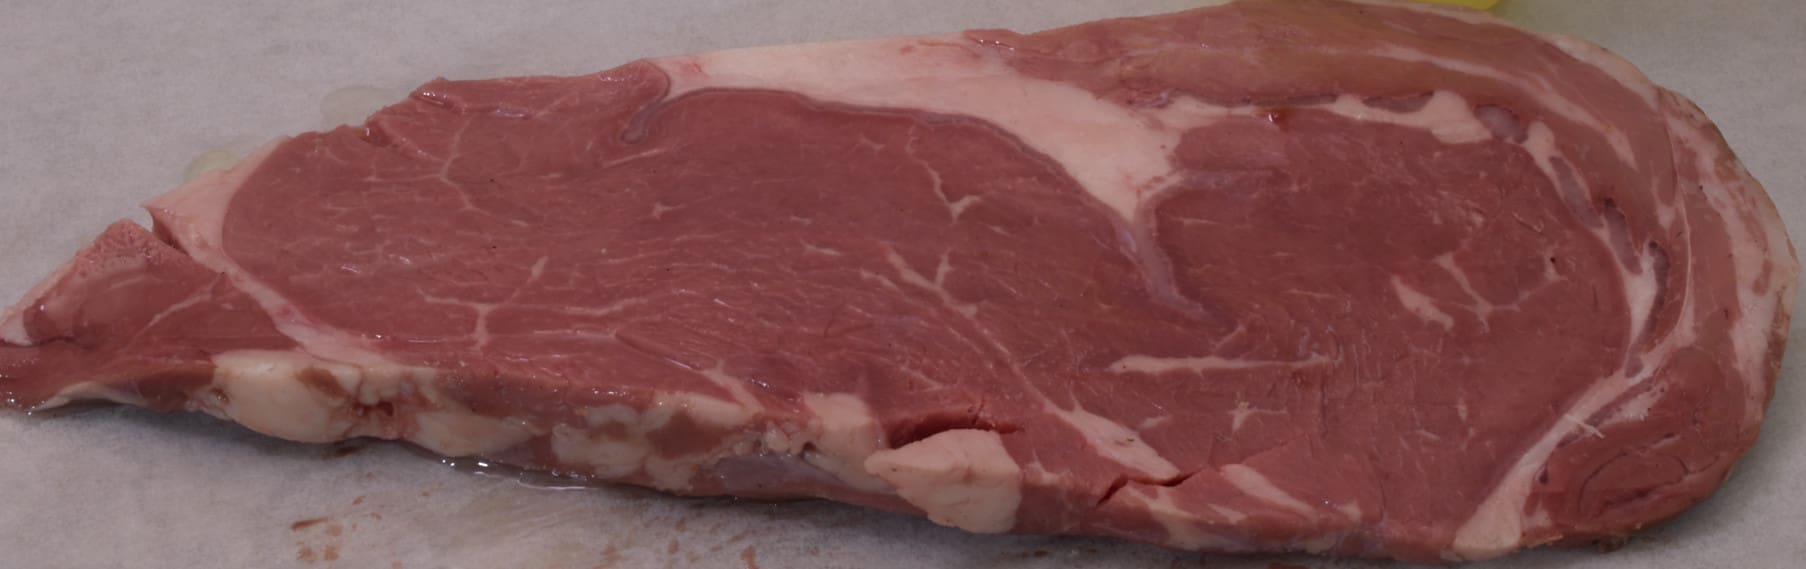
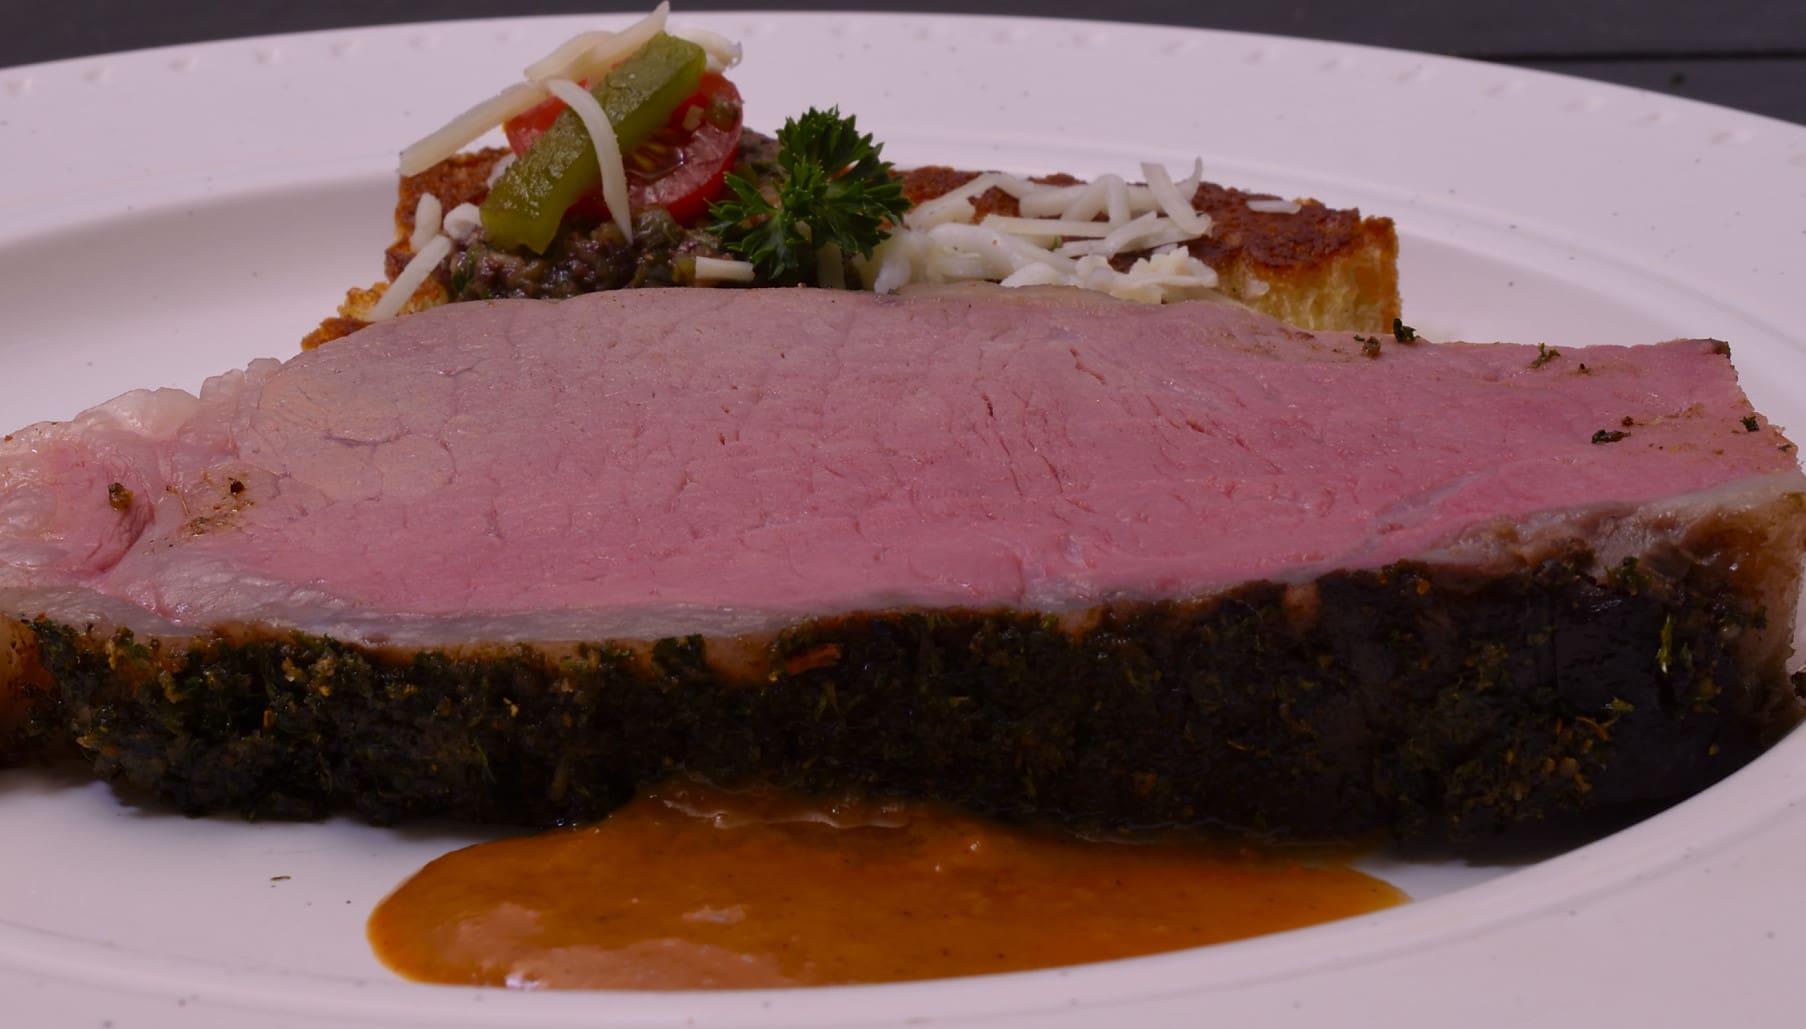
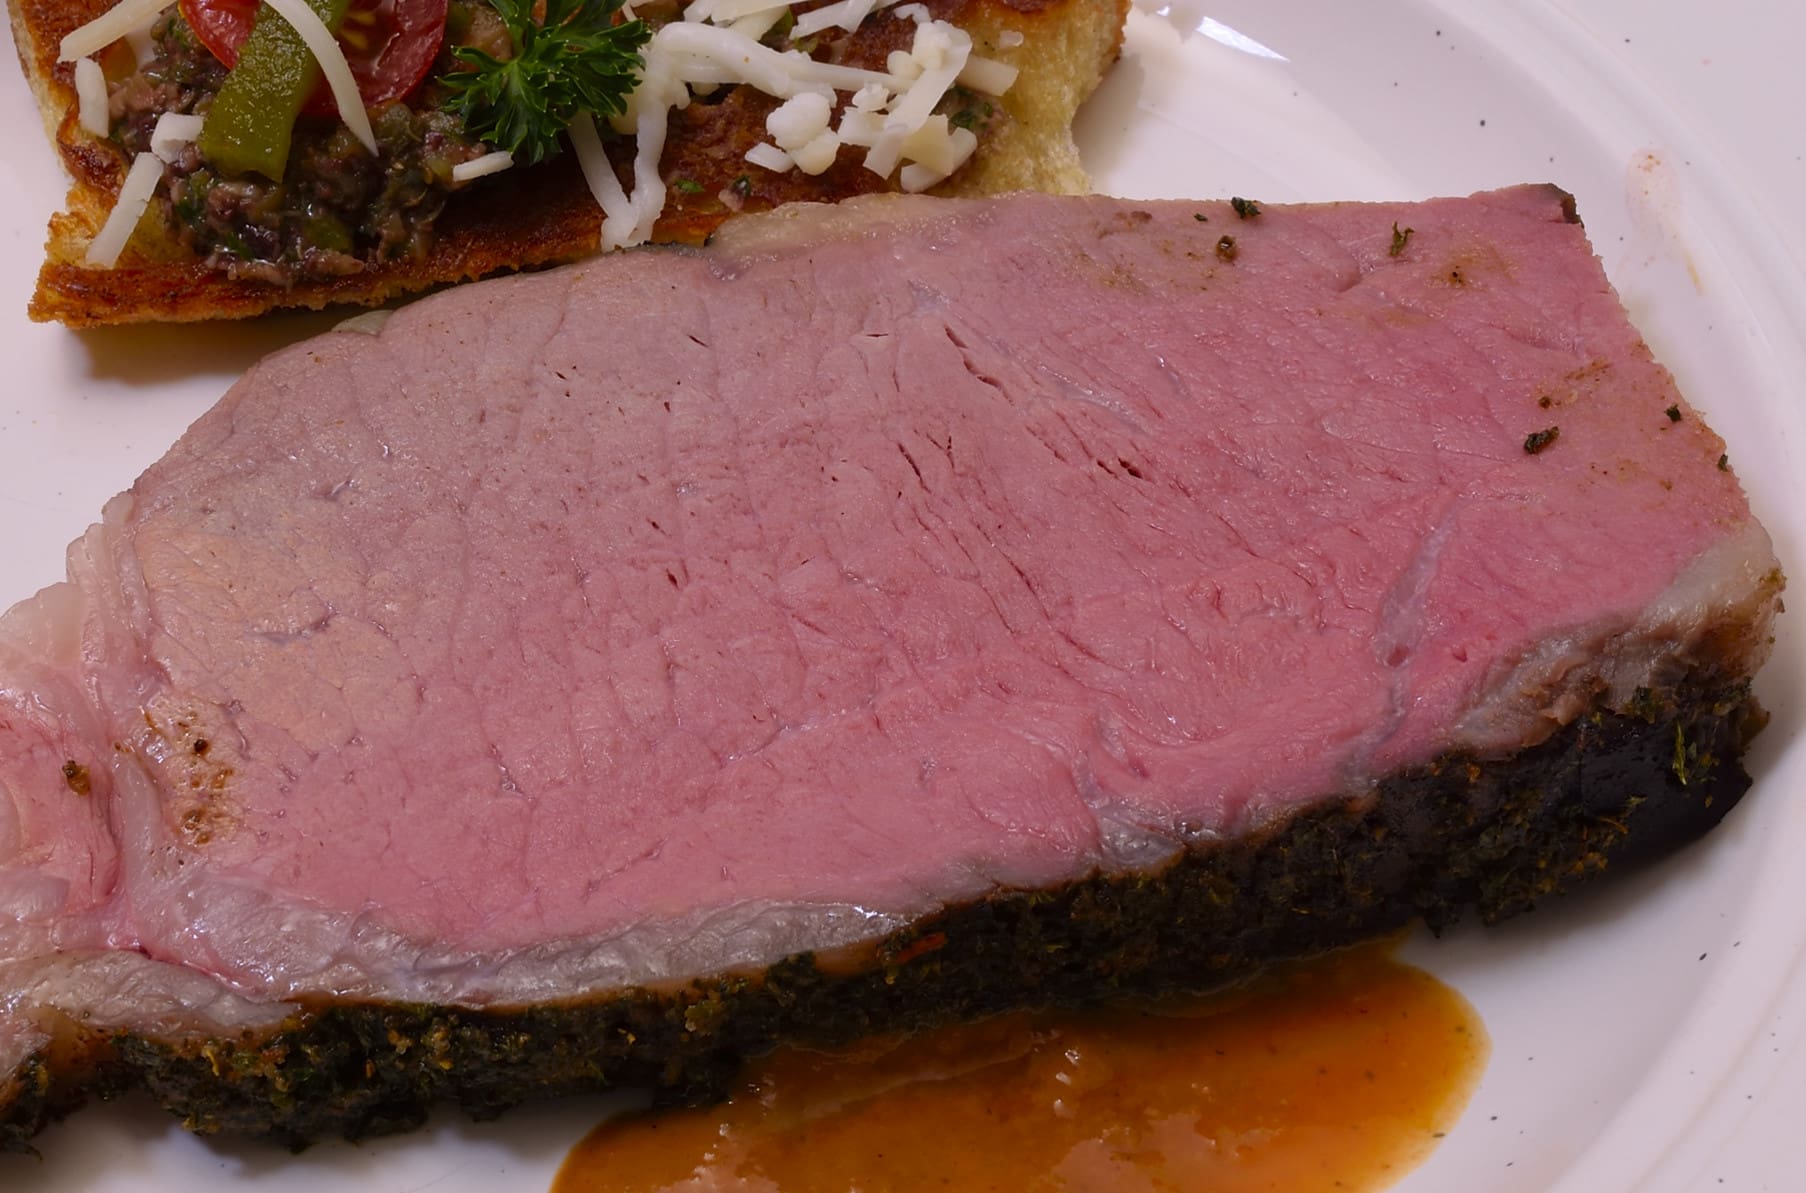
After cutting the steak sandwich, we cut the large steak outlined in our article Option #1. Here’s how it came out…
This steak weighed in at about 18 oz/450 g. If the whole roast was utilized, it would yield 4-5 steaks like this.
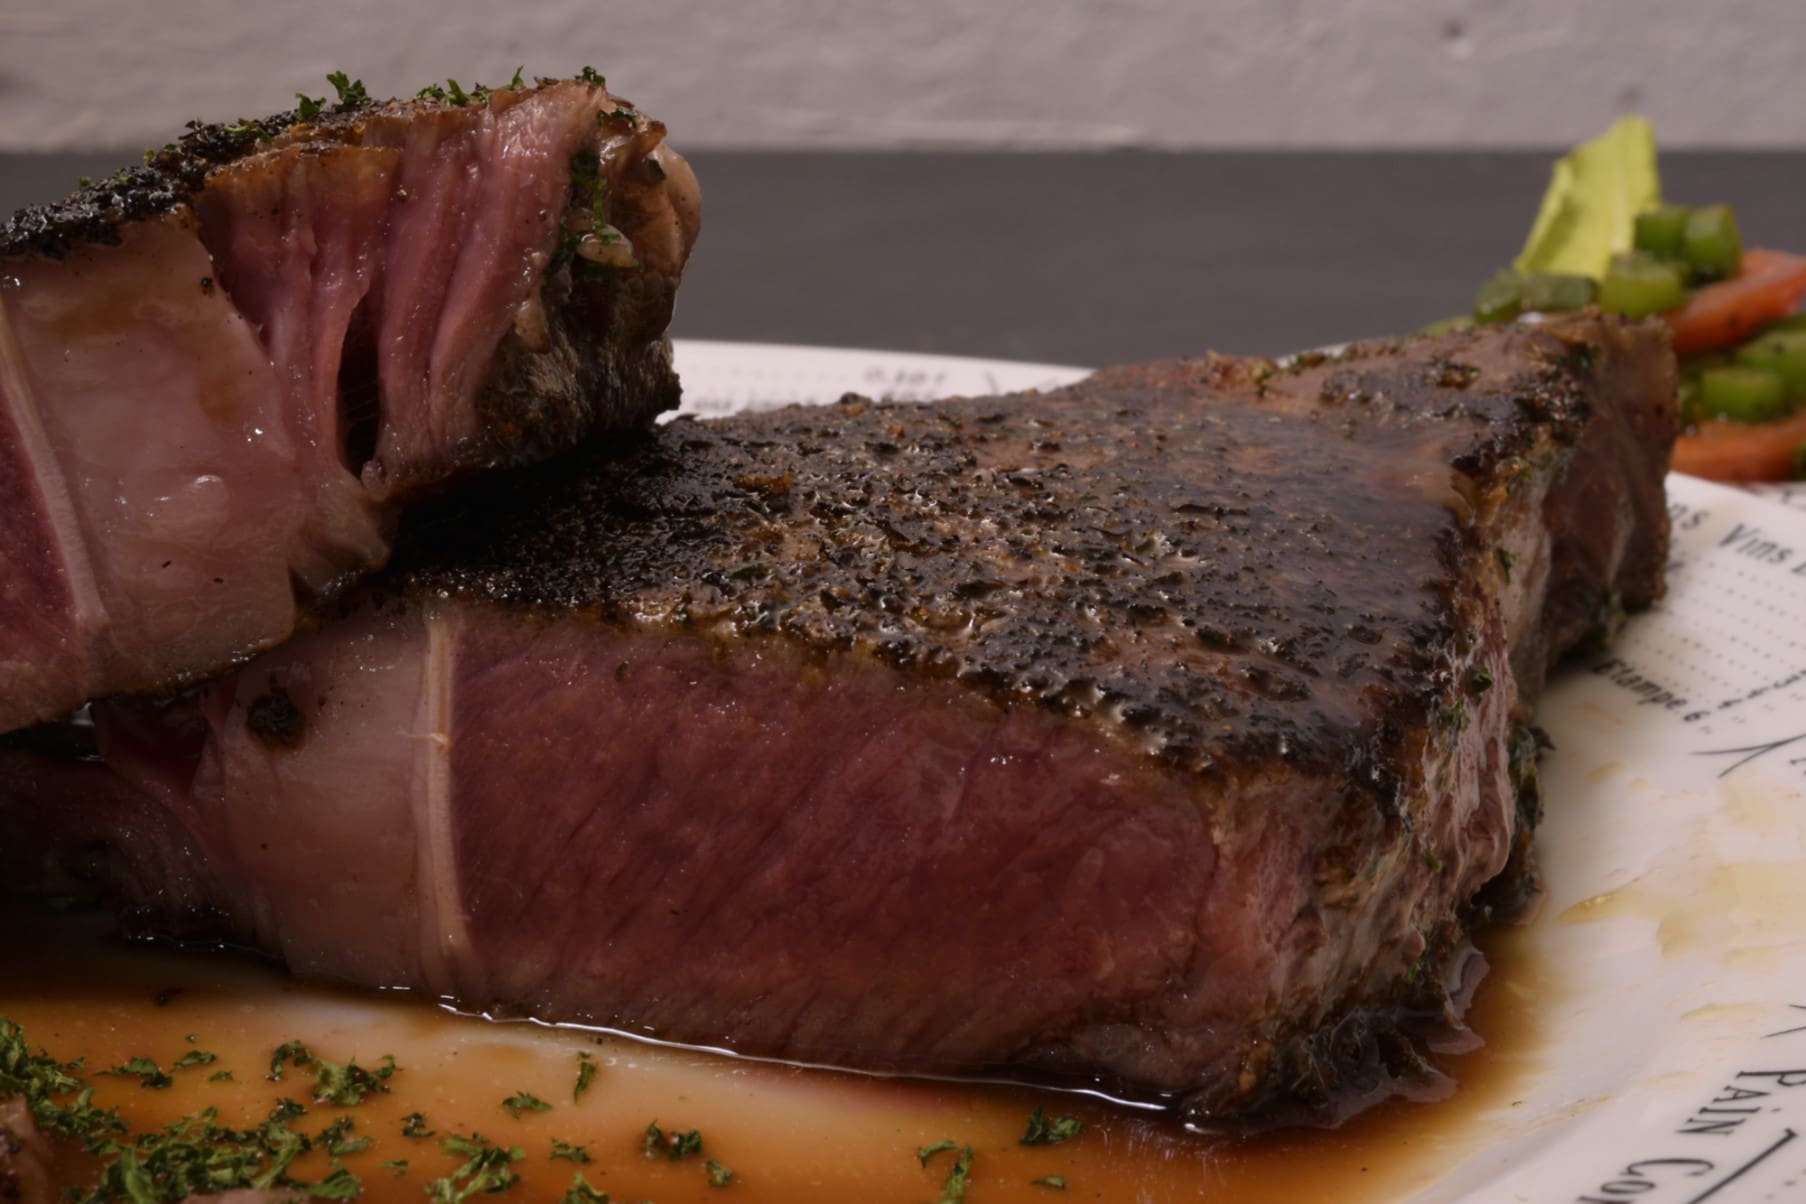
I wanted to show it to you so you can follow along as we proceed through the original 64 oz section.
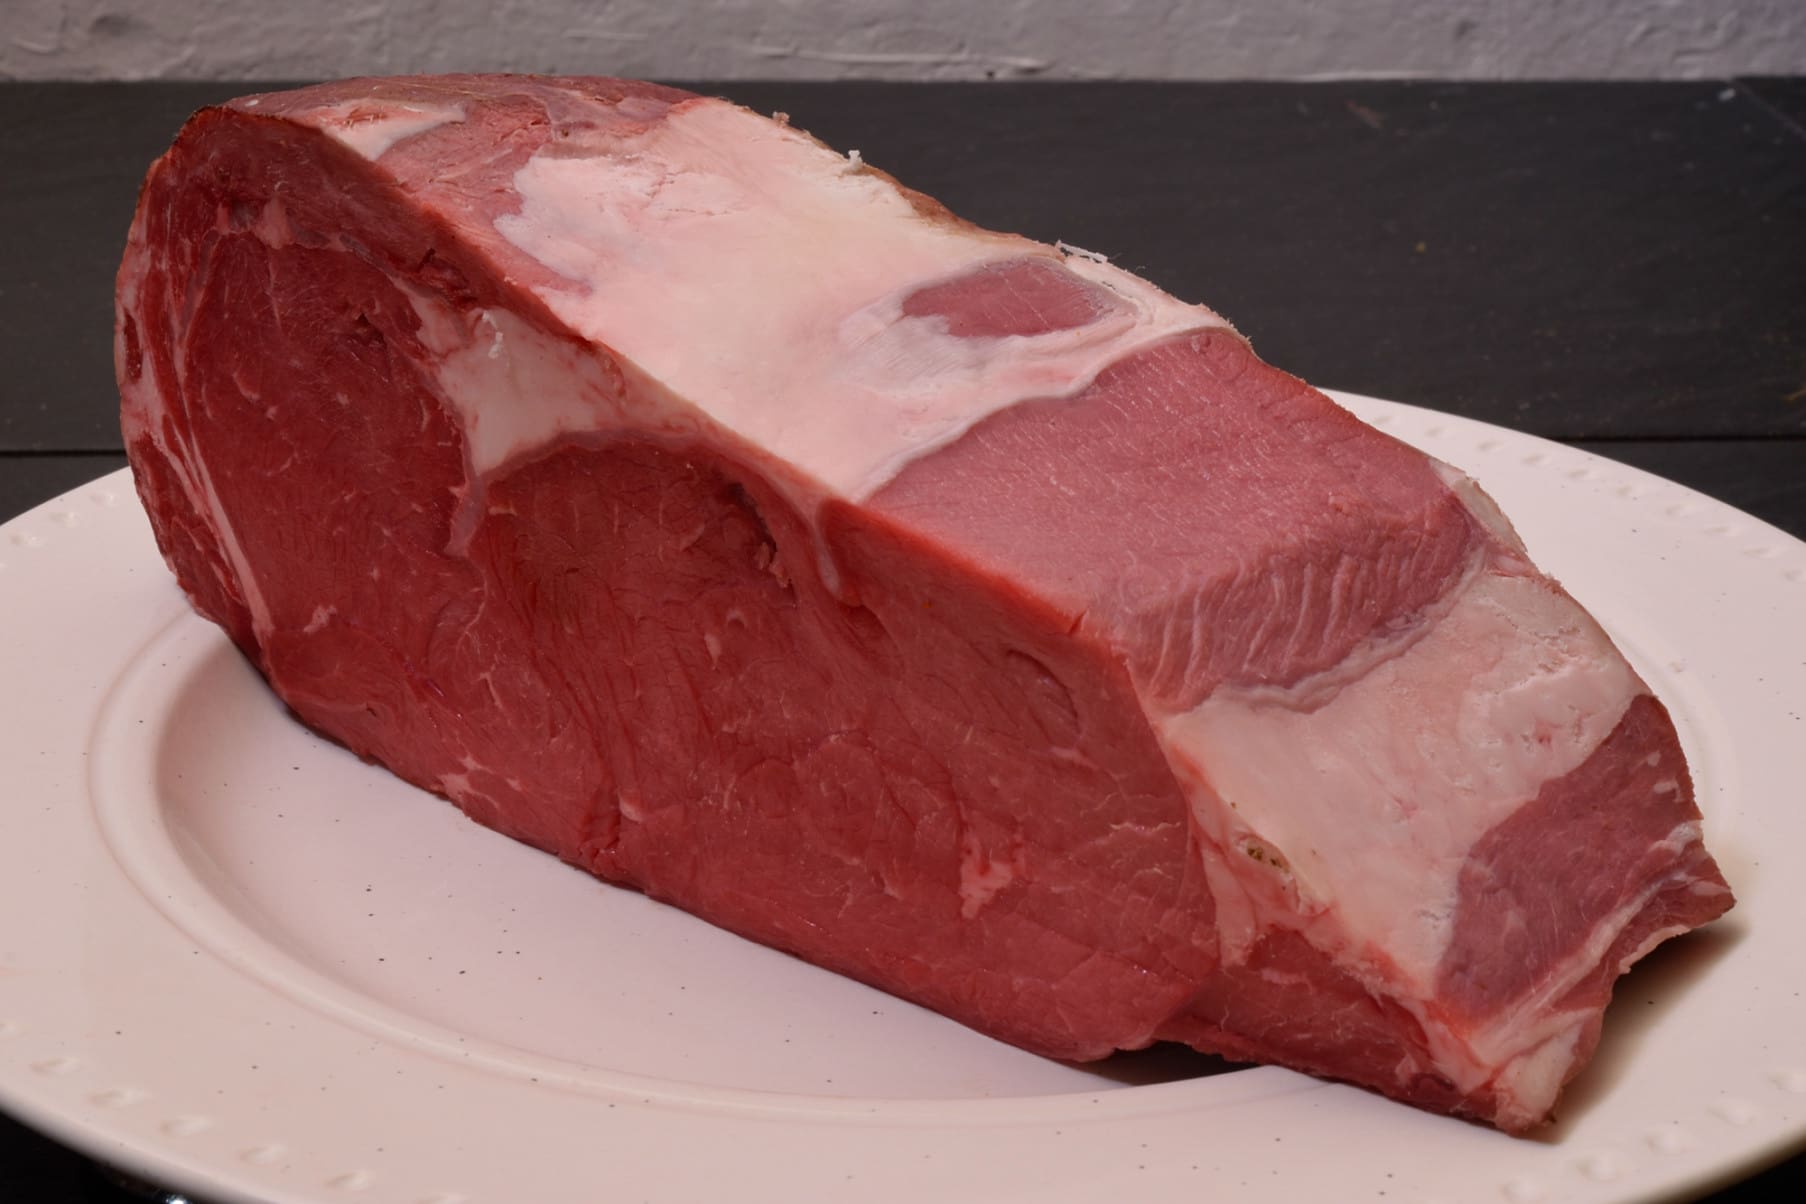
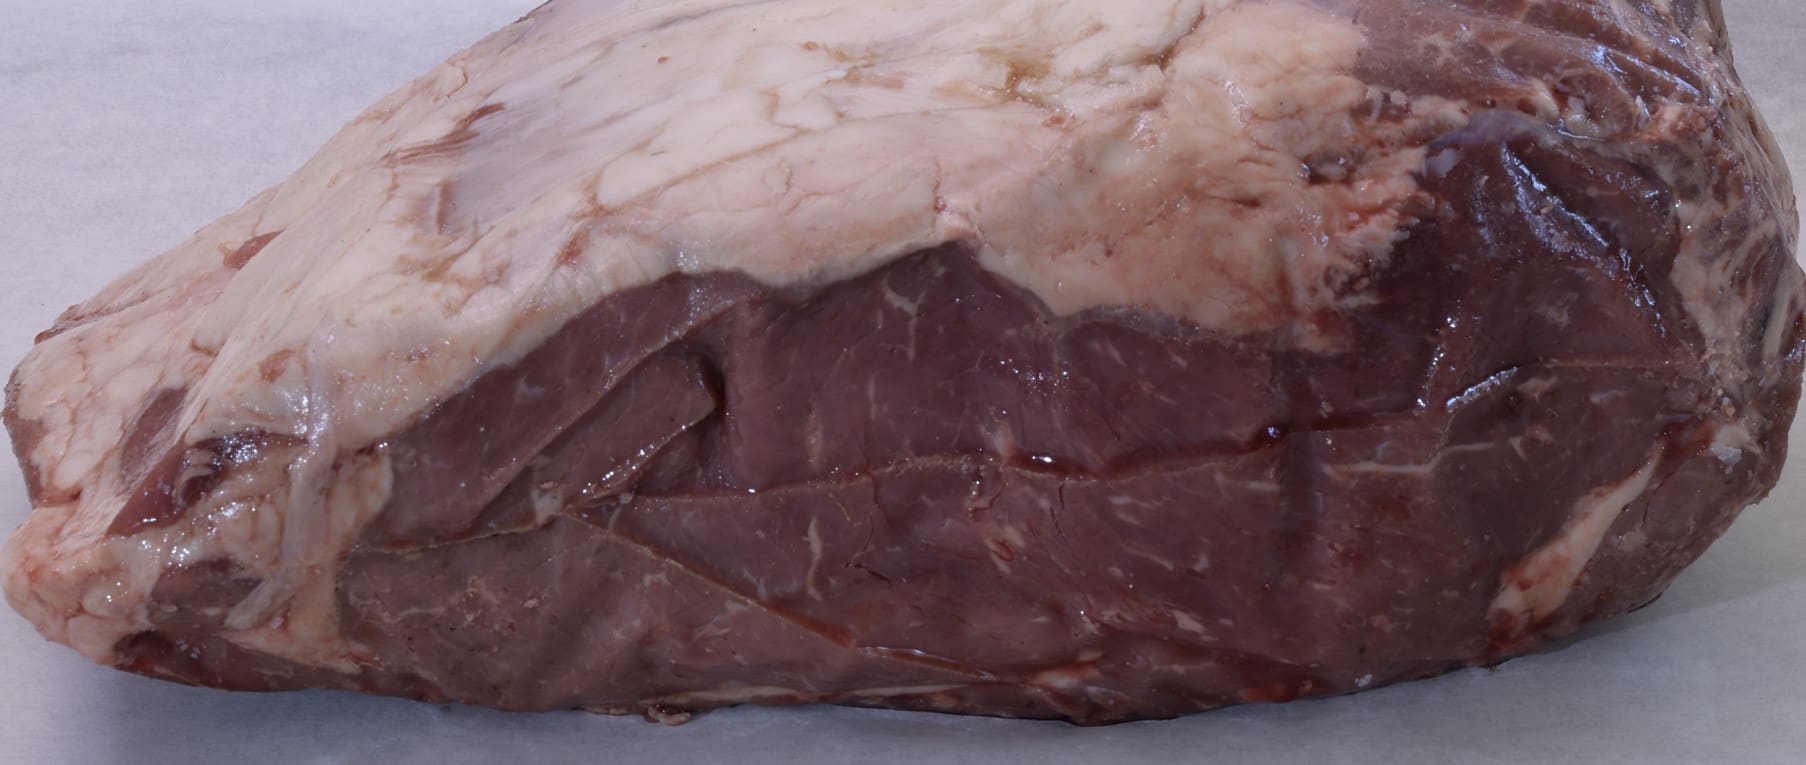
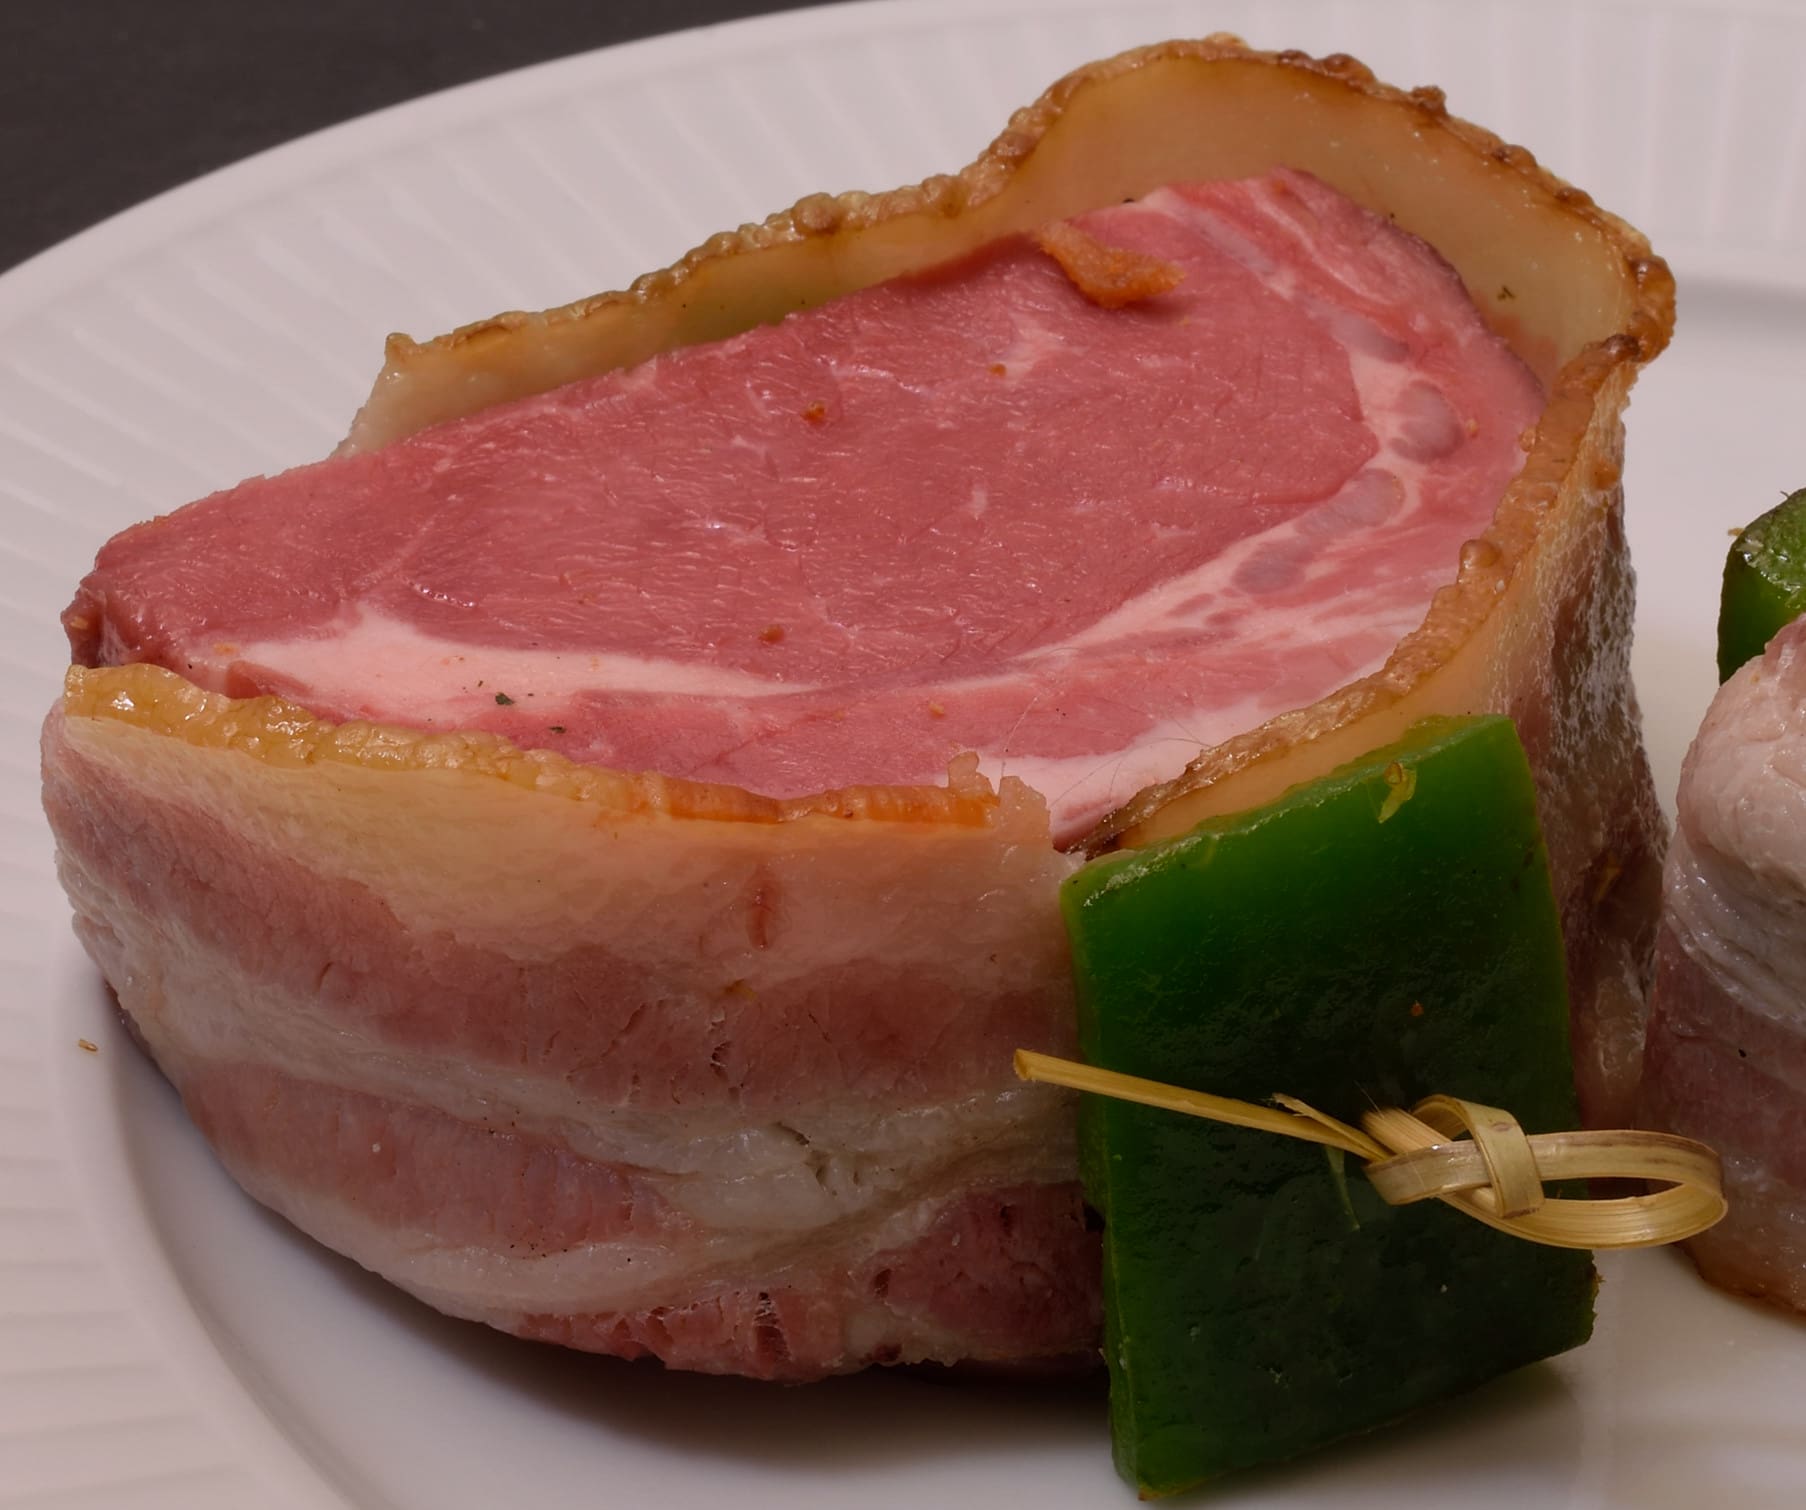
After subtracting the sandwich steak and the full sized rib eye, we have about 36 oz/900 g remaining of the original piece. We removed 2 oz/60 g surface fat.

A cut is made along the grain that creates two semi circular steaks, 6 oz/150 g each. Four pieces of bacon are blanched in the oven, cooked about half way–a little chef trick to make the bacon pre-shrink like a pair of expensive jeans. Green bell pepper squares are seared in a hot dry pan (a torch works well too), and then peeled. Skewer a piece of green pepper. Wrap two pieces of bacon around the steak so they intersect. Run the skewer in through where the bacon overlaps, then out where the bacon overlaps on the other side. Add another piece of green pepper and you are good to go.
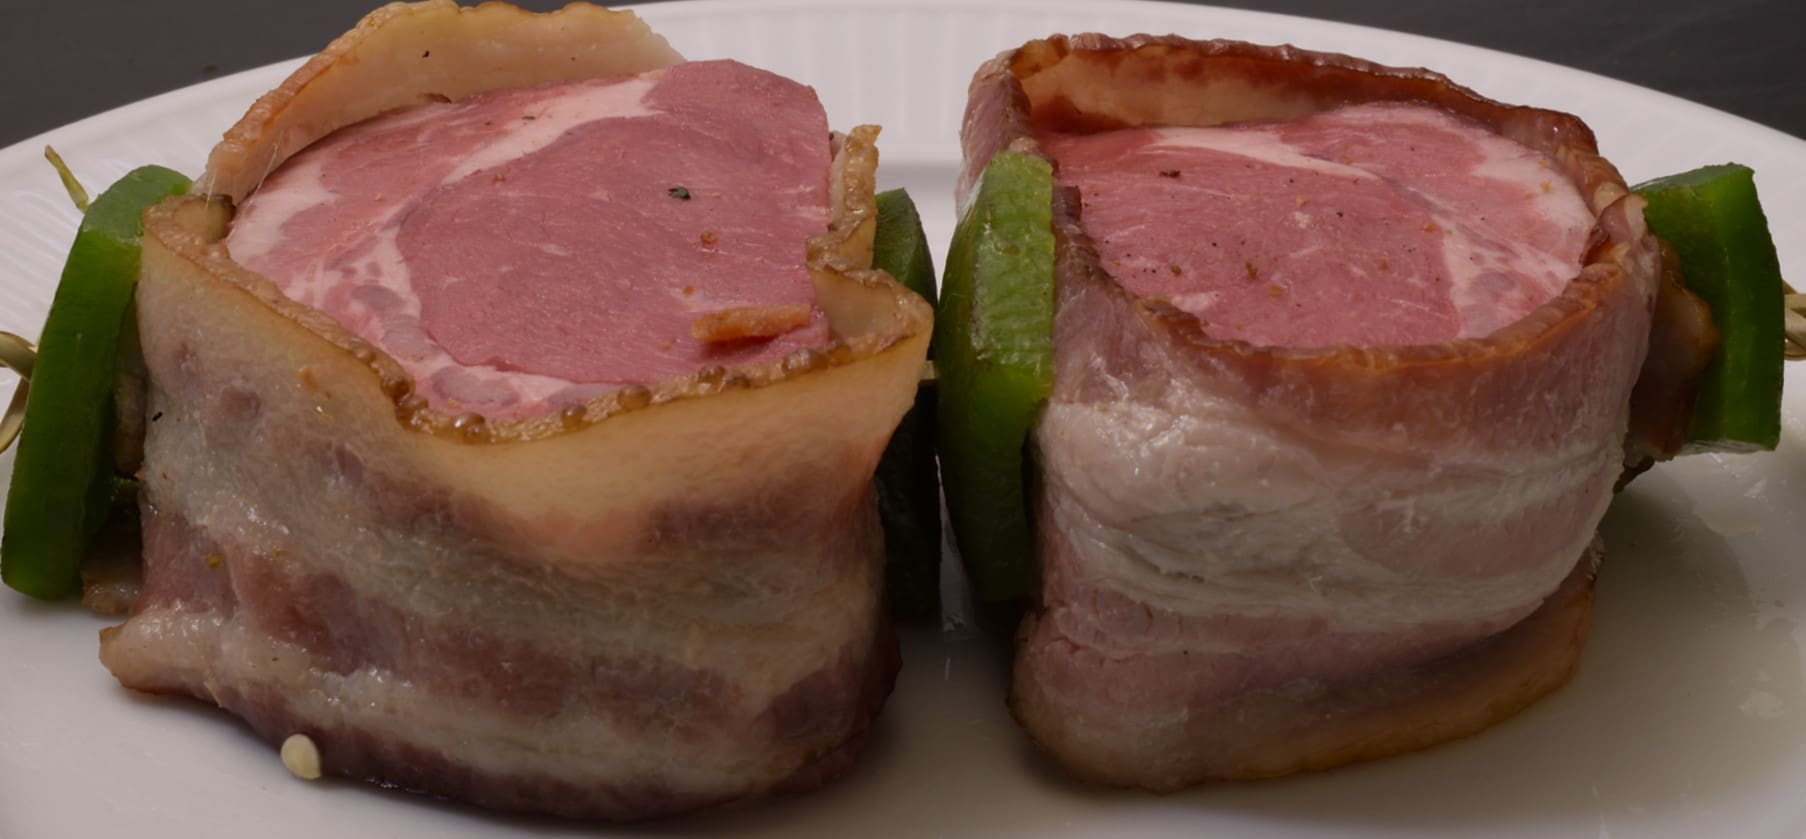
In restaurants, this boring and tedious task is doled out either to “the new guy” or somebody who is in the chef’s “dog house.” They get to make 50 or 60 of them every day for a week or so. Count your blessings–you only have to make two!
Put a few drops of egg white on the steaks and apply your seasoning as we explained in the steak sandwich segment. Preheat your oven to 450 F/230 C. Give it at least 15 minutes to come up to temp. Heat your skillet to approximately 375 F/176 C. Put one steak (oiled side down) in the pan. Listen–the pan should sizzle. If it hisses, the pan was not hot enough. If you hear a popping sound the pan is too hot, so reduce the heat to medium/medium high. Brown both sides of the steak, set it aside, wipe out the pan with a dry towel and repeat the process with the other steak.

Once both steaks are browned, stage them into the hot oven for 5-7 minutes–until the bacon renders.
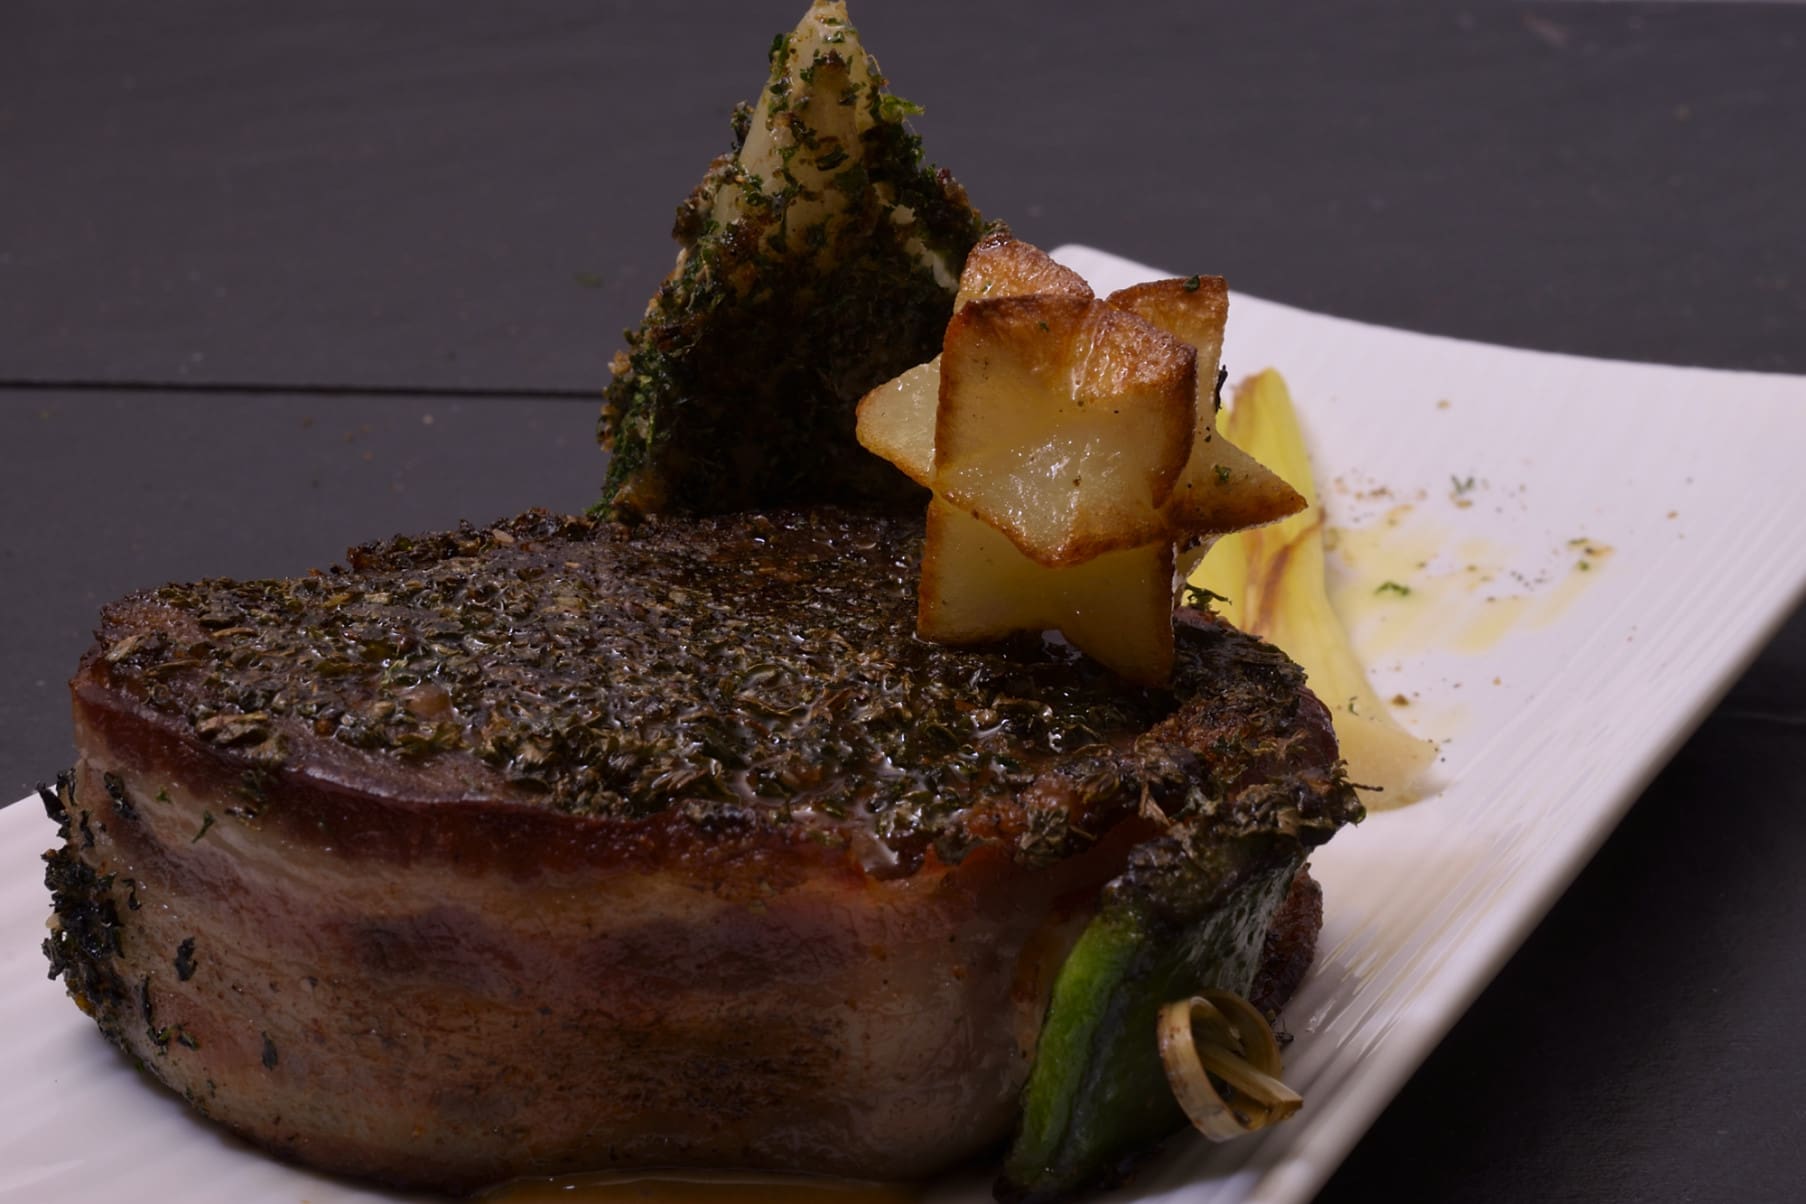
I made a little video demonstrating how to create the pyramid potato, linked HERE.

Had we not cut the steak sandwich and the full sized rib eye from the roast, there would have been enough meat to make up to 10 of the bacon wrapped “tournedos.”
A Brief Departure
I know–I said “steaks.” But there are so many things you can do with sous vide pasteurization, it’s worthwhile to take a detour down the old “Carpaccio Road.” This controversial dish was popularized in the 50’s in Harry’s Bar in Venice, Italy, and has enjoyed varying degrees of popularity over the years. Without diving into all the other controversies about the authentication of the dish, the main concern has always been about the safety of consuming raw beef.
Raw beef CAN be safe to eat but if it is not handled carefully, it can lose some assurance. Sous vide comes to the rescue once again because once a steak (or any food) is pasteurized, it is safe to consume, just like milk out of the carton. Of course, it must still be handled carefully.
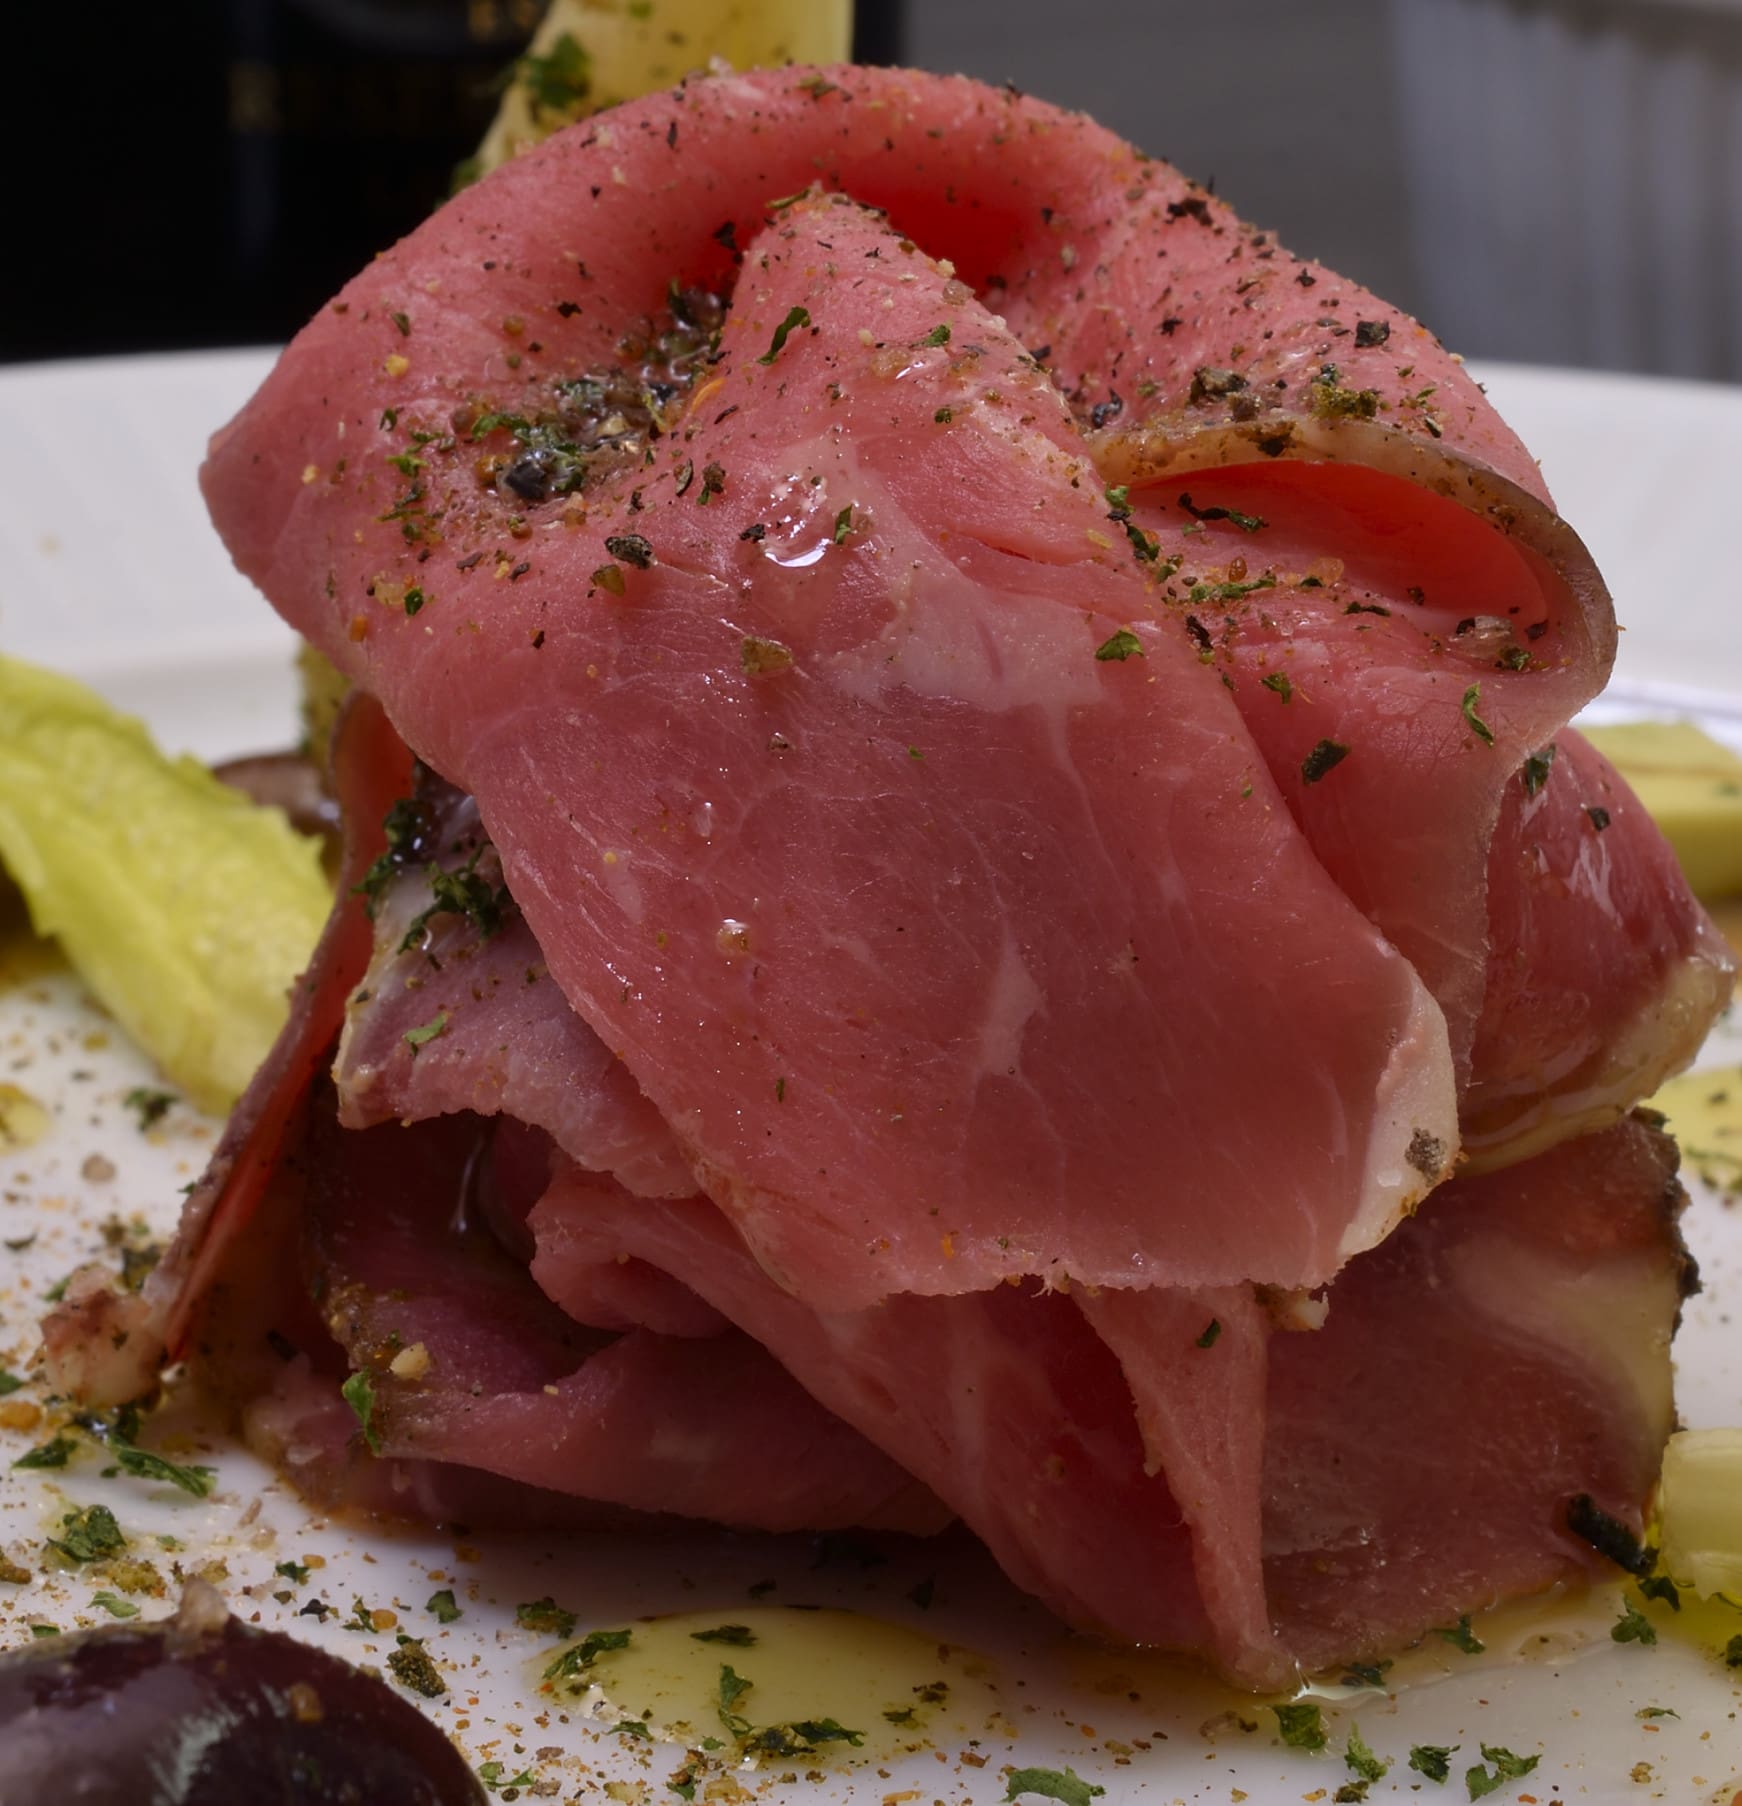
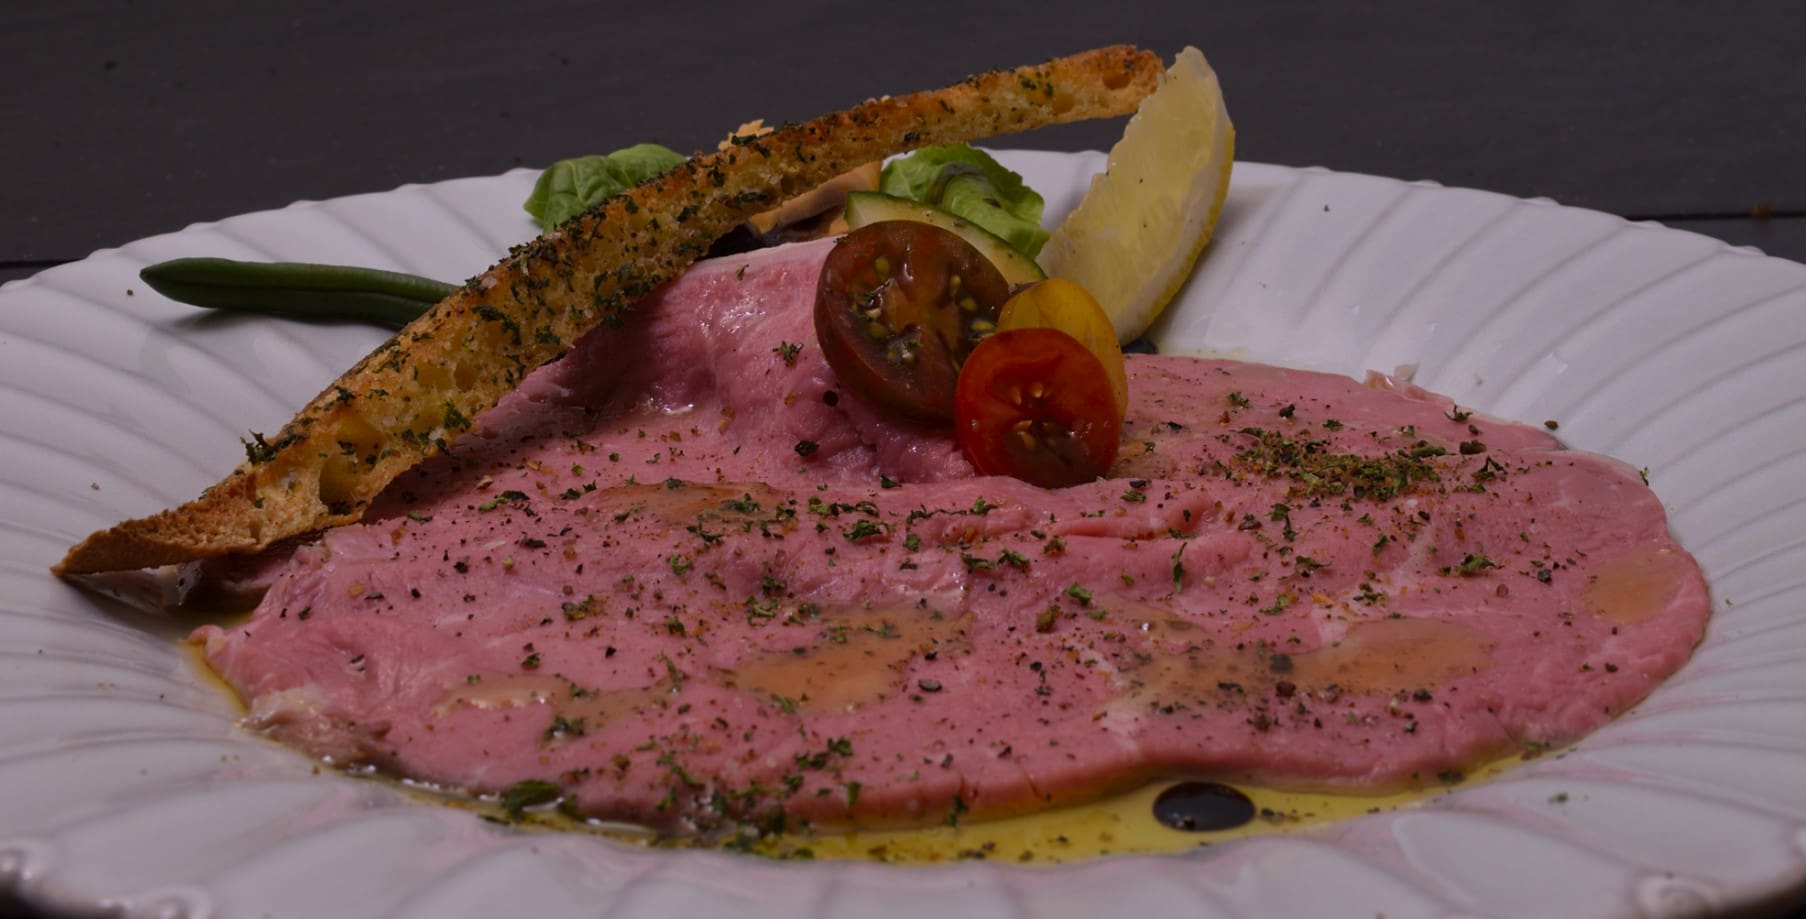
Moving forward, Carpaccio, or “Fauxpaccio” could not be much simpler. The beef–about 2 oz/60 g–is sliced as thinly as possible and should be as red as possible as tribute to its artistic namesake. The original version was garnished with things like extra virgin olive oil, lemon, white truffles and shaved Parmesan cheese. Modern interpretations are all over the map and the Italians themselves use the term “Carpaccio” to refer to dishes that utilize octopus, beets, tuna and all other manner of “red” things. Originally it was flat like a painting but we abandoned our obsession with historical accuracy quite a while back.
Fire up the smoker!
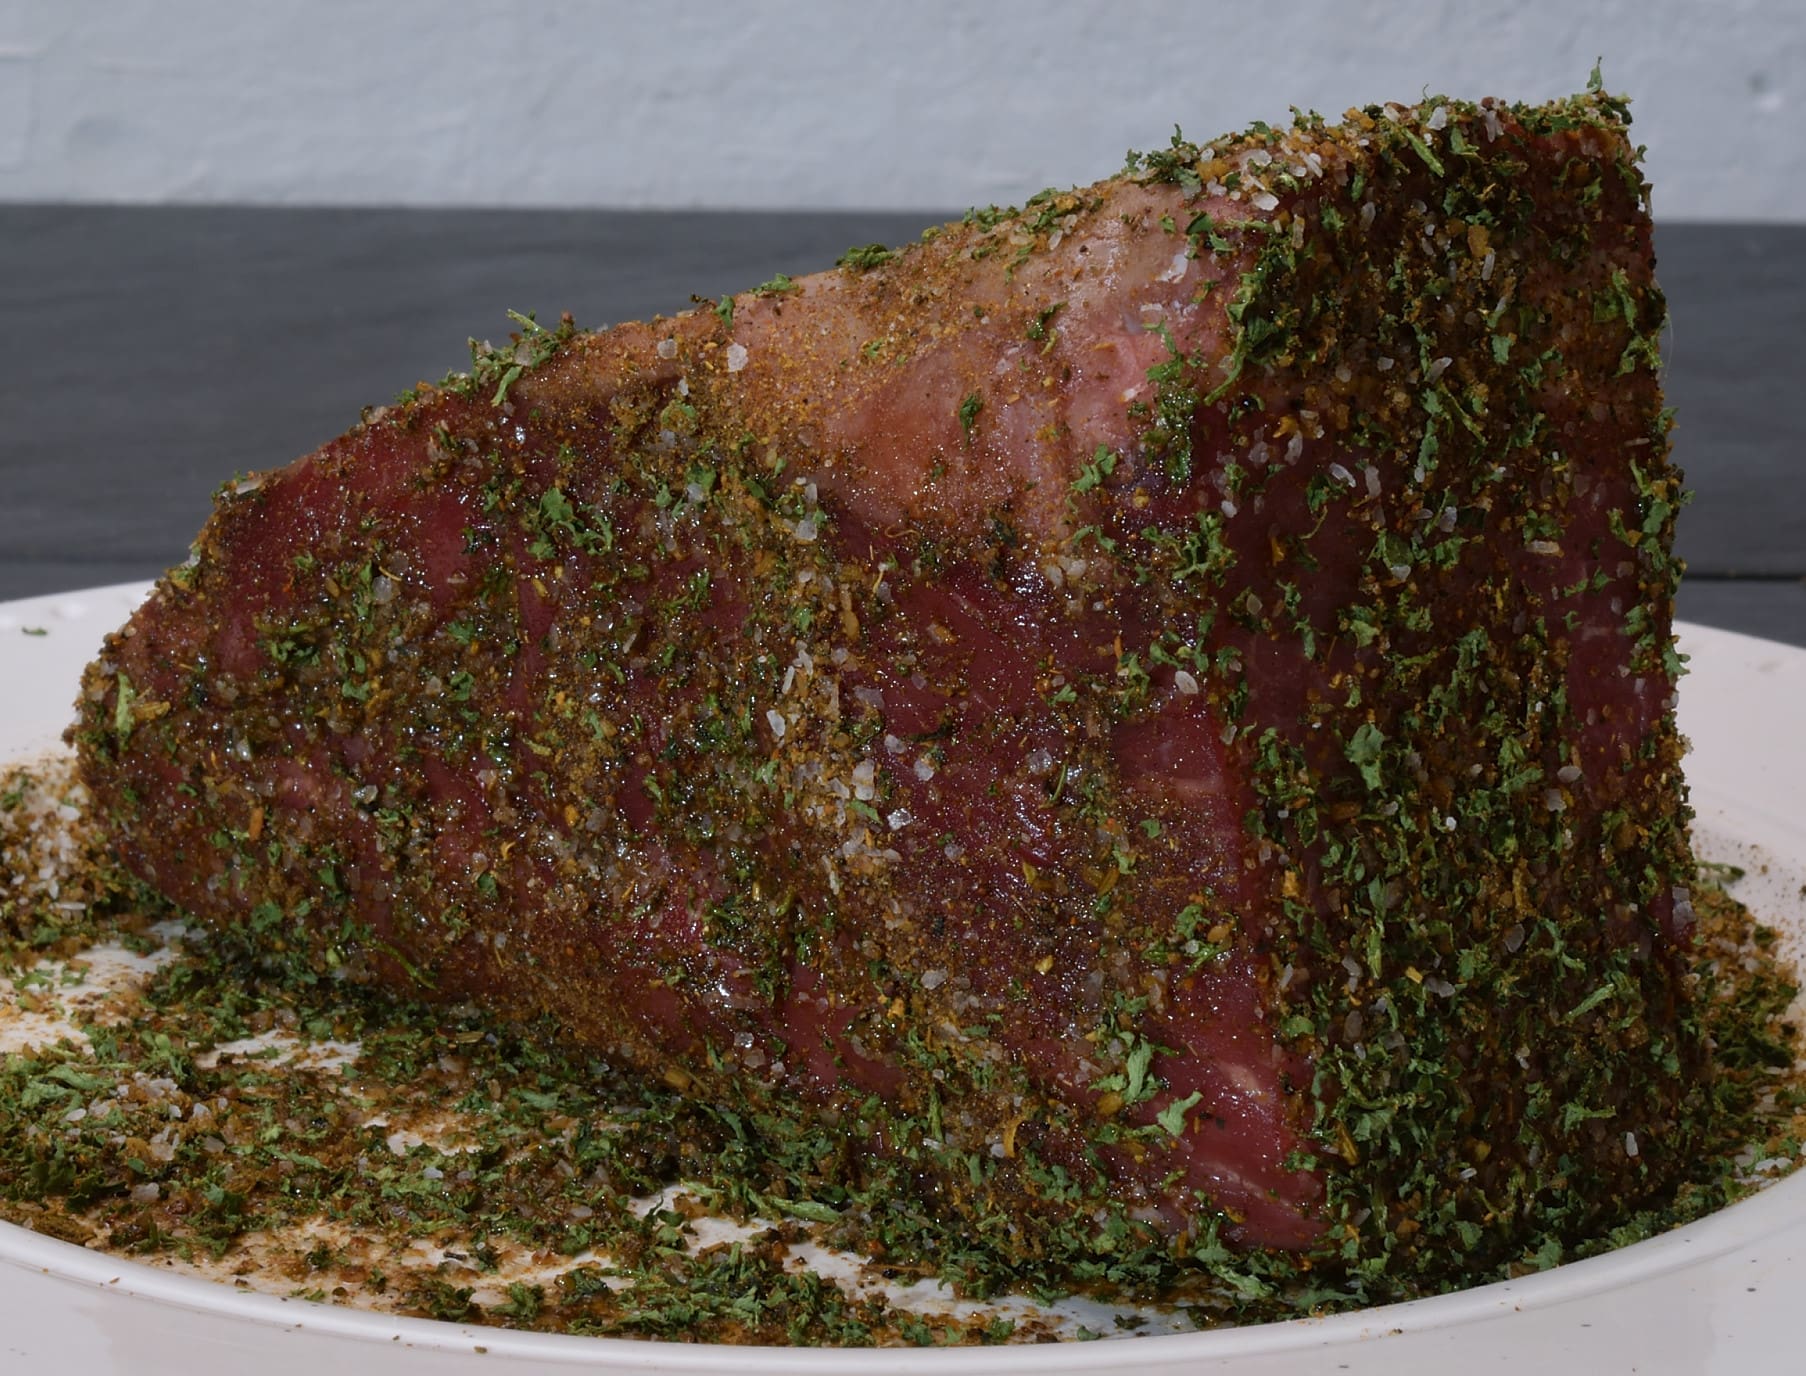
We are on the home stretch! No treatise on roasts and steaks would be complete without out a sojourn to the world of smoke flavoring. Our preparation begins similarly to most of the other dishes we have discussed. The remaining chunk of rib eye is lightly coated with egg whites and then dusted generously with seasonings. Again, we have a complete database of rubs and blends linked HERE.
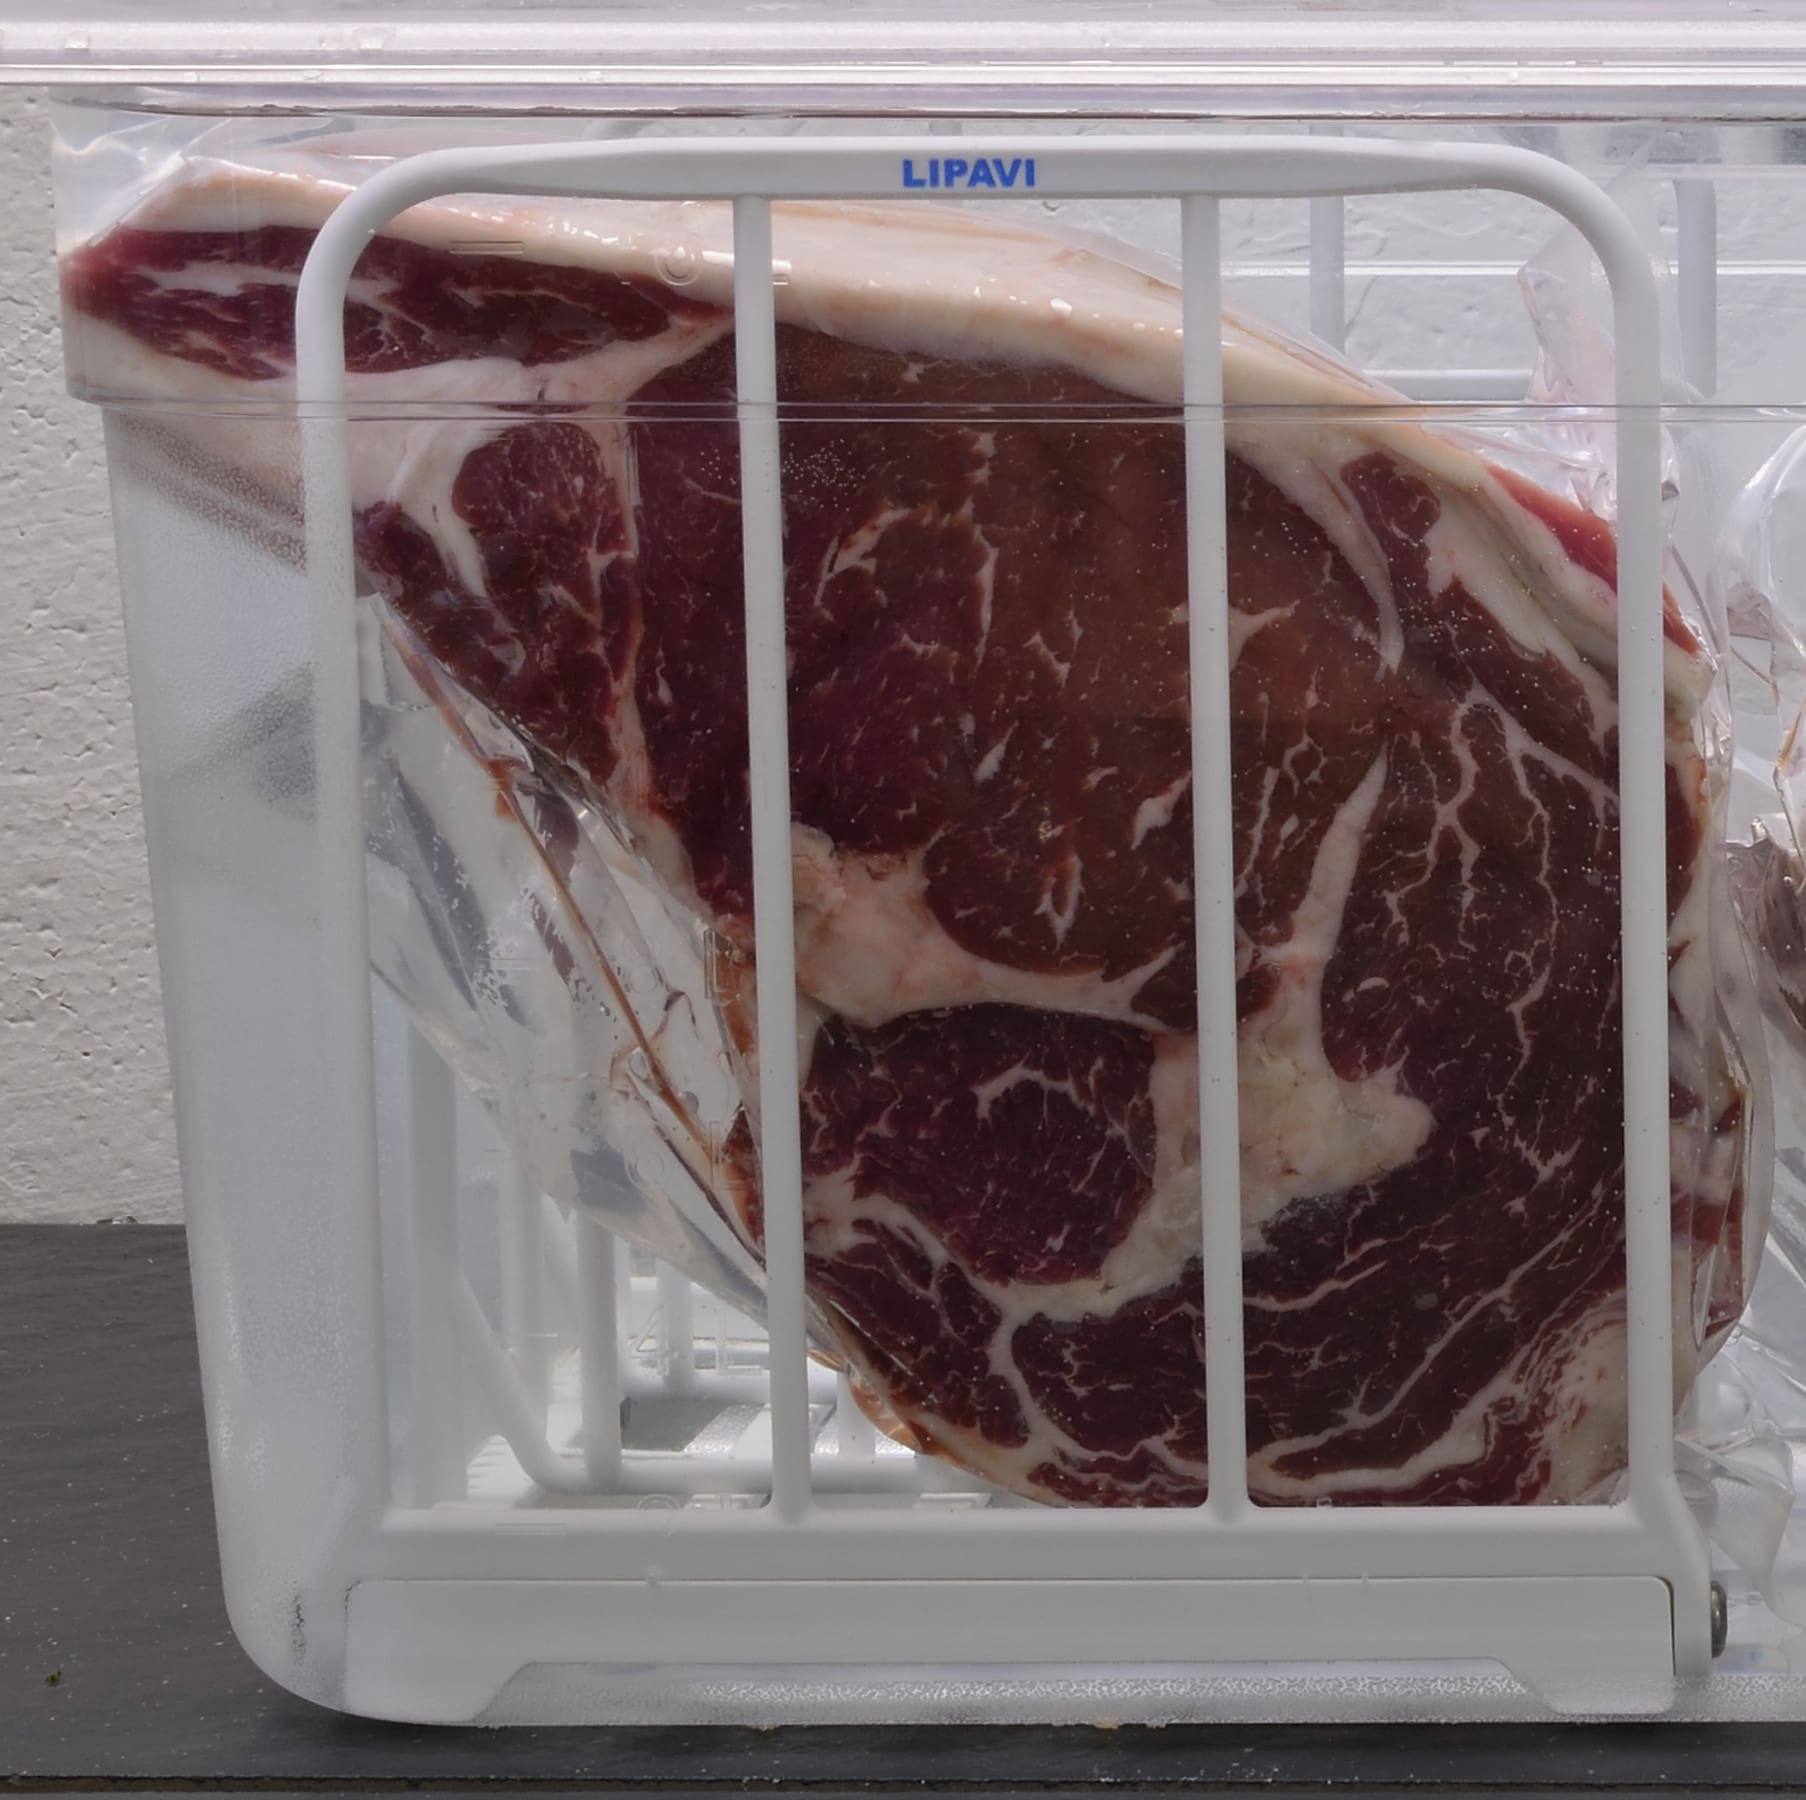
Preheat the smoker or oven to 180 F/82 C or as close to that as you can get. We use a pellet smoker which is a little more precise than the traditional “Weber” model, but there is no need to go out and buy a new rig just for this recipe. With a little heat maintenance and loving care, the desired results are almost guaranteed in any barbecue or oven because sous vide has already done most of the work for us.
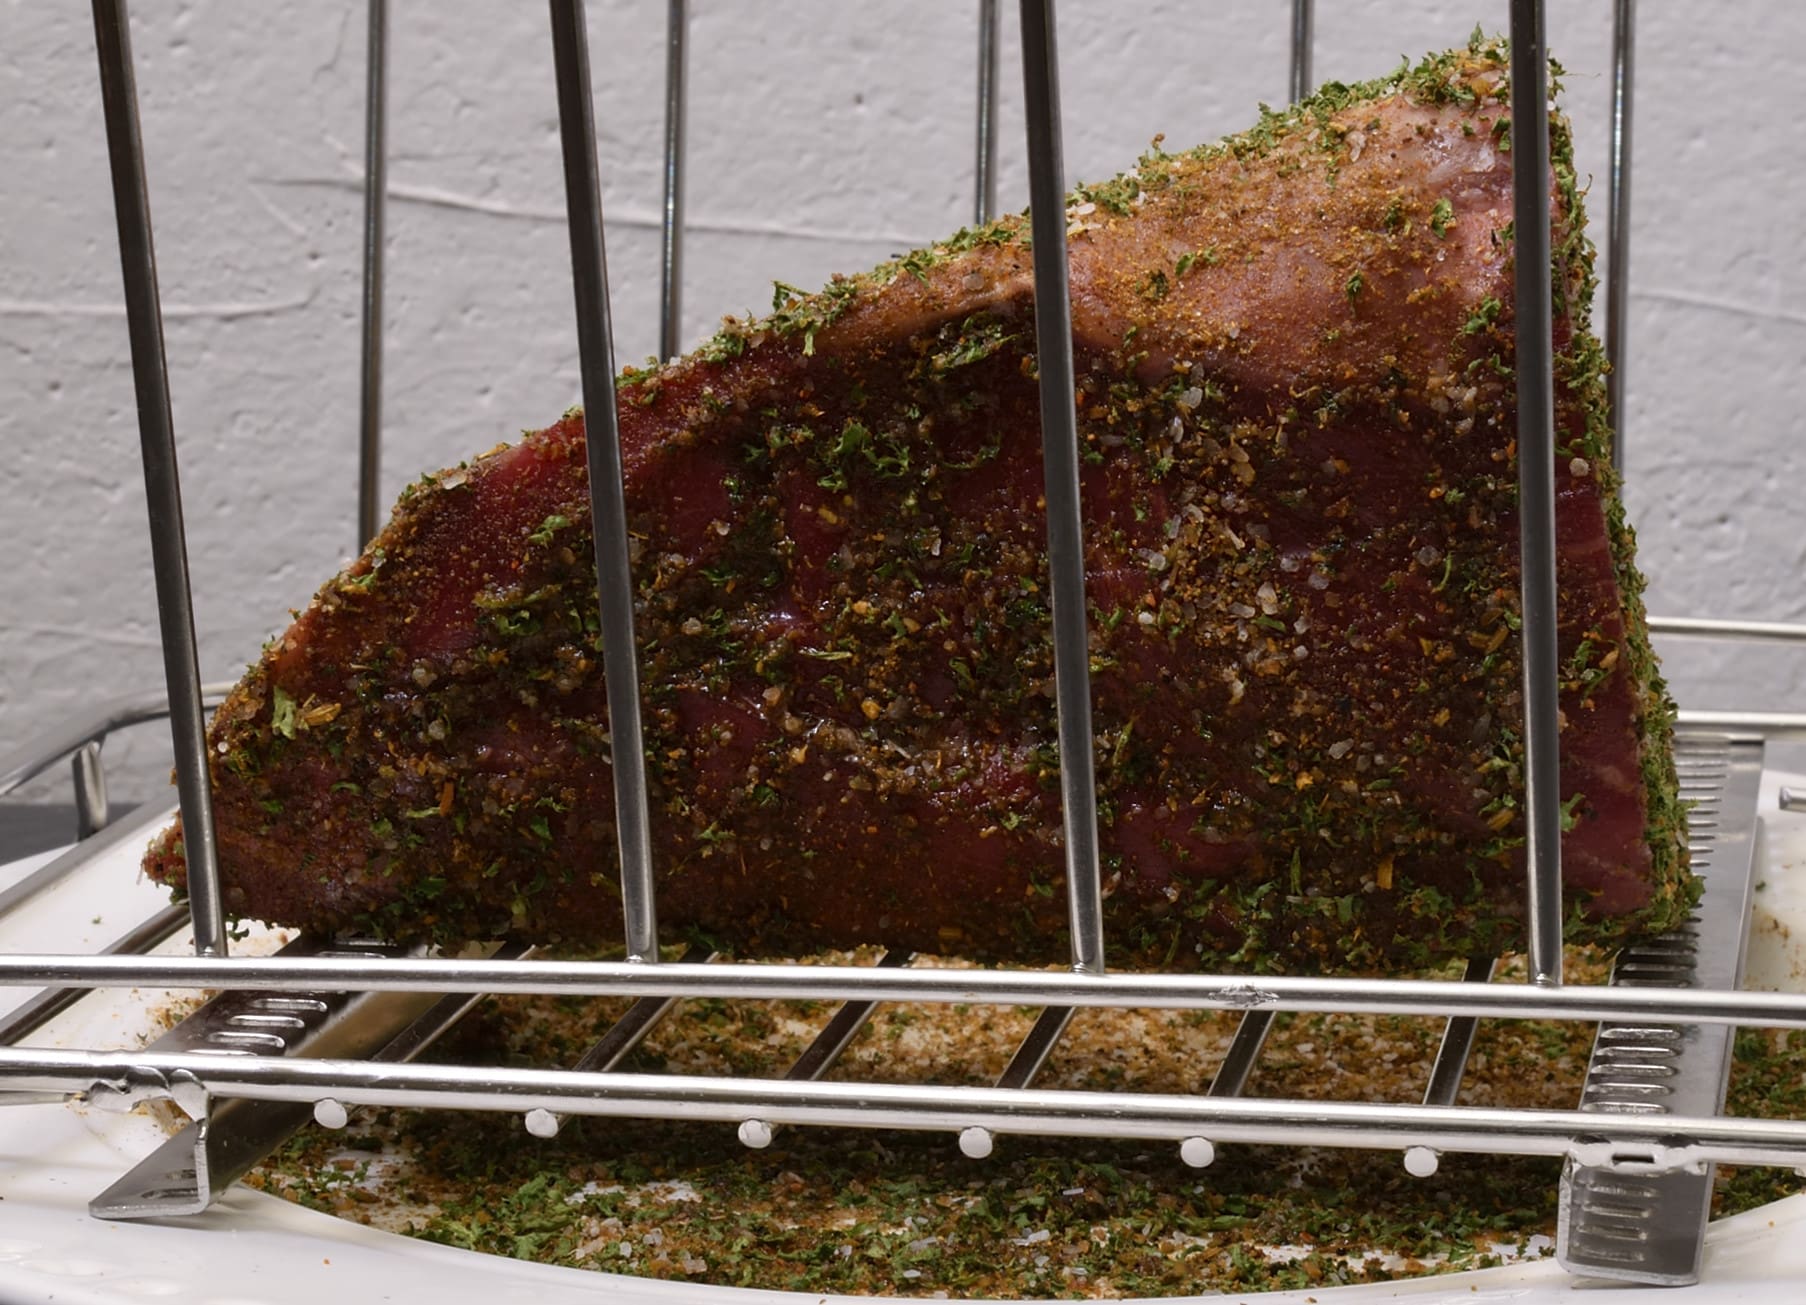
Lipavi steel racks are great for sous vide, transport, smoker duty, refrigeration, just about everything. Smoke/roast for a minimum of 3 hours or until a probe thermometer reaches 125 F/52 C.
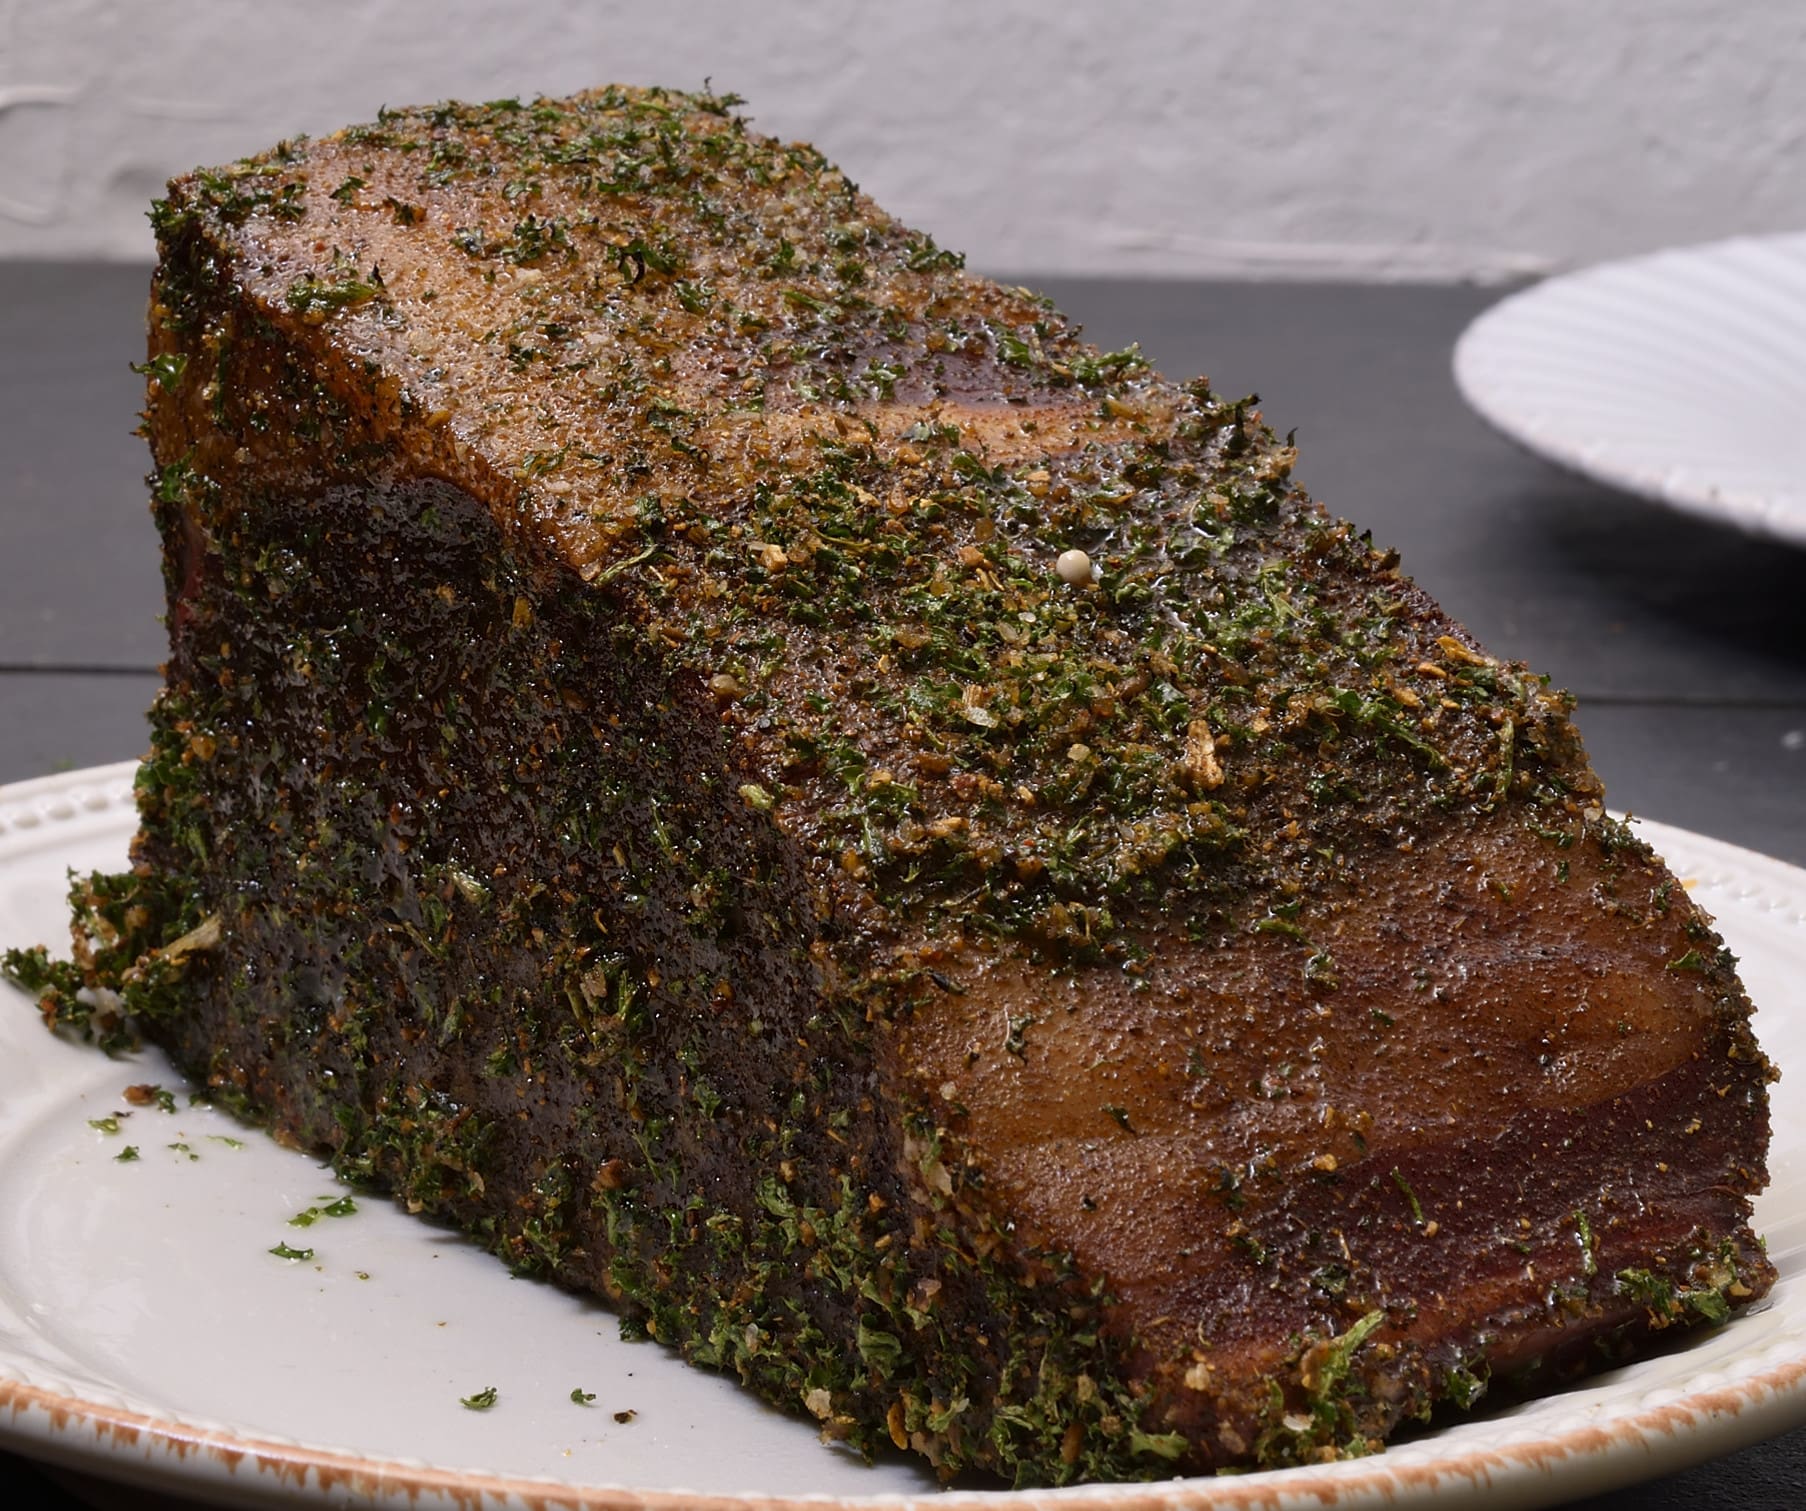
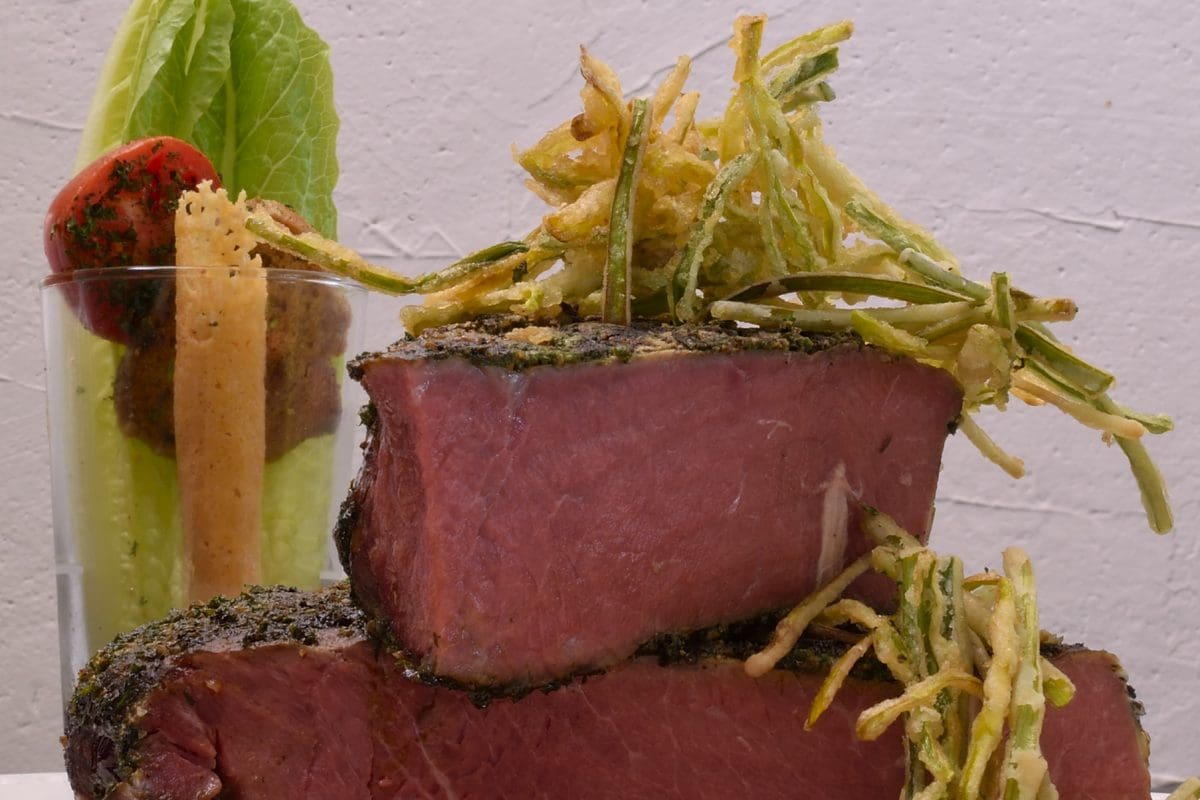
I don’t think you need me to tell what you what to do when it’s done, but I put a few presentations together to feed the eyes.
Cut medium thick, whatever accompaniments you like.
–in the picture, we use a Tamarind Sauce that we describe HERE on our sister site.
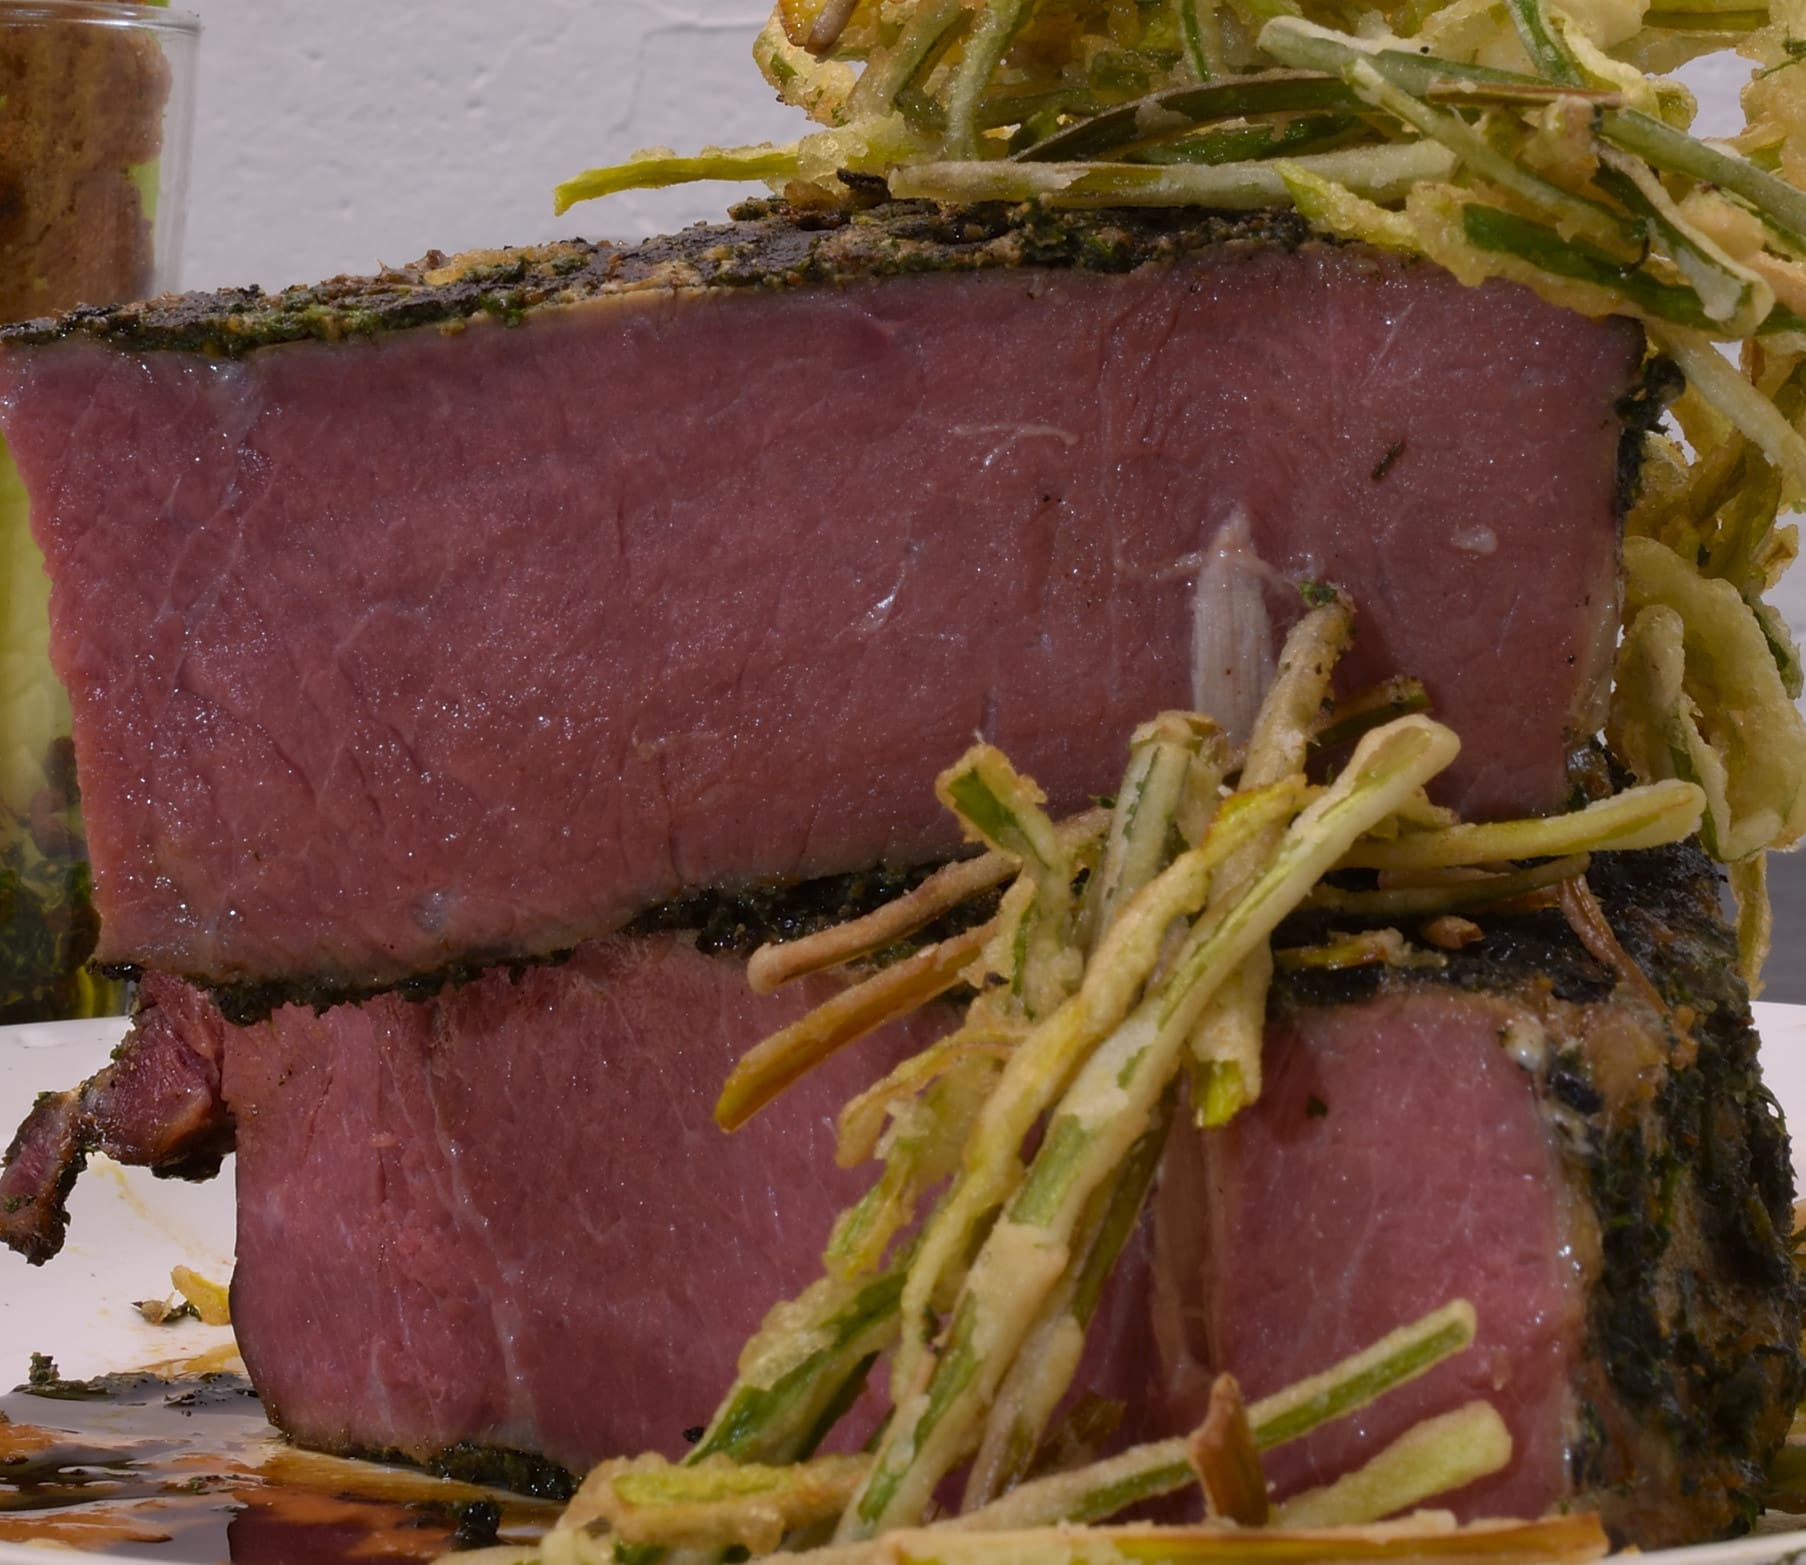
We know it’s going to be tender, so there is no need to slice thin! Crispy battered leeks
Wait! We’re not quite done!
We had more meat than we had diners, so some of the smoked rib eye ended up being refrigerated overnight. Typically, the expectation would be for tomorrow’s lunch to consist of some well done, dried out meat. That’s what mayonnaise is for, right?
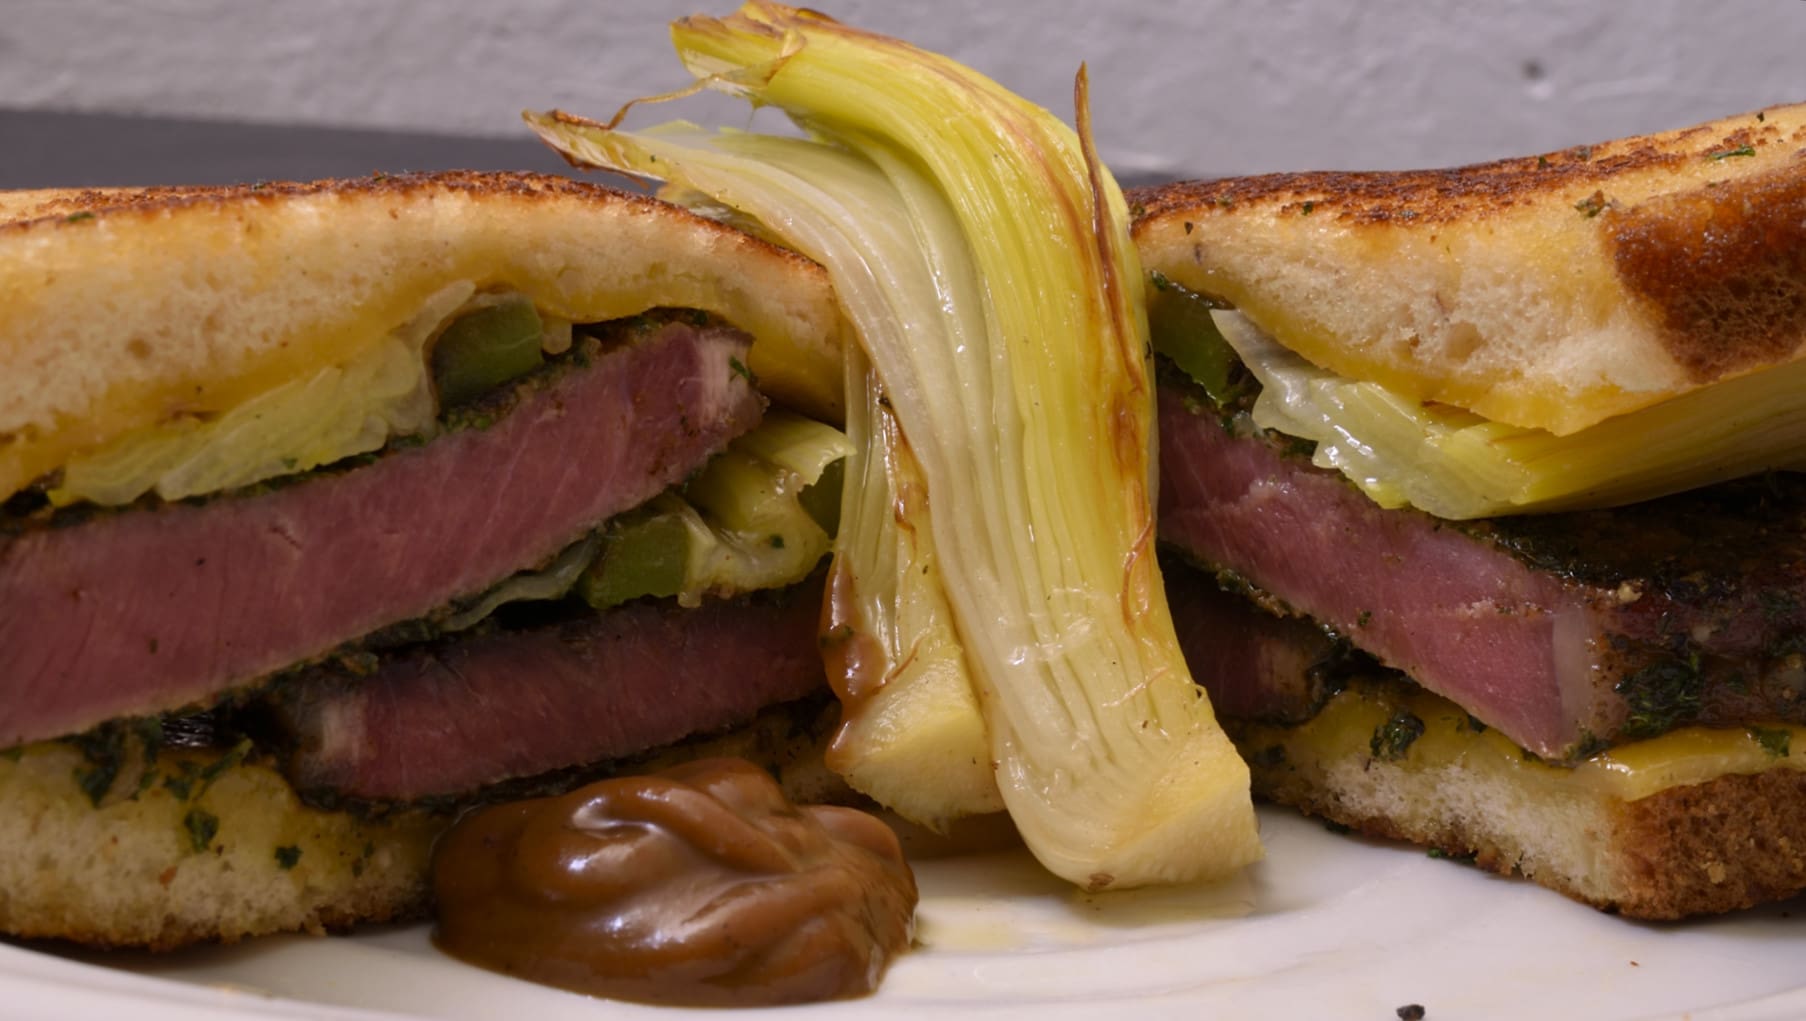
We cut a few slices, re-seasoned, and seared just as we did for the steak sandwich. Judge for yourself.
Norm King
1