Serves 4
Level of difficulty: 3
Preparing the tenderloin
Remove the tenderloin from the packaging and stage onto a clean work surface.

Many people ignore the plainly visible sheet of silver-skin that runs about half the length of the muscle.

This connective tissue is not particularly tough. However, it can tend to shrink and curl during the process of cooking, altering the shape of the muscle and catching in the teeth. It is easy to remove.

Hold the tenderloin at the left end (assuming you are right handed). Insert a boning knife under the skin just to the right of your hand.

Drag the knife along to the right, removing the silver skin in two strips. Cut the tenderloin in half lengthwise–this makes it easier to stage into the sous vide pouch.
Procedure:
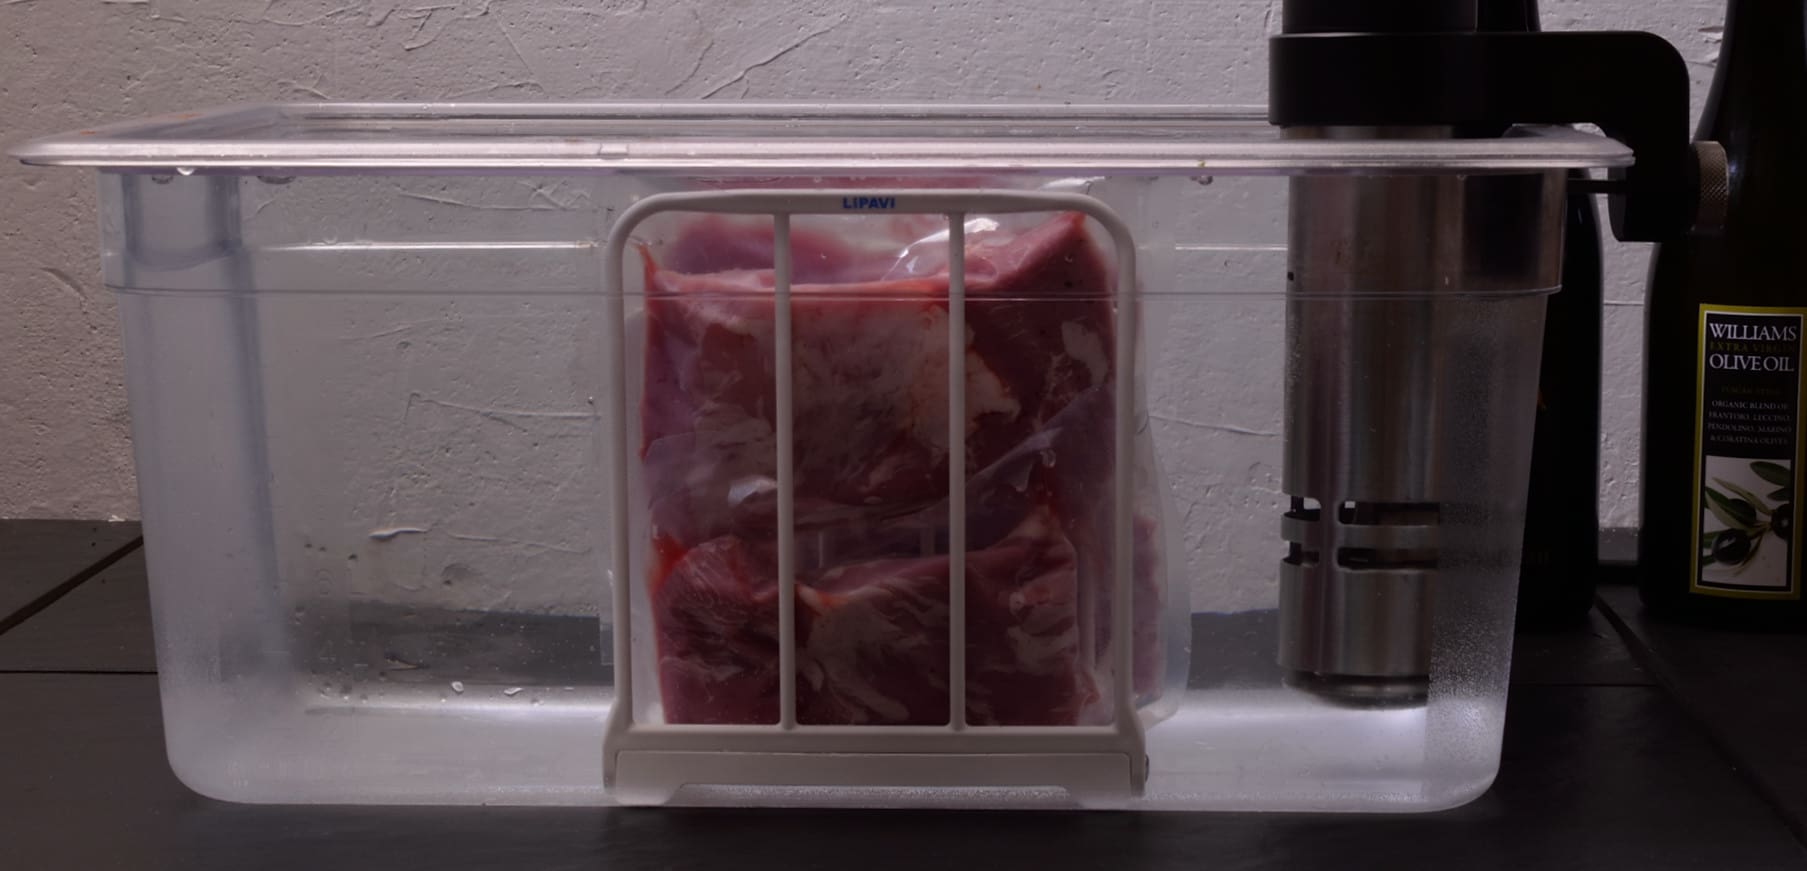
Preheat the sous vide bath to
135 F/57 C.

Stage the pork tenderloin into heat rated vacuum bags and process for 5 hours. This combination of temperature and time will pasteurize the protein.
When the processing time has elapsed, shock the sealed pouches in iced water to 70 F/21 C before refrigerating. This is a very important safety procedure. Refrigerators and even freezers are not capable of cooling the pouches fast enough to meet food safety guidelines. After shocking, refrigerate at 40 F/4 C until you are ready to move on to the next step.
Preparation
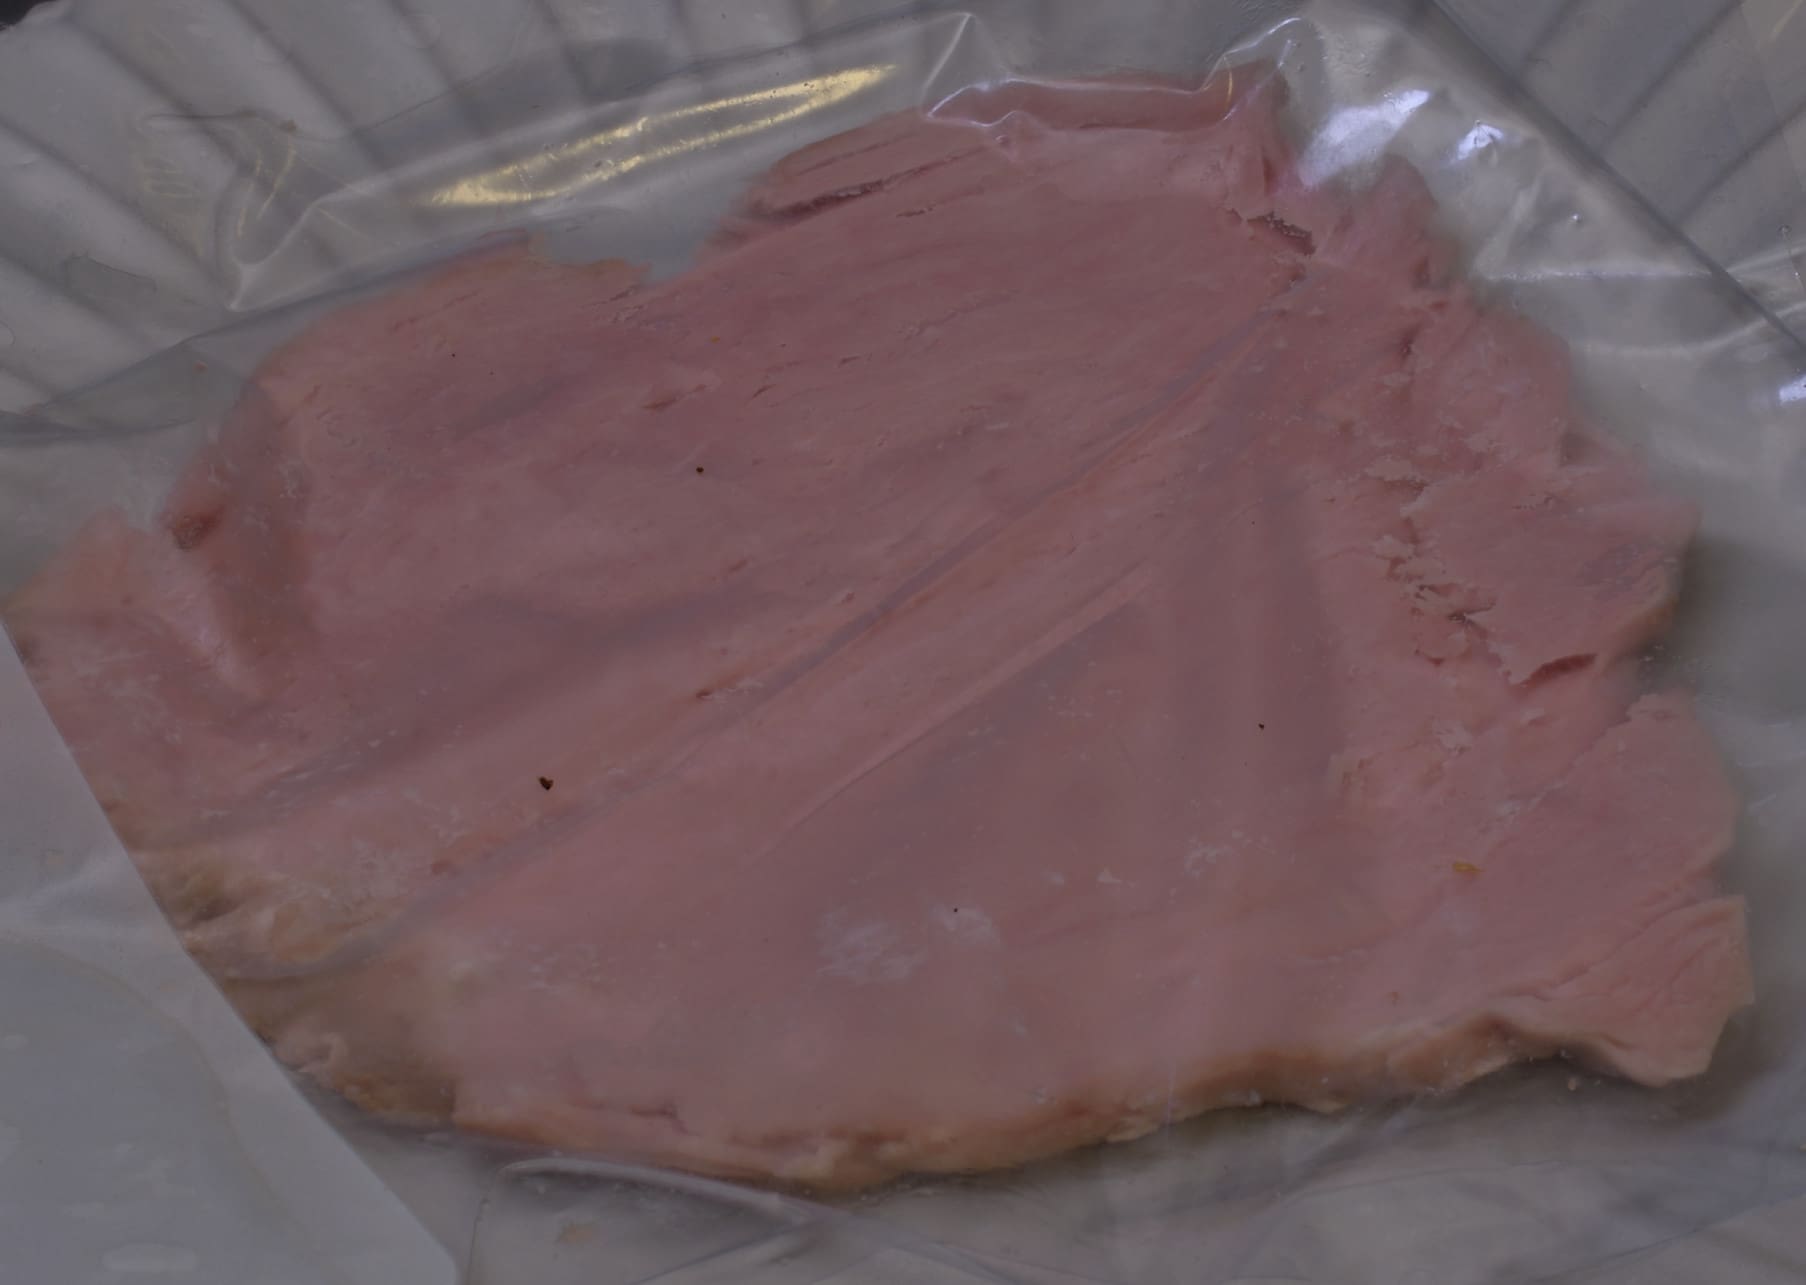
Submerge the entire cold package for 5-10 minutes in a preheated sous vide bath or hot tap water (110+ F/44+ C). This will fully melt the gel. Cut open the bag and drain the juices. Set aside. At your convenience, click HERE to learn how to clarify the juices for use in any recipe that calls for stock or water.
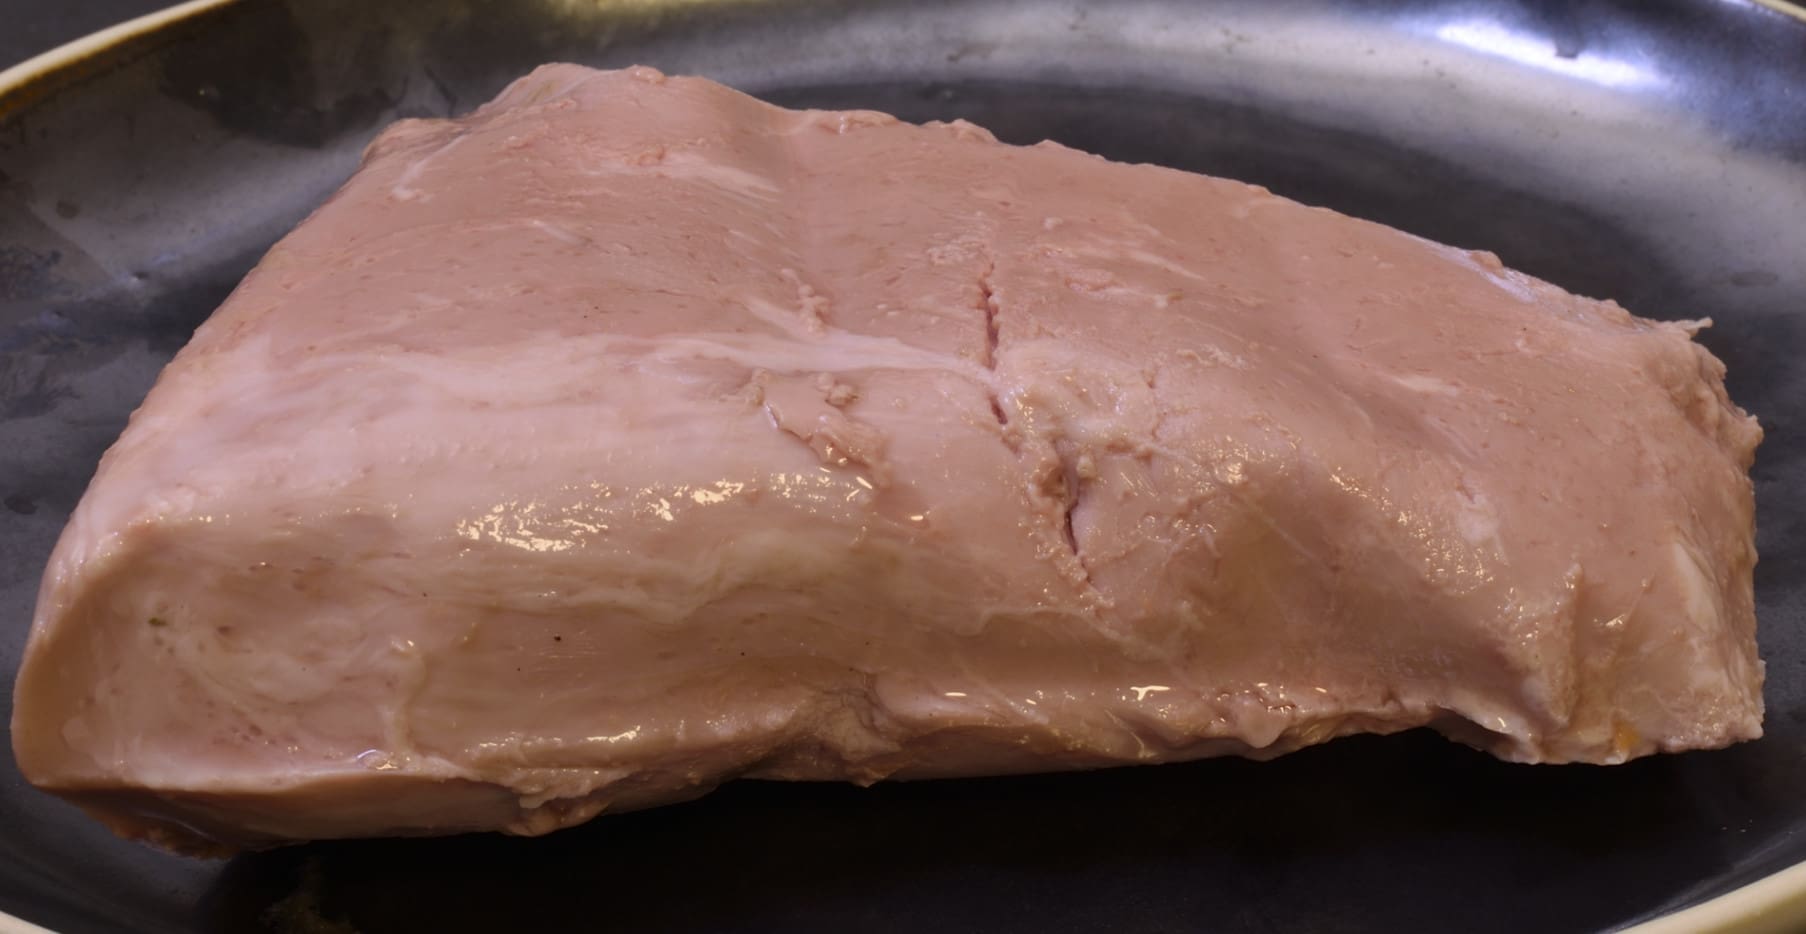
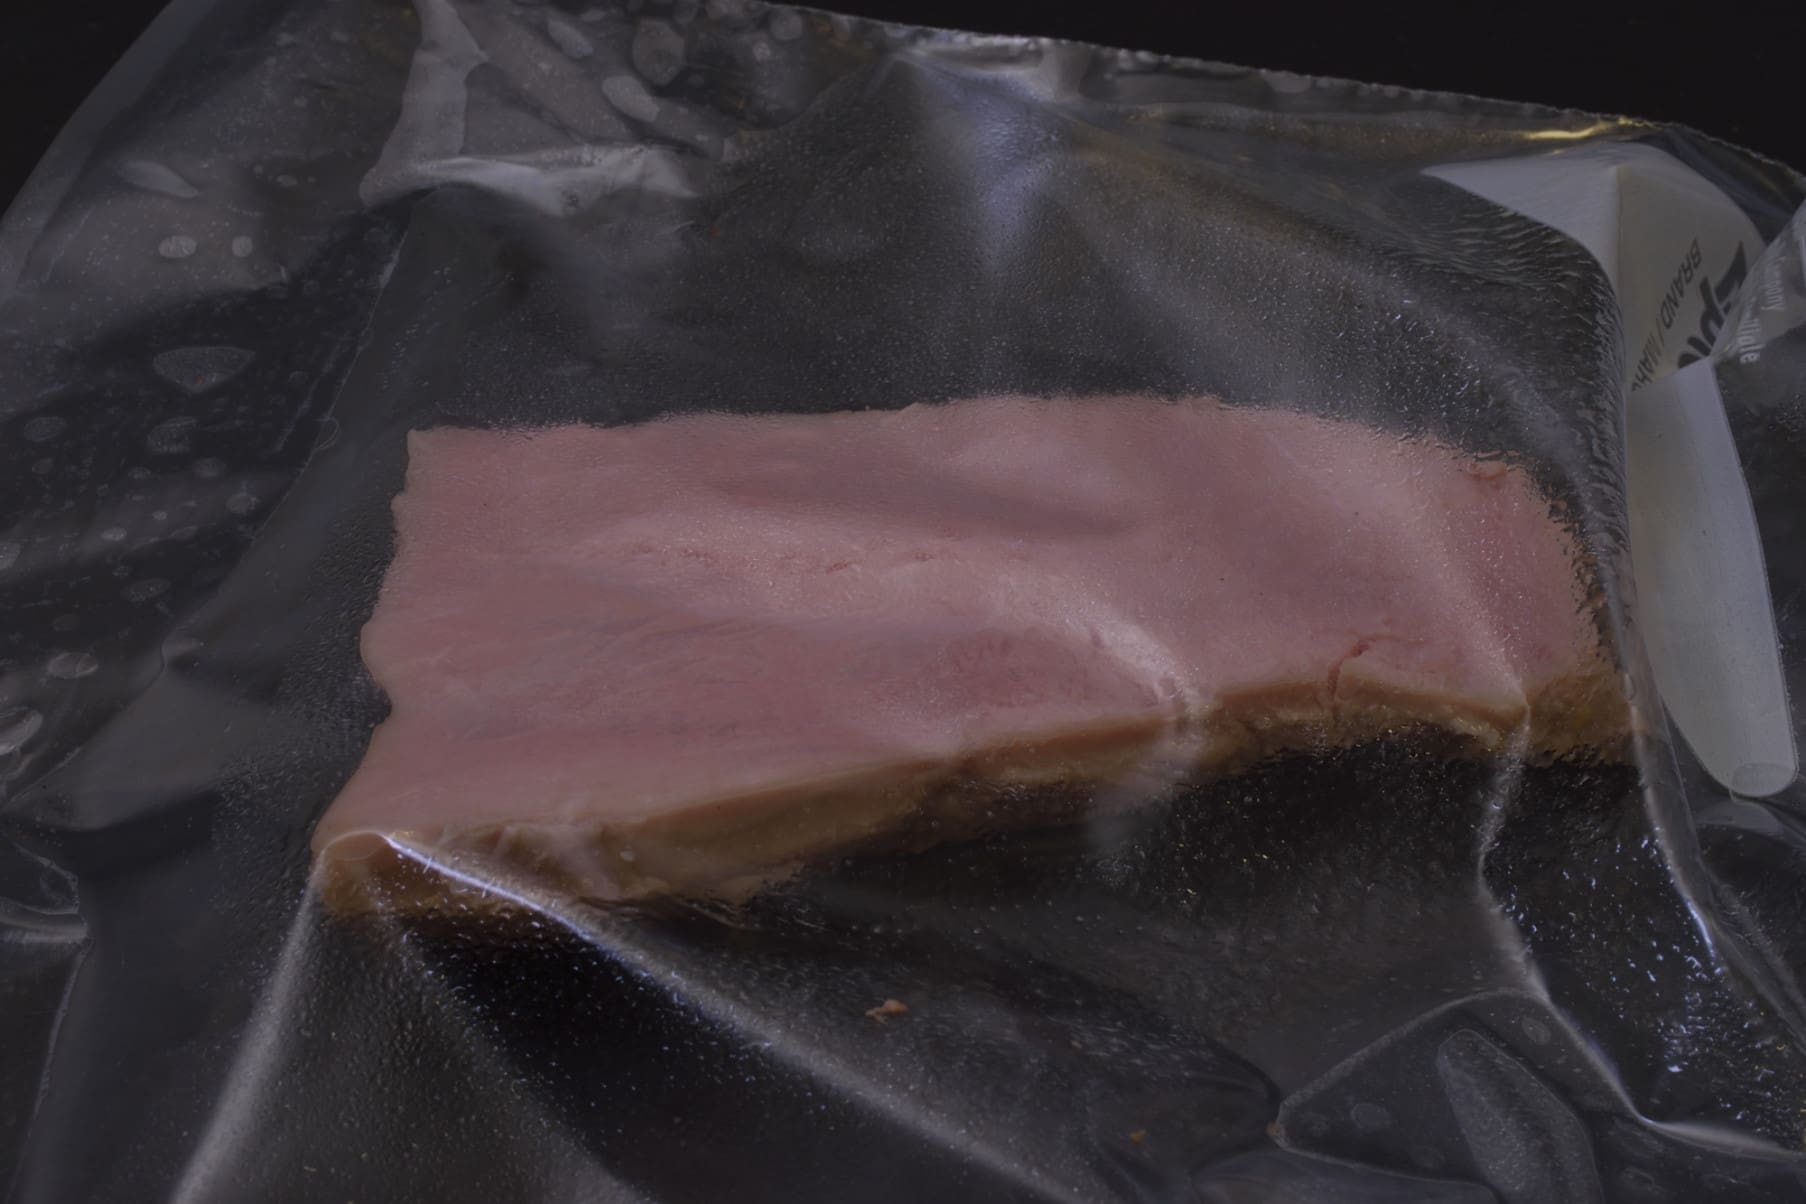
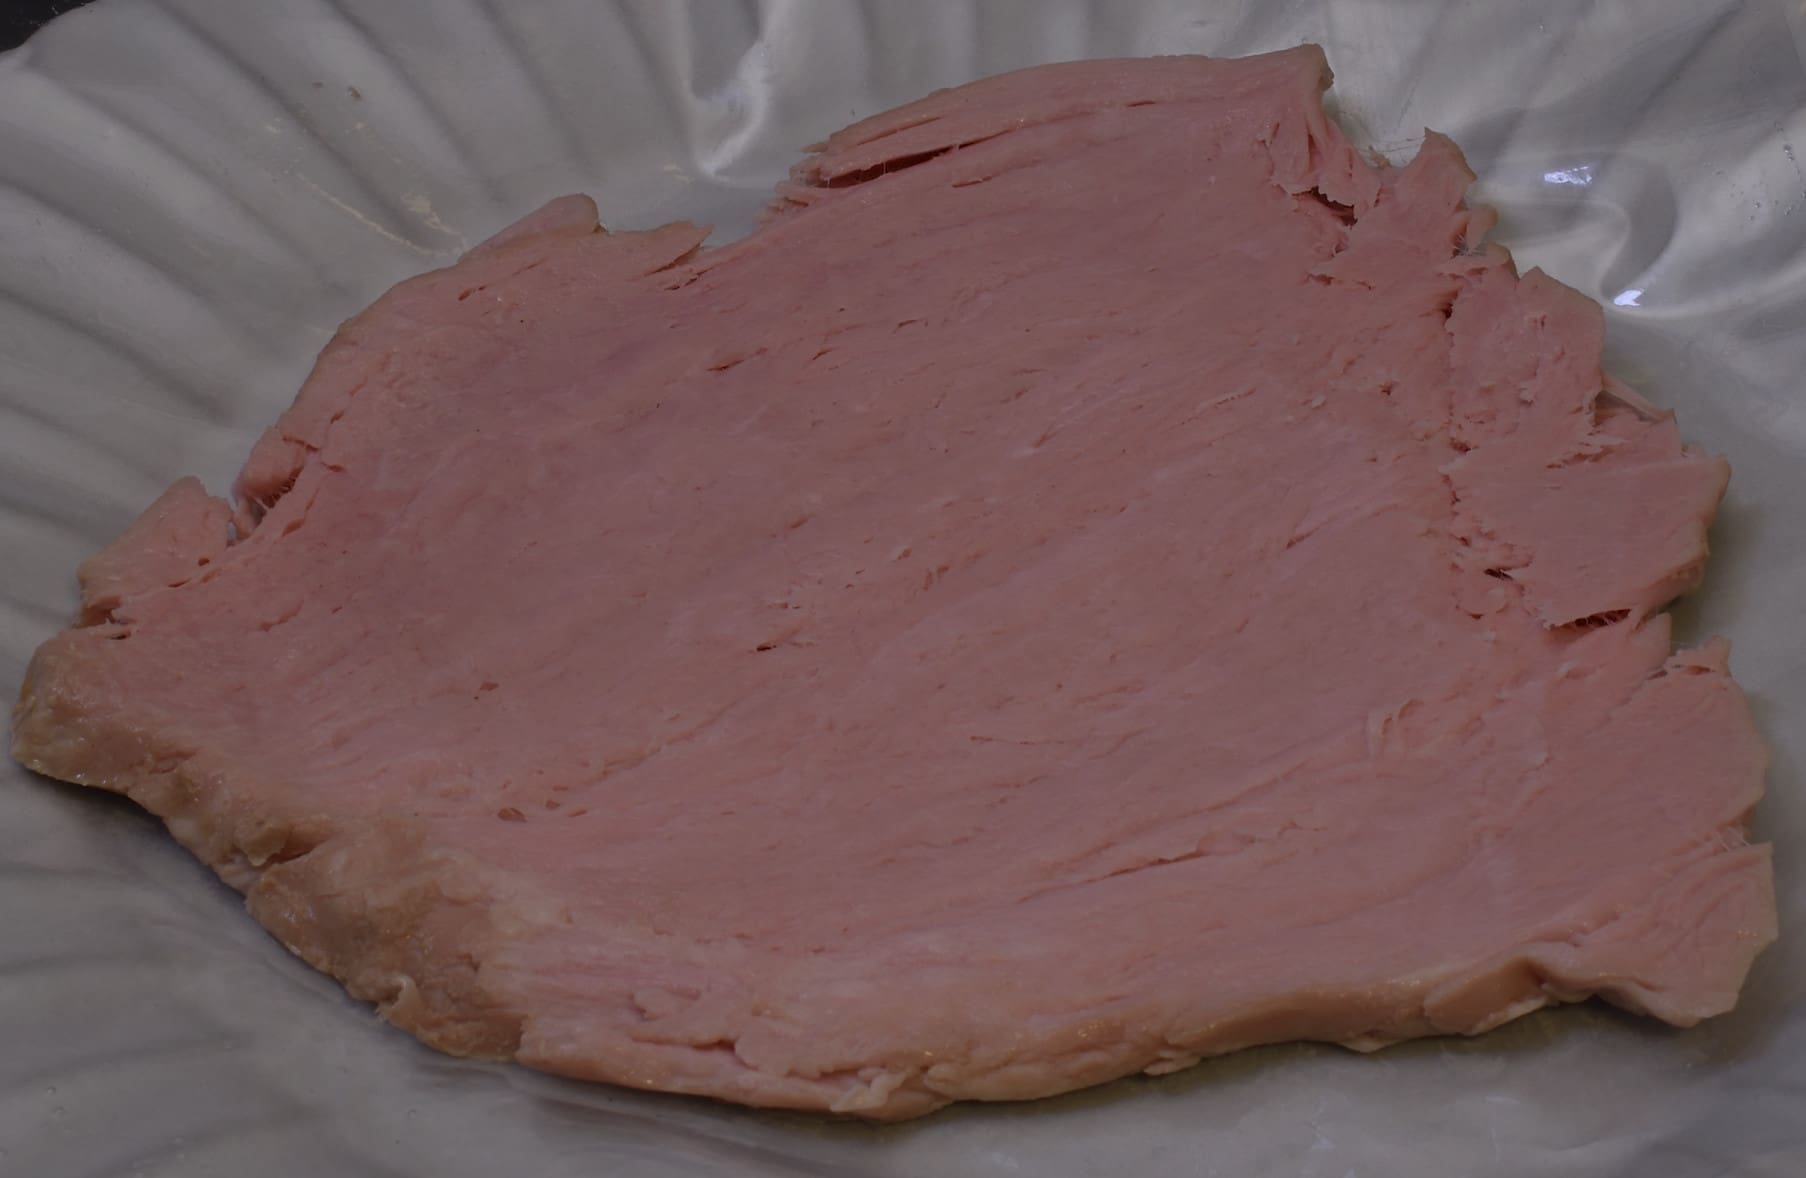
Remove the tenderloin from the pouch and pat dry with a paper towel.
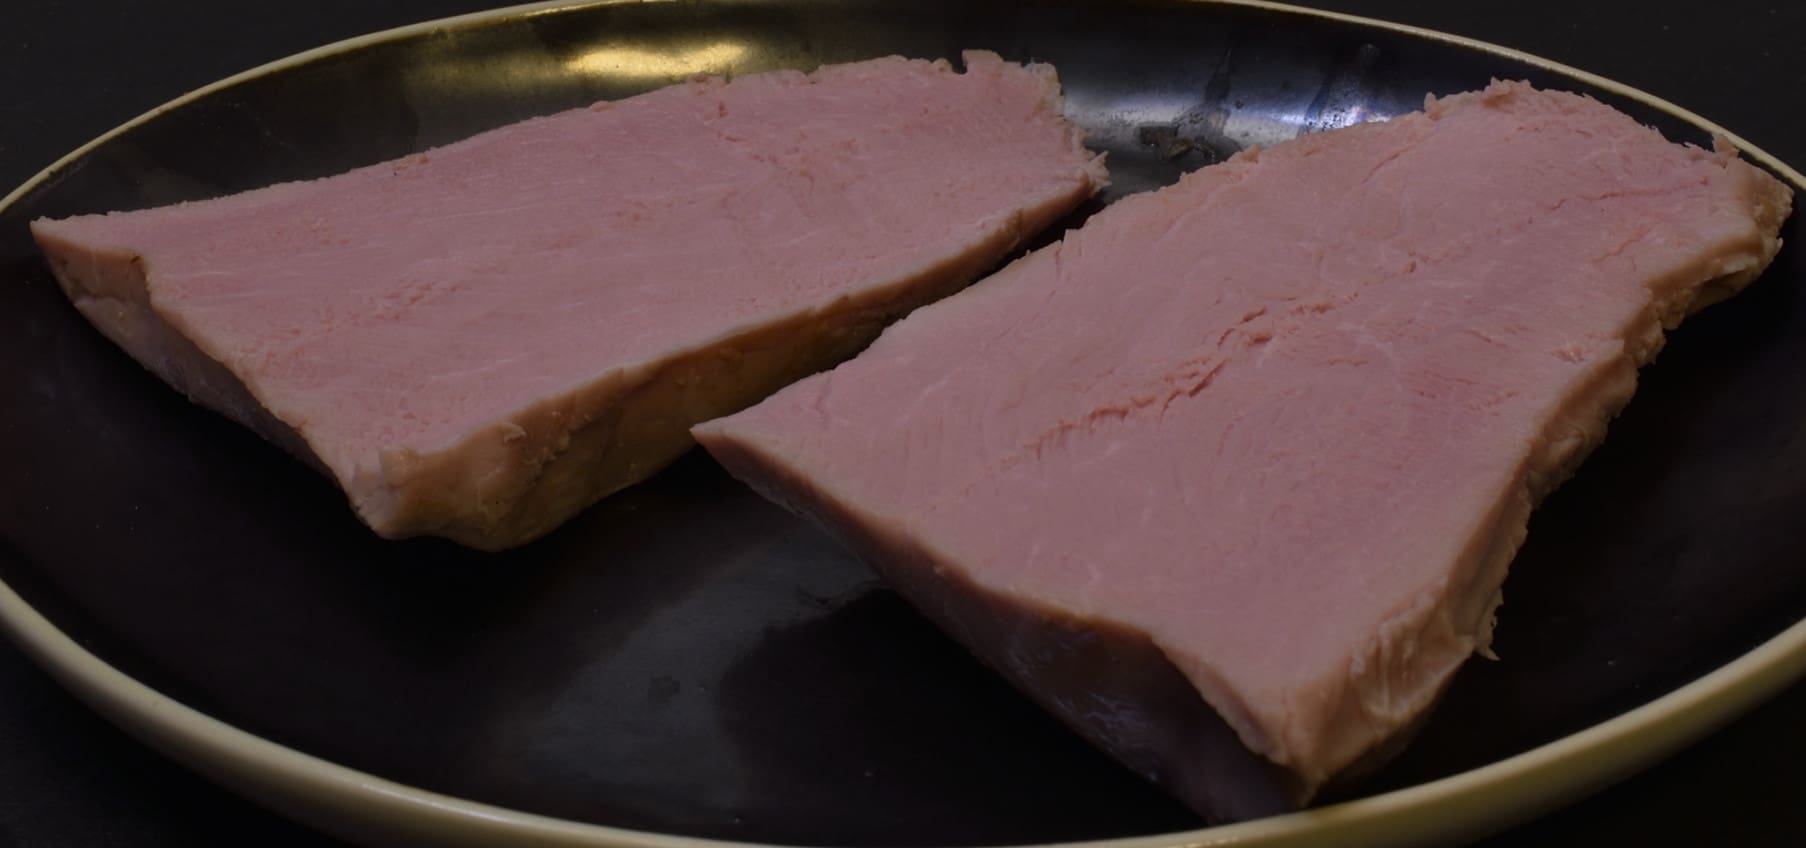
Cut in half “the wrong way,” that is, with the grain, lengthwise. This will provide a properly shaped and sized cutlet. The fine grain will not be noticeably “stringy.”
Put a few drops of oil in a Ziploc or sous vide bag and put one of the cutlets in it.
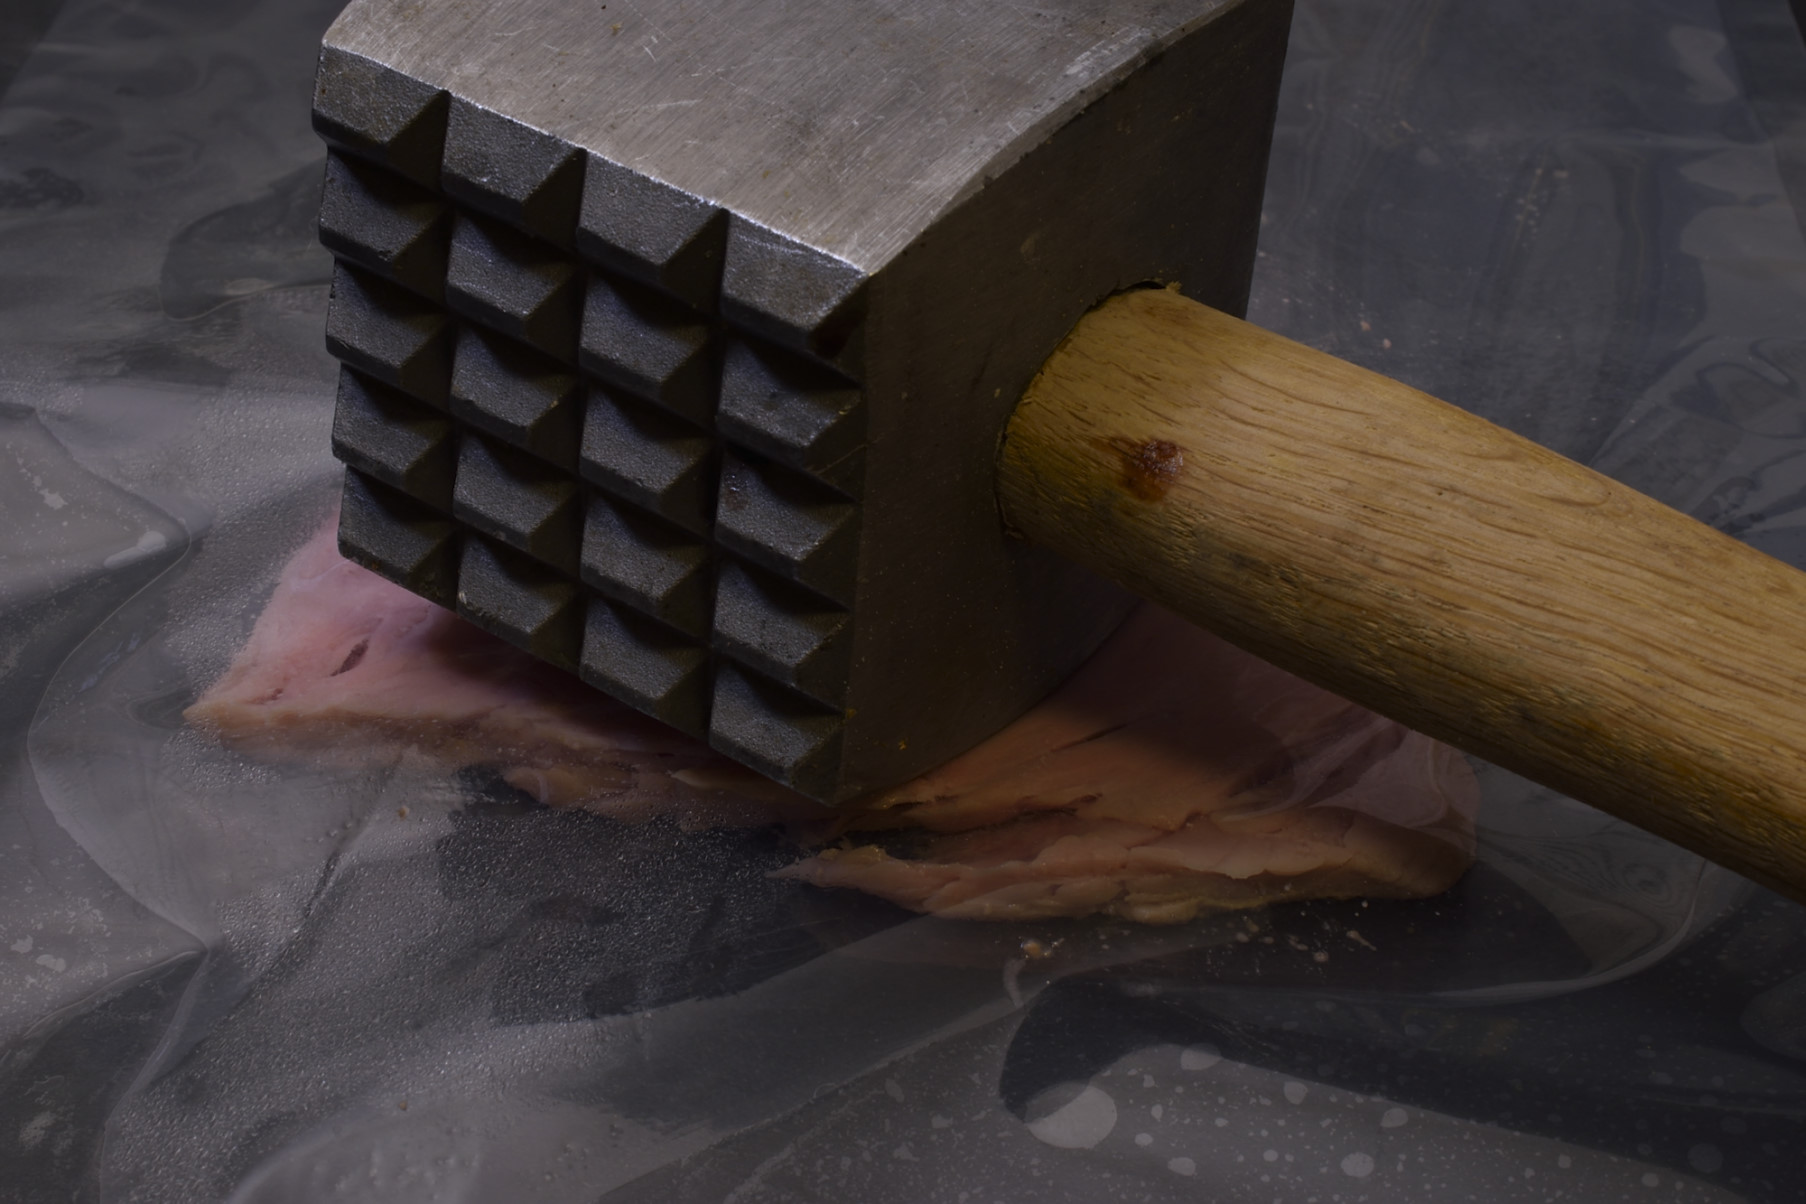
Use a meat hammer, mallet, or even a rolling pin to gently tap the cutlet, increasing its surface area. The plastic bag prevents tearing of the cutlet and eliminates splatter, too!
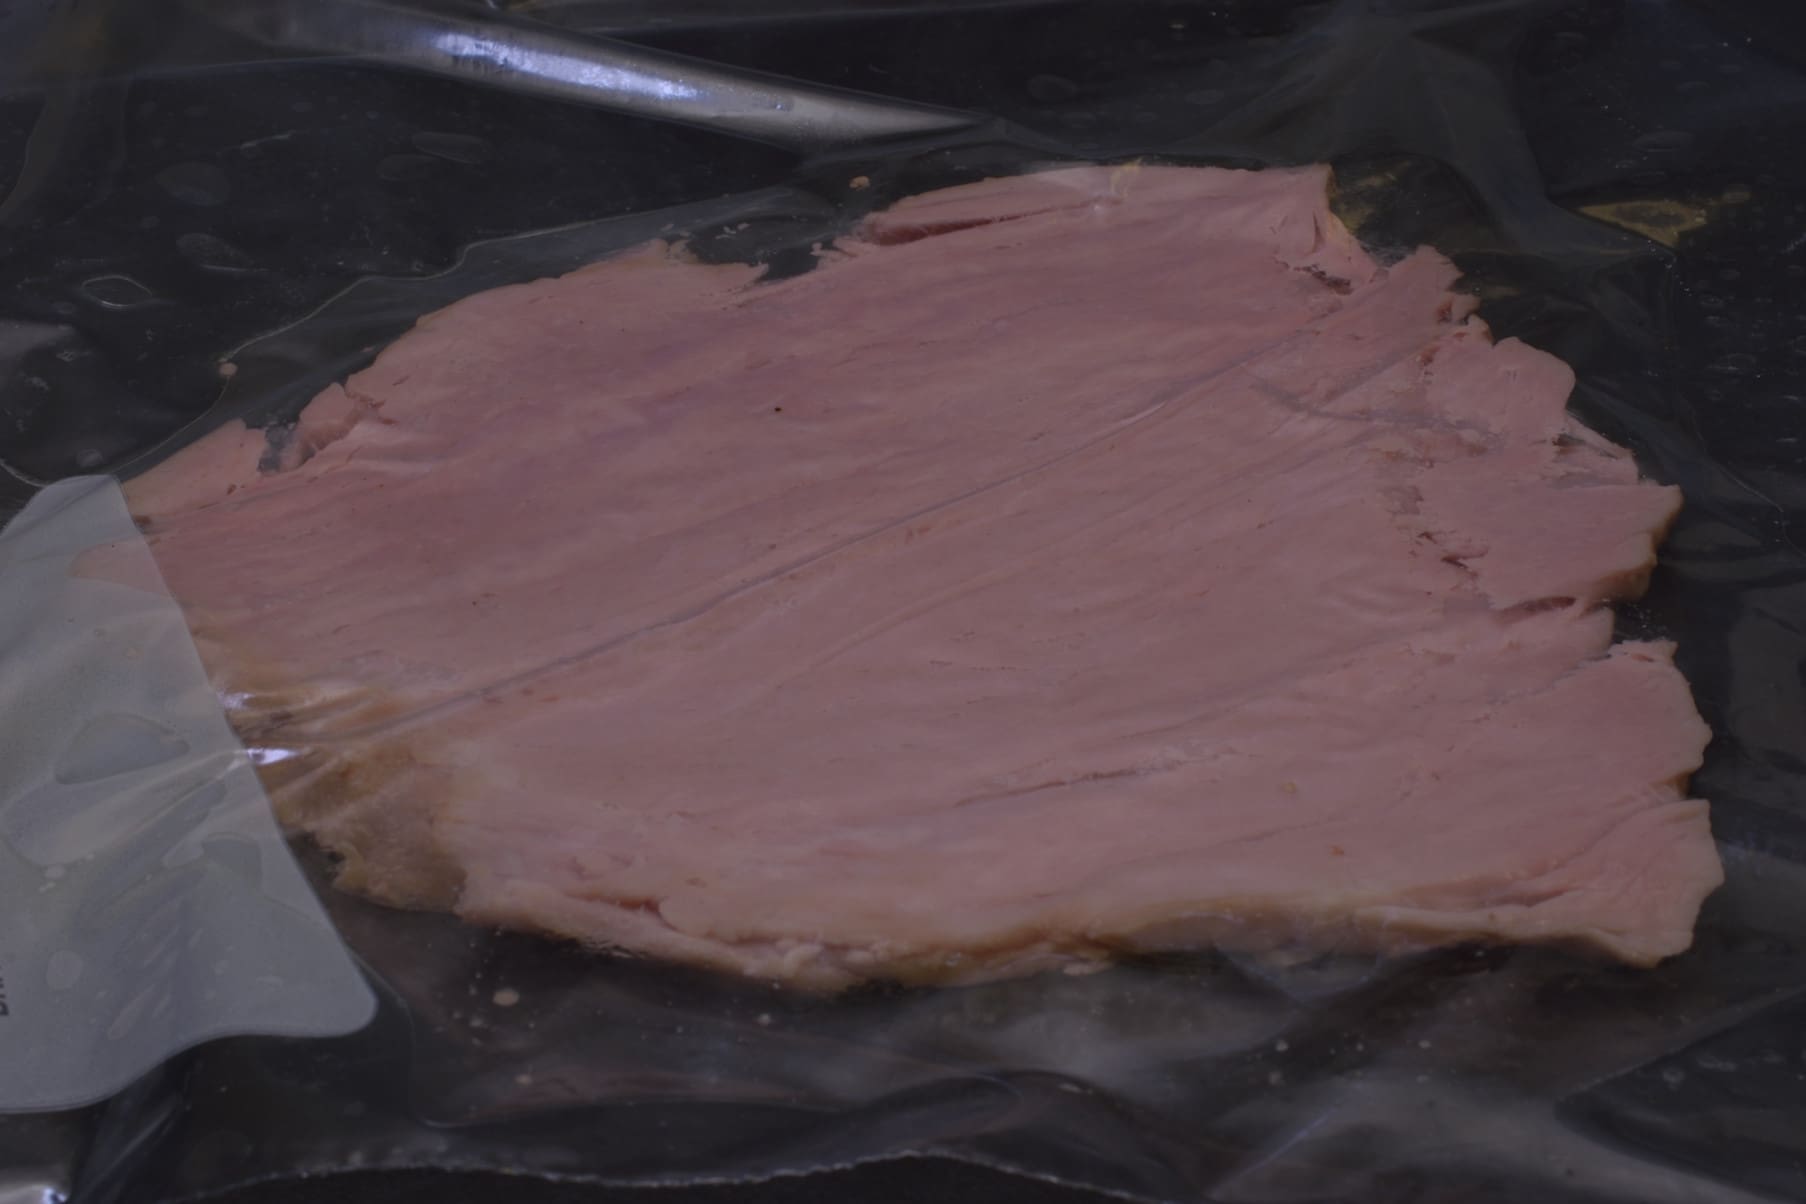
Turn the bag over and tap gently on the other side as well. Put the assembly on a plate.
Cut around the bag to create two plastic sheets. I prefer this to using plastic cling wrap!
Remove the top sheet of the plastic and set aside–do not discard.
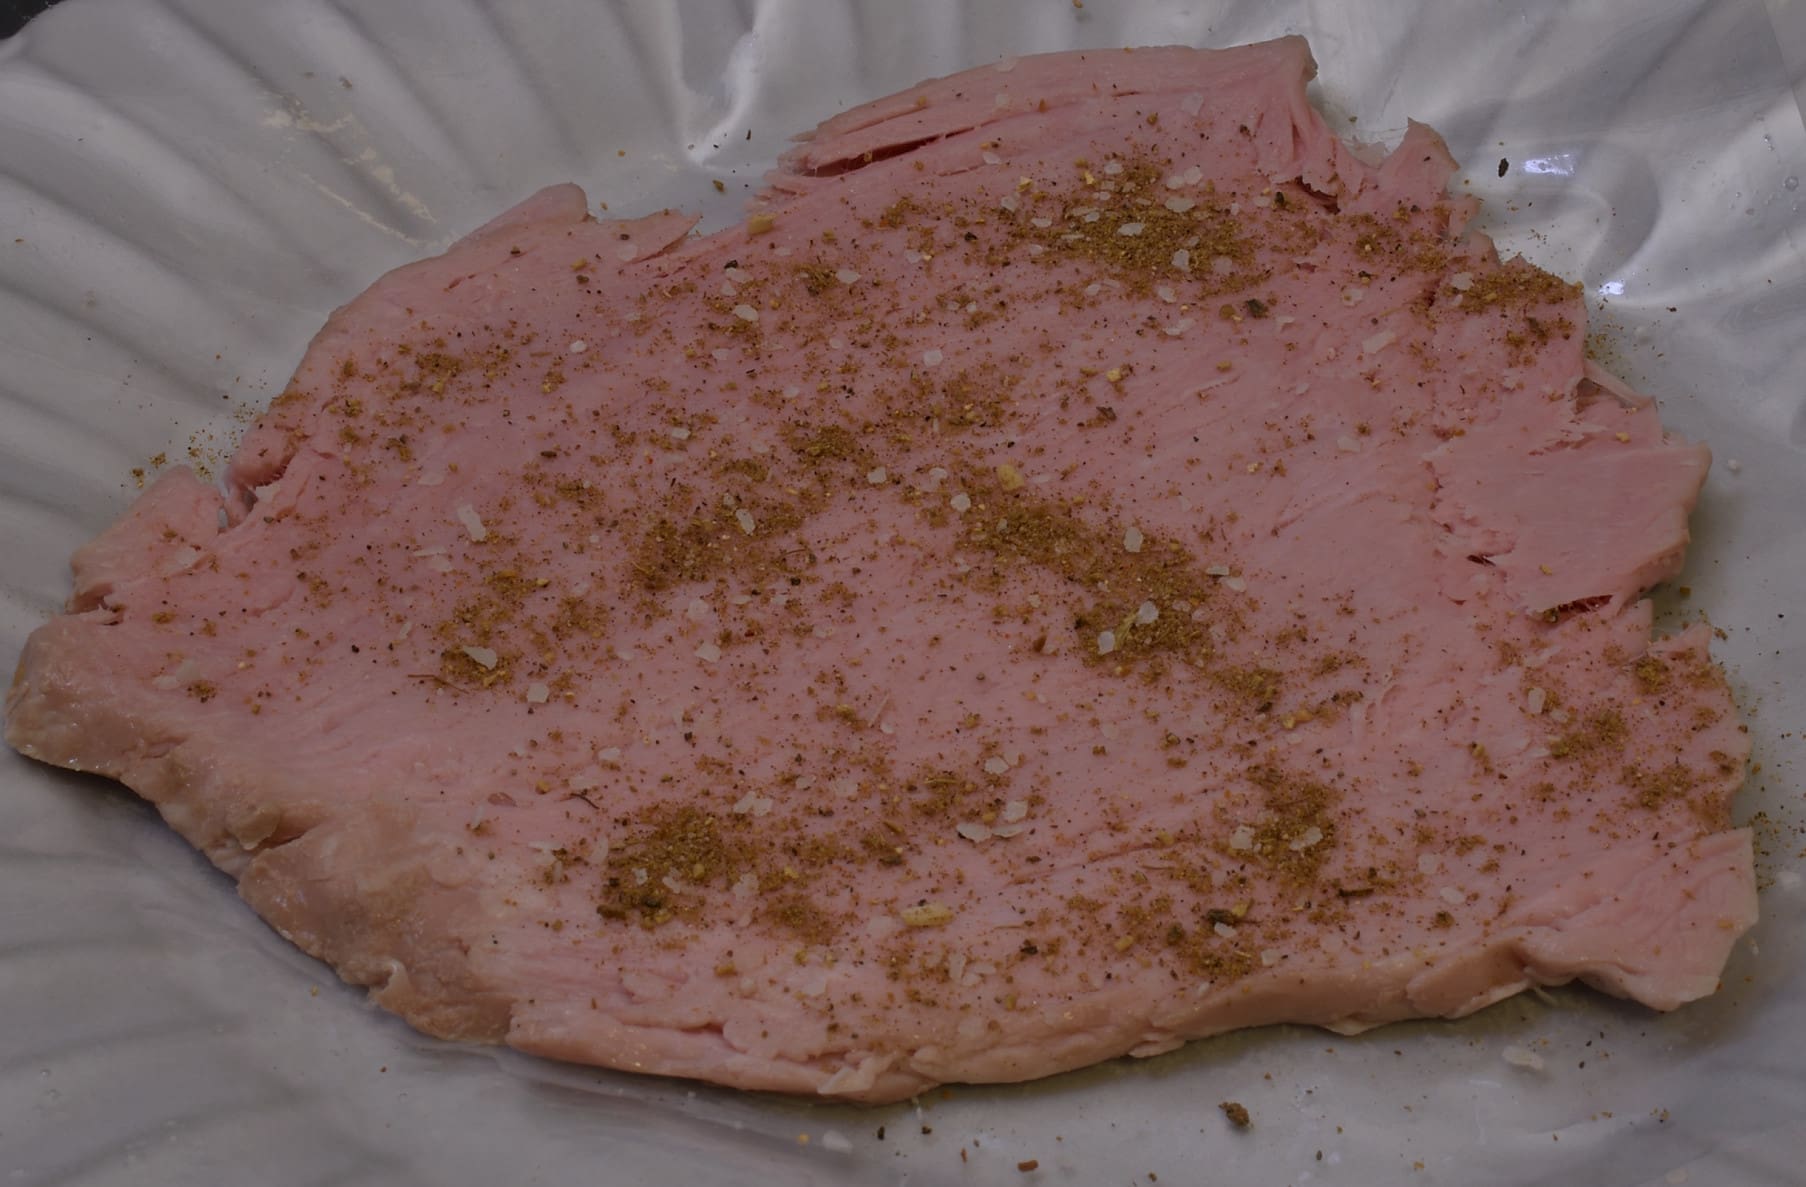
Apply your preferred seasoning.
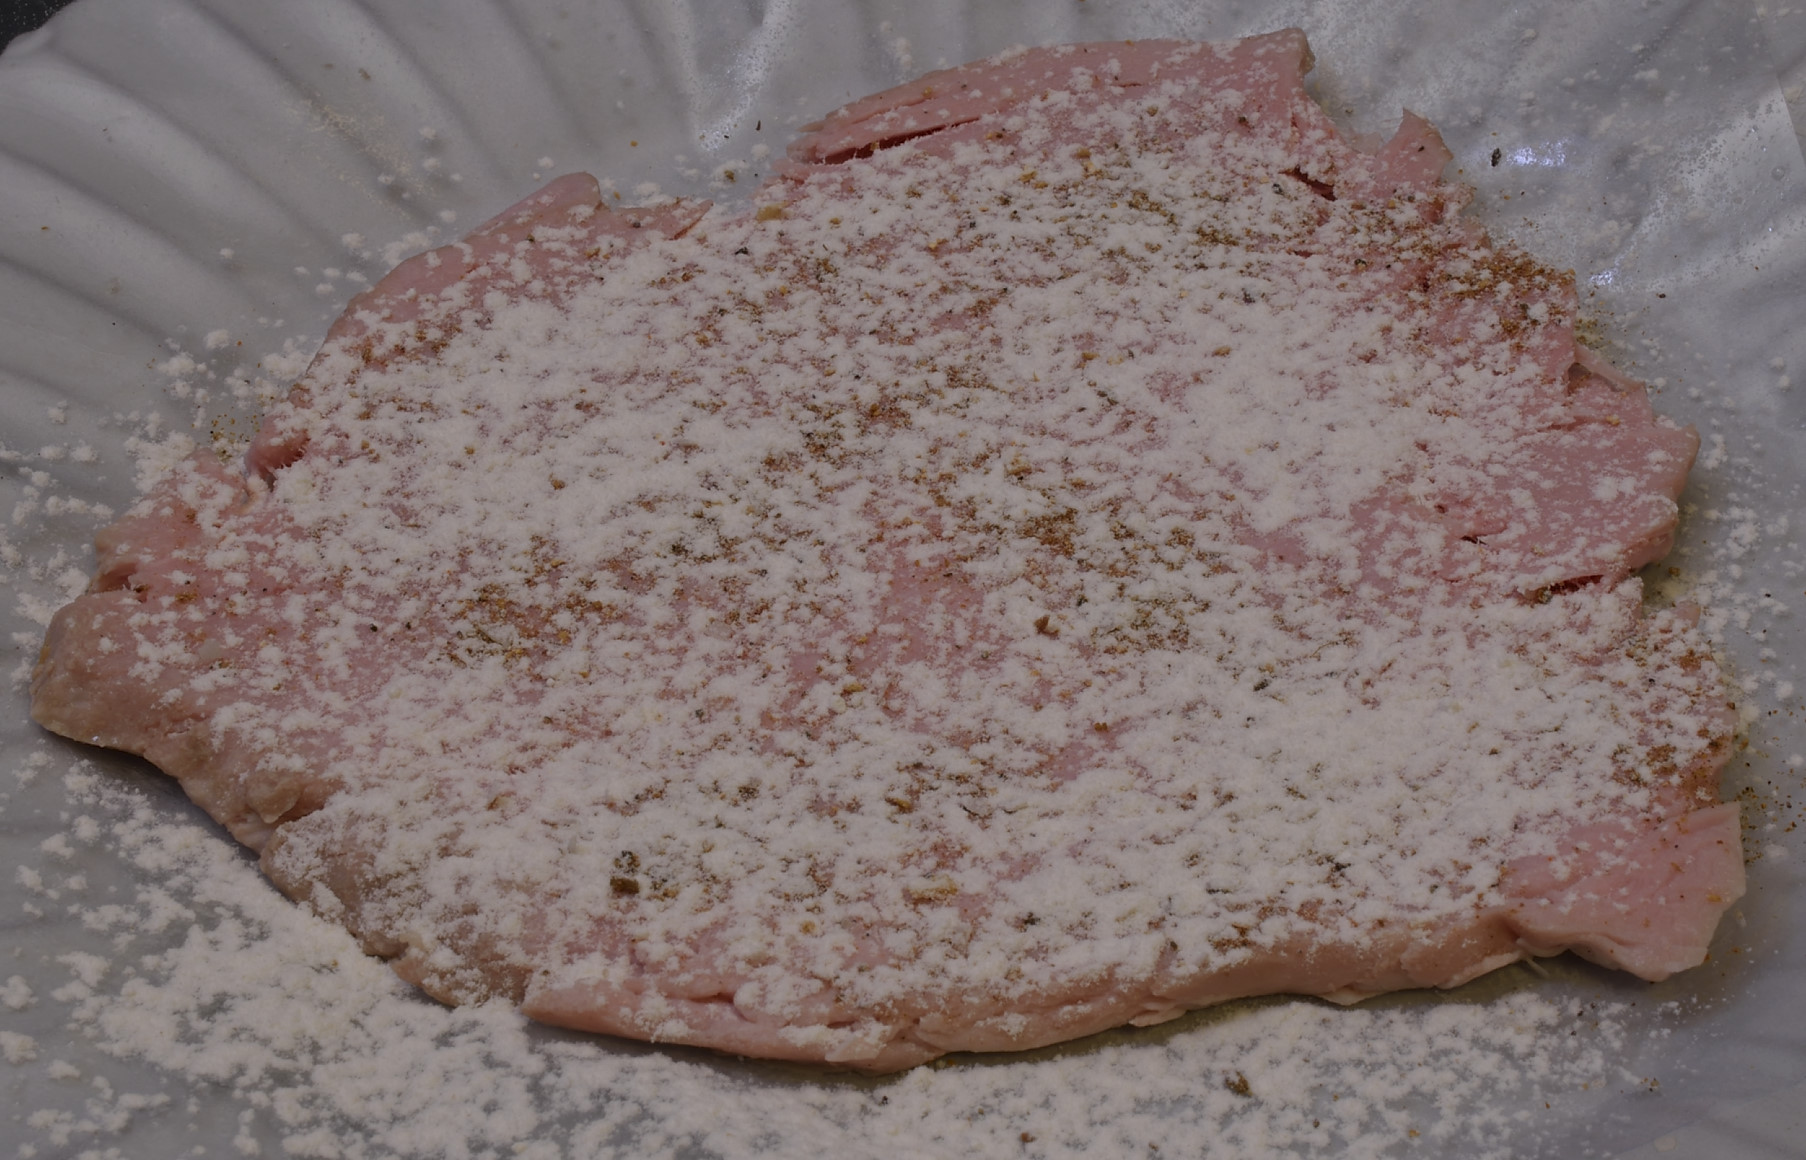
Use a sifter, strainer or a shaker to dust the cutlet with flour.
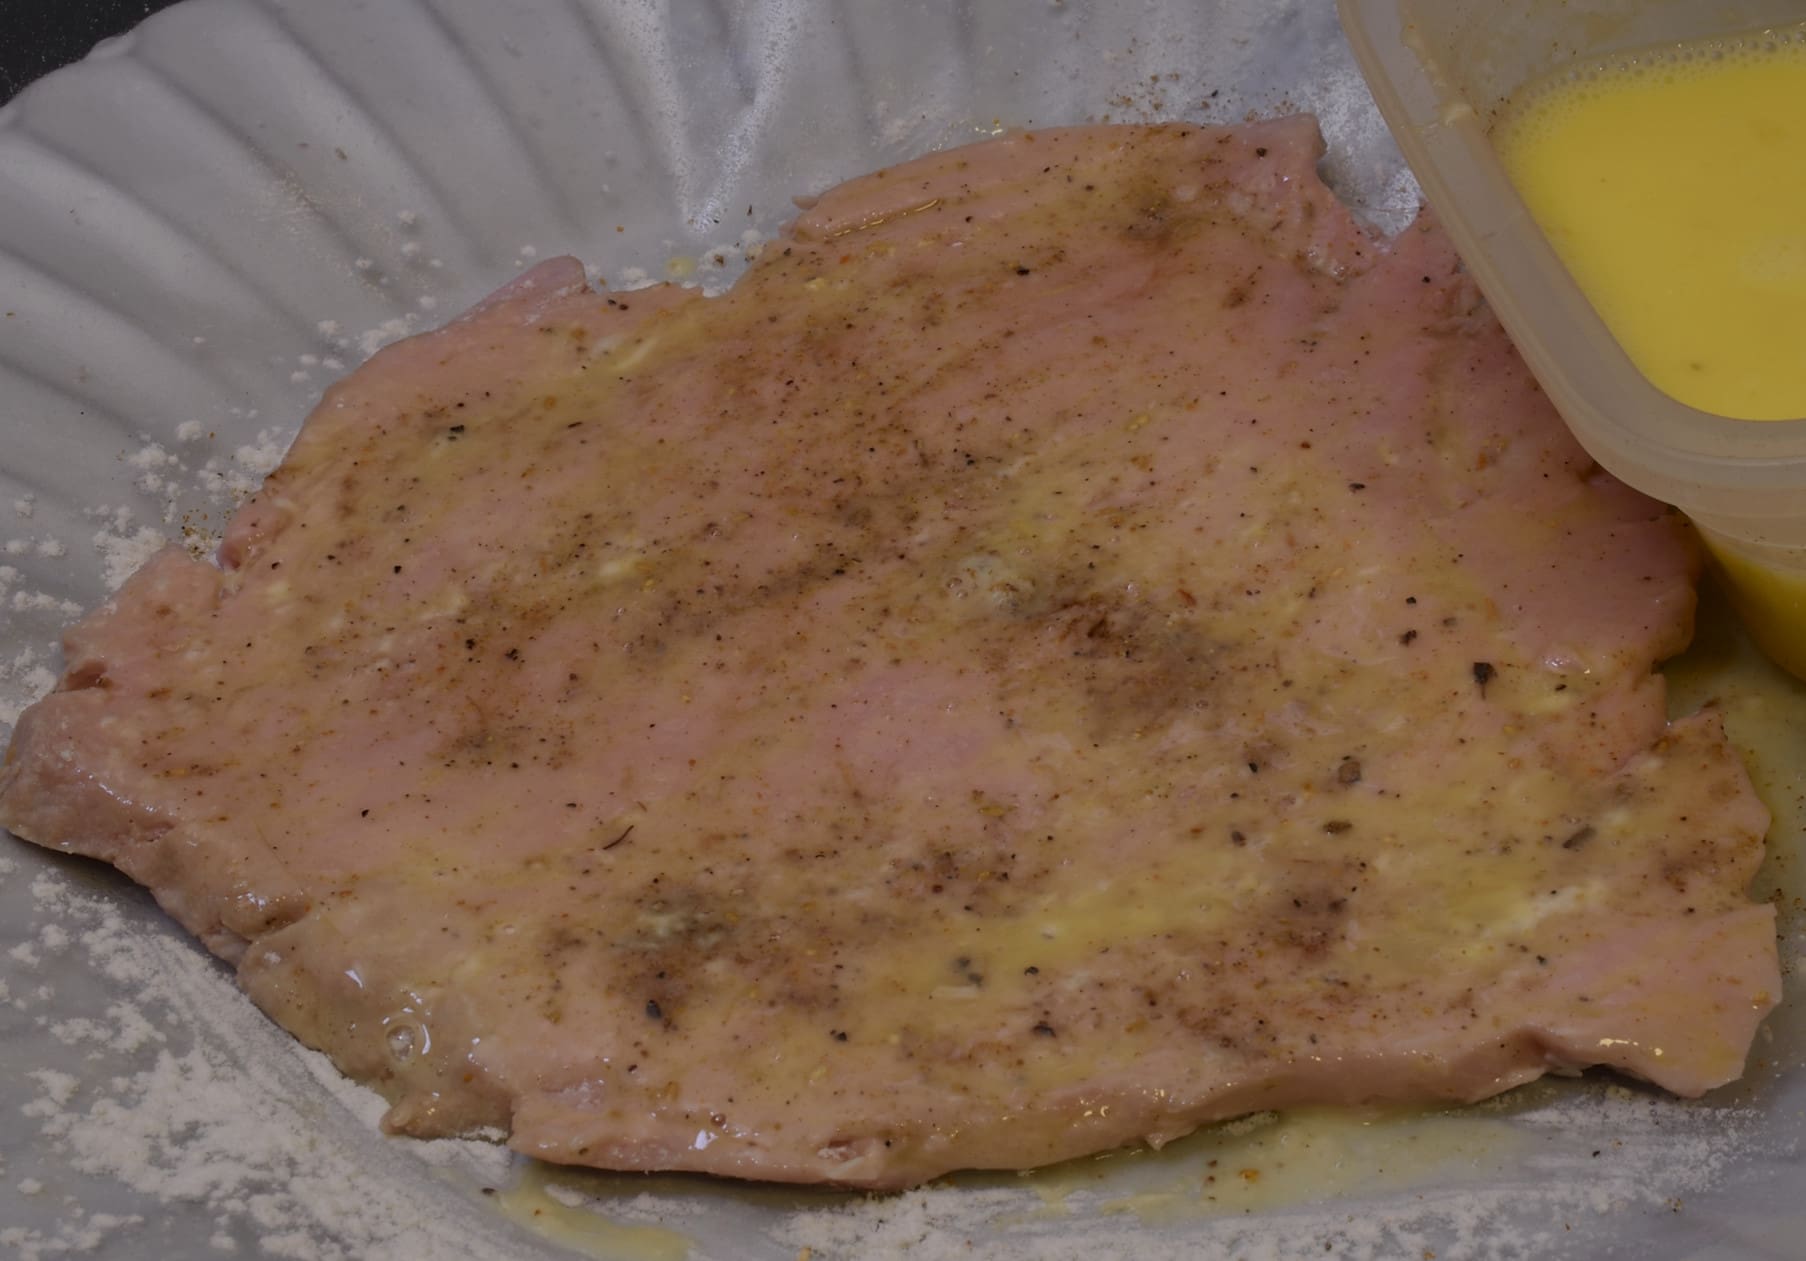
Use a pastry brush to paint the top surface of the cutlet.
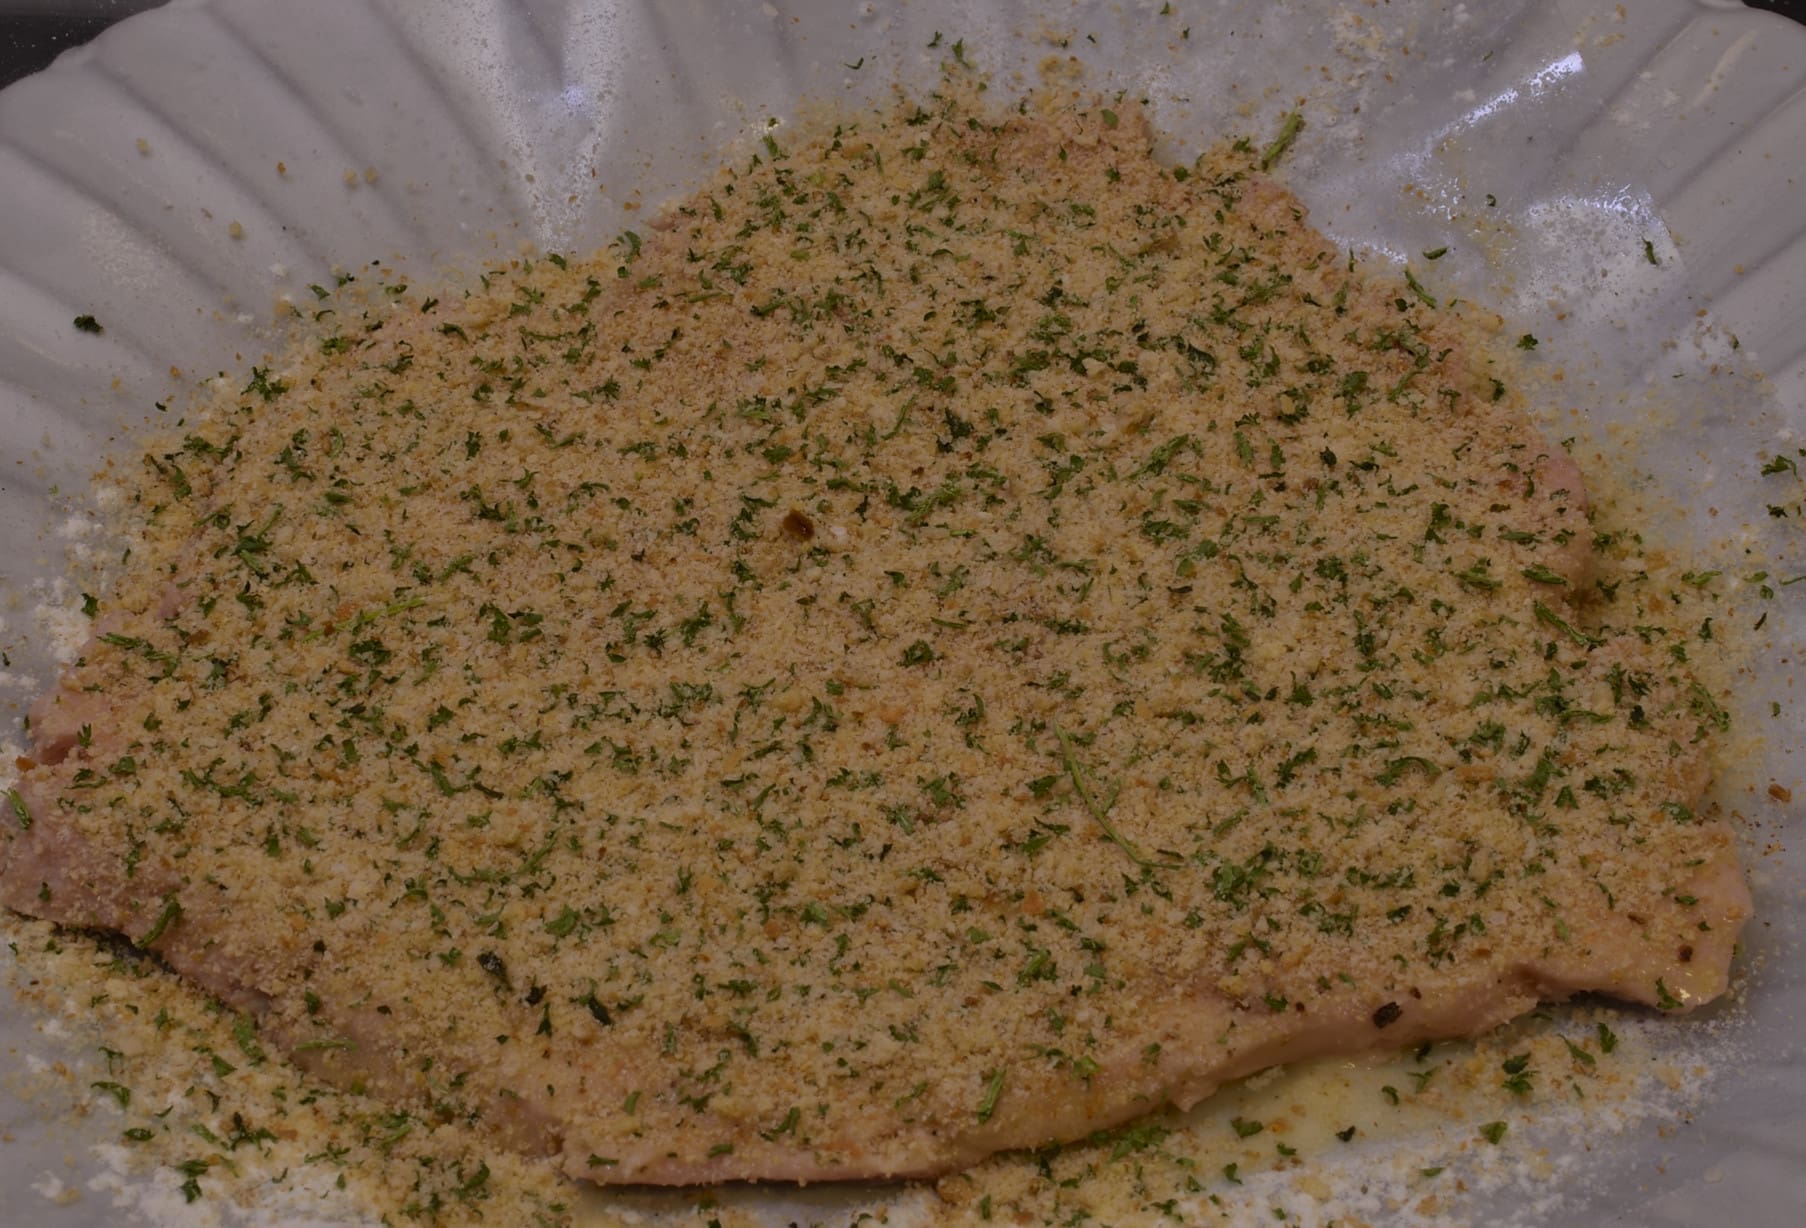
Sprinkle generously with the crumb mixture.
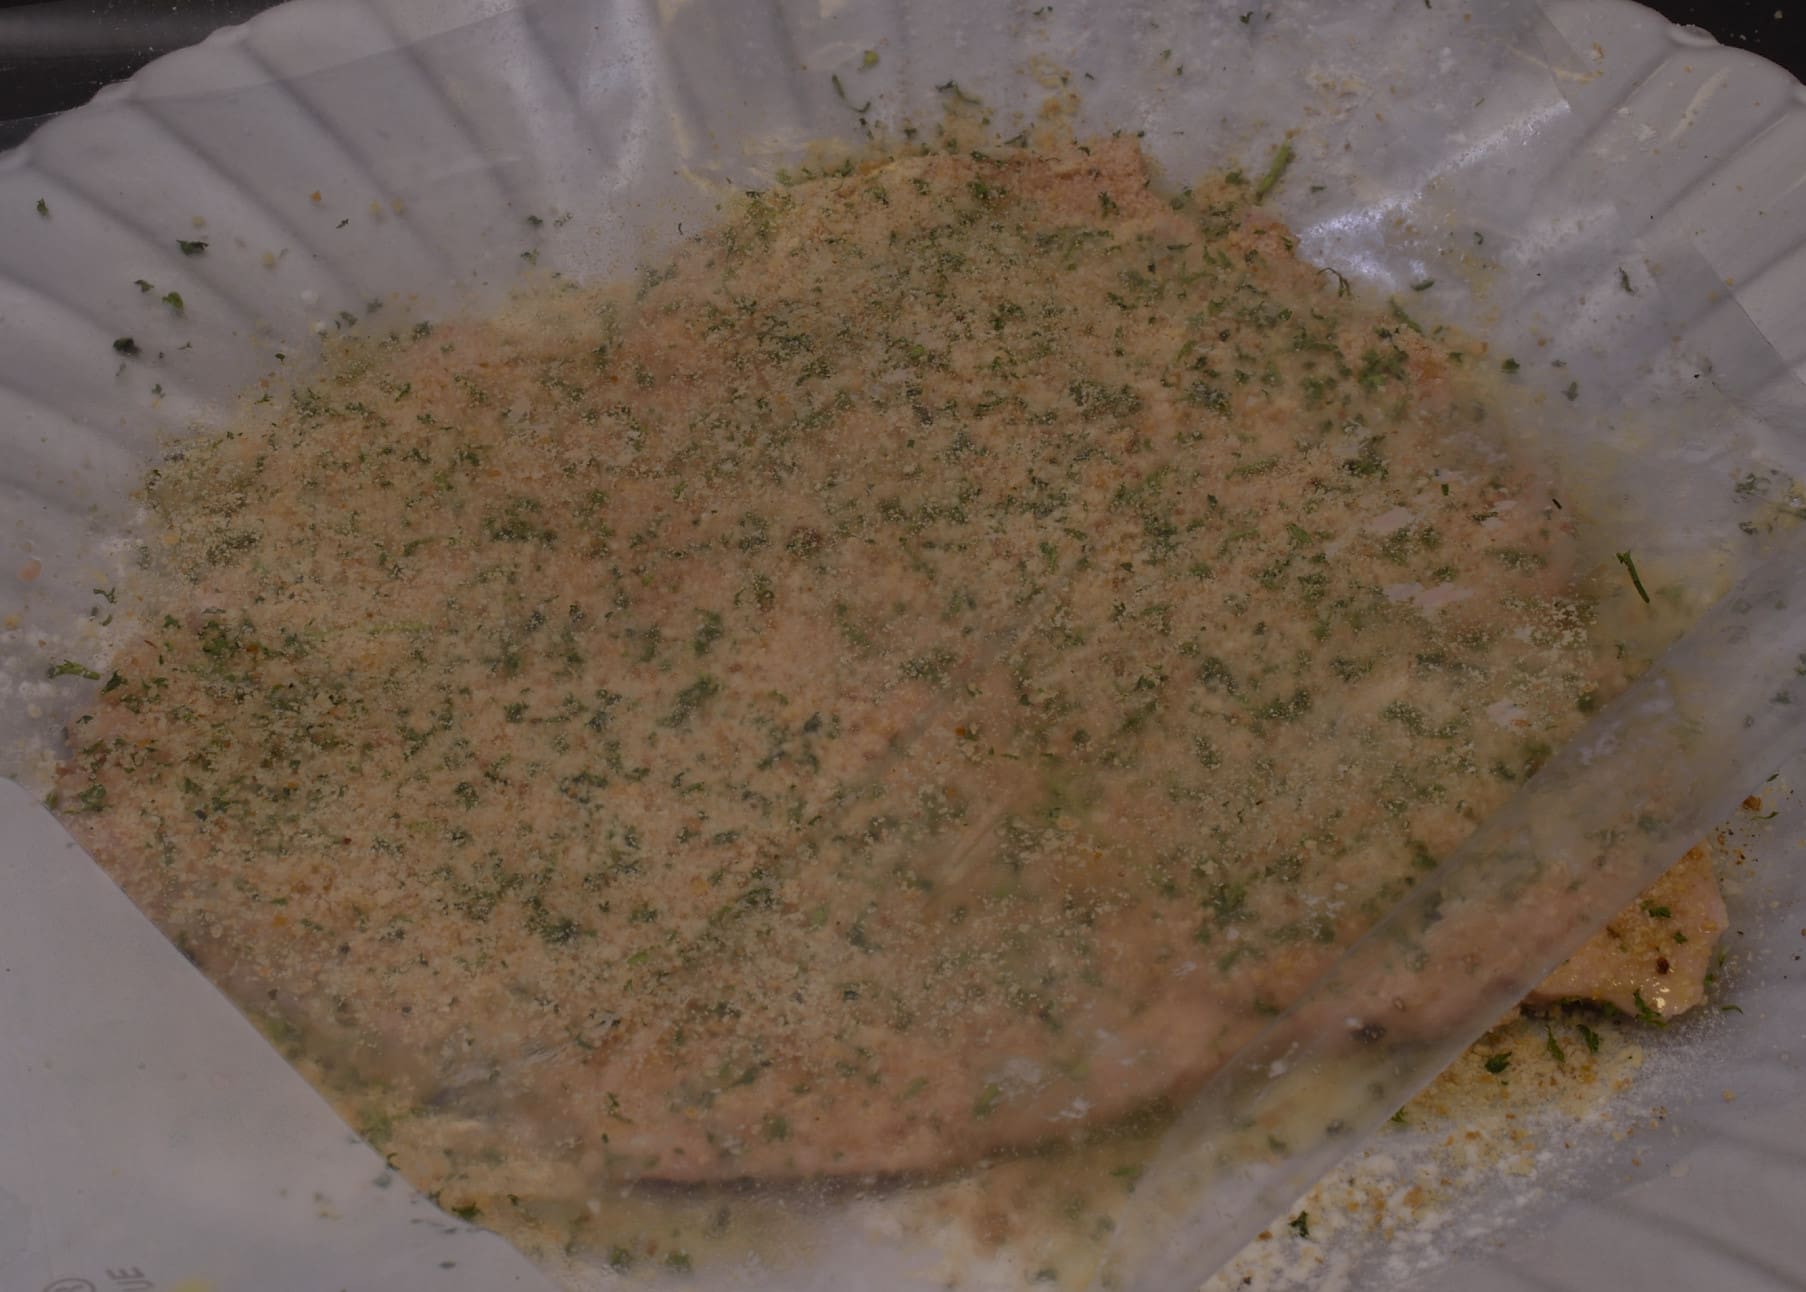
Replace the plastic sheet and pat lightly. Turn the whole assembly over.
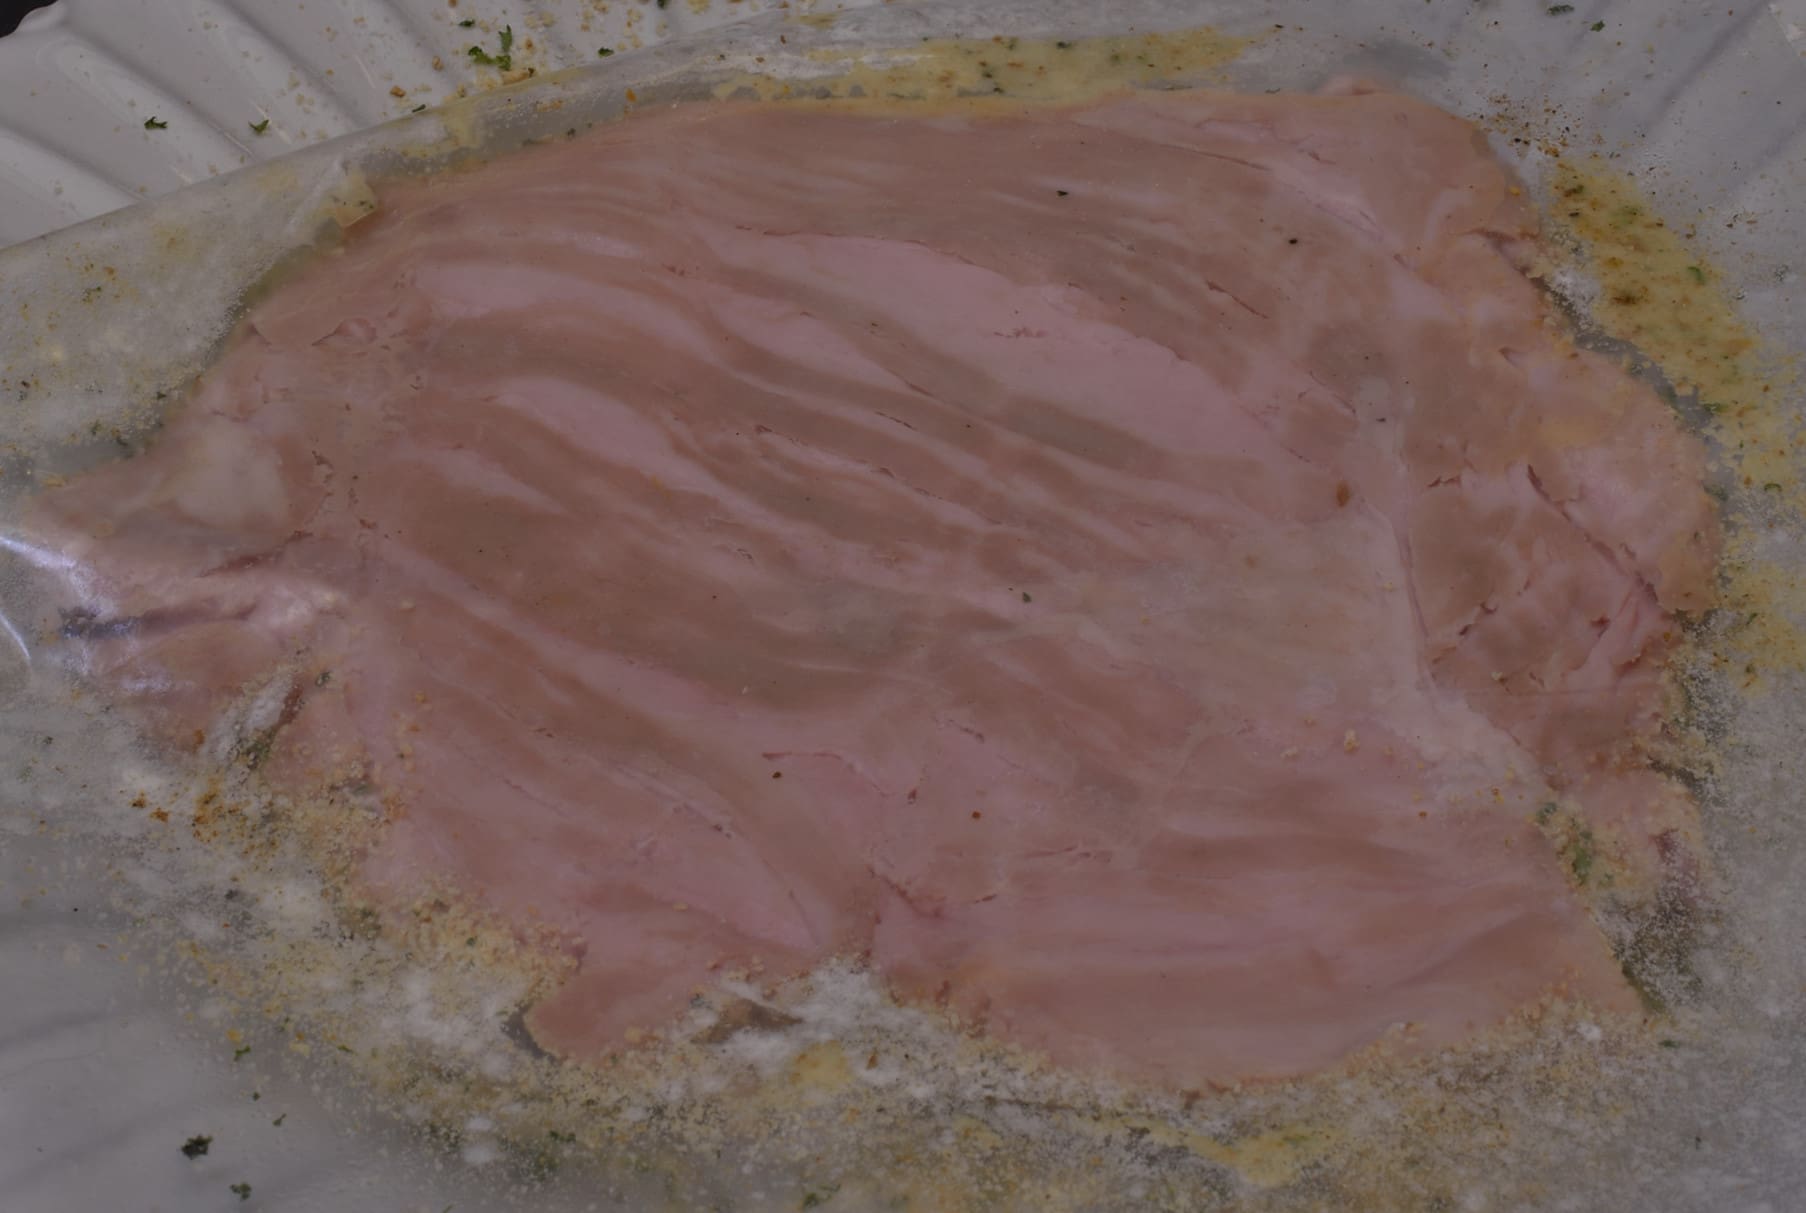
Remove the plastic sheet that was on the bottom.
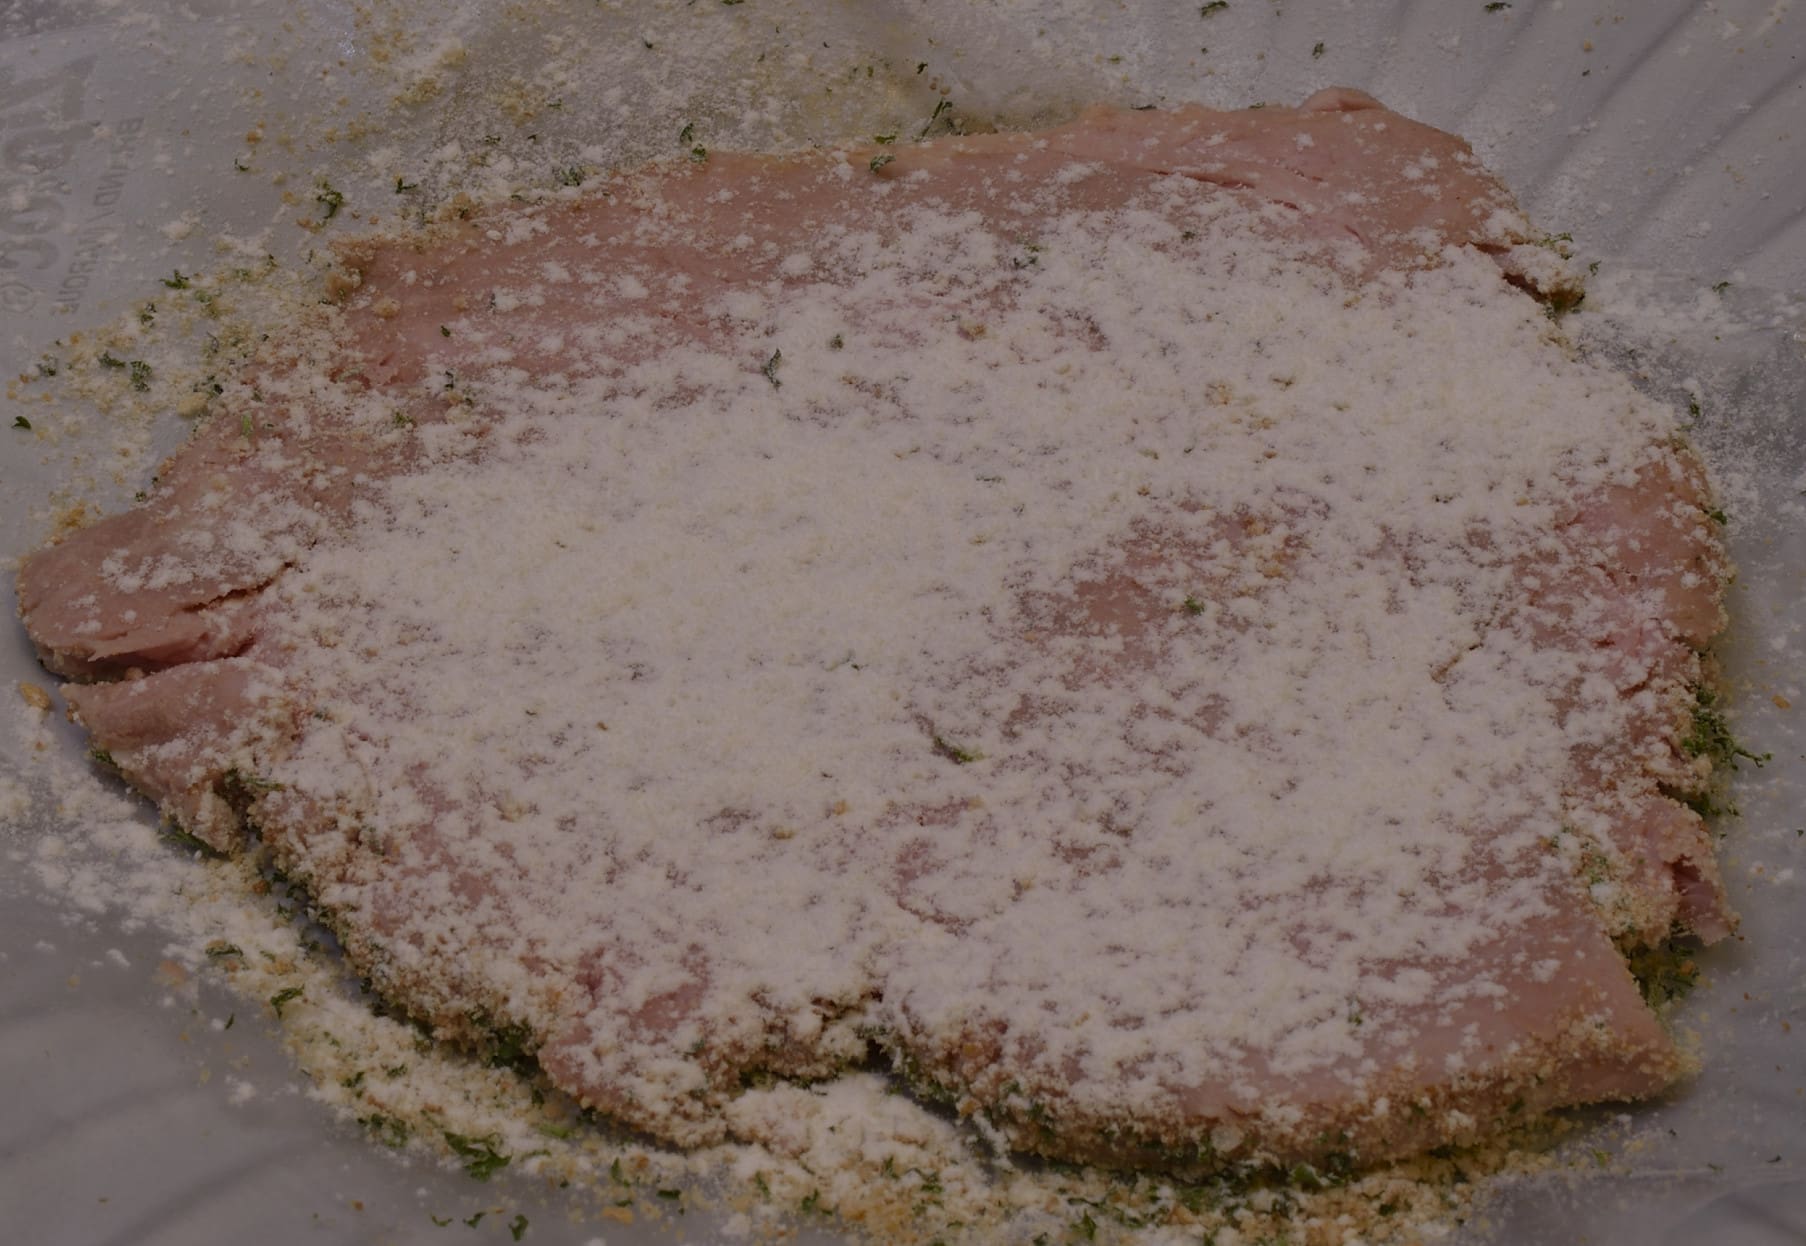
Repeat the process: dust with flour.
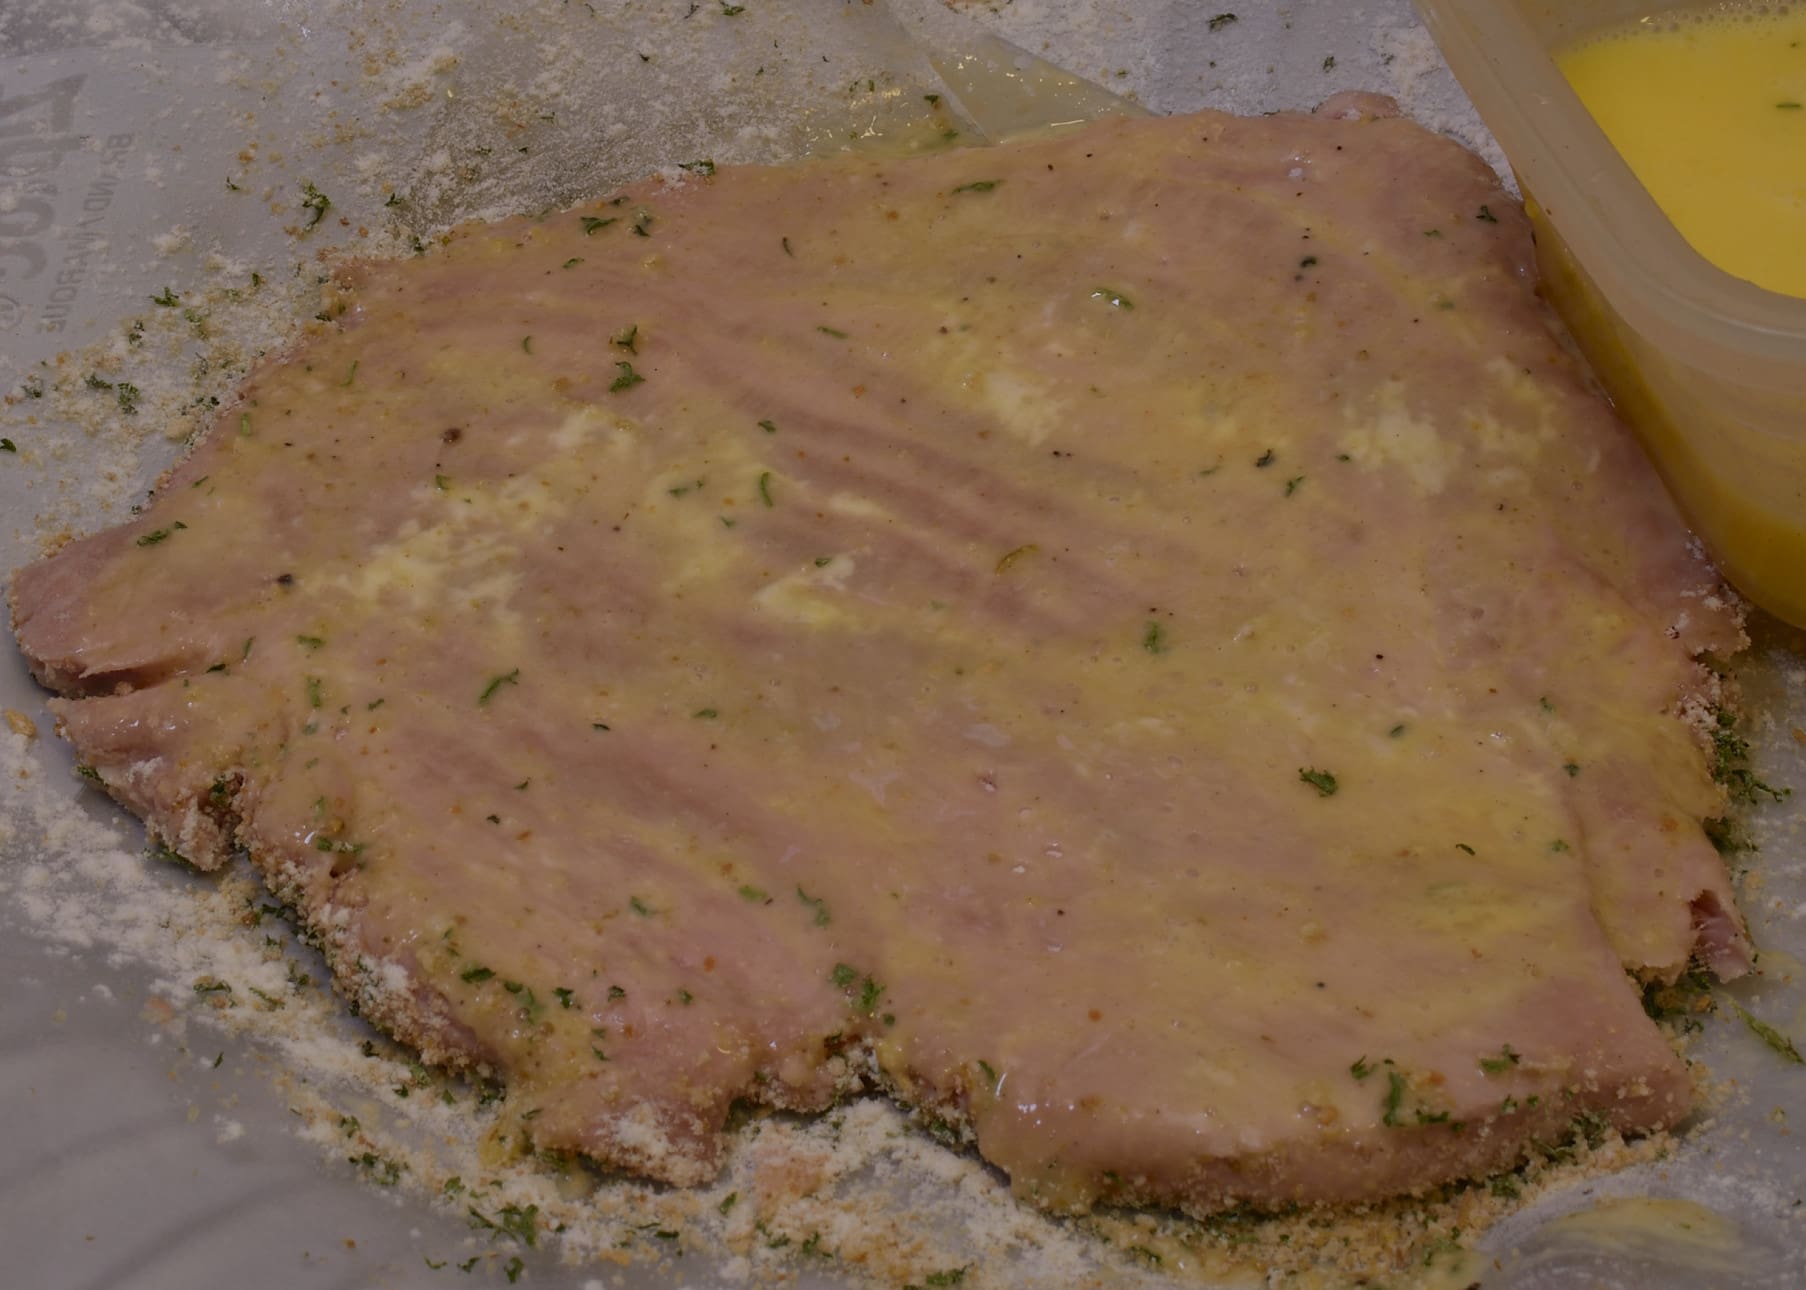
Paint with the beaten egg.
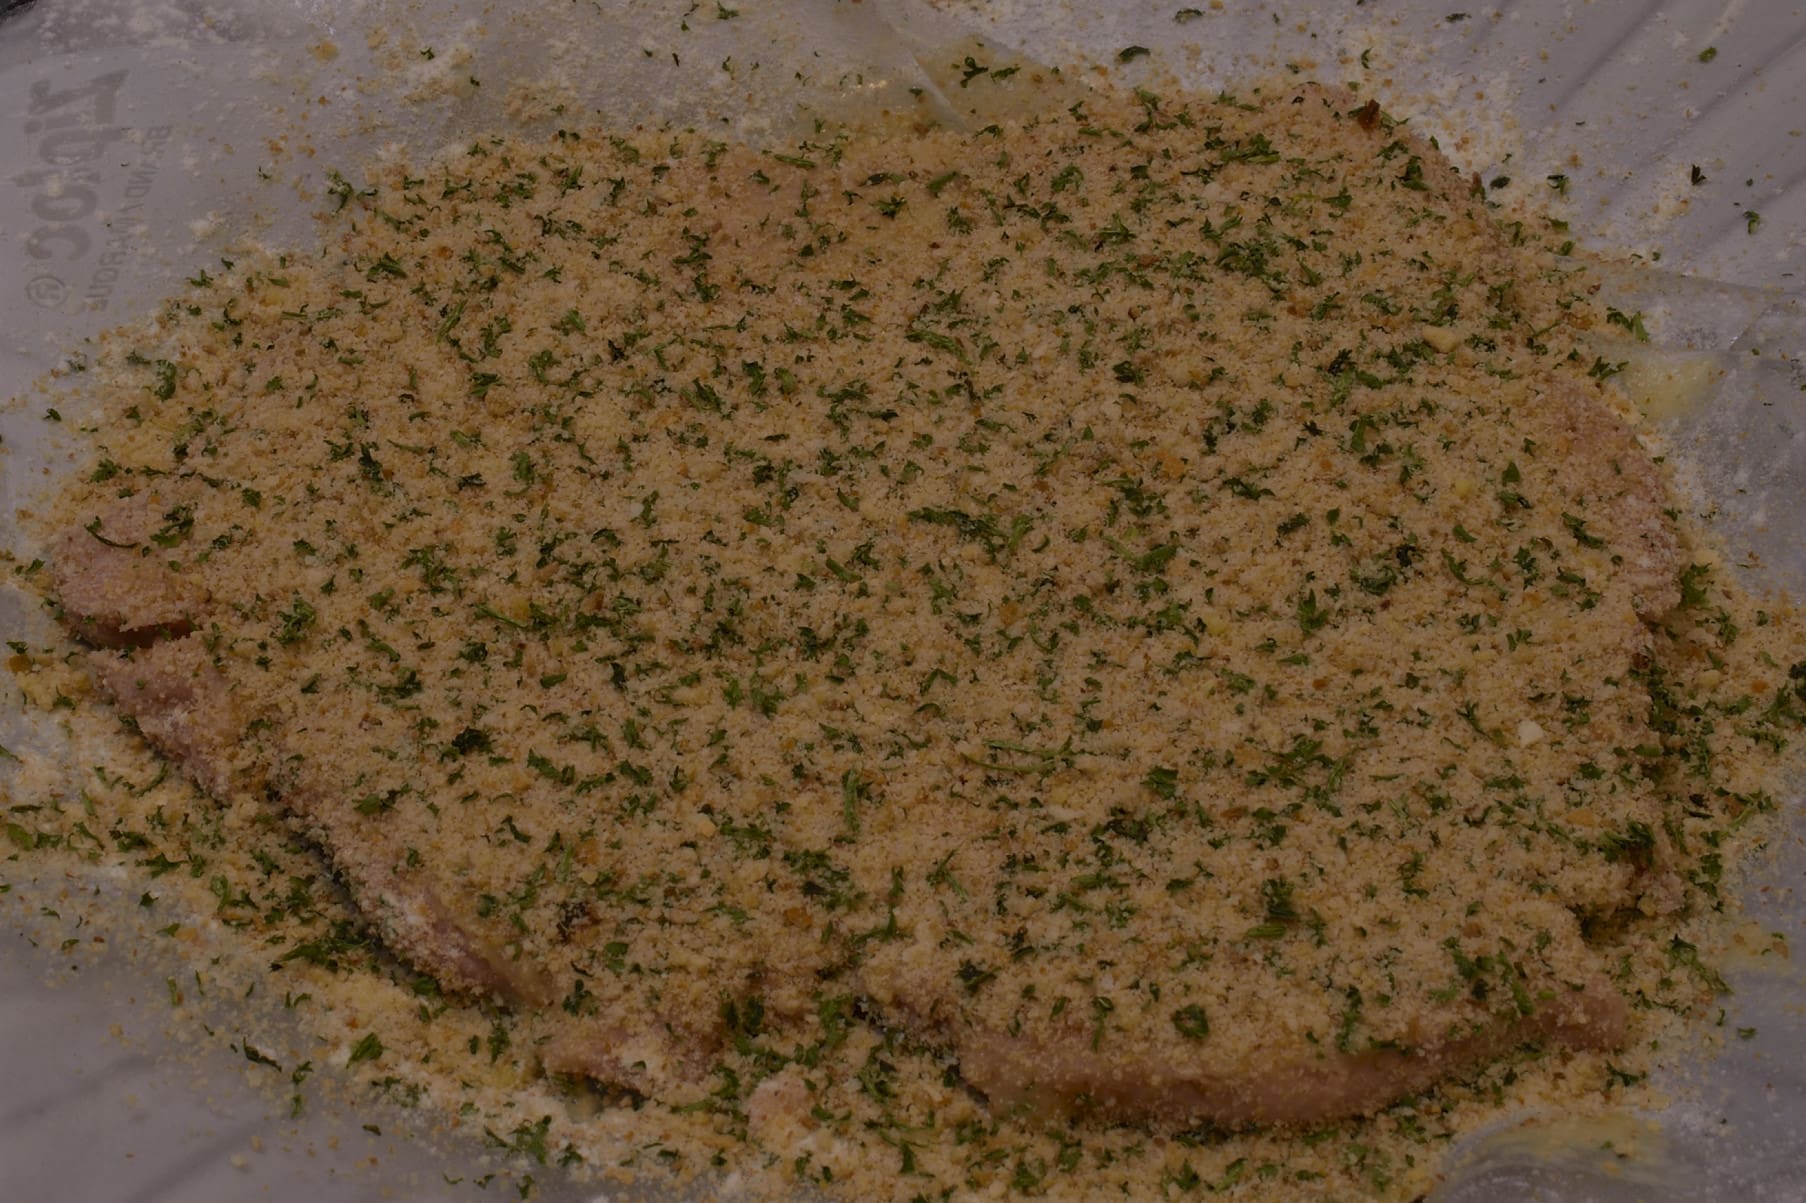
Sprinkle generously with crumbs.
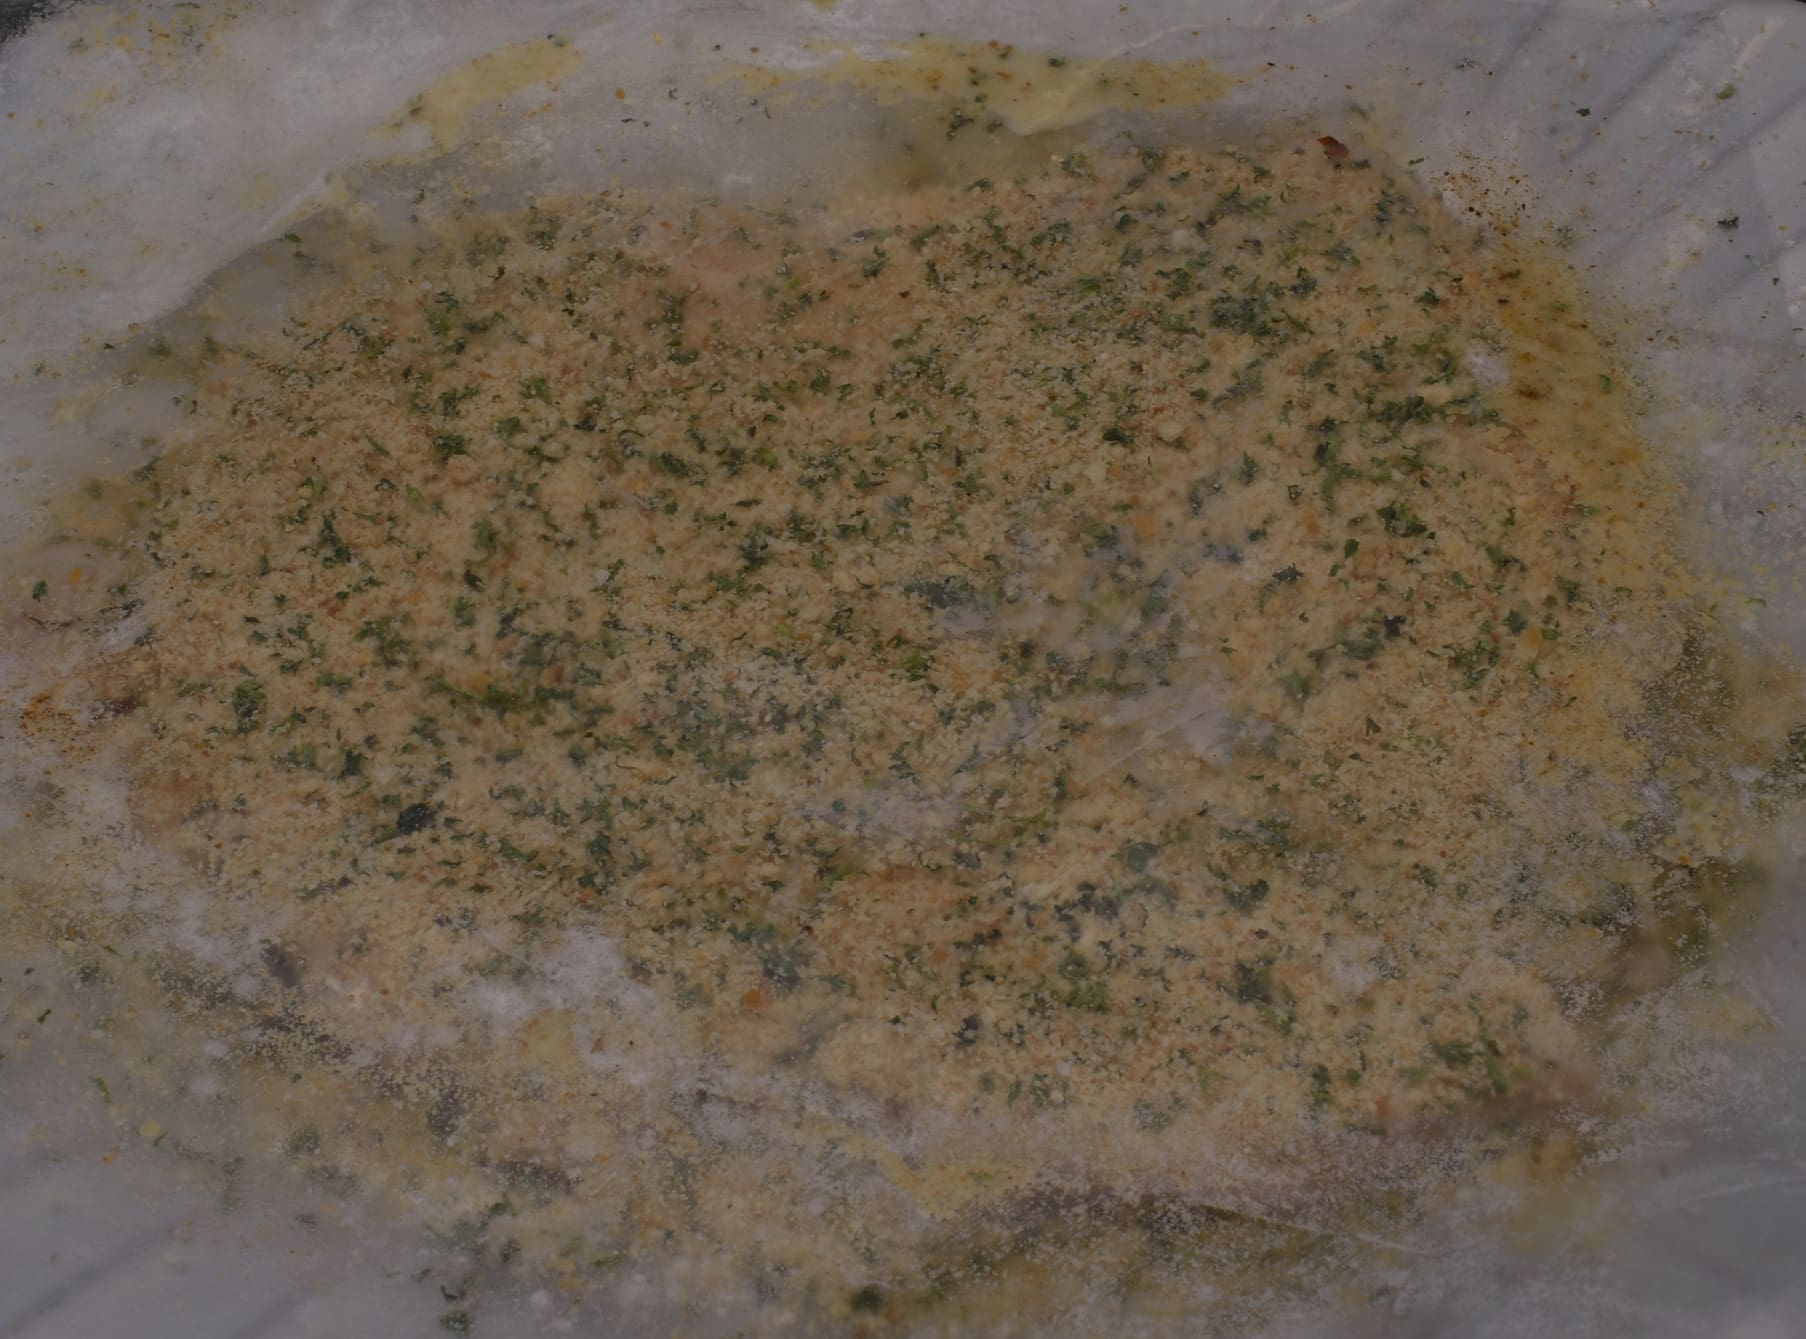
Replace the sheet of plastic and stage the breaded cutlet into the refrigerator. Repeat the process with all the cutlets and stack them on top of the first one. For many people, this task results in a gigantic mess on the work space and more breading on the hands than on the cutlets themselves. This is just about the neatest and most practical way to bread almost anything.
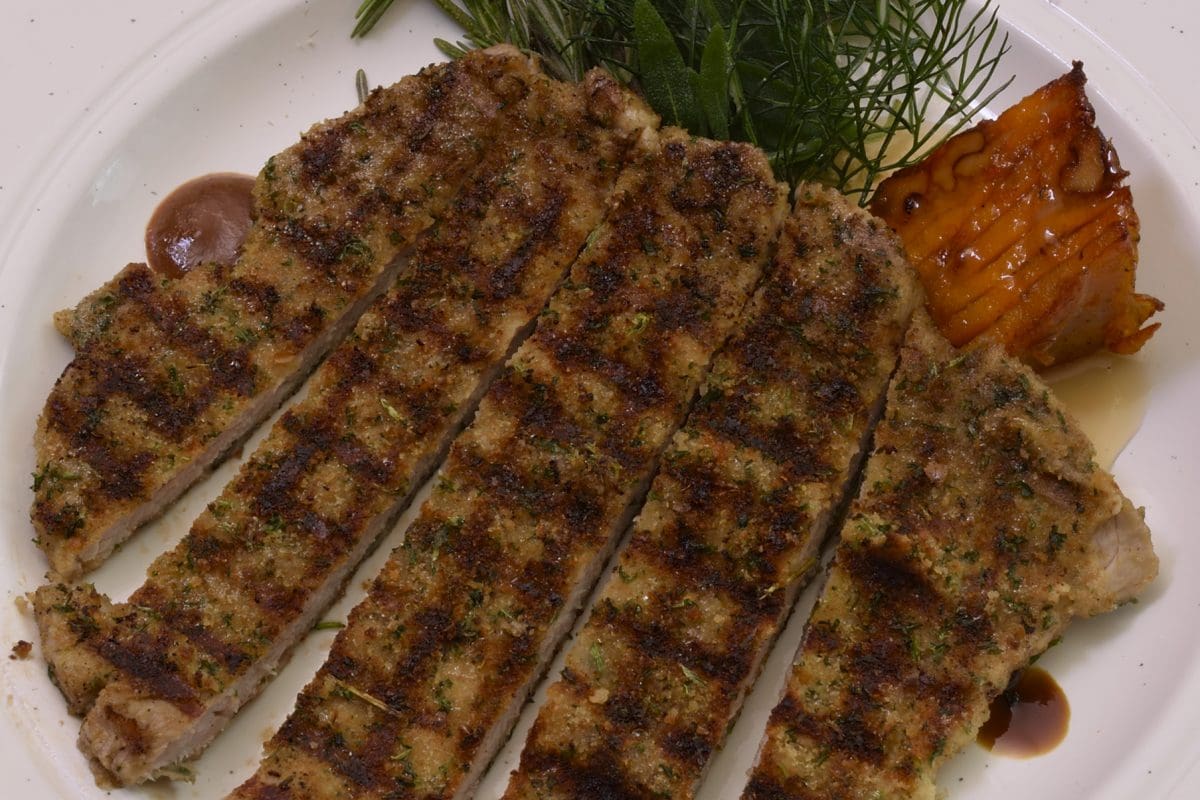
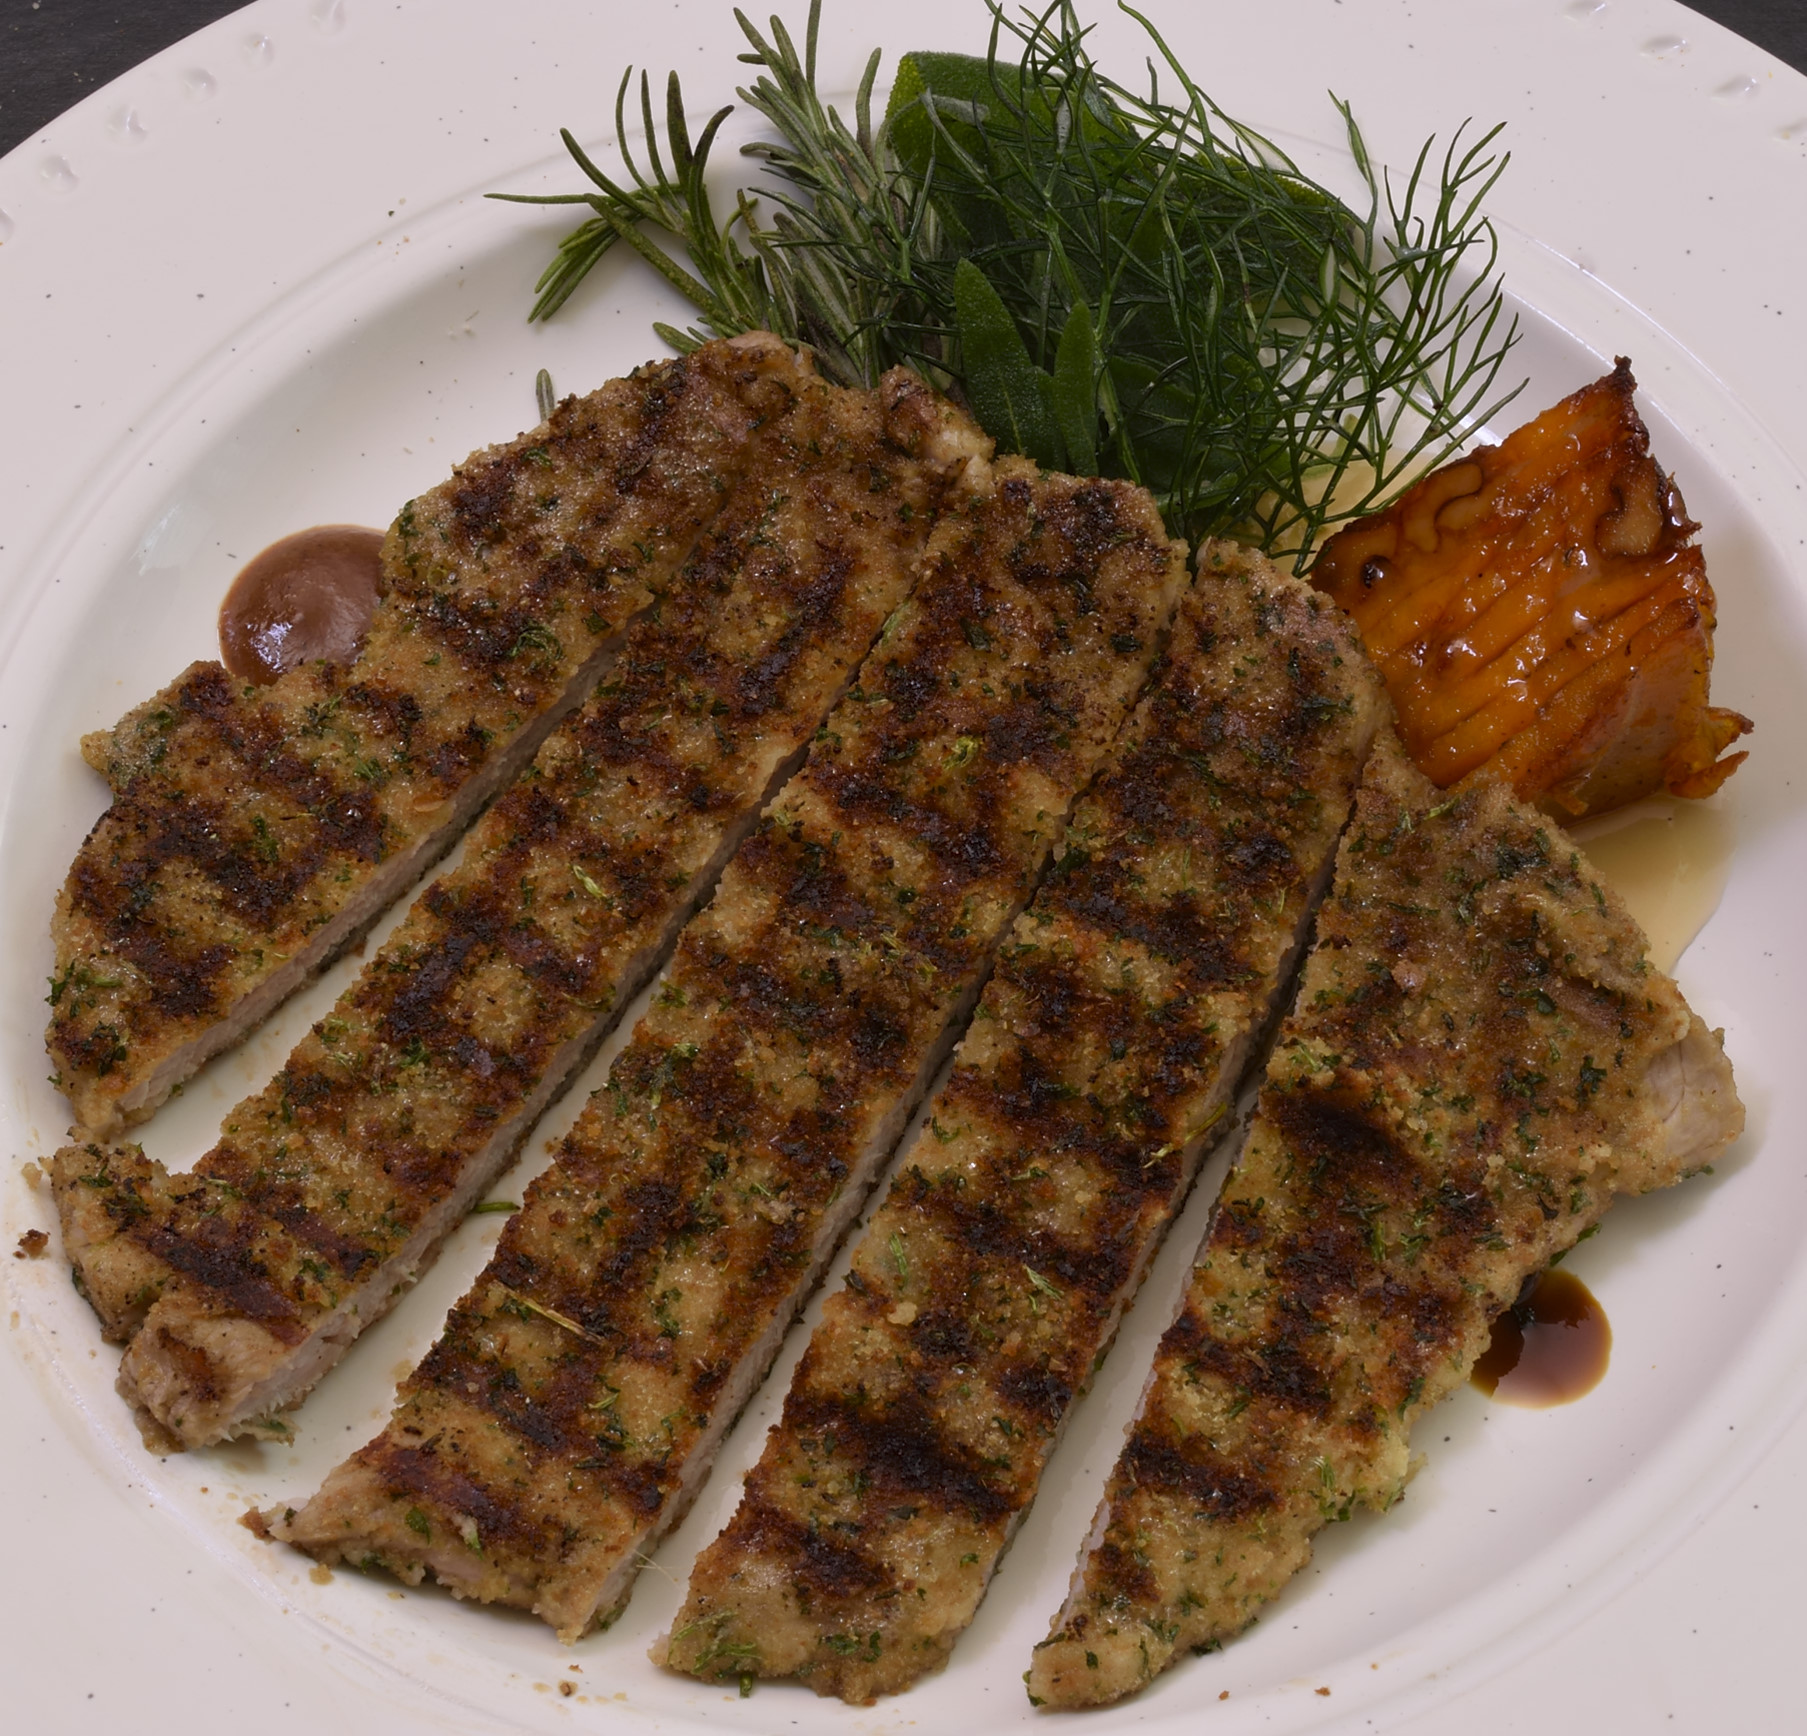
Service
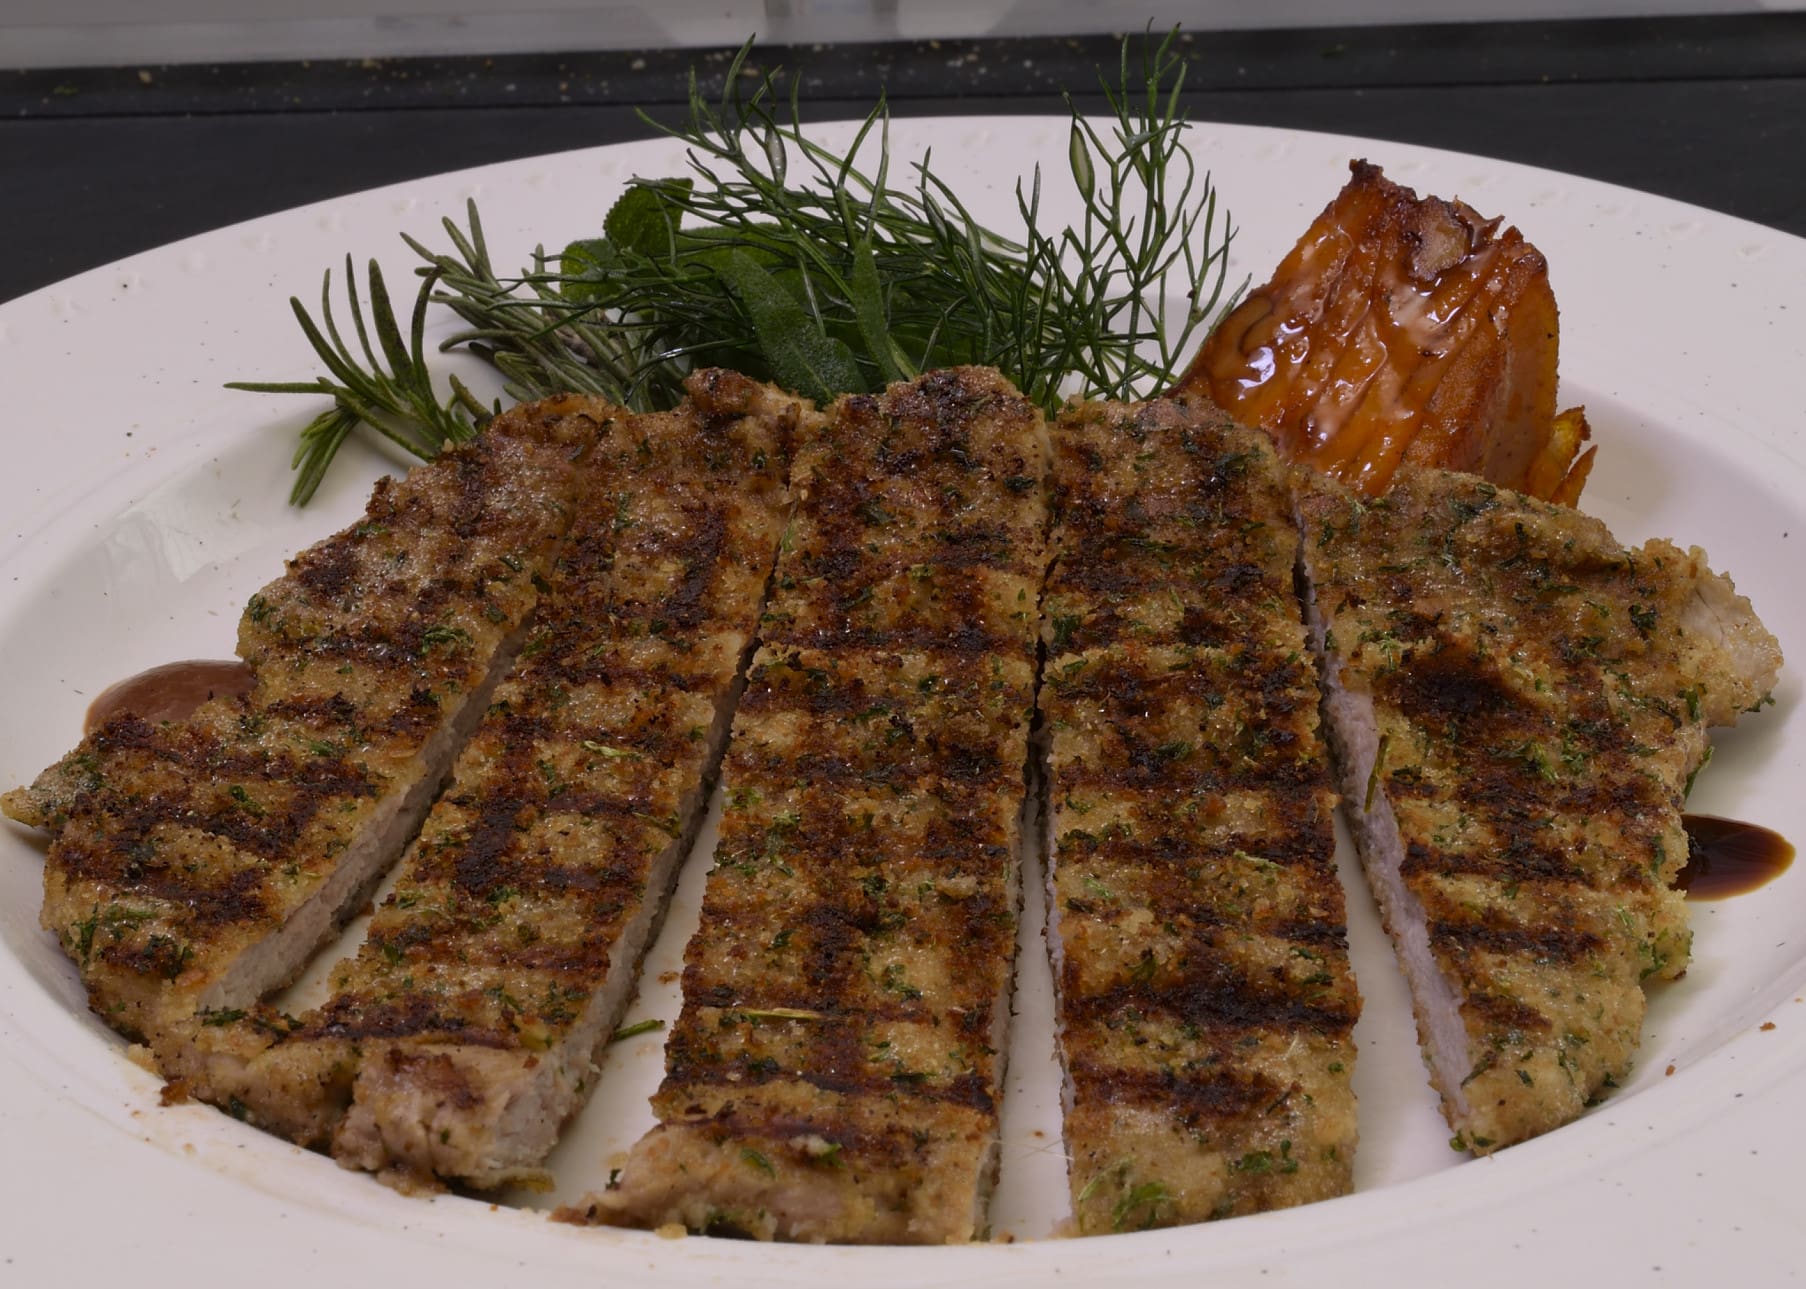
Preheat the skillet or cast iron broiler pan to 350 F/176 C. Use spray release (like PAM) to lightly coat one side of one cutlet. Lay the oiled side in the pan and spray the other side, which is now the top. This process takes no more than a minute or so on each side, so do not multitask. Watch the edges of the cutlet–they will begin to curl a little. With a little careful observation you can see how brown the bottom of the cutlet is without actually flipping the whole thing. You can also lift up the edge and take a peek.
Note: There is no shame in flipping the whole cutlet too early. The alternative is a burnt cutlet, for which there is no remedy. If you flip the cutlet and see that it is not brown enough, take a deep breath and let it brown on the other side. Then, just flip it back over and brown it some more. If this is done repeatedly, you may lose a little of the uniformly applied crust. Chefs learn to hide these imperfections at service with sauce, parsley, etc. 
If they exist, that is.