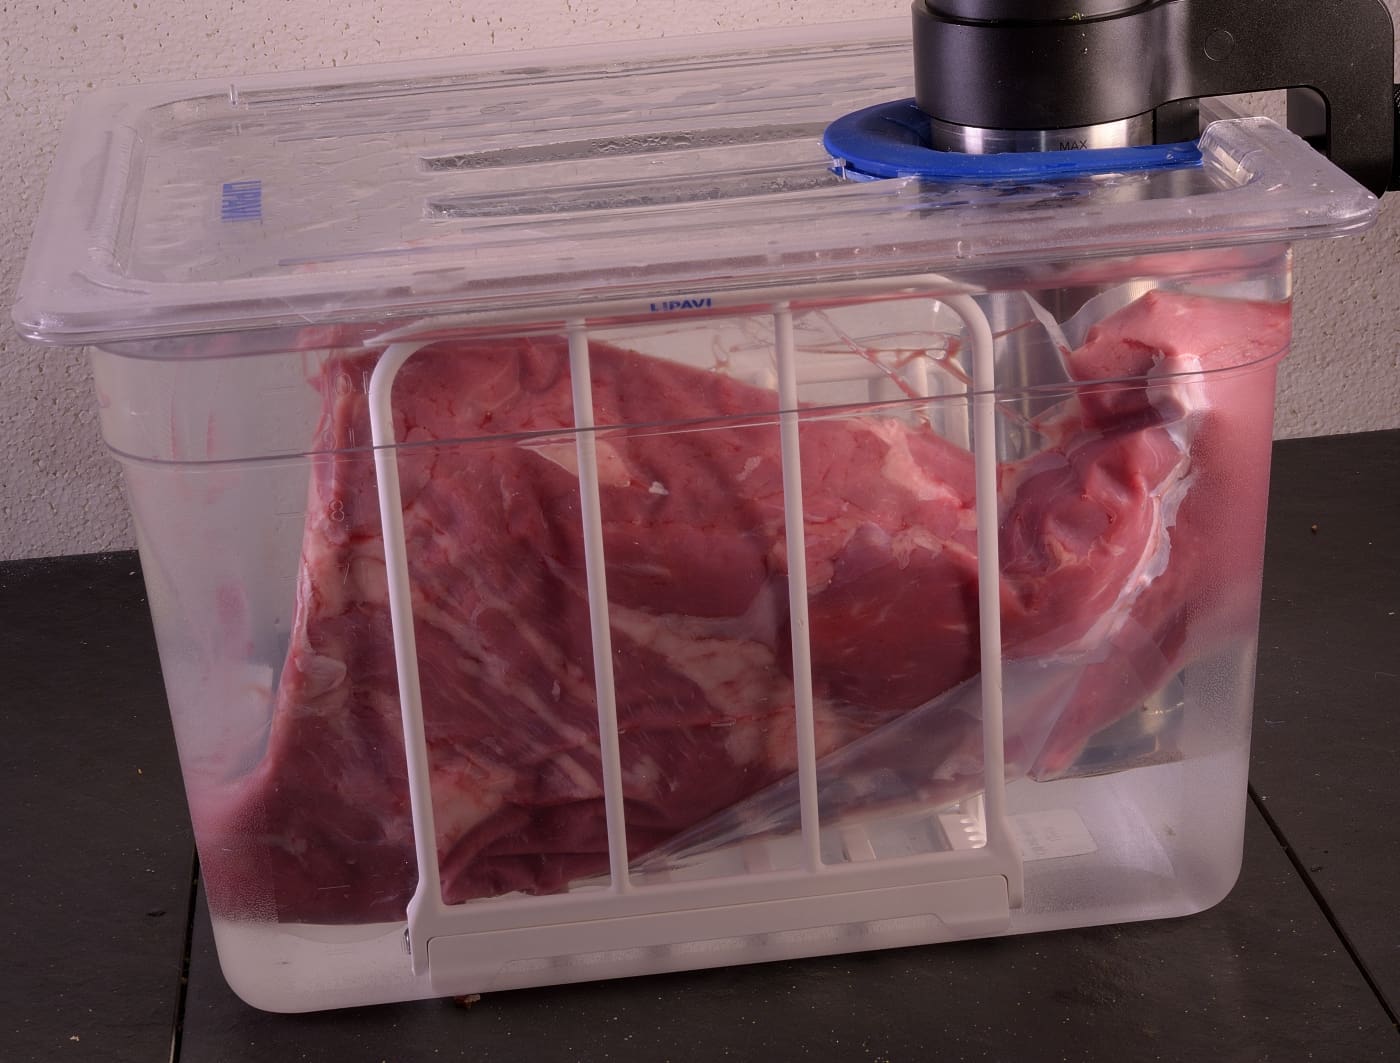
Above: Lipavi C10 container, N10 polycarbonate racks. Lipavi C10L-UNIR lid.
Actual prep time: 1 hour
Serves 3+
Level of difficulty 2.5
Beef tri-tips are usually available in two forms–peeled and unpeeled.
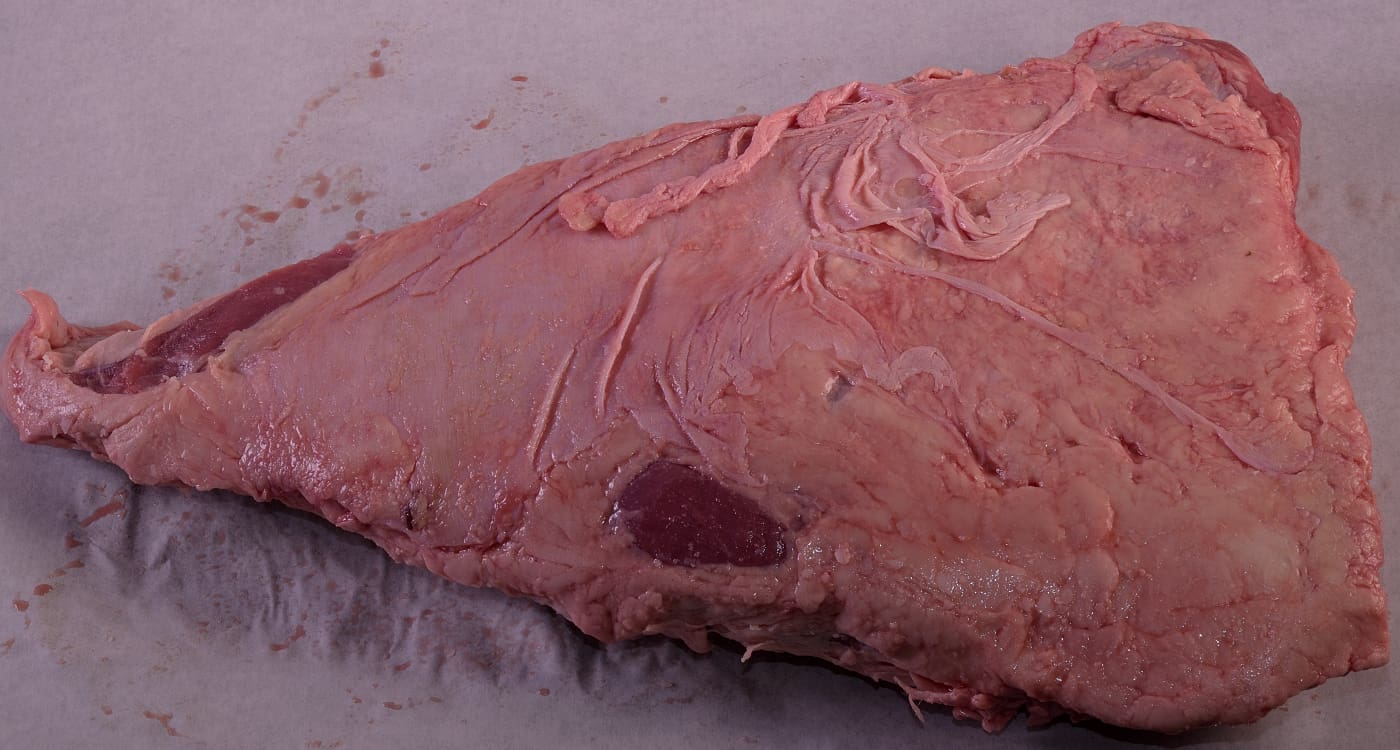
The unpeeled versions are cheaper, yielding about 25% trim. The trim can be used to make TRI TIP BROWN GRAVY,
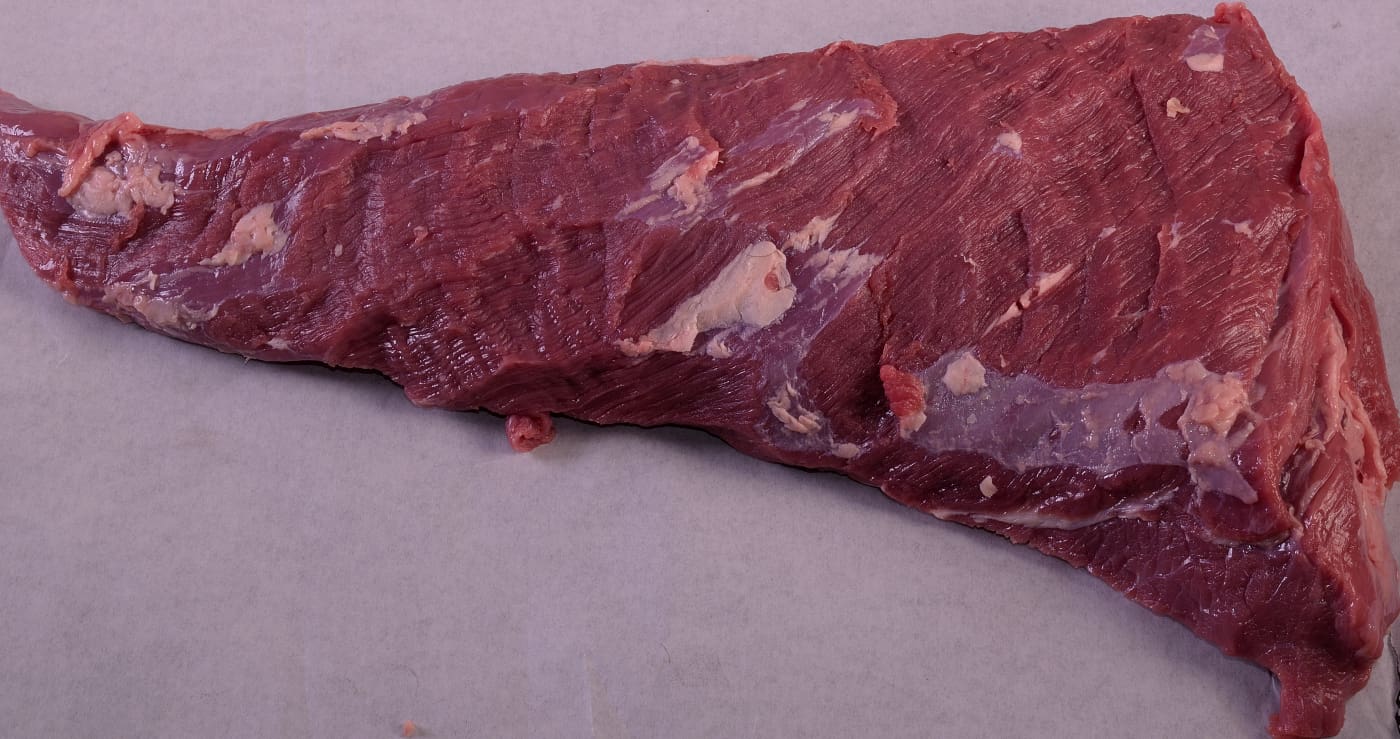
The peeled version is more common.
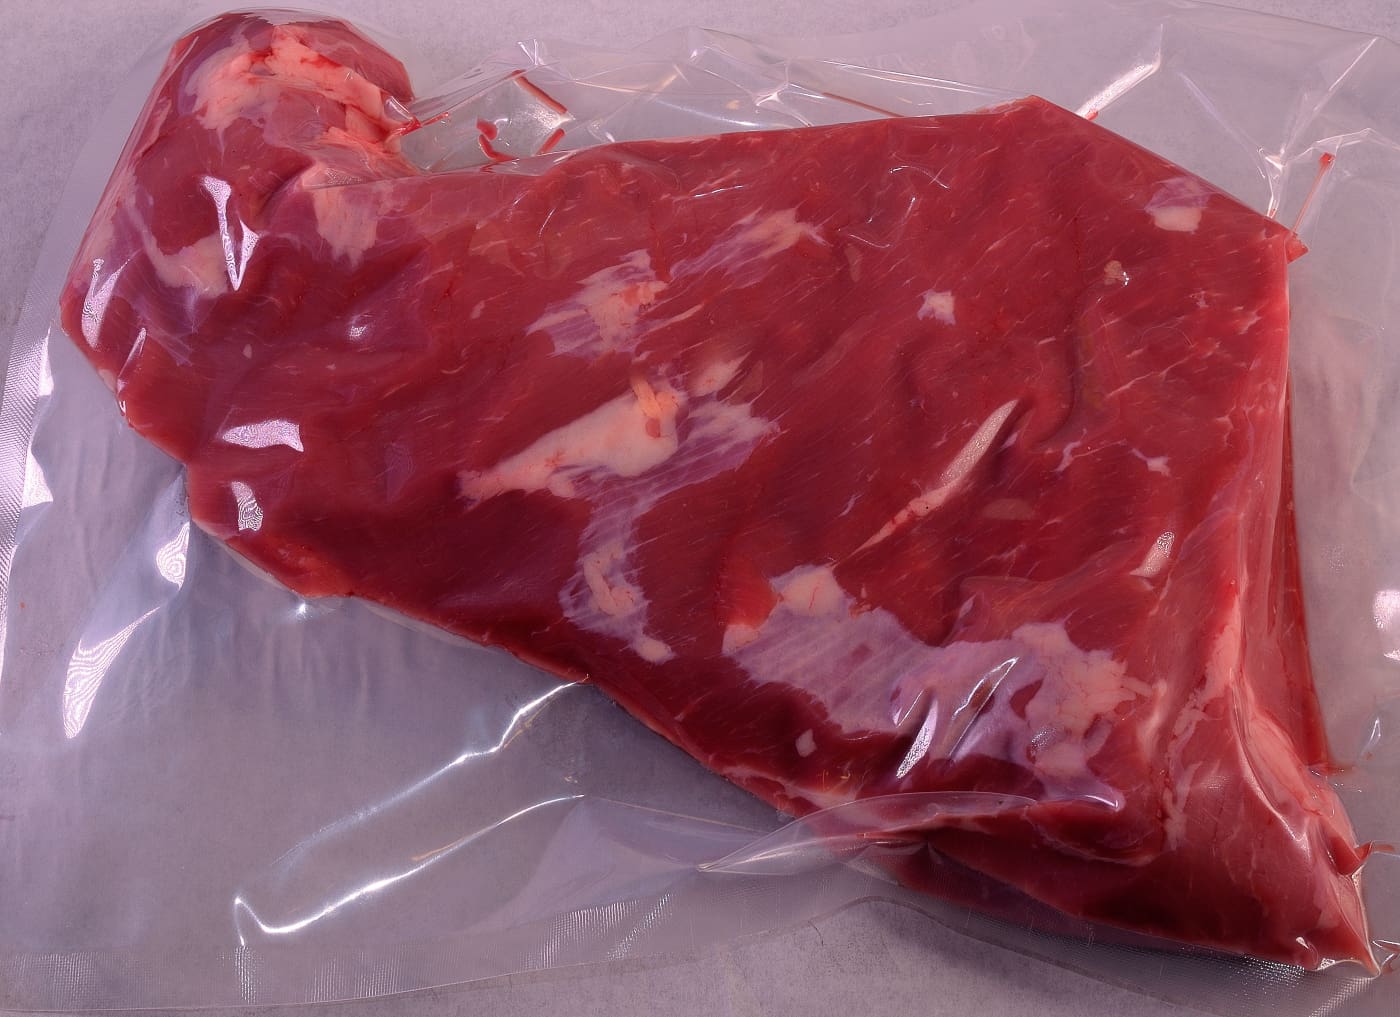 Vacuum seal the peeled tri tip roast and seal in heat rated bags. Process the roast at 129 F/54 C (rare) for a minimum of twelve hours.
At this low temperature, it is very difficult to over-tenderize the steak. If you prefer an appearance of doneness beyond rare, the tenderization process will occur somewhat faster. For more detailed information, refer to the guide linked HERE.
Even at 140 F/60 C, a 12 hour interval will achieve desirable results.
Note: While time determines texture/tenderness, the amount of time that proteins spend in the bath cannot be used to precisely MEASURE tenderness–this requires practice and the acquisition of a small amount of skill, explained HERE. Once the 12 hours have elapsed and/or your roast has achieved the desired level of tenderness, shock the package in iced water until it achieves 70 F/21 C. Refrigerate to 40 F/4 C. For more detailed information on the shocking process, click the link HERE.
The roasts can be kept sealed in the refrigerated state for up to at least two weeks before moving on to the next step or even another application.
Day of Service
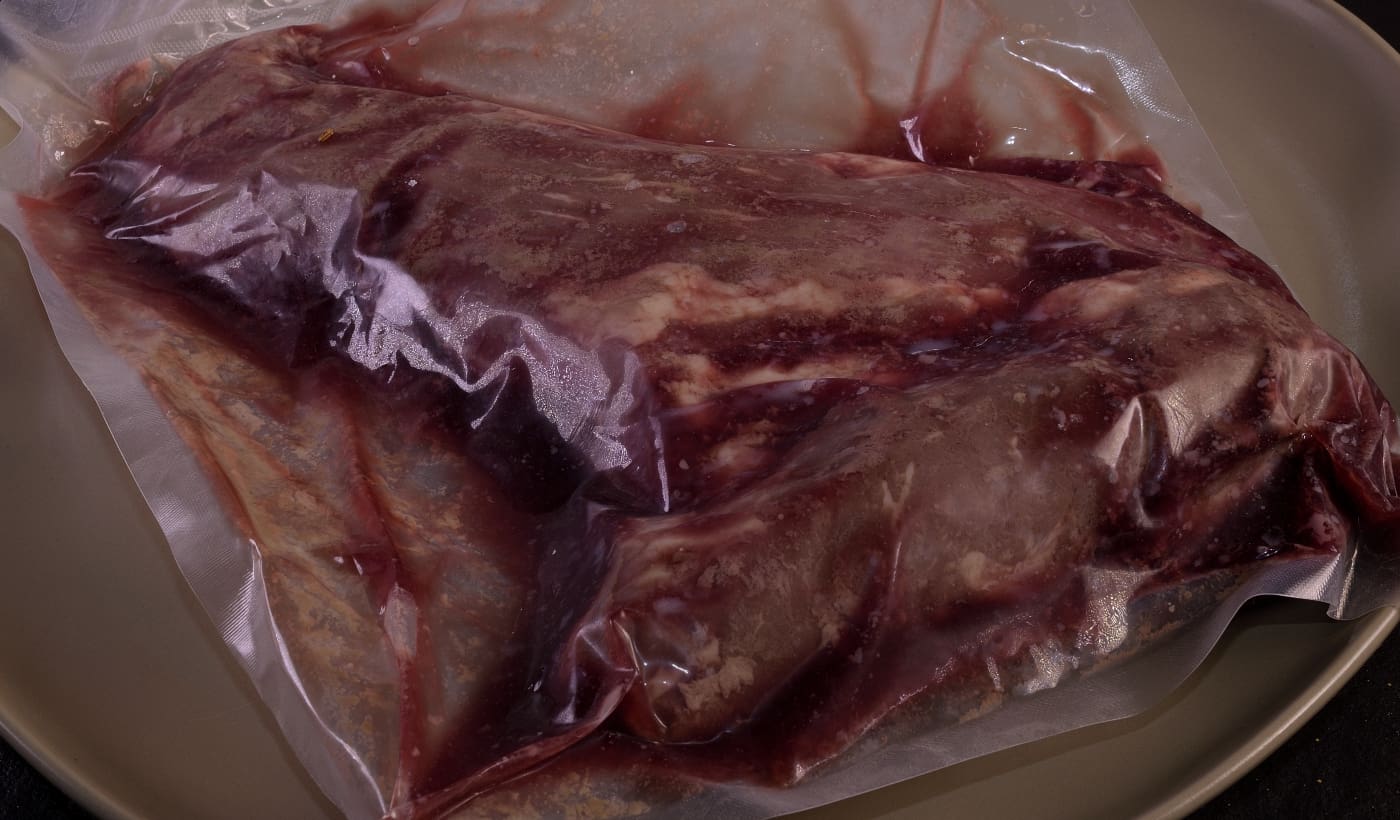
Remove the package from the refrigerator and stage onto a clean surface. Cut open the bag, harvest the juices and clarify them according to the process outlined HERE. Set the juices aside for another application–they are great for sauces, soups, etc.

Pat the roast dry. A small amount of fatty tissue on the surface is perfectly fine.
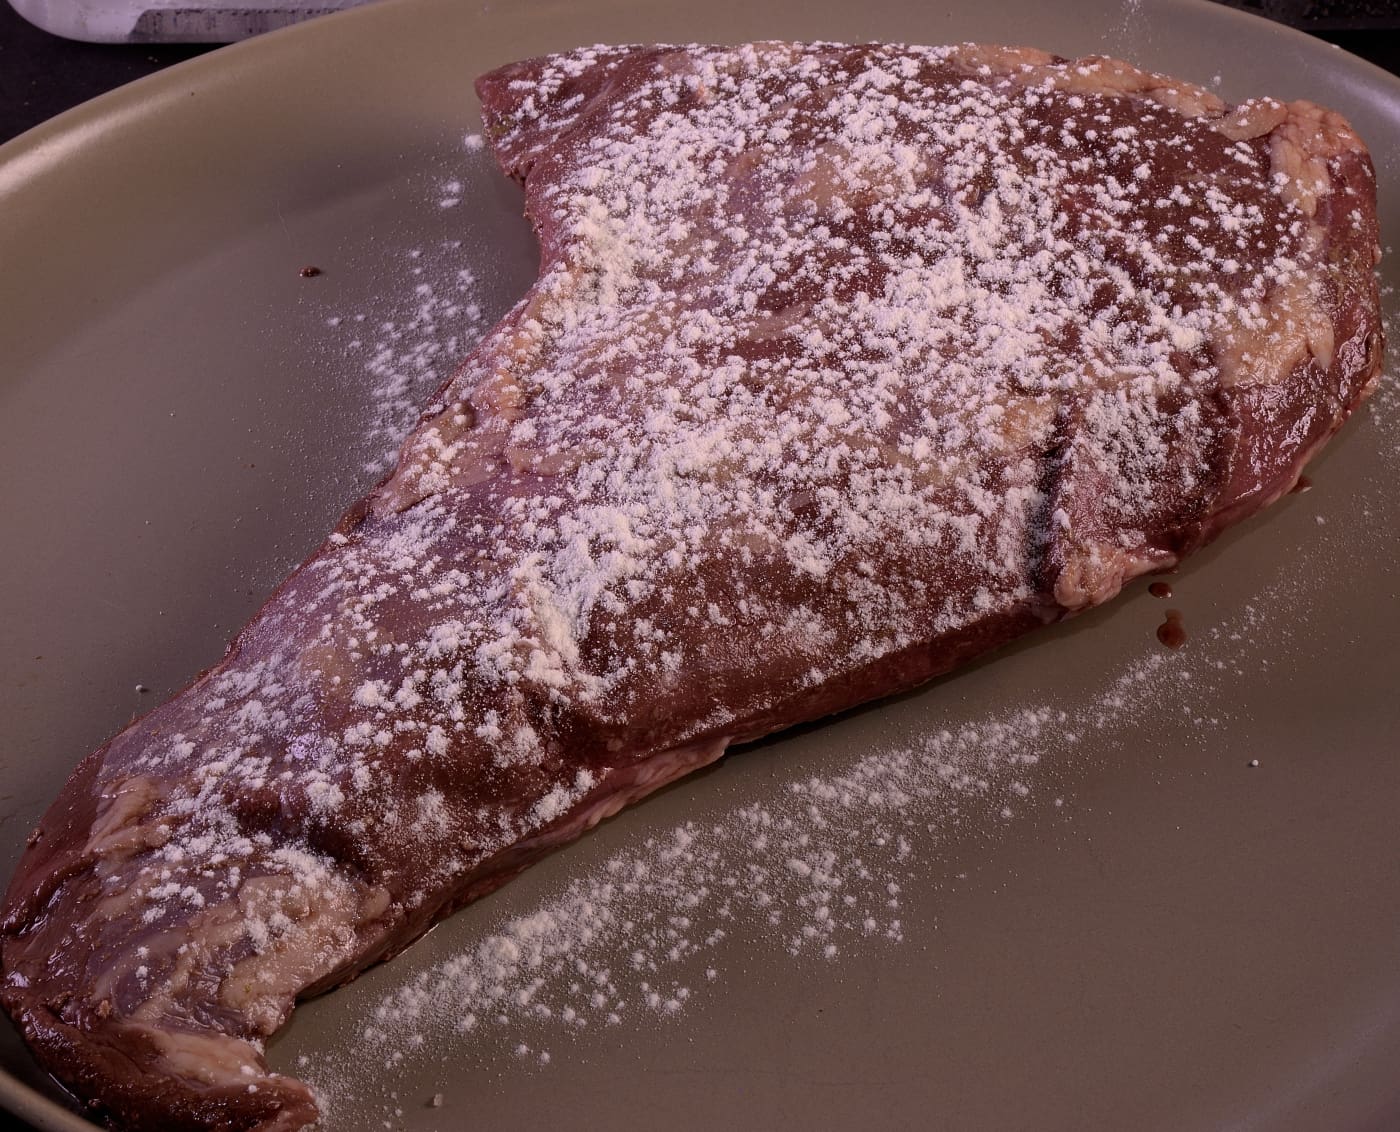
Dust the surface lightly on both sides with powdered egg white.
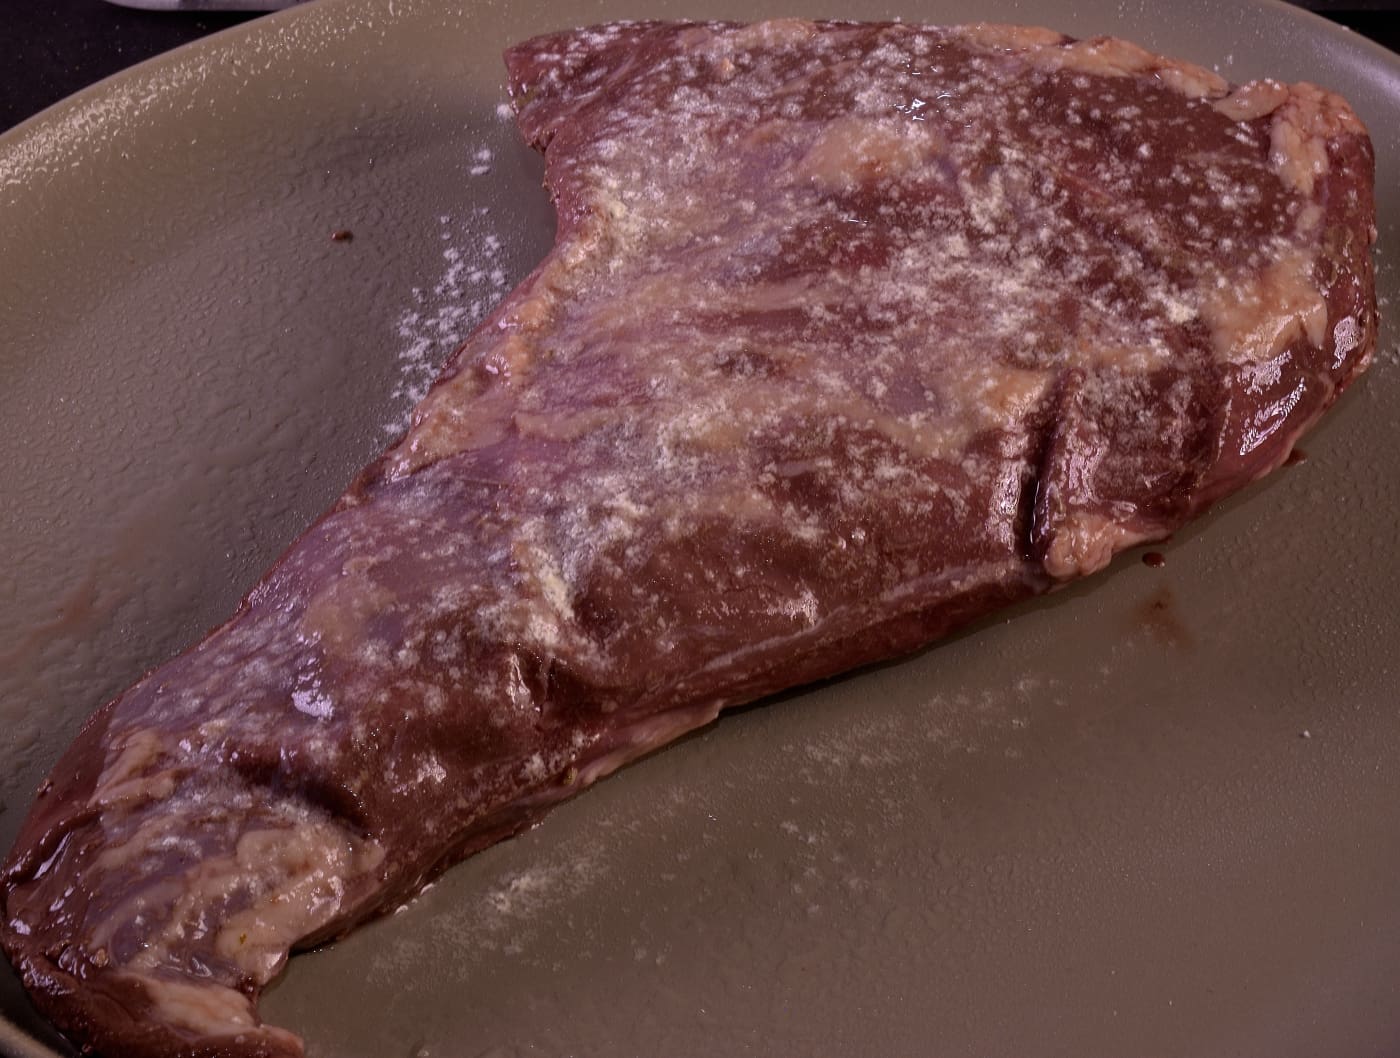
Spray both sides lightly with water to moisten. This creates a sticky surface for spices to cling to. Fresh egg white can also be used very sparingly.
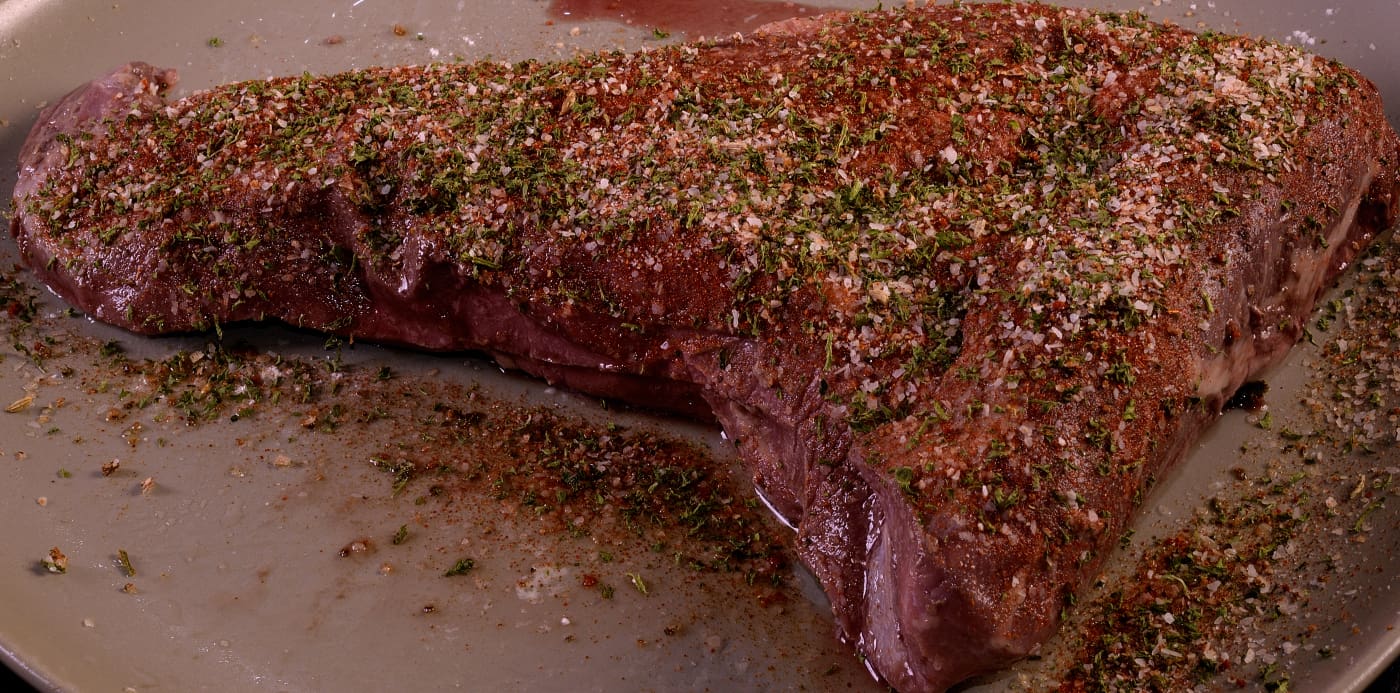
Sprinkle with your favorite blend or one of ours listed HERE.

Stage into a rack. We used a Lipavi L20, which is also perfect for sous vide processing–oven proof, water proof, and dishwasher proof.
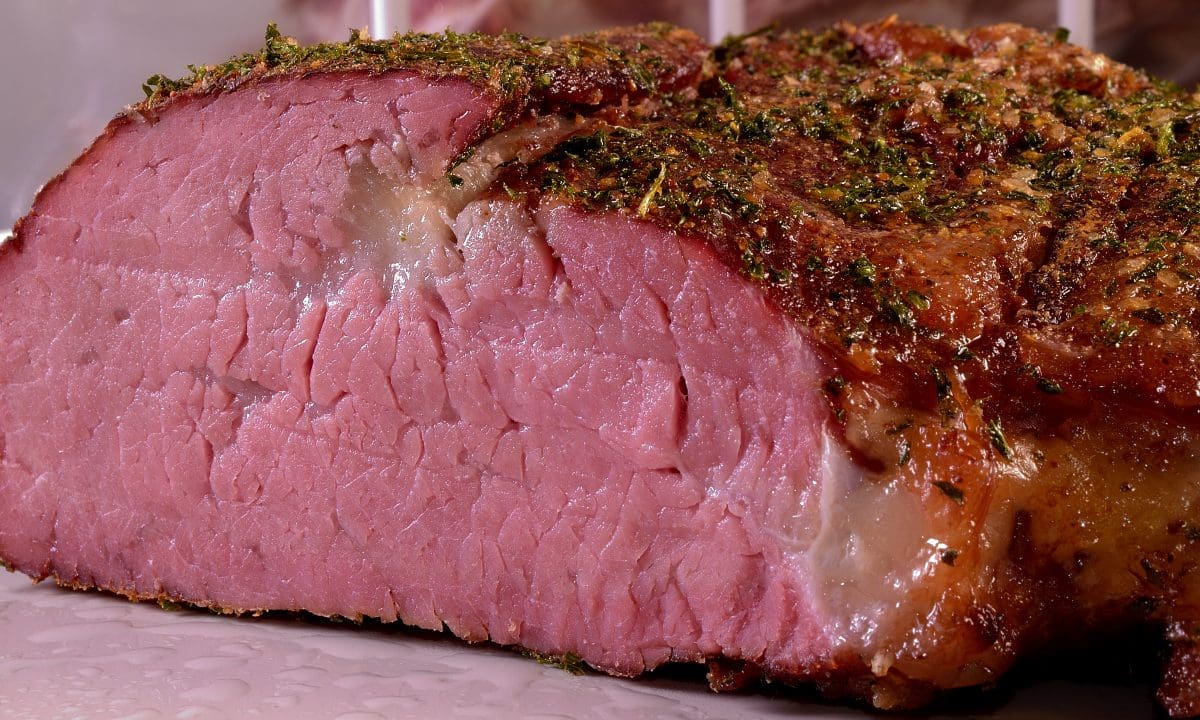
Hot smoke the roast in a pellet grill set to approximately 180 F/82 C until the internal temperature achieves at least 125 F/52 C–we allowed four hours. If preferred, a conventional oven set to 225 F/107 C for 1-2 hours will also serve. In a 350 F/176 C oven–approximately one half hour.
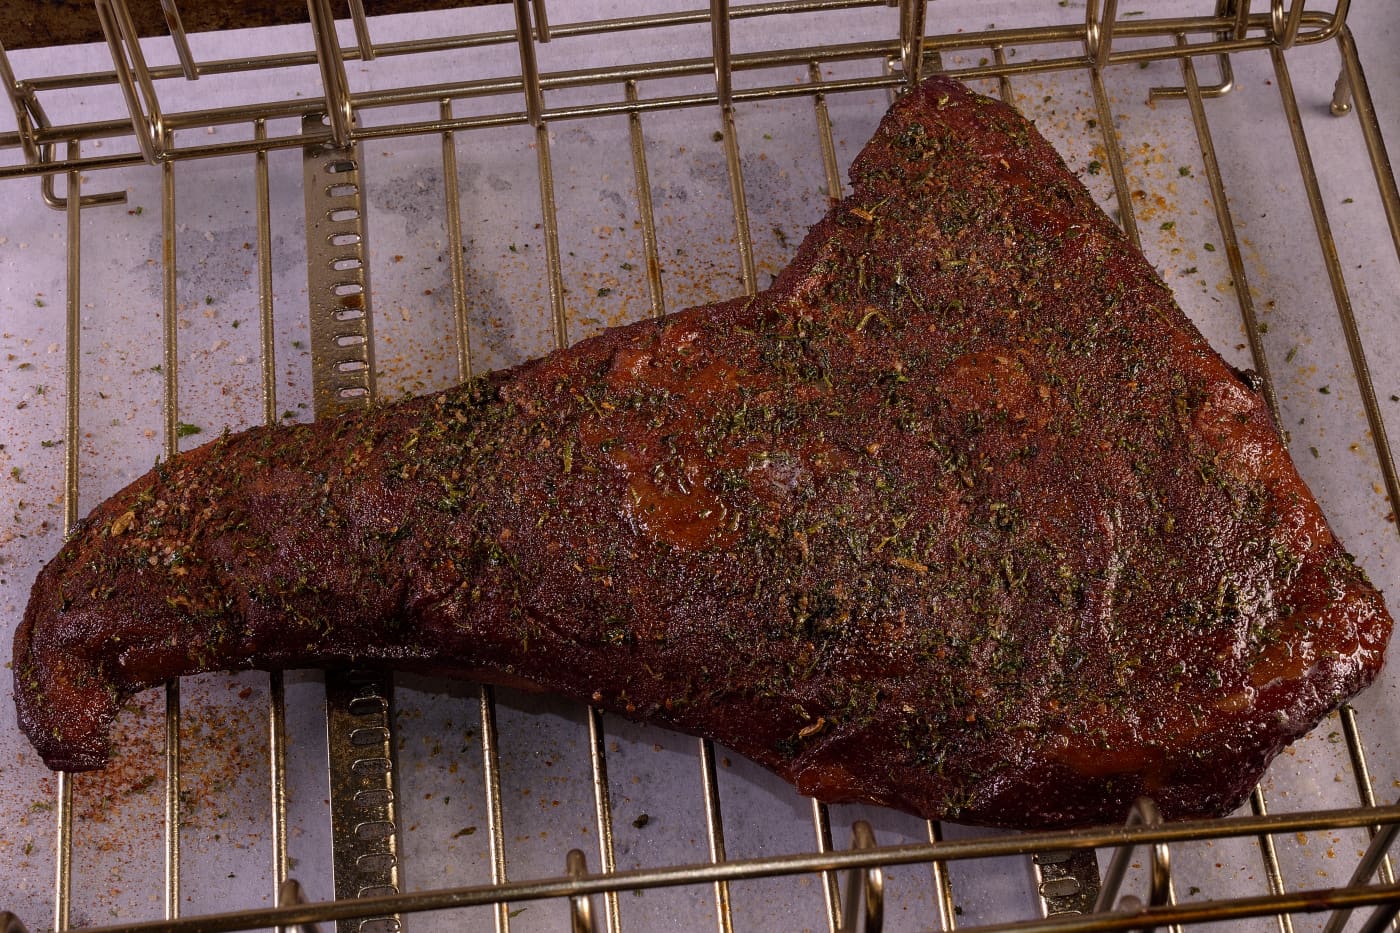
Clocks cannot be used to accurately MEASURE internal temperature. Invest in a probe thermometer–at least until you learn to approximate the level of doneness by sight and feel.
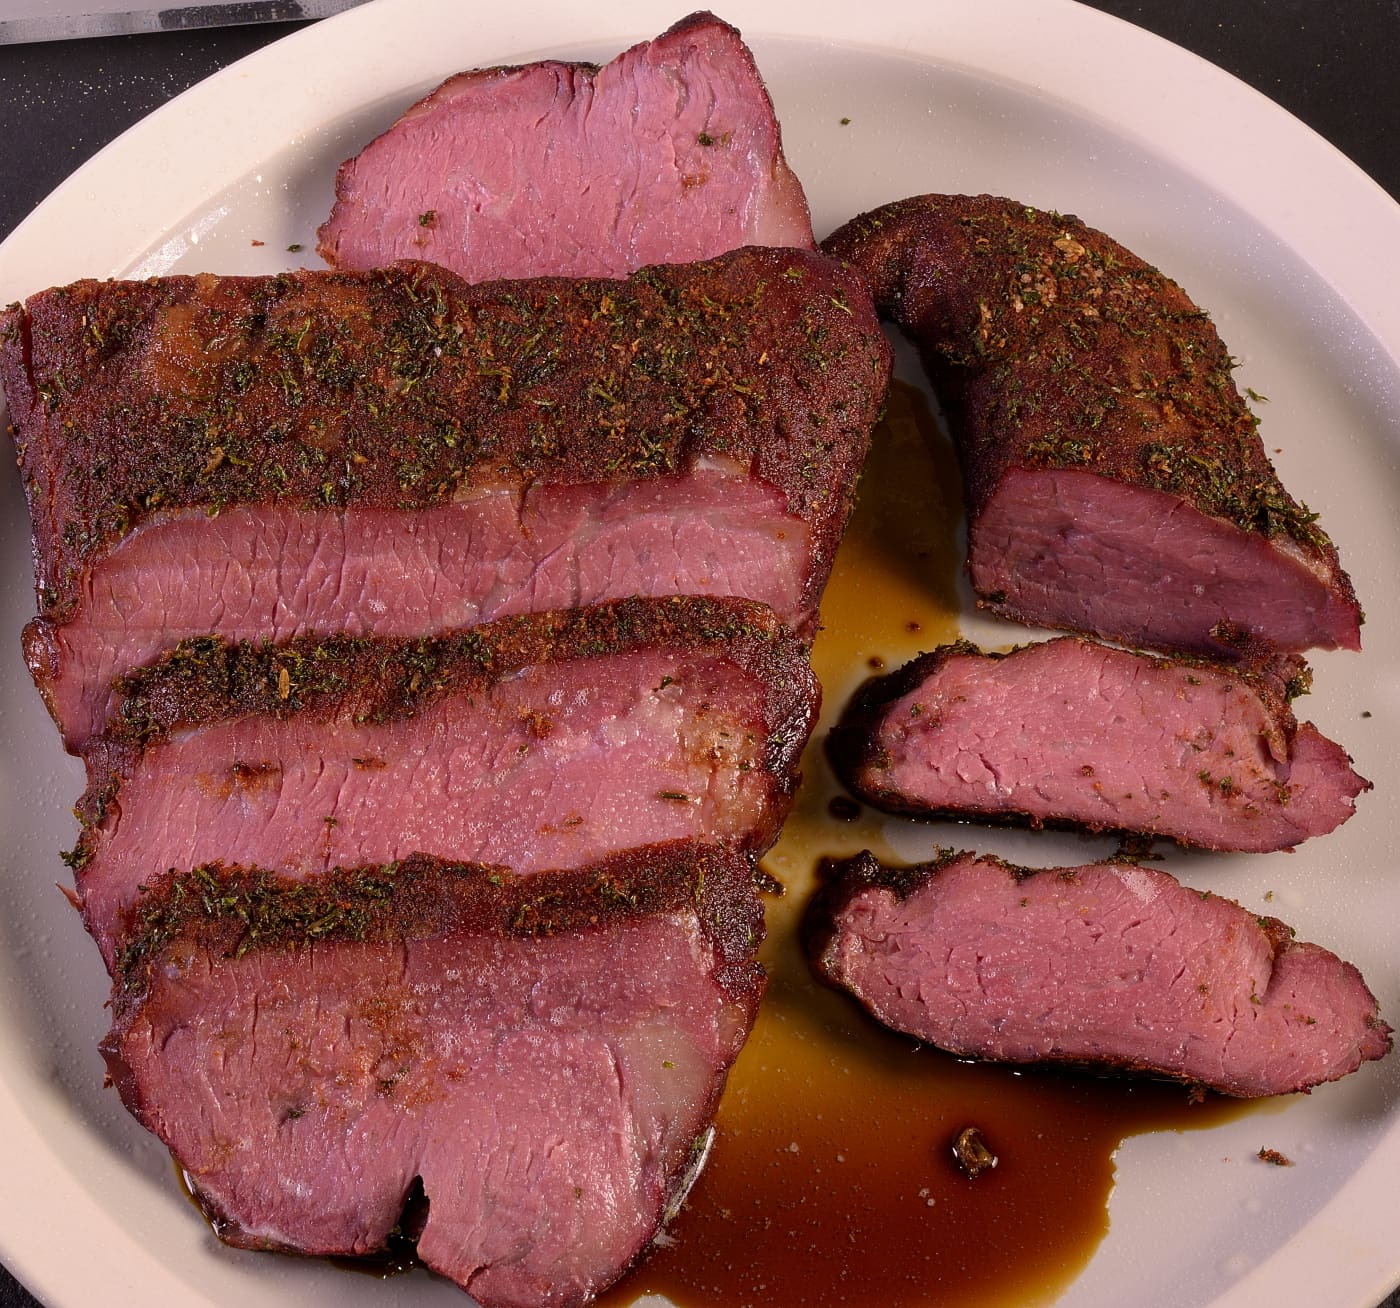
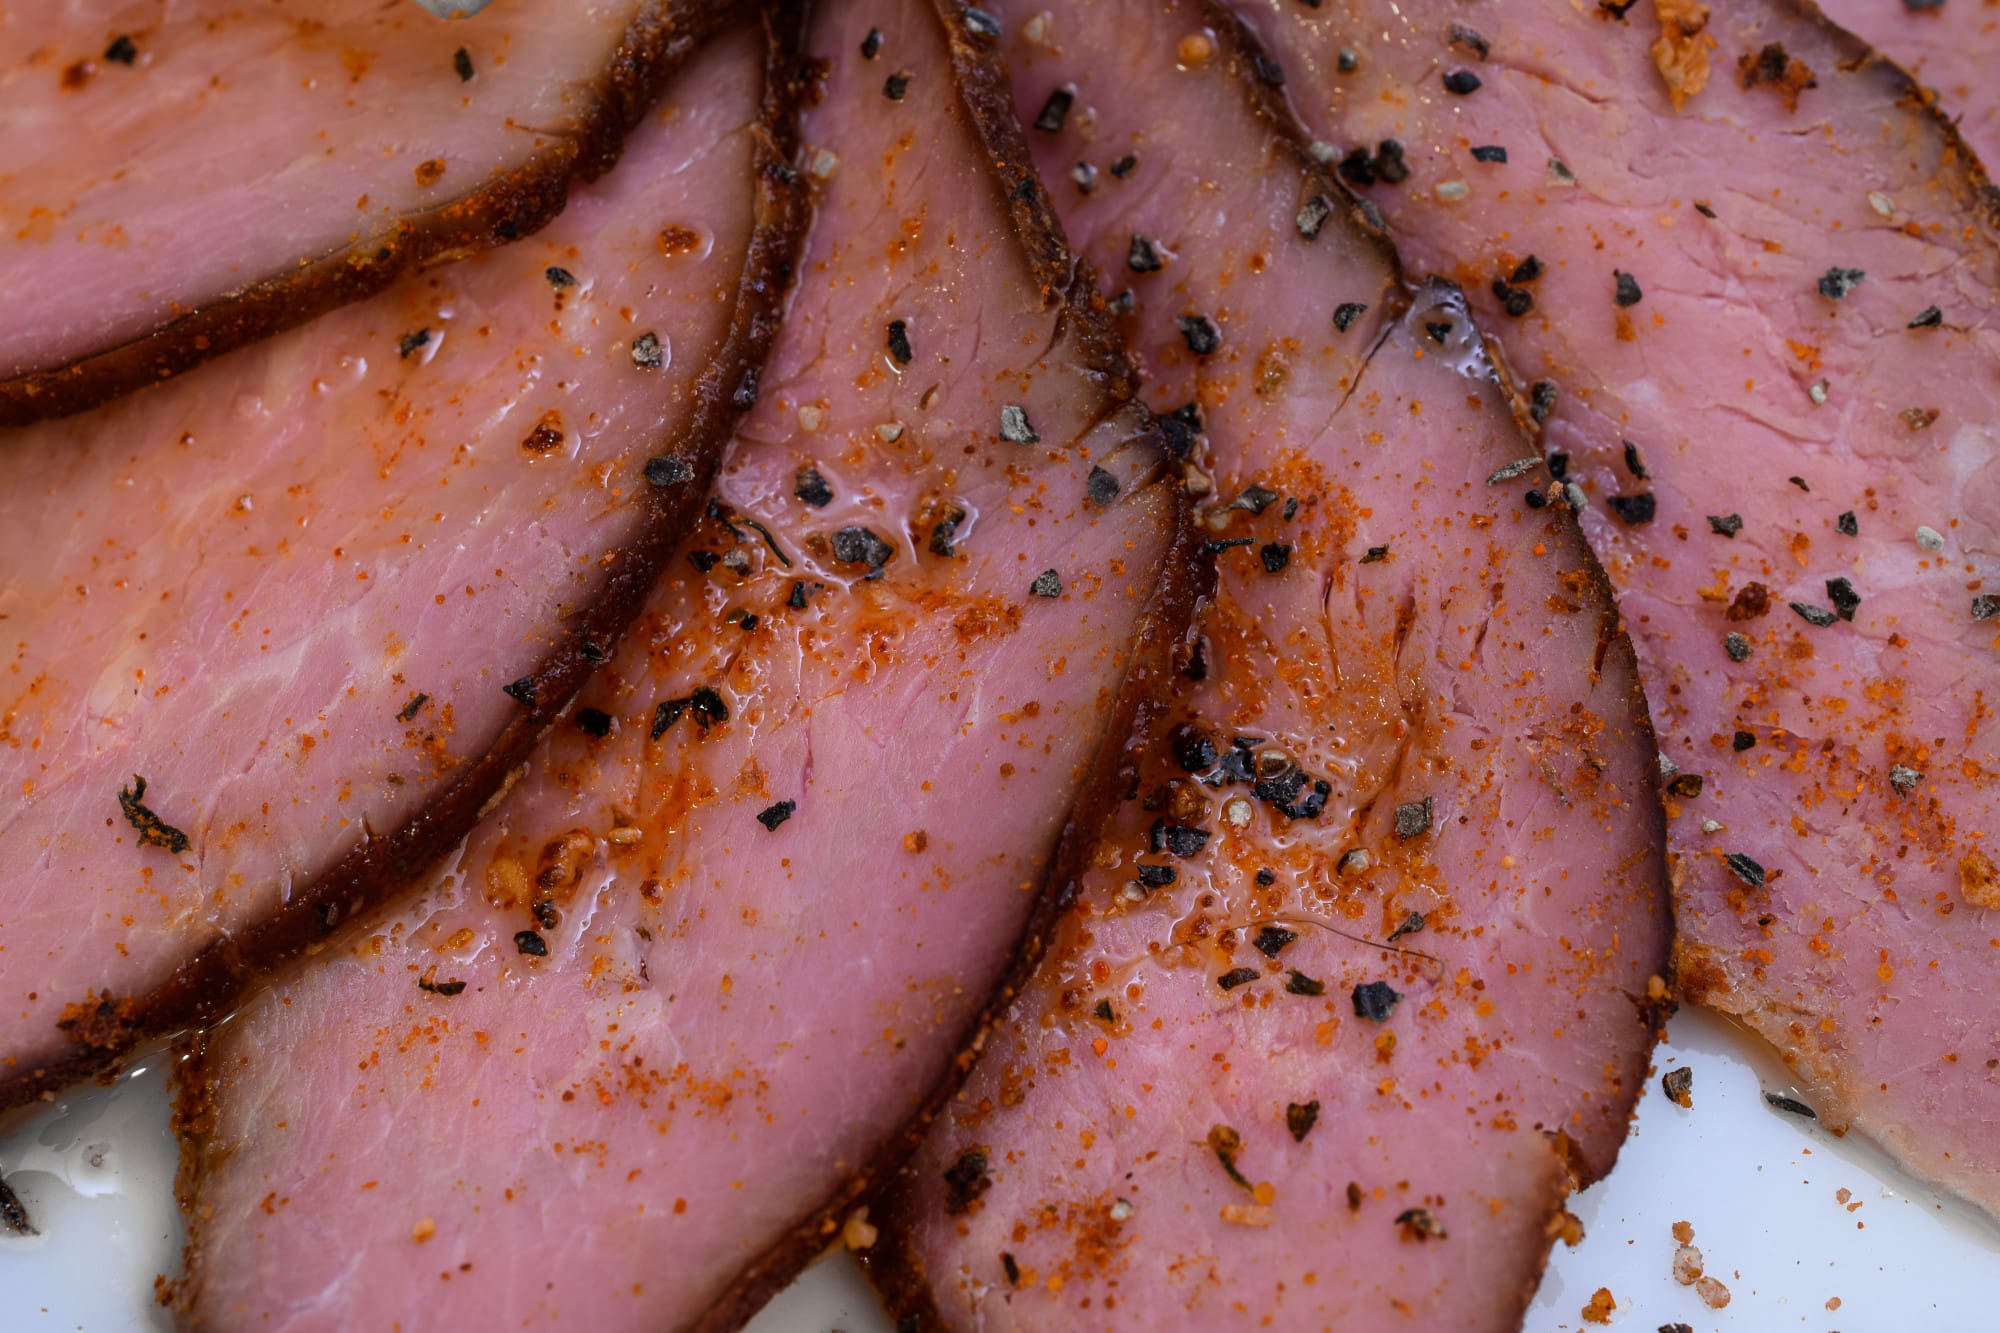
The appearance of your roast is also useful as a guide to your decision as to when the roast is “ready.” This rub is a variation of the recipe HERE, with paprika, ground black pepper and sugar added to add a little variety.
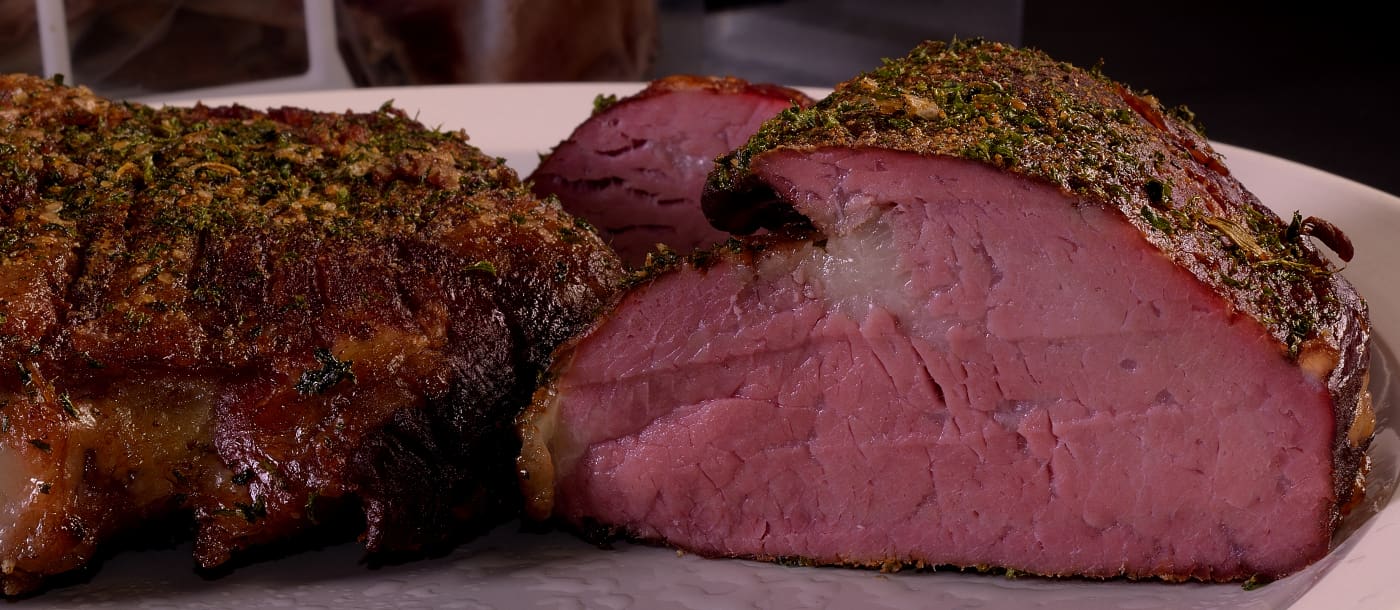
The medium rare appearance is preserved in this case, even though the roast was processed, shocked and rekindled in the smoker.
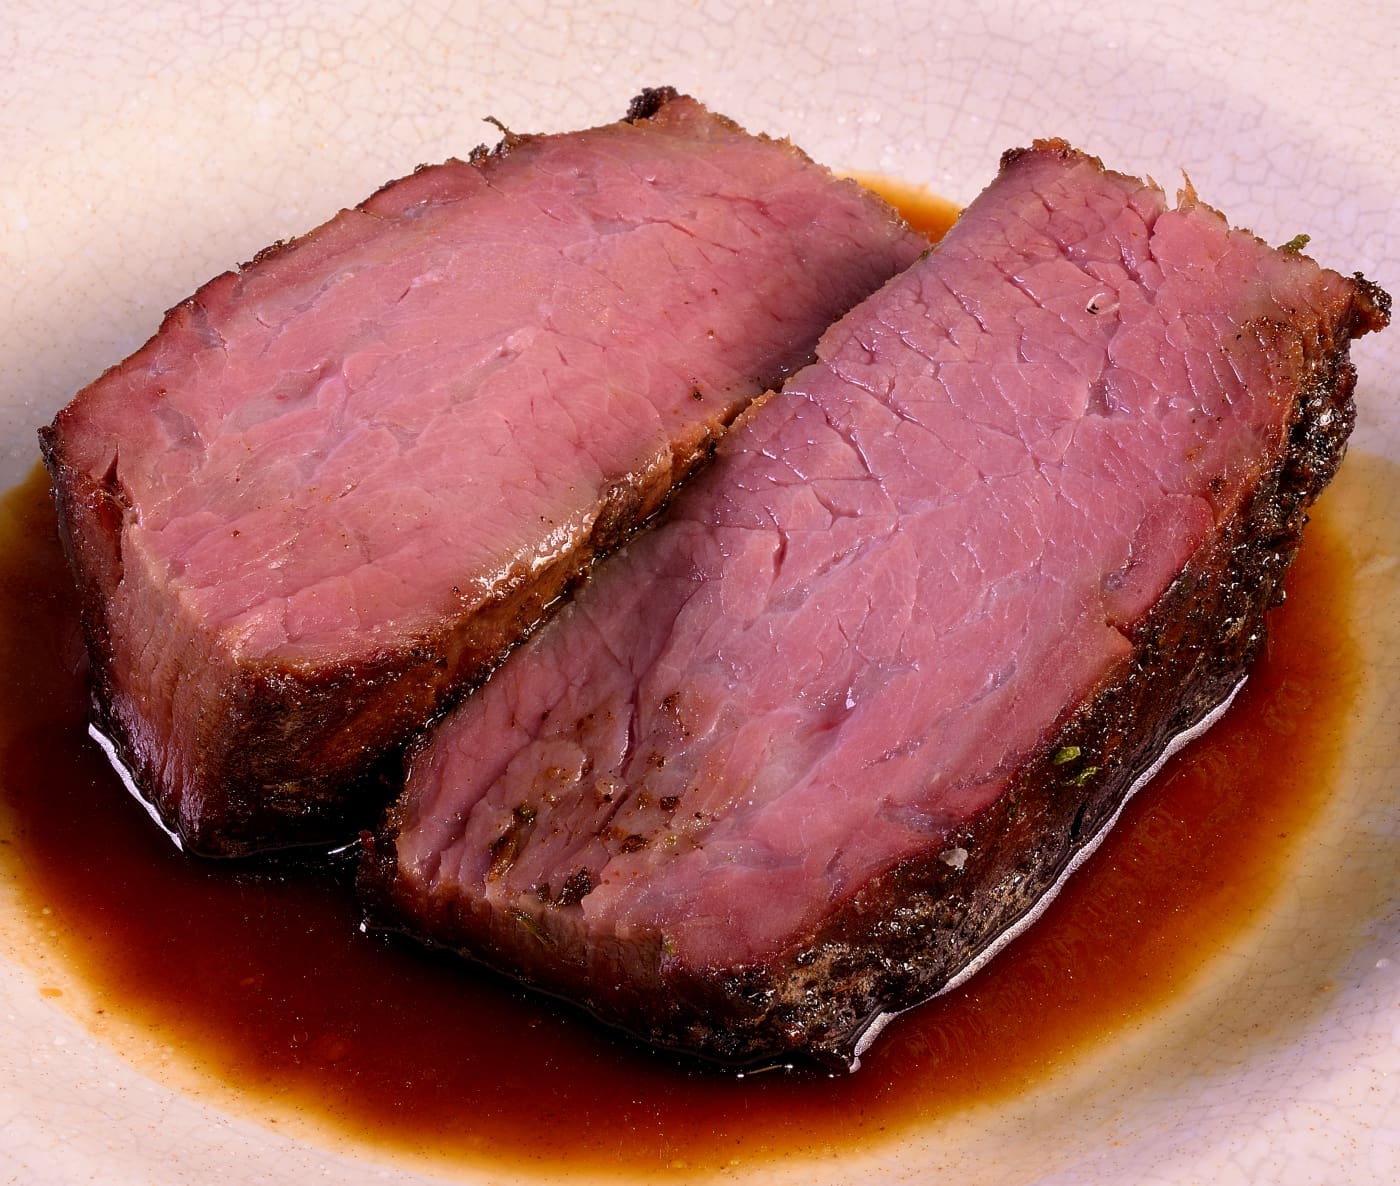
This is dependent on the particular cut used as well the original time and temperature utilized. I find that tender cuts like New Yorks, filets and rib eyes are less tolerant of the shocking and rekindling model.
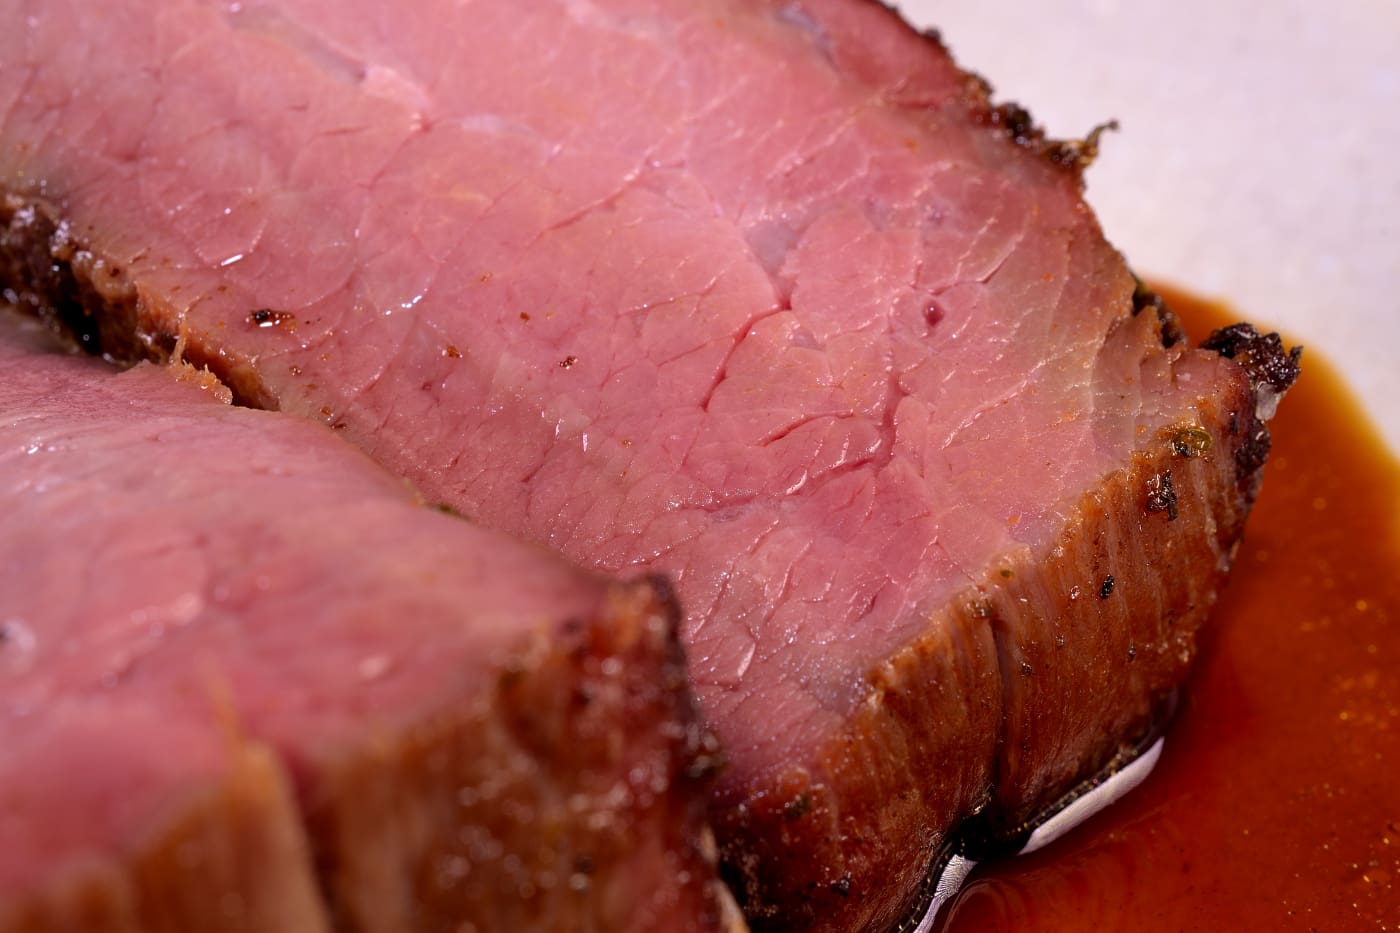
In the picture, we used heavily reduced but otherwise un-thickened version of demi-glace using the trim from the roast. Presentation is important, but less is almost always more for this type of item.
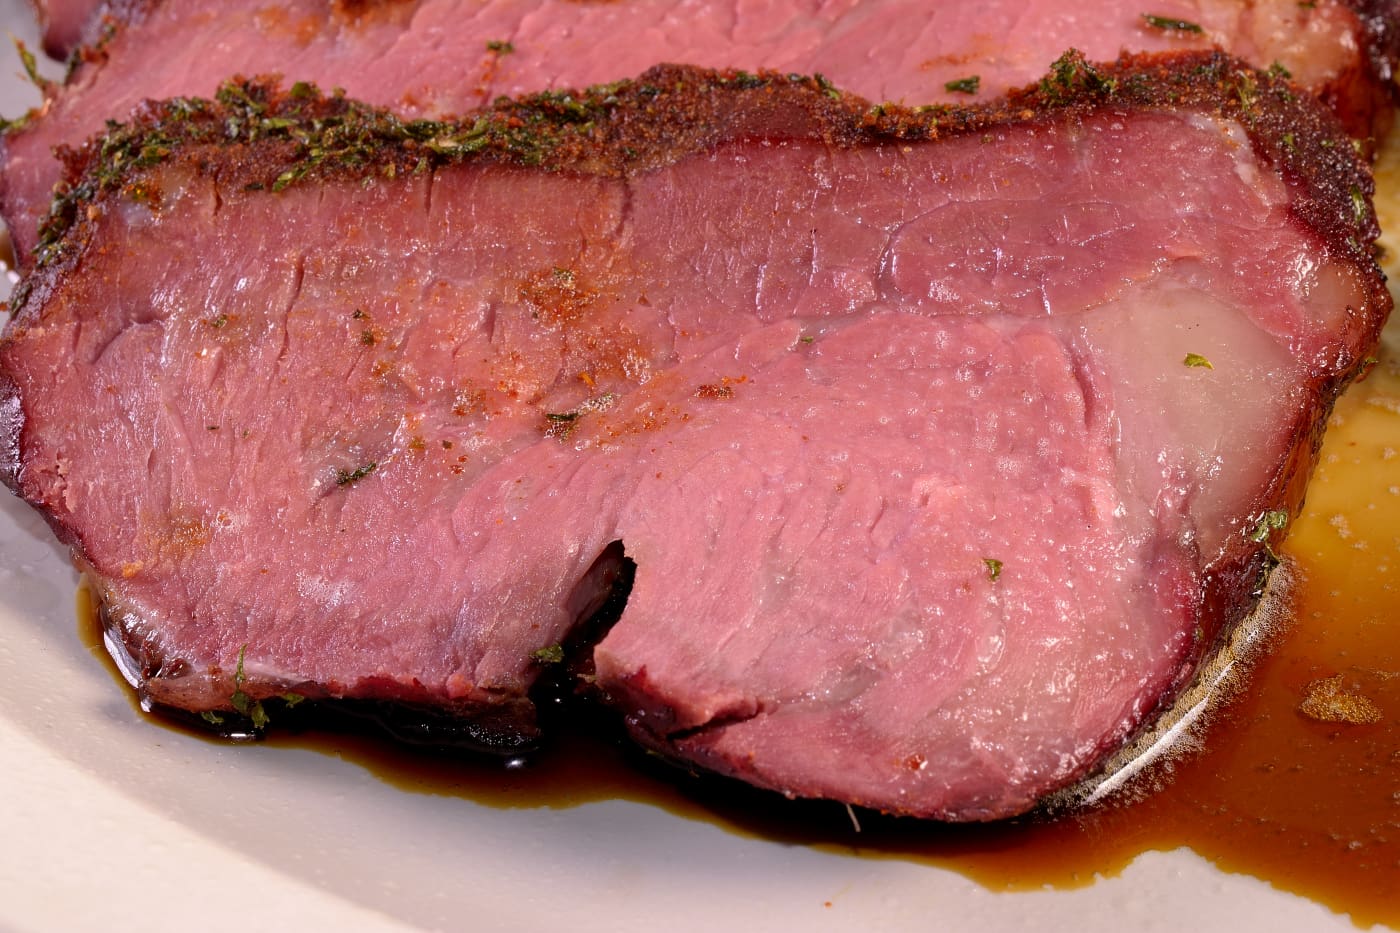
Clean plates, empty space around the rim, a little altitude, a little attitude–they all go a long way to an eye-catching appearance.
Sous-B-Q hot, Sous-B-Q cold
Smoke flavors carry over into the product even when served cold.
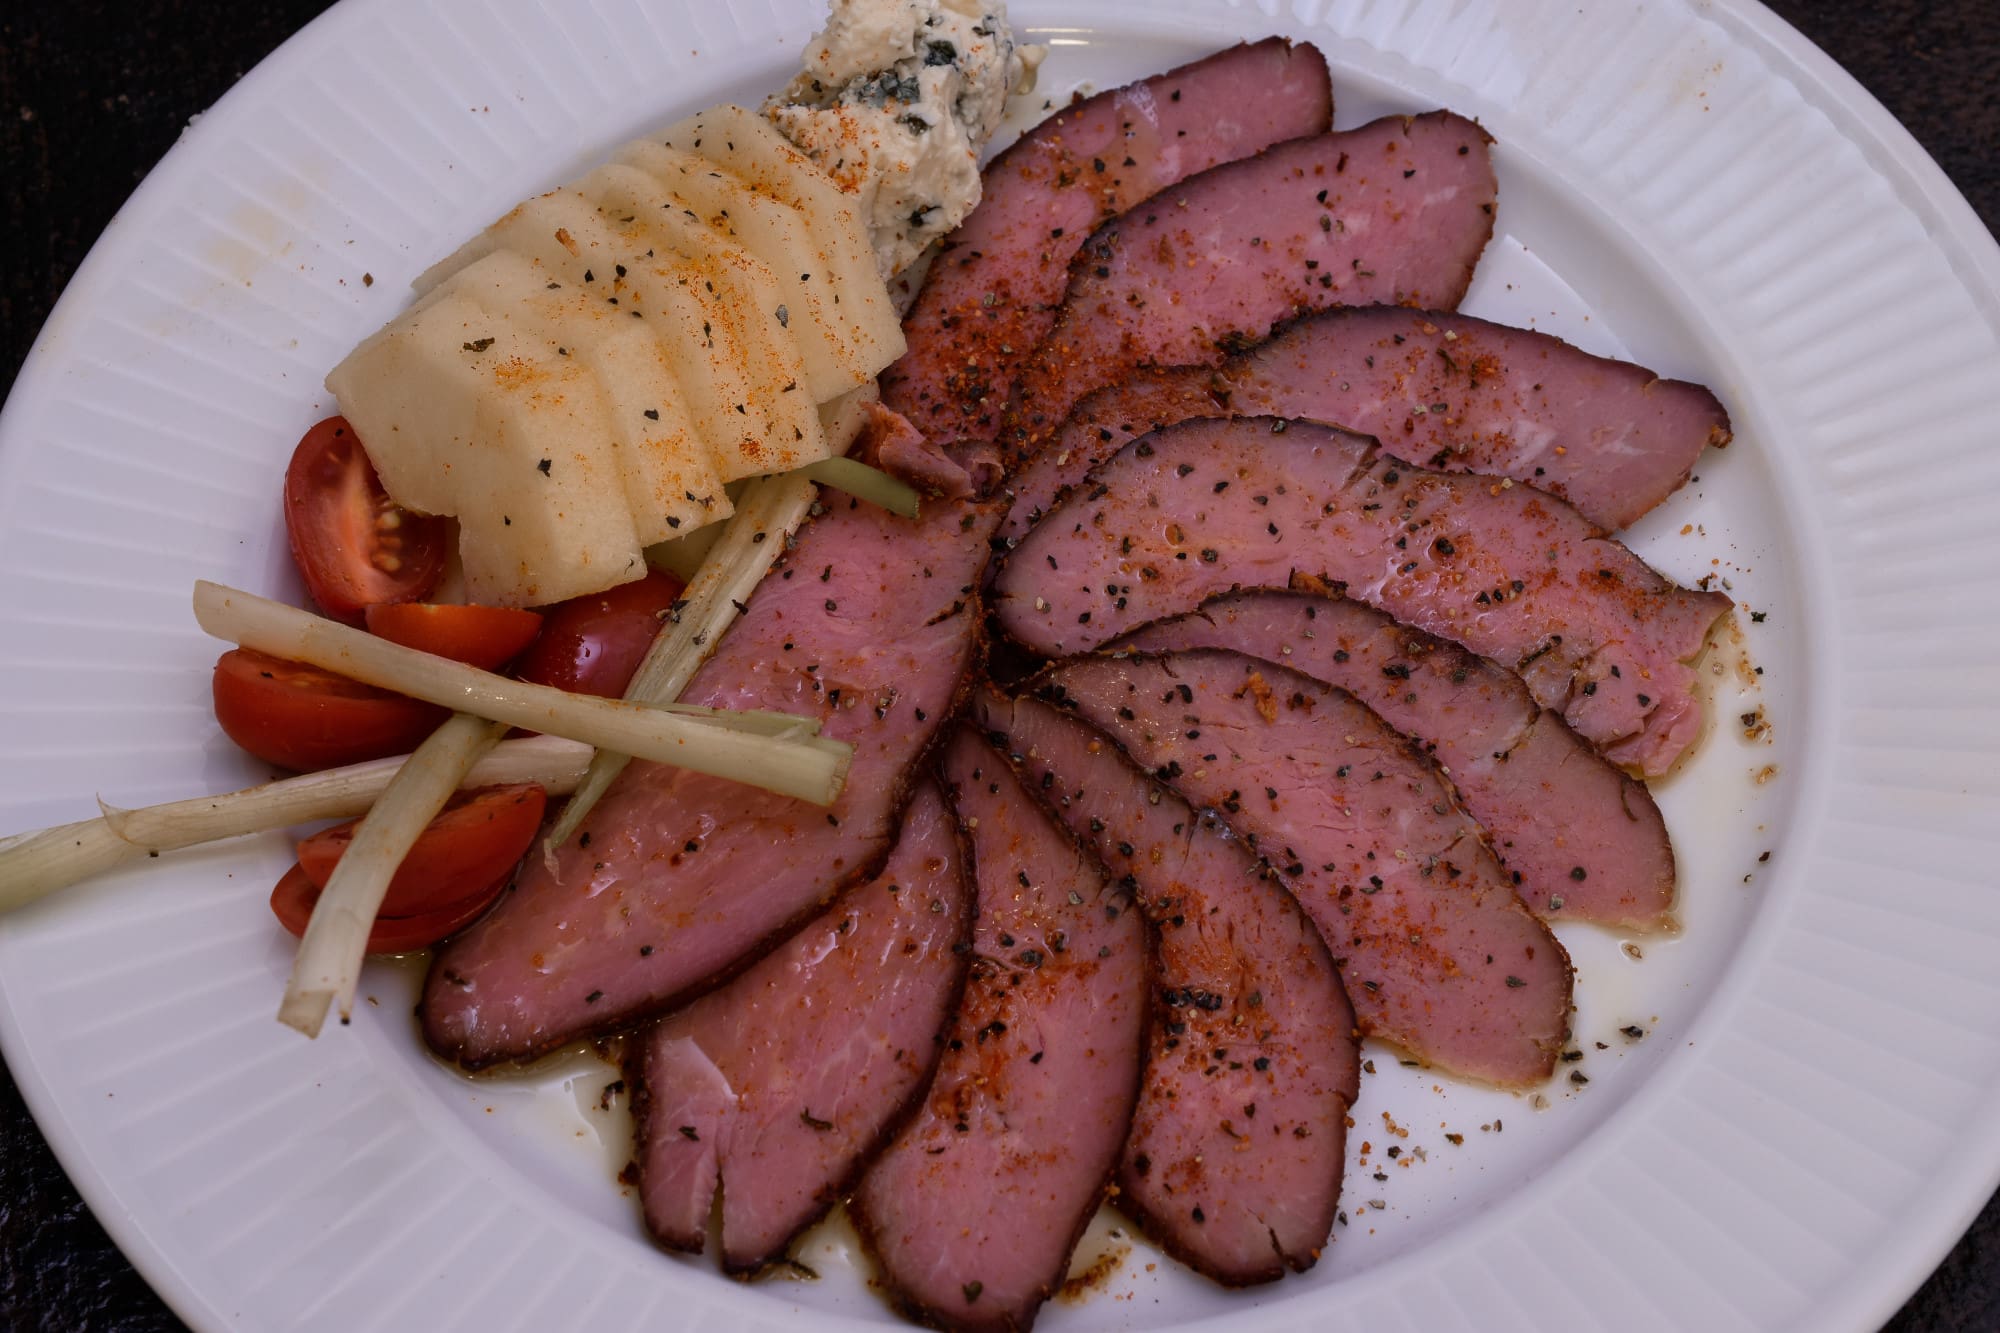
Rather than re-kindling and re-re-kindling, a nice cold plate makes for a vibrant alternative to the Cheeseburger Lunch model.
