
Serves 6-8
Level of difficulty 3.0
Procedure:
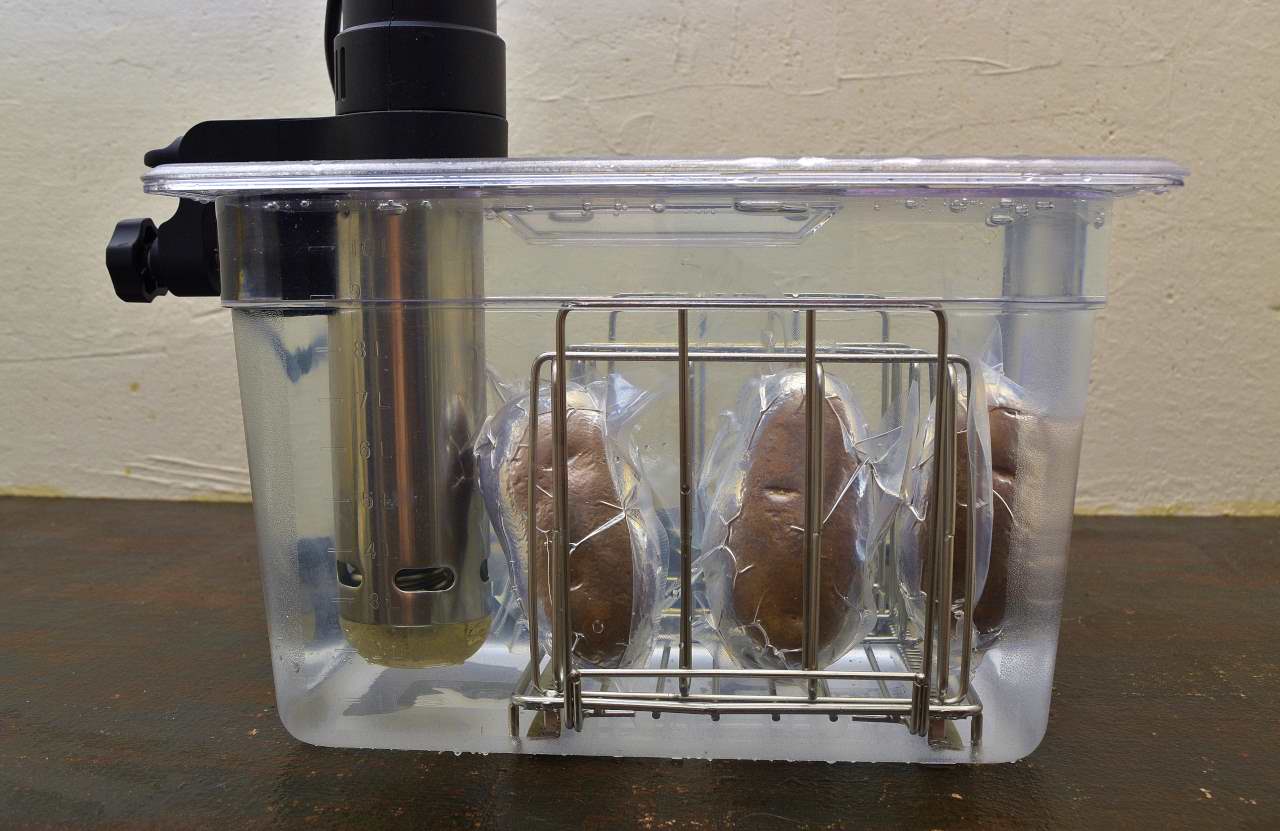
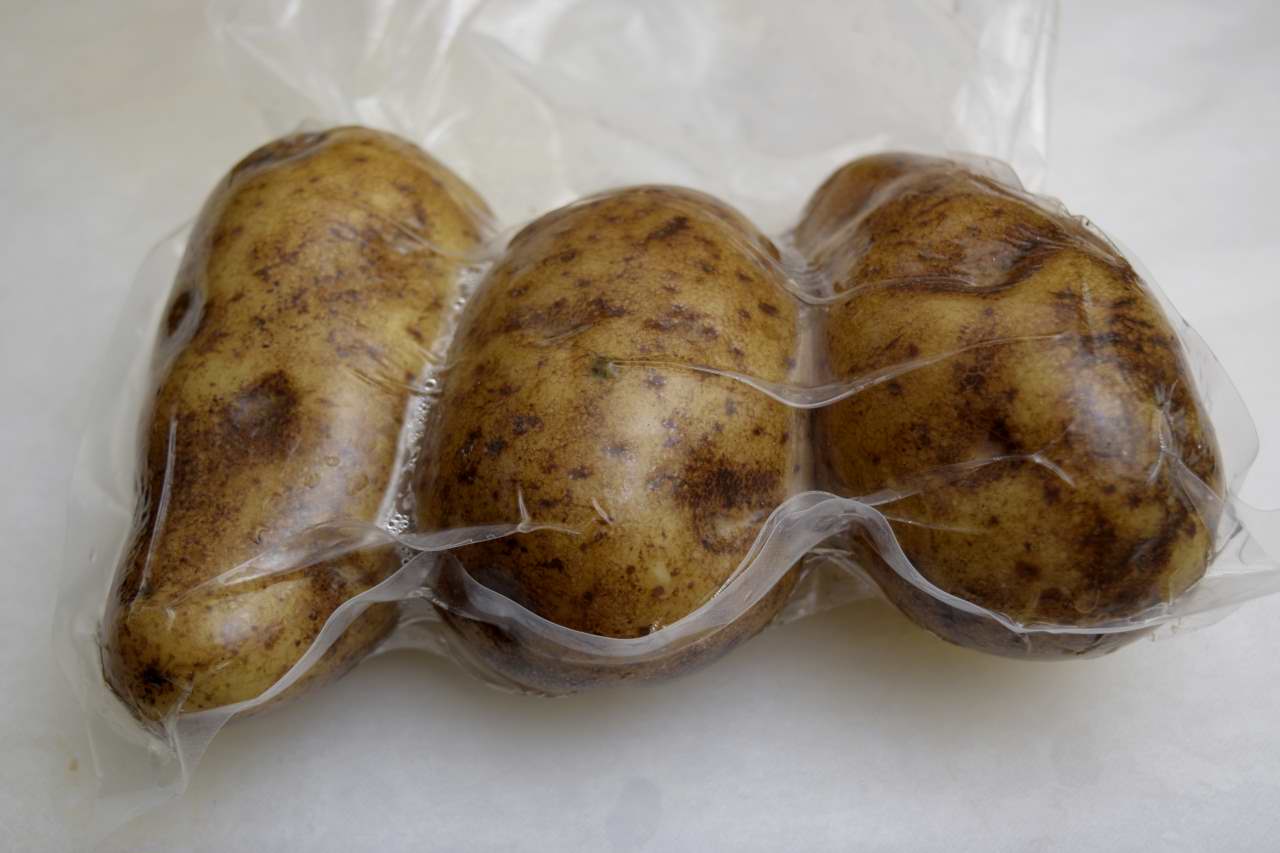
Seal the potatoes in a vacuum bag or Ziploc Freezer bag. Process sous vide at
183 F/84 C X 1 hour.
Cold shock the potatoes to 70 F/21 C in iced water, refrigerate to 40 F/4 C until use.
Lay out a piece of parchment or butcher paper to work on. Remove the skins using either a sharp paring knife, or…
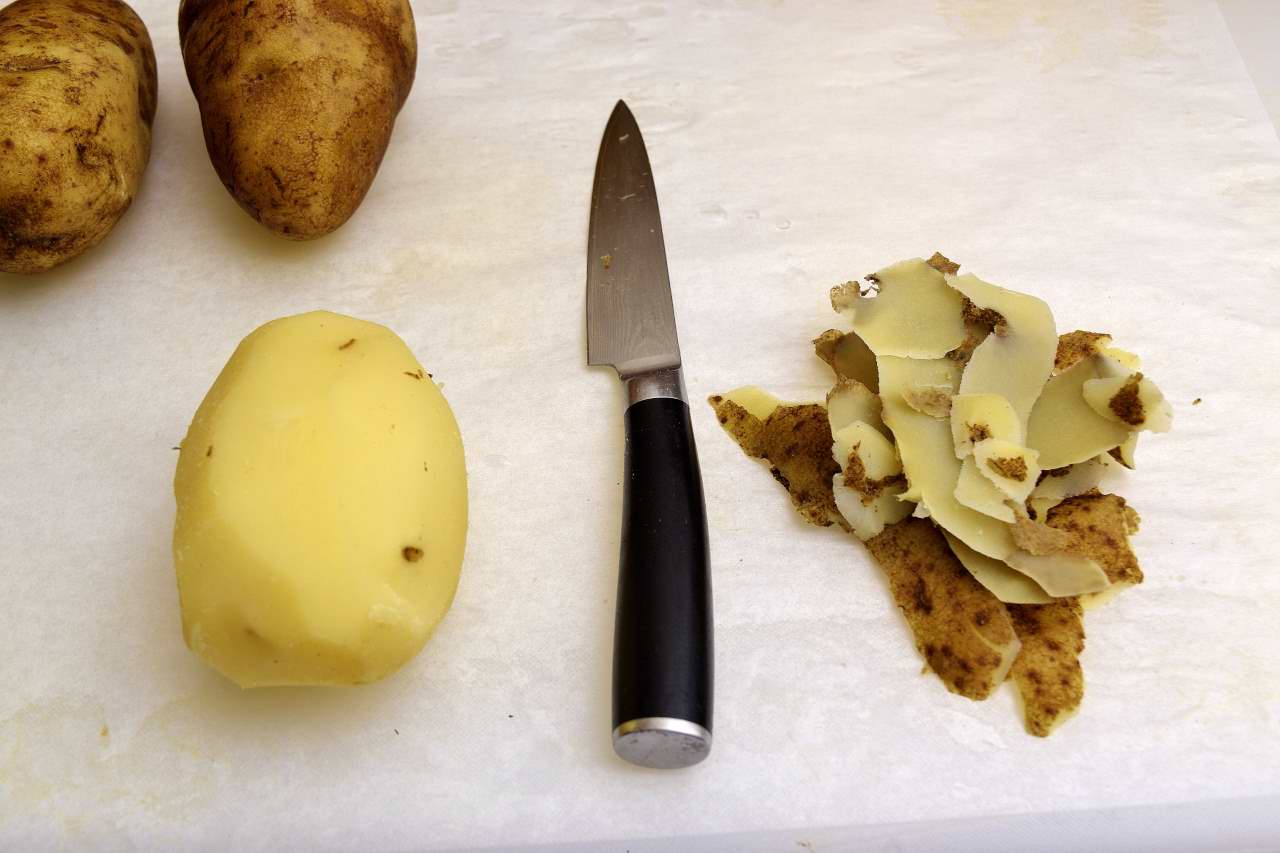
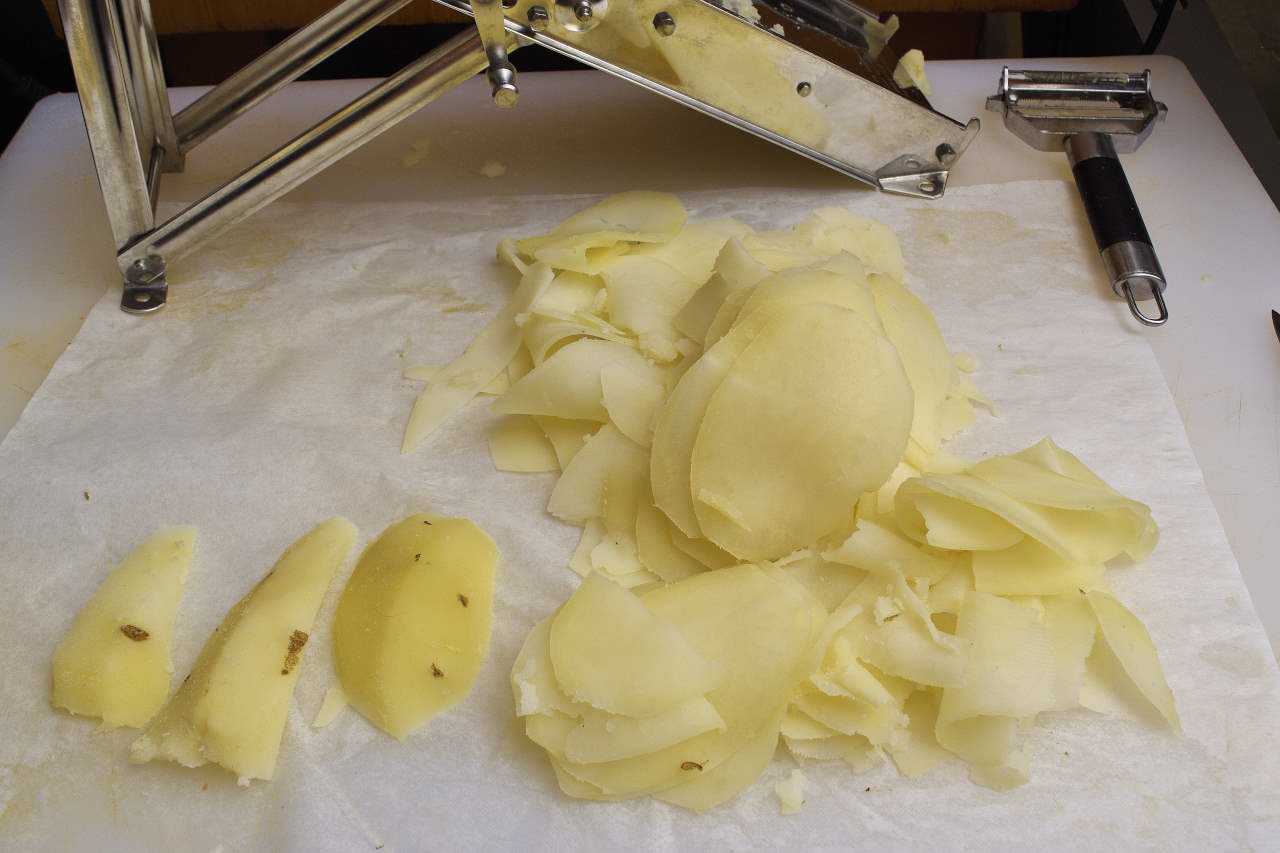
The very handy “Swiss Peeler” seen below.
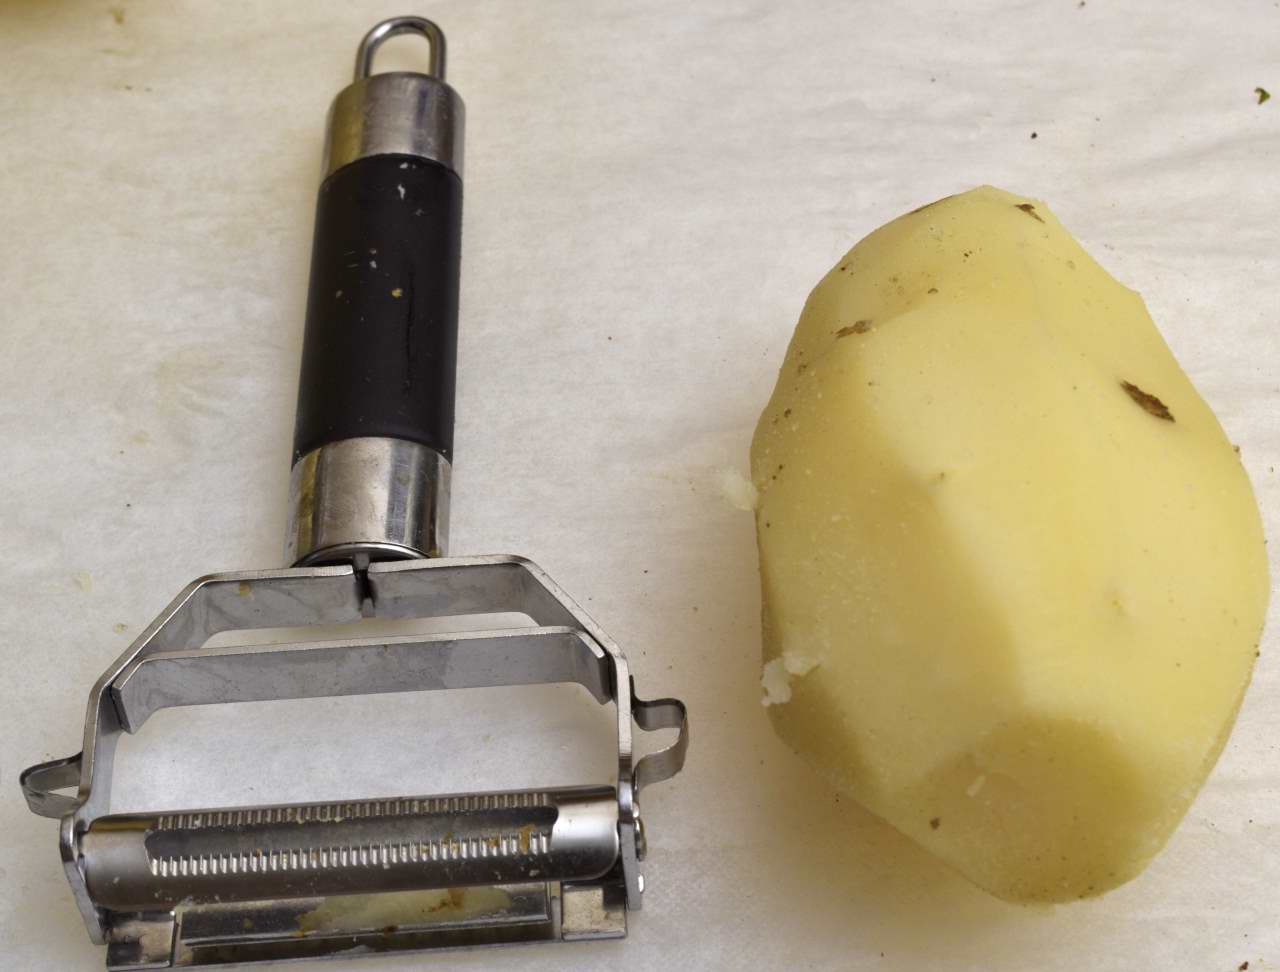
This device can be used on sous vide potatoes because they are much firmer to the touch than boiled or steamed potatoes.
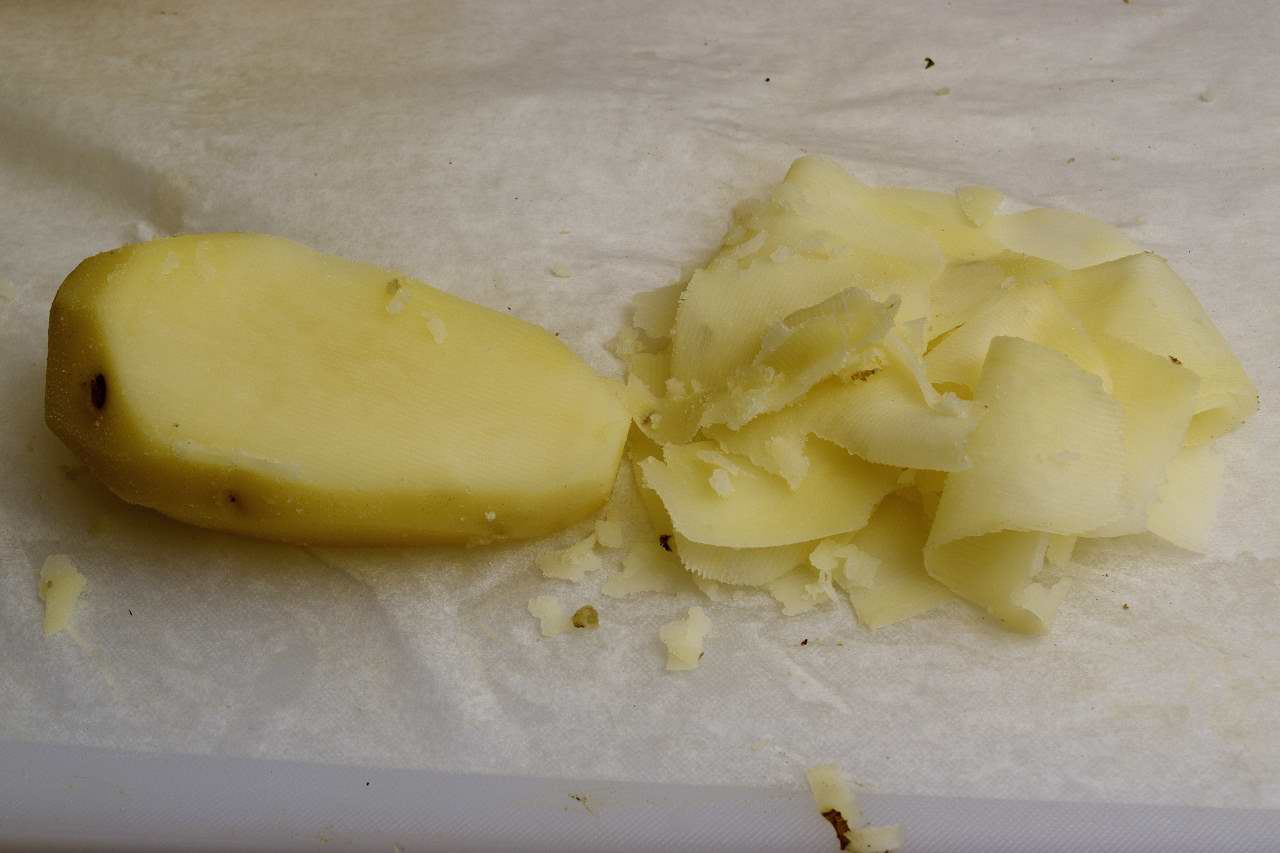
After peeling and removing any dark spots, use the peeler or a mandolin to cut thin slices.

The mandolin is faster, the peeler is safer. Start by slicing on one side of the potato to make a flat surface. Turn the potato over and make a flat surface on the other side. This will give you the largest slices and make the process easier.
 Eventually you will turn the potato on its side and start slicing narrow pieces. When the potato starts to crumble. Discard that last oz. or so.
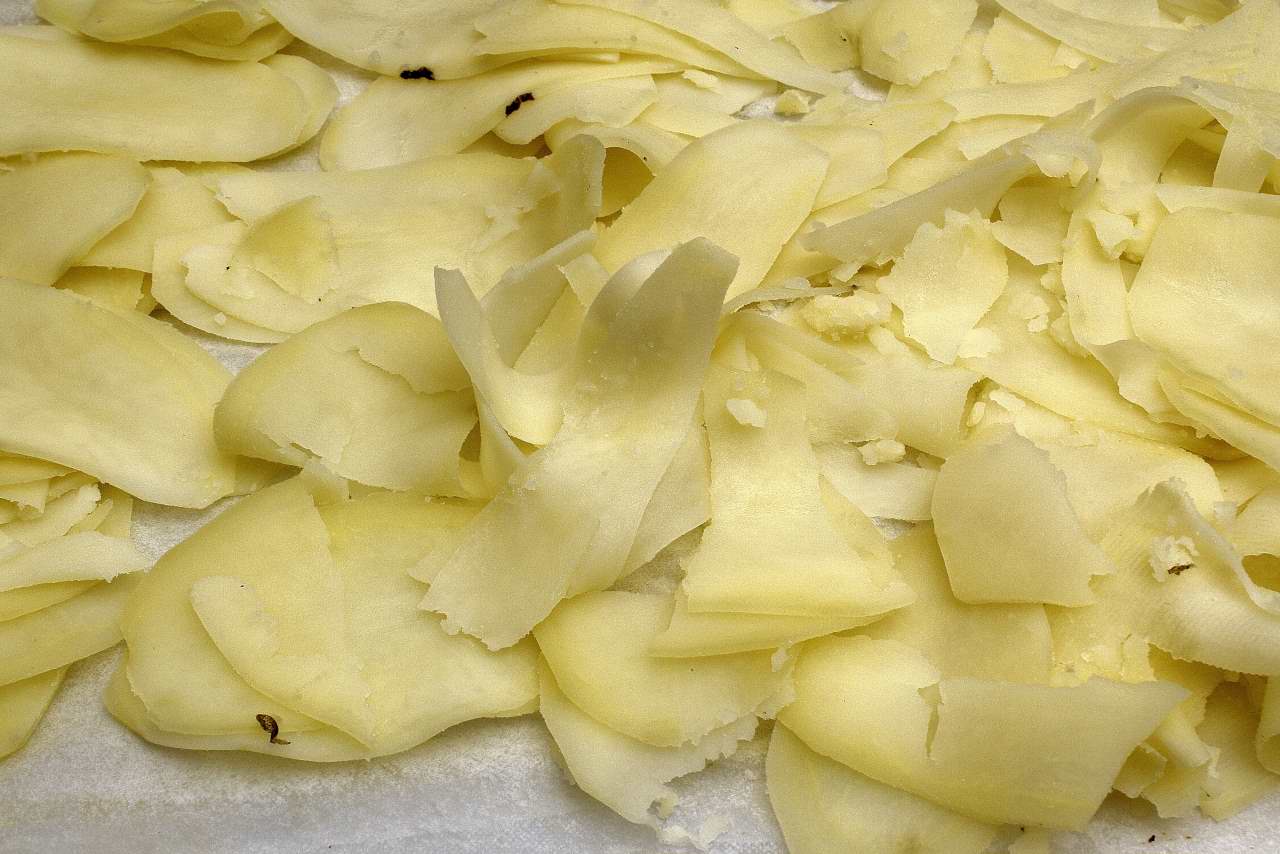
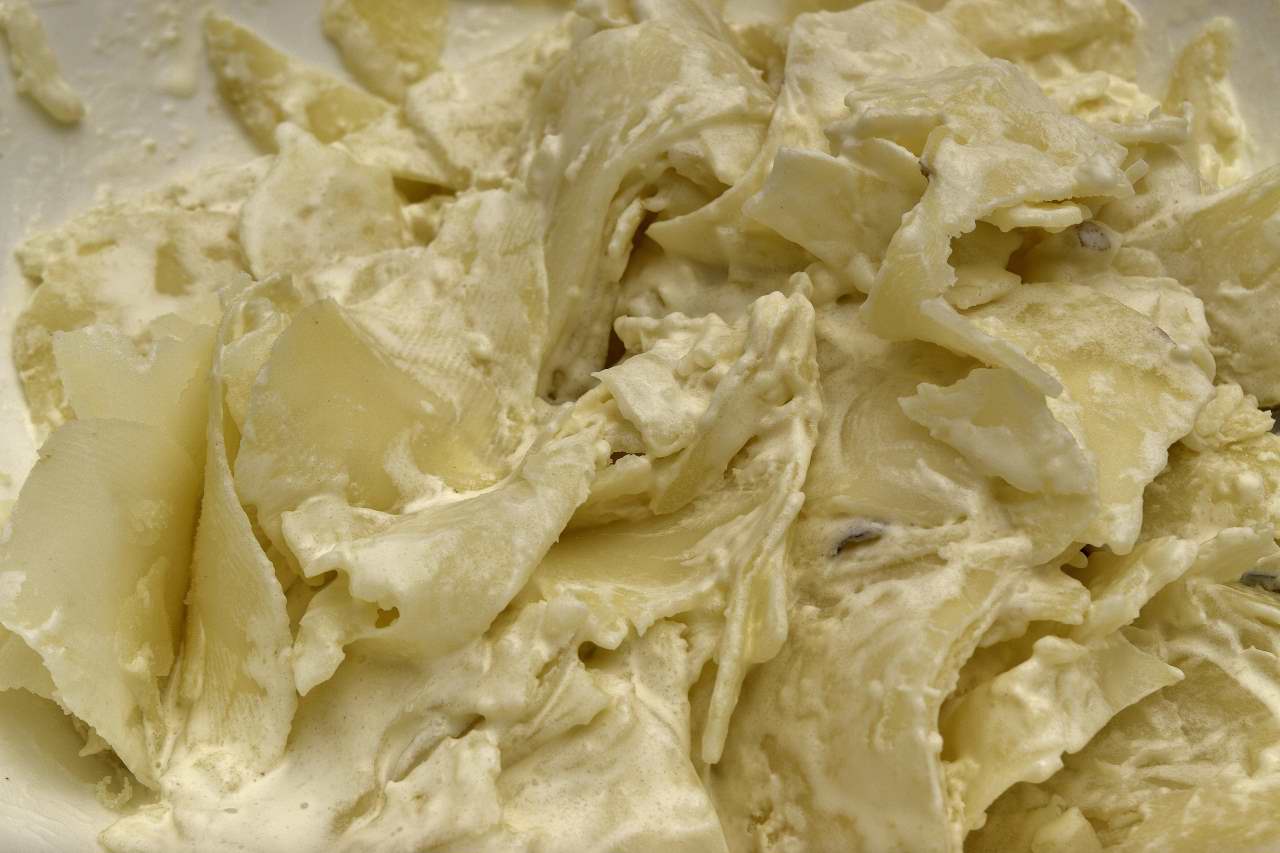
Gently spread the potatoes out on the paper. Sprinkle with the kosher salt and…
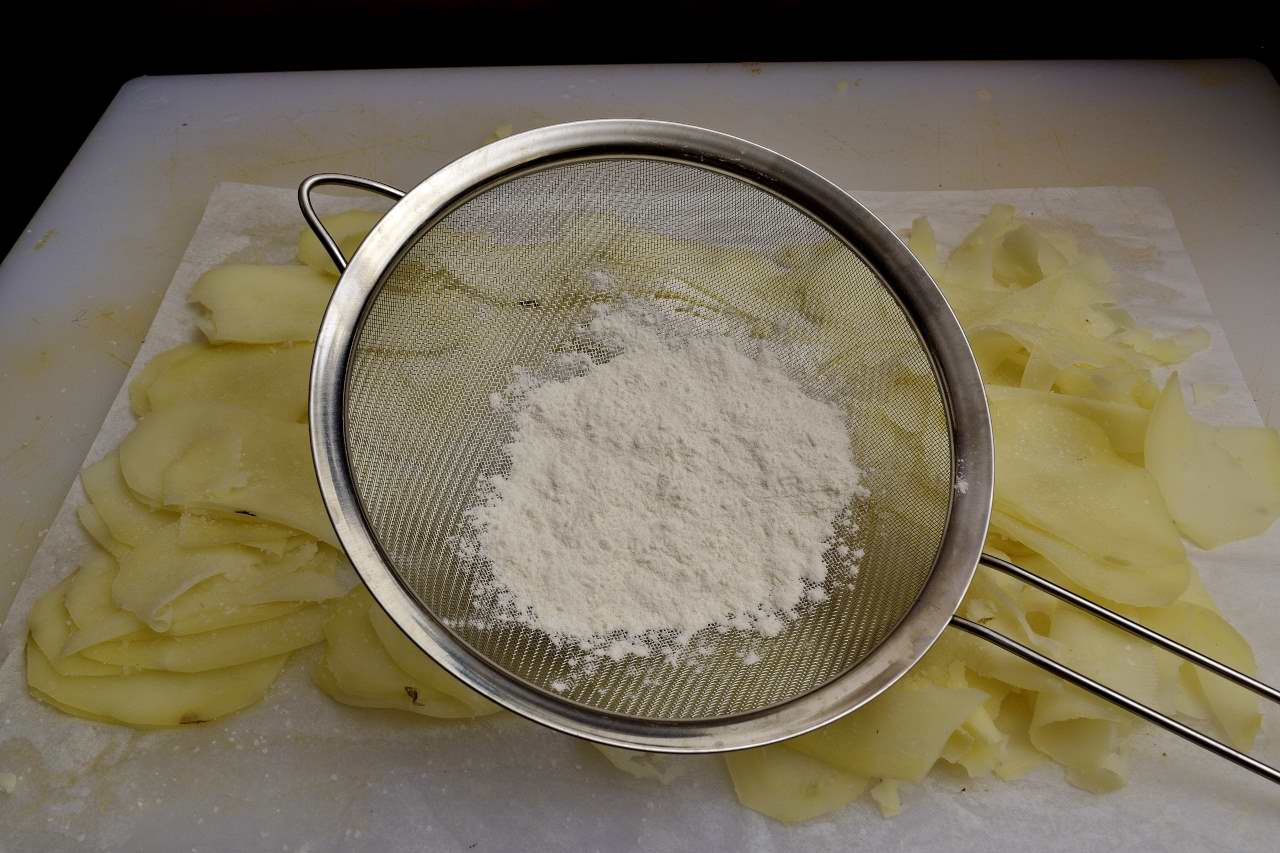 use a sifter to shake the flour over the potatoes.
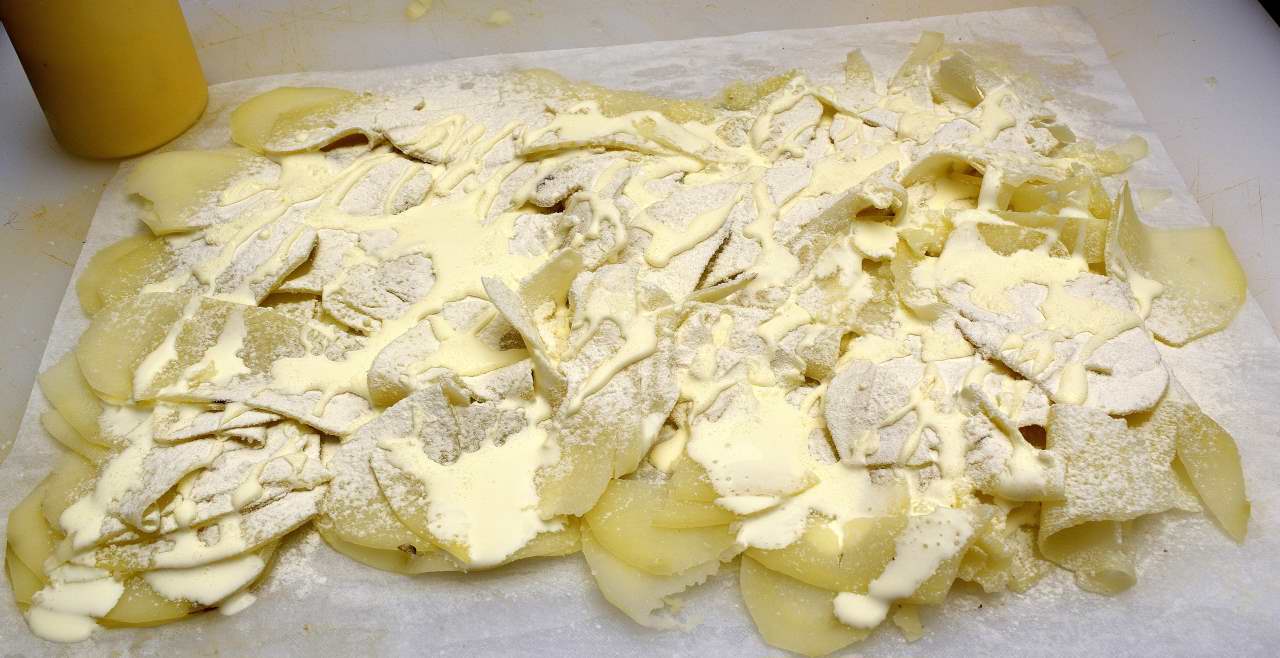
 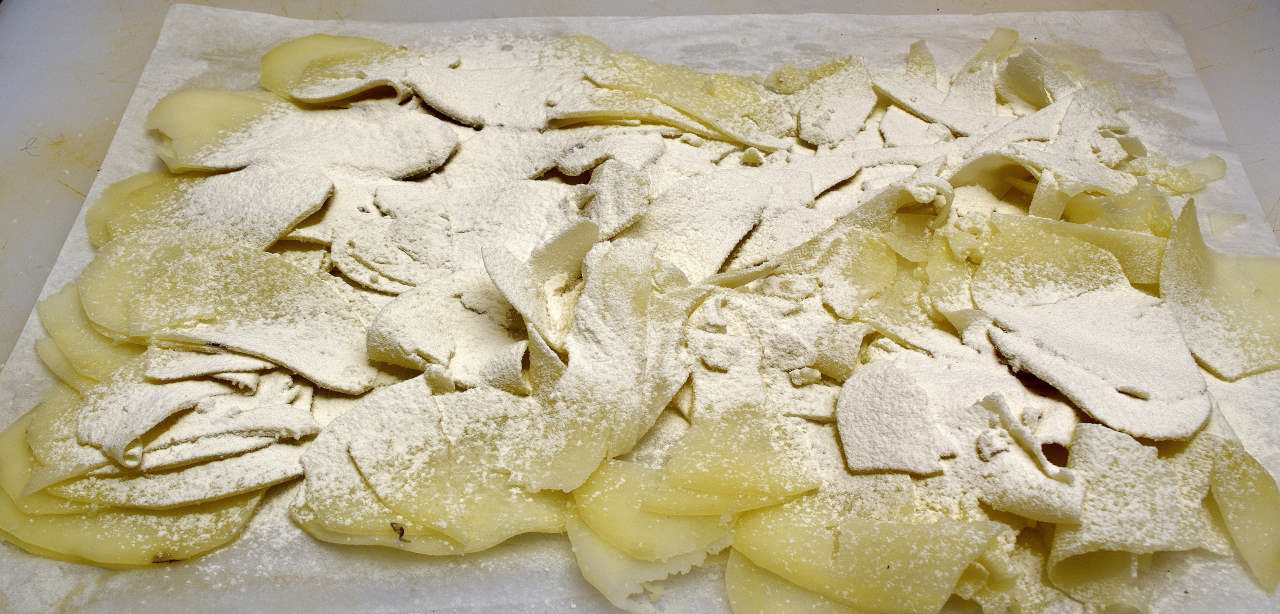 Combine the beaten egg with the cream and drizzle evenly over the potatoes.
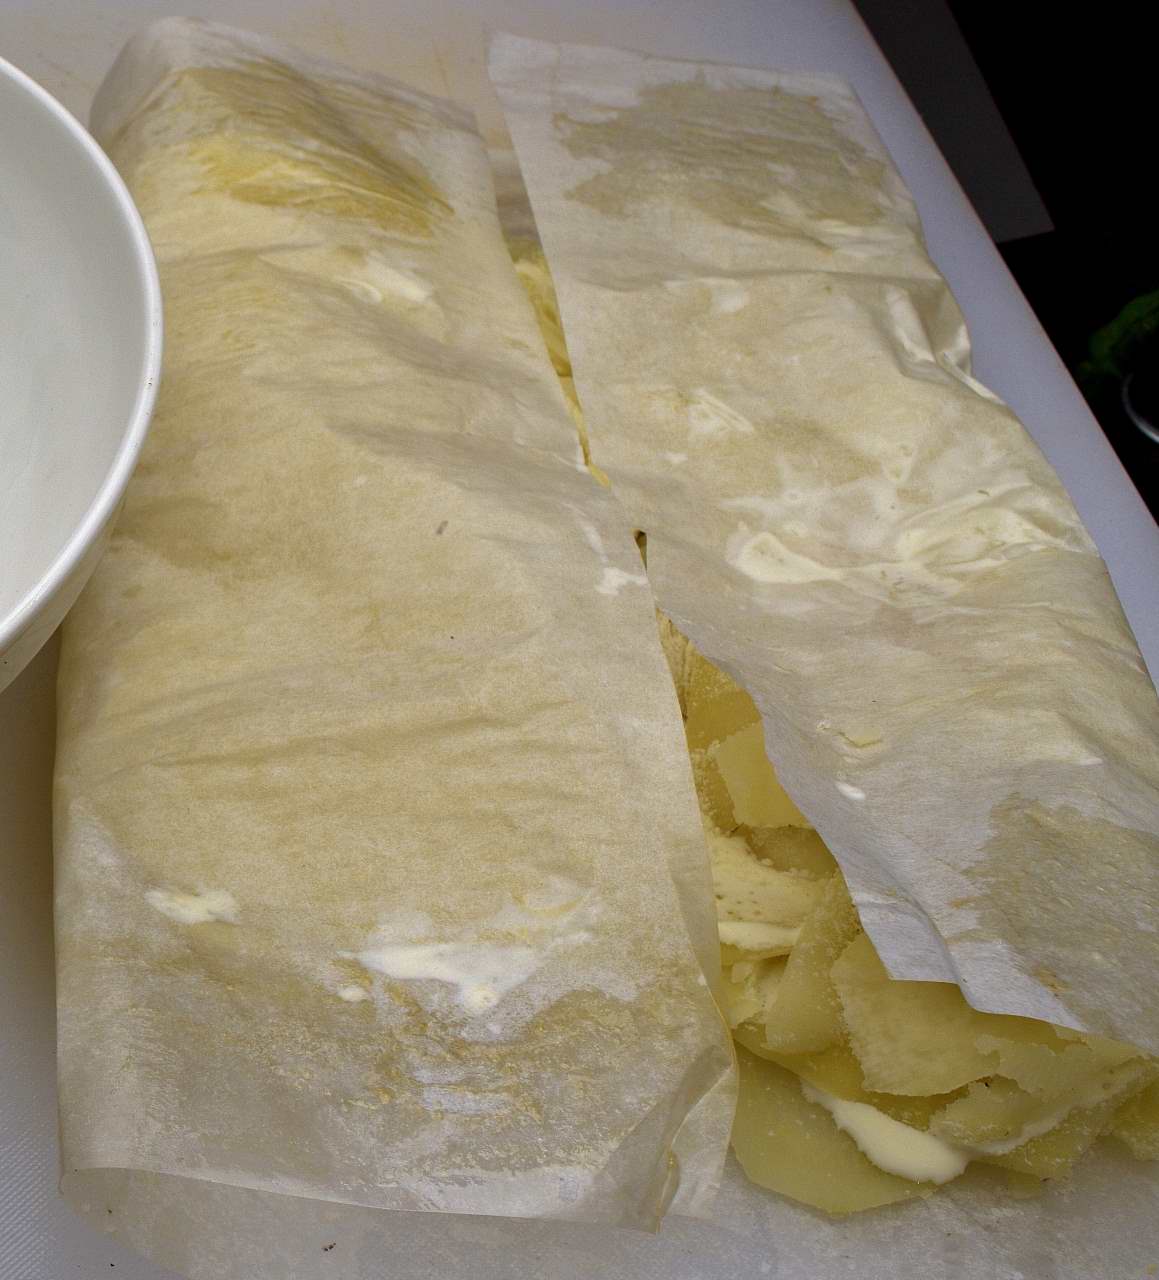
Fold the paper over the potatoes into a makeshift envelope as shown below.
Lift the envelope by both ends and tilt into a large bowl–this will continue the mixing process for you.
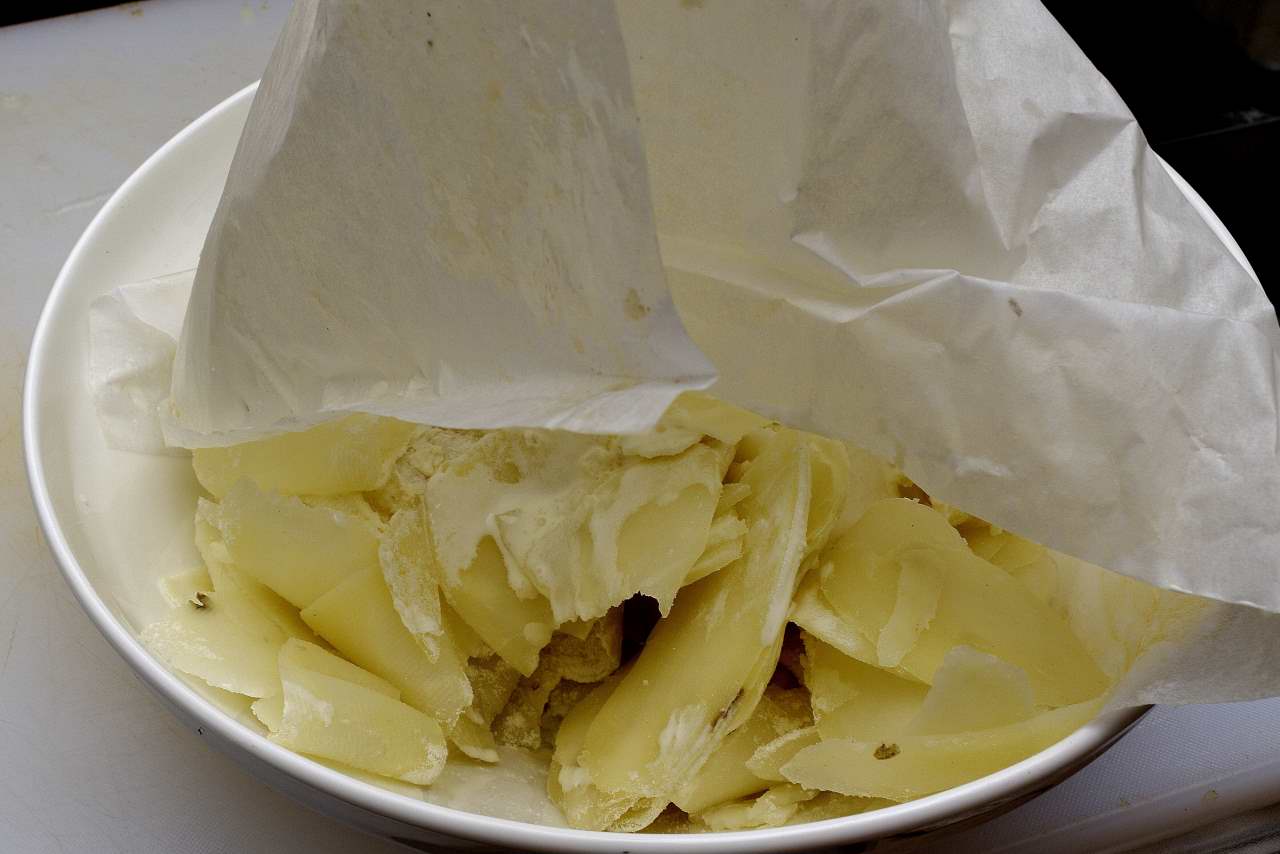
Gently mixed the potatoes until they look like this (below).
Load the potatoes into a heat resistant container.
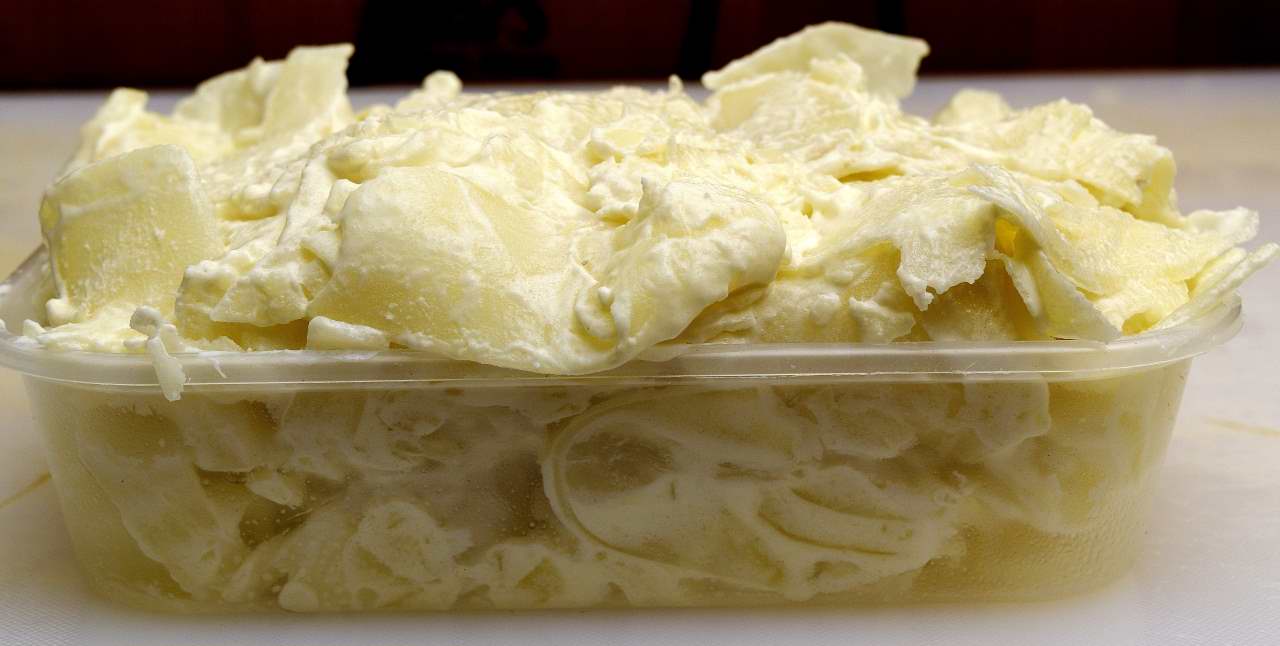
They should mound over the top as shown. The container shown is 4.5″/6.5″/1.5″, or 12 cm/16 cm/ 4 cm.
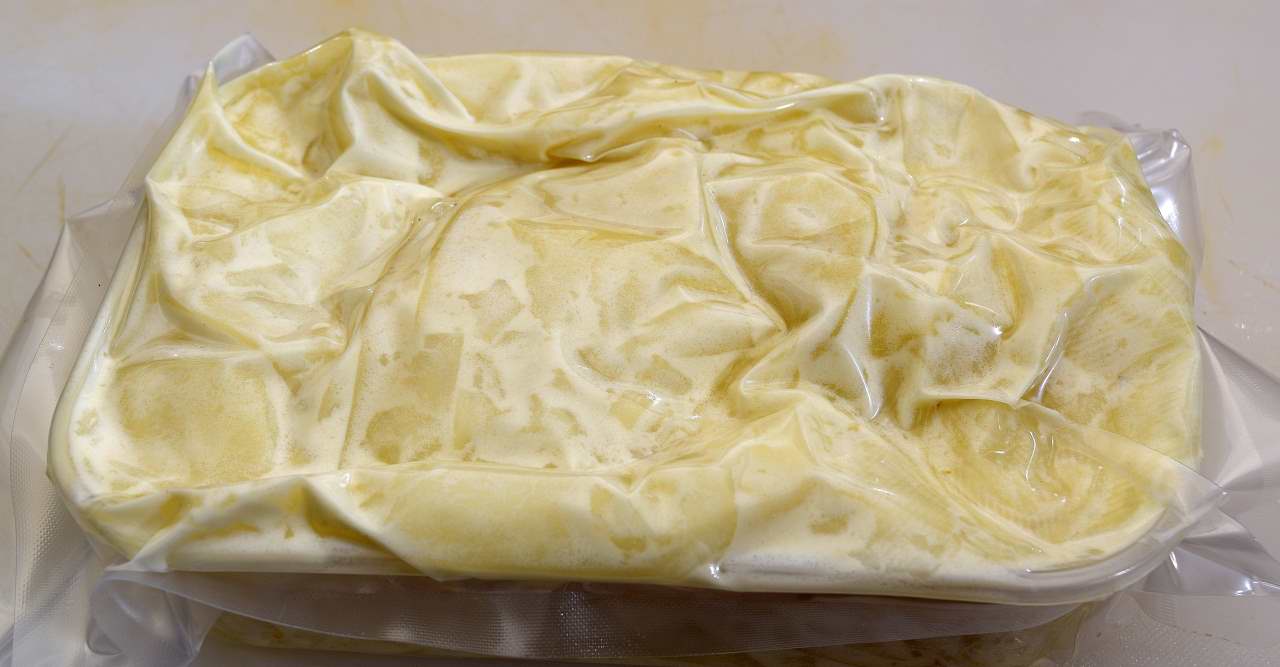
Vacuum the container of potatoes.
Note: We used a vacuum chamber for this procedure, but a vacuum chamber is not absolutely necessary to make this. A channel vacuum device will work adequately. If none is available, even a Ziploc freezer bag will work. Put the container in the Ziploc bag and push on the potatoes with your fingers to flatten and remove as much air as possible. The potatoes will be compressed again after processing. Process the potatoes at
183 F/84 C for a minimum of 1 hour.
After the time has elapsed, cold shock the entire package in cold/iced water to 70F/21C. If you are using a Ziploc bag, you can apply some pressure to the top of the potatoes with your fingers to push them down a little or even apply a weight. Lay the container flat in the refrigerator This is very important. The colder the potatoes are, the easier it is to get them out of the container in one piece! Waiting overnight is a great idea. Freezing them is NOT.
Once thoroughly chilled, remove from bag and carefully remove from the container. If necessary, slip a rubber spatula around the edges between the potatoes and the container. Turn the container over and the potatoes should come out. Even if you experience breakage, DO NOT DISCARD. In the worst case scenario, the mixture may pushed into an oven proof container and baked ala “scalloped potatoes.” Sometimes the failures are better than the original conception!
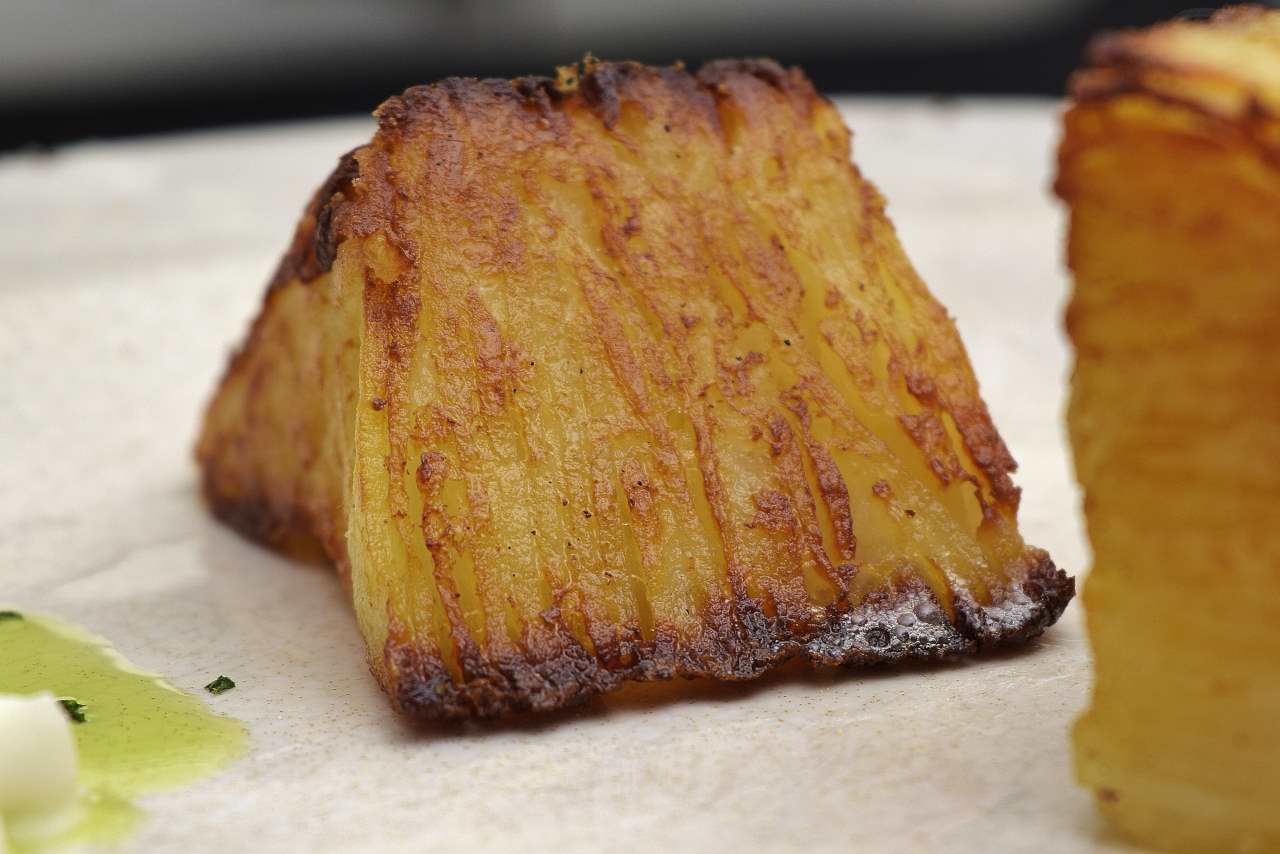
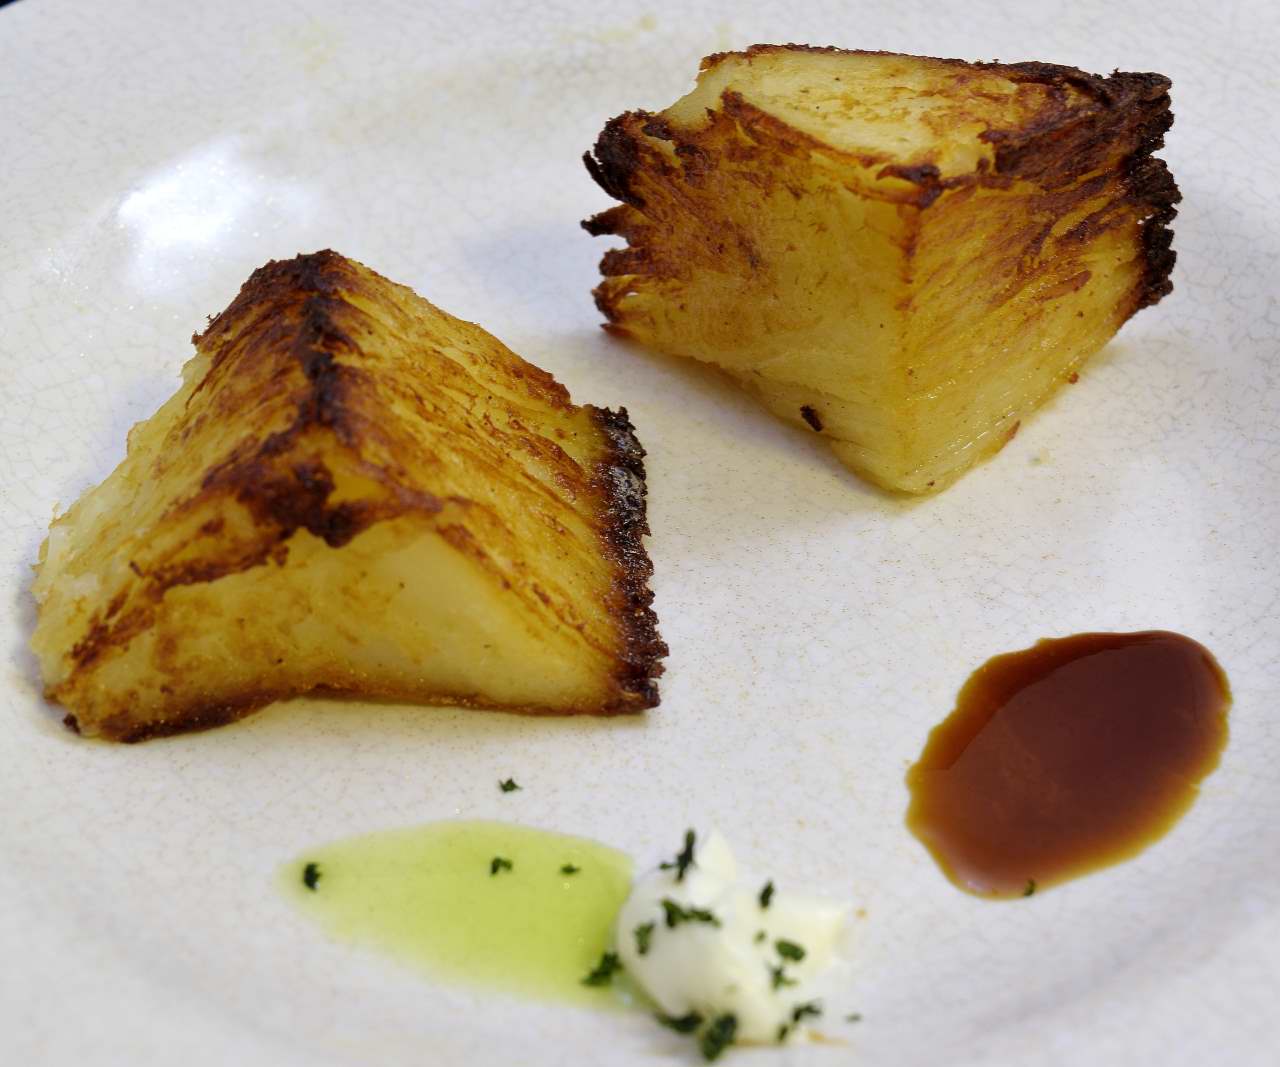
Use a carving or boning knife to square the block and cut into shapes. See below for the detail on how to sear the potatoes! But first, triangular wedges are very attractive.
 You can stand them on the rectangular side…
Or the triangular side.
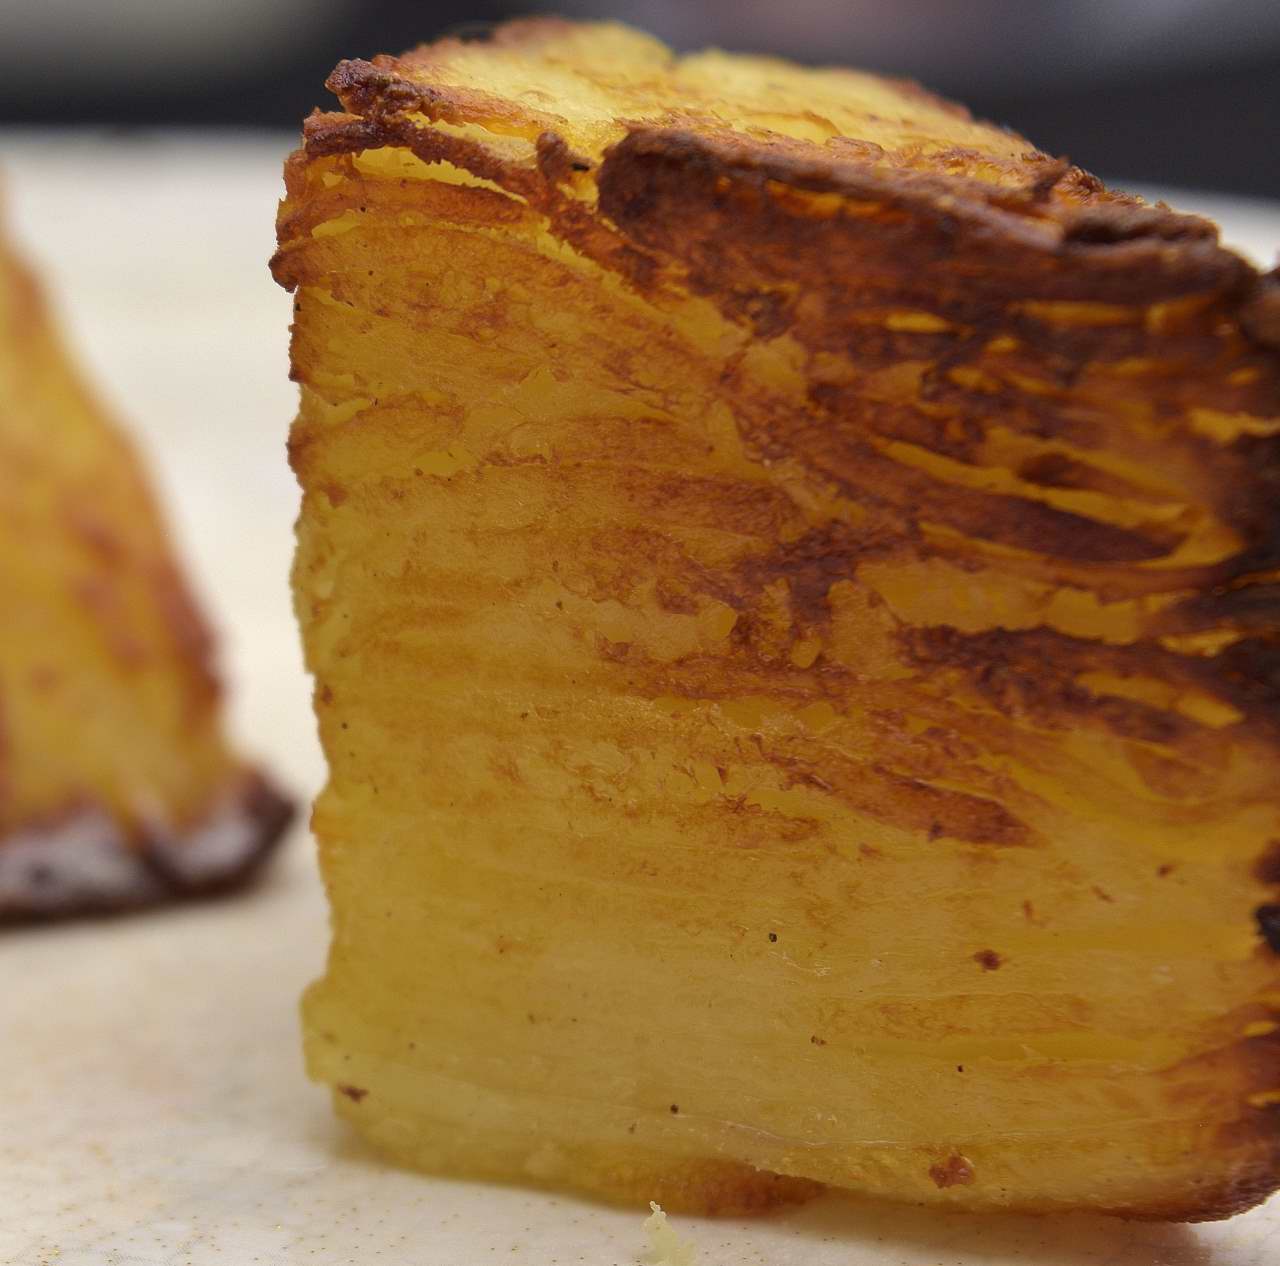
 Thick slices are a little easier and still very striking. Almost an upscale sort of hash browned effect.
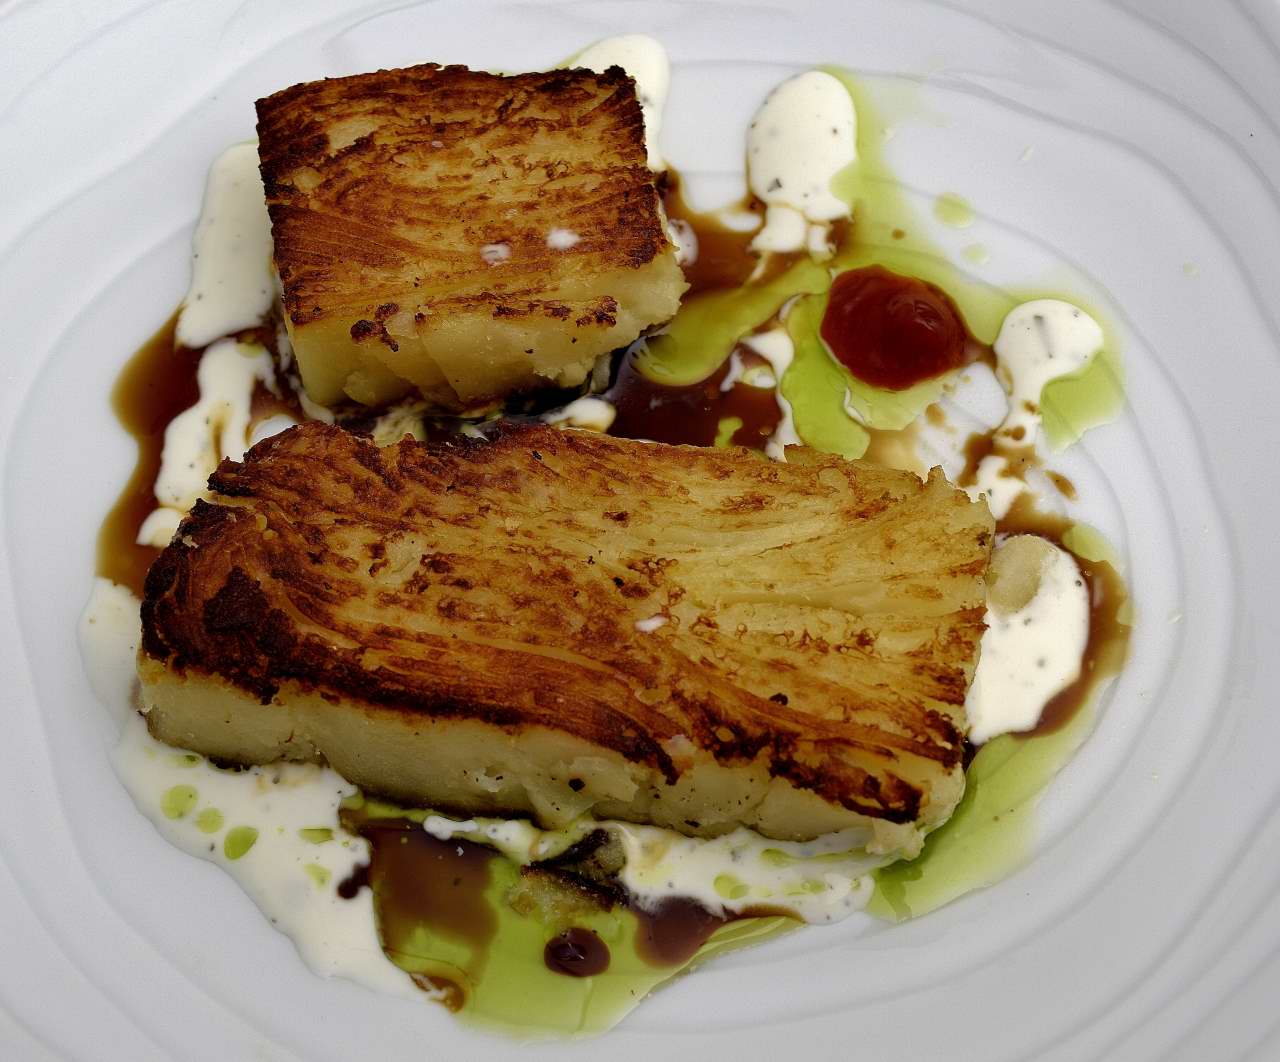
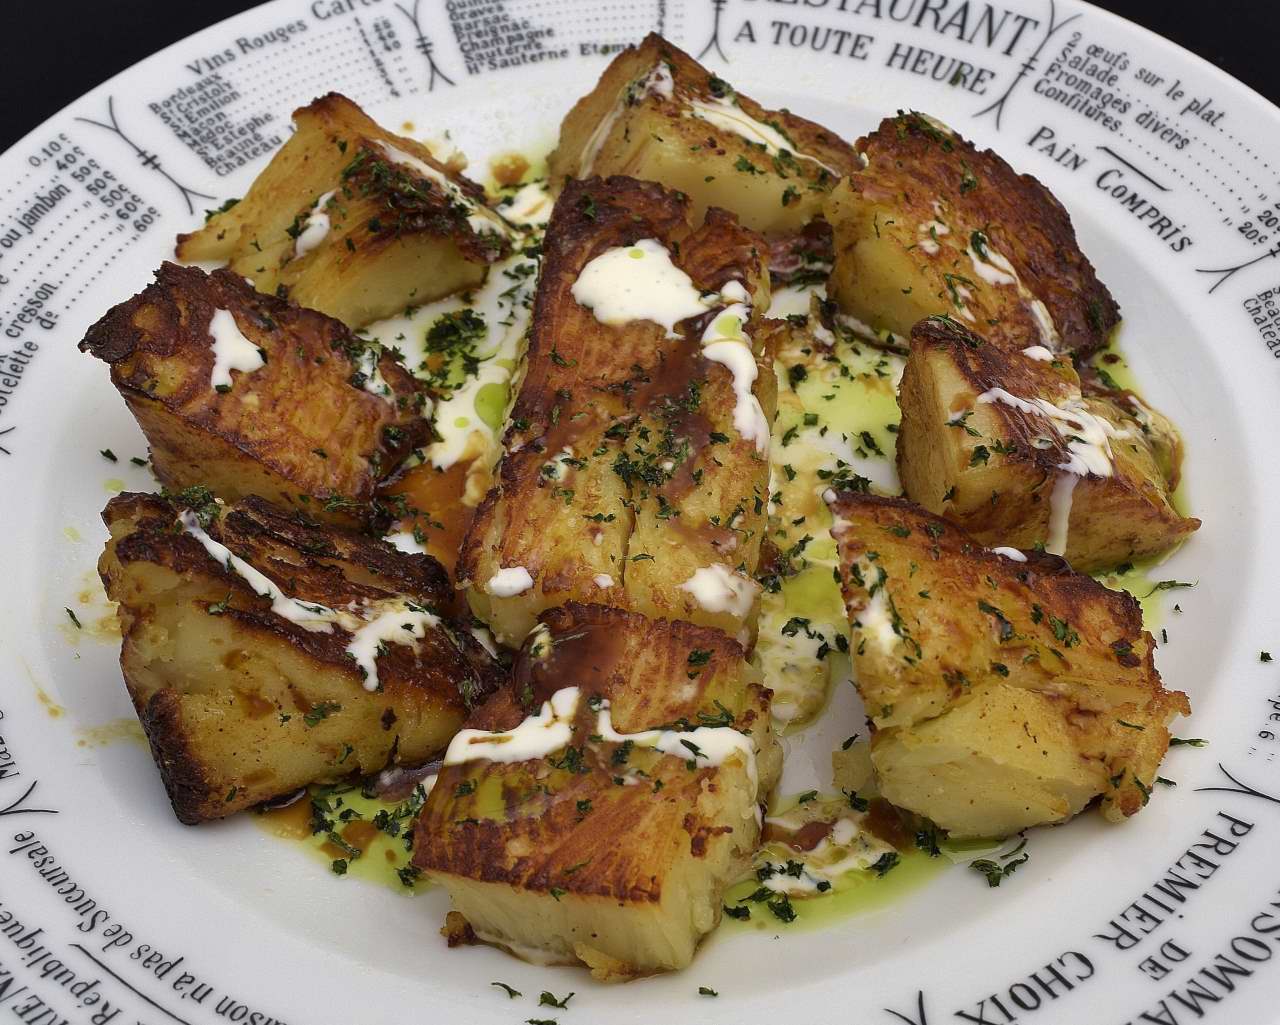
Sauces are great on this dish, but, as you can see, less is more. Pictured we added a little crème fraîche, parsley oil, and a little demi-glace. Don’t be afraid to put a few drops of ketchup on there!
Arrangement on the plate can be simple and still very striking. I like to devote a separate plate, although they can be used to garnish meat entrees, of course.
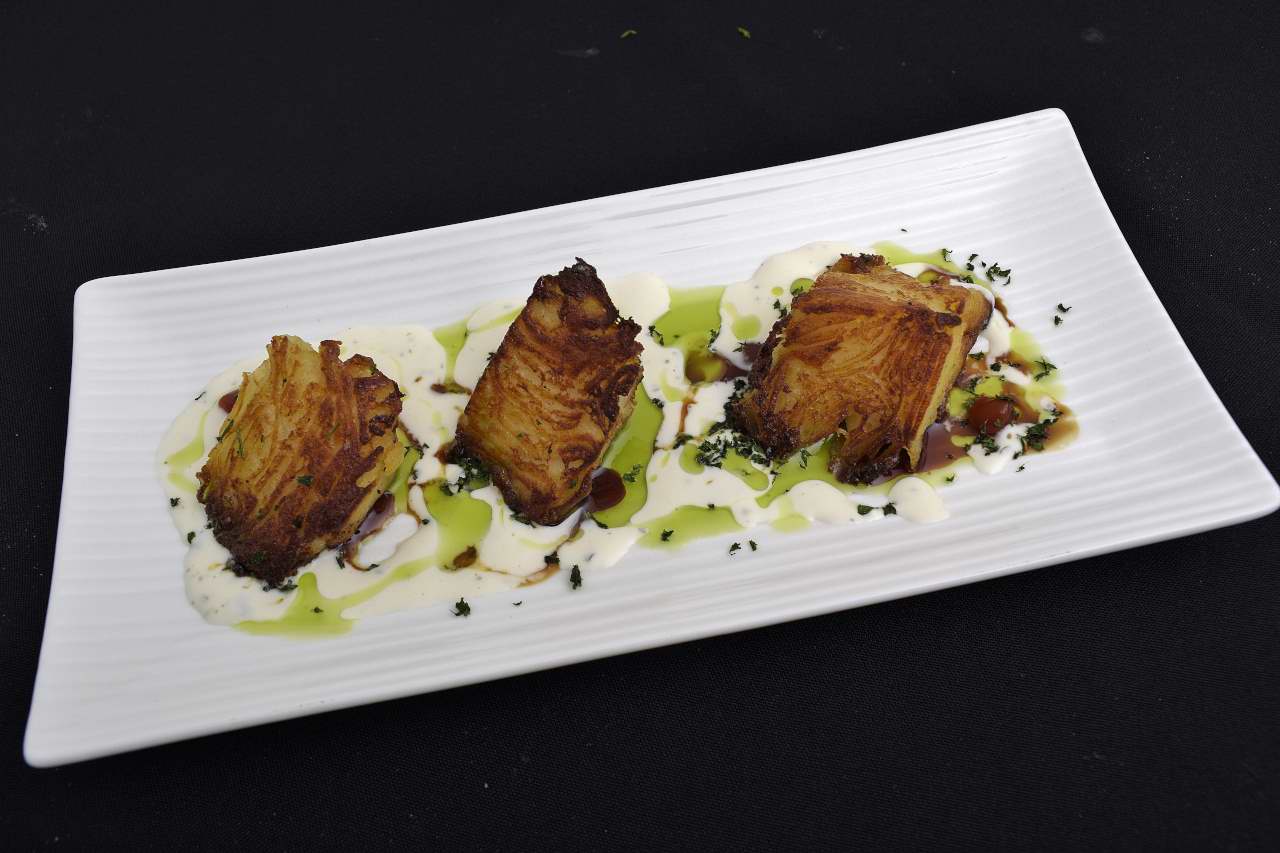
Almost any shaped plate can be used. As a more American style family meal presentation, they can be served as pictured below:
How to do it!
Heat the skillet to 275 F/135 C. Coat the bottom of the pan with oil start laying in the shapes. Be careful not to crowd–start with just one or two until you get the heat of the pan adjusted “just so.” Listen. They should calmly sizzle put not pop. The more you move them around and flip them, the more likely they are to fall apart. It is important to relax and not attempt to multitask at this time! If you watch carefully, you can see the color developing around the edges.
I should mention that some chefs put additional ingredients inside the layers. The more you put in, the more likely the potatoes are to fall apart. I prefer to apply elaborate finishing touches as needed.
Norm King