Serves 2-3
Level of difficulty, 2.5
Actual prep time: 1 hour

Procedure:
Stage the individual pieces of chicken into dedicated vacuum bags. Using a single bag for each piece has several advantages. The packages are easier and faster to shock cold–this means they are safer as well. They are also easier to organize and store in the refrigerator. You can cook one piece at a time if that suits you, without exposing the other pieces to the elements. As long as the seal is not broken, the shelf life is greatly extended–at least two weeks.
Seal and sous vide process at
135 F/58 C for a minimum of 4 hours up to 8 hours.
This will pasteurize and preserve the chicken. After the time has elapsed remove the bags of chicken from the bath and submerge in iced/tap water until they achieve 70 F/21 C–about half an hour. Refrigerate to 40 F/4 C–this is necessary to assure food safety.
Coating the chicken
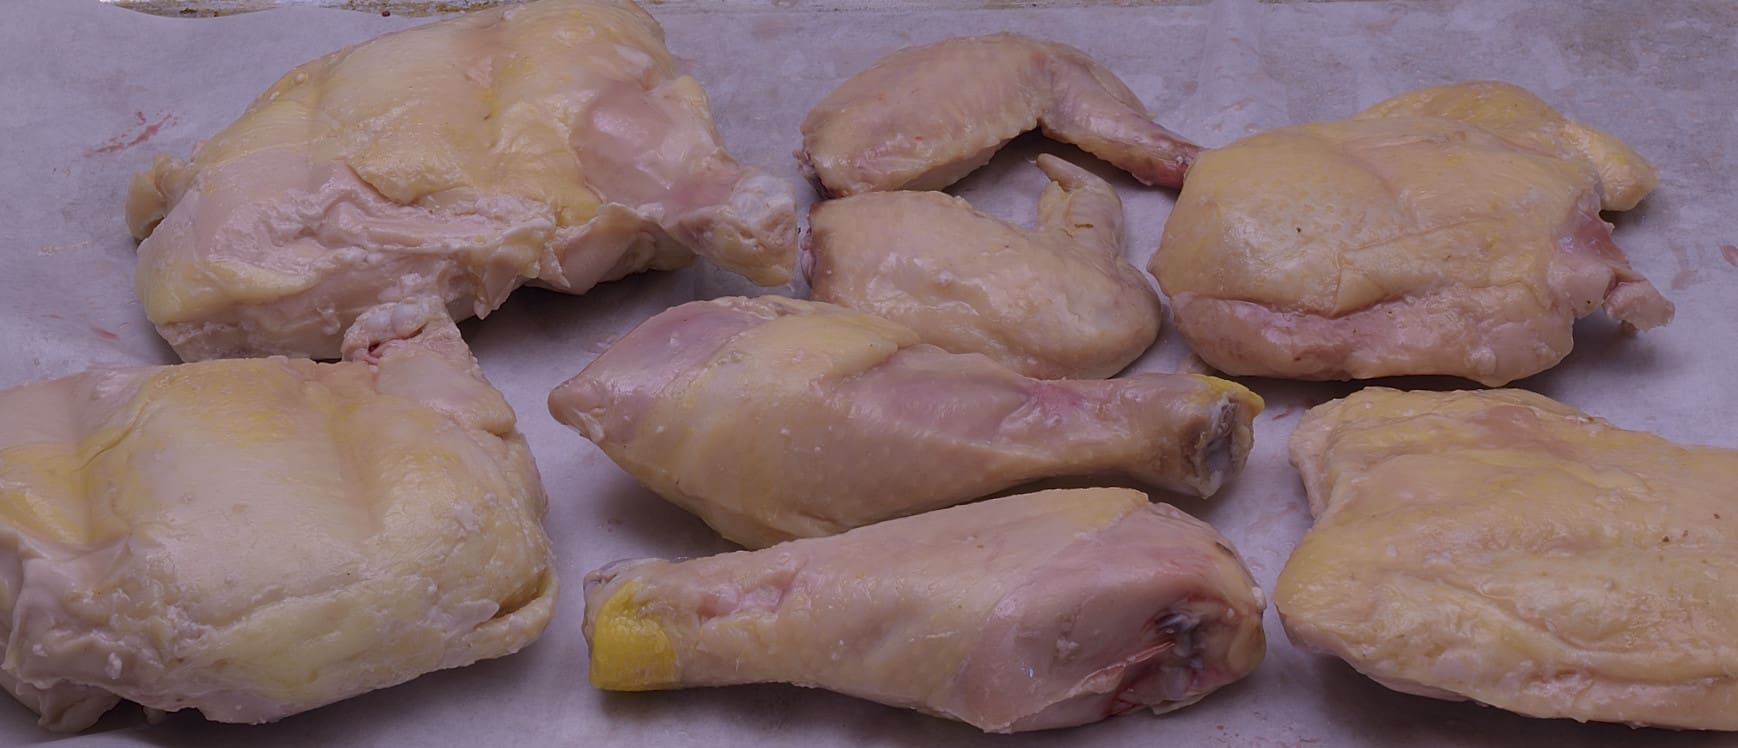
Remove the chicken from the bags, spread out on butcher paper and pat dry with a clean towel.
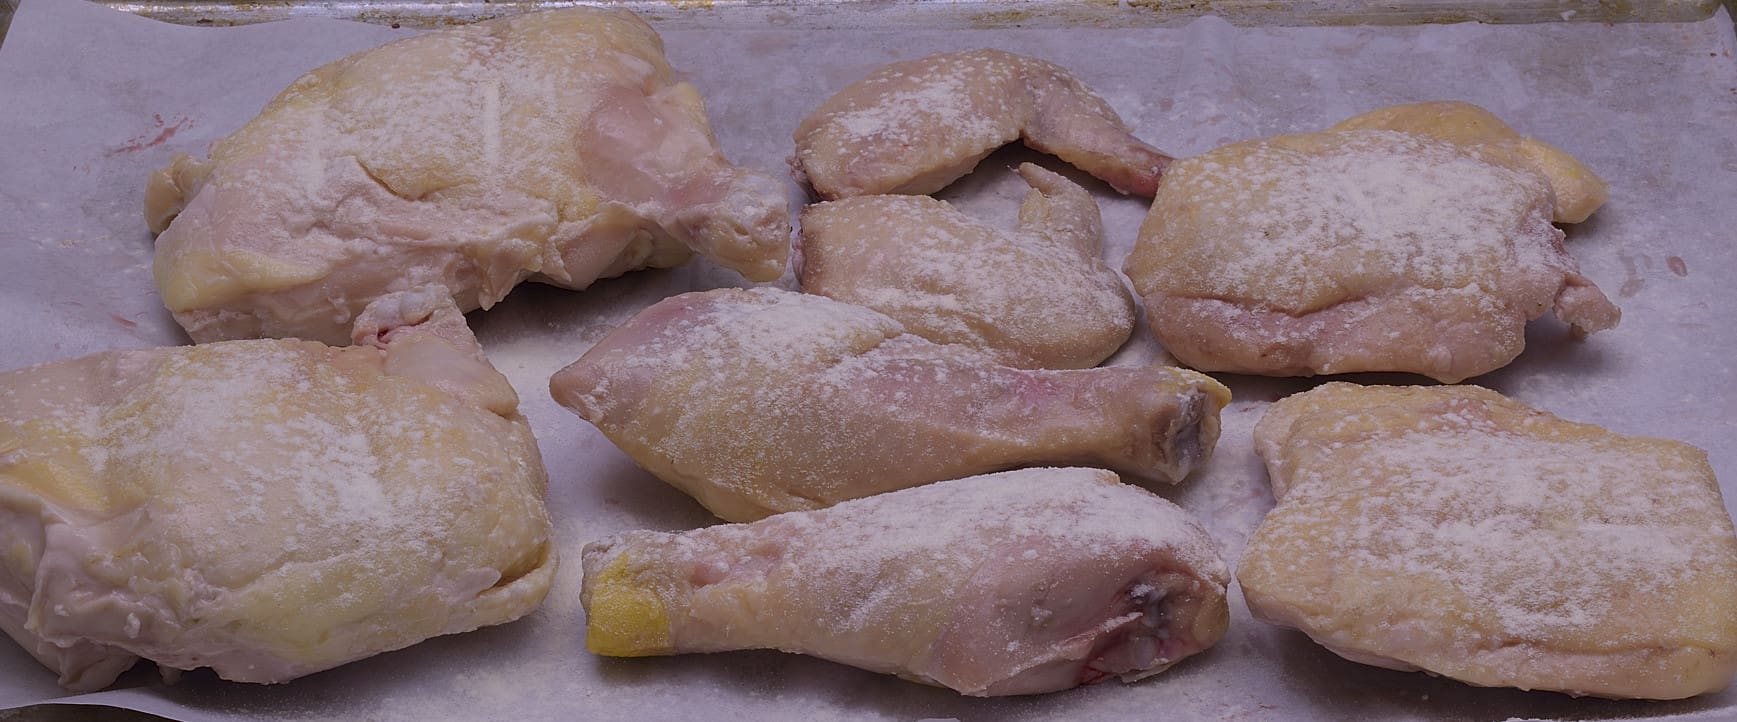
Dust the chicken on both sides with powdered egg white and powdered buttermilk.
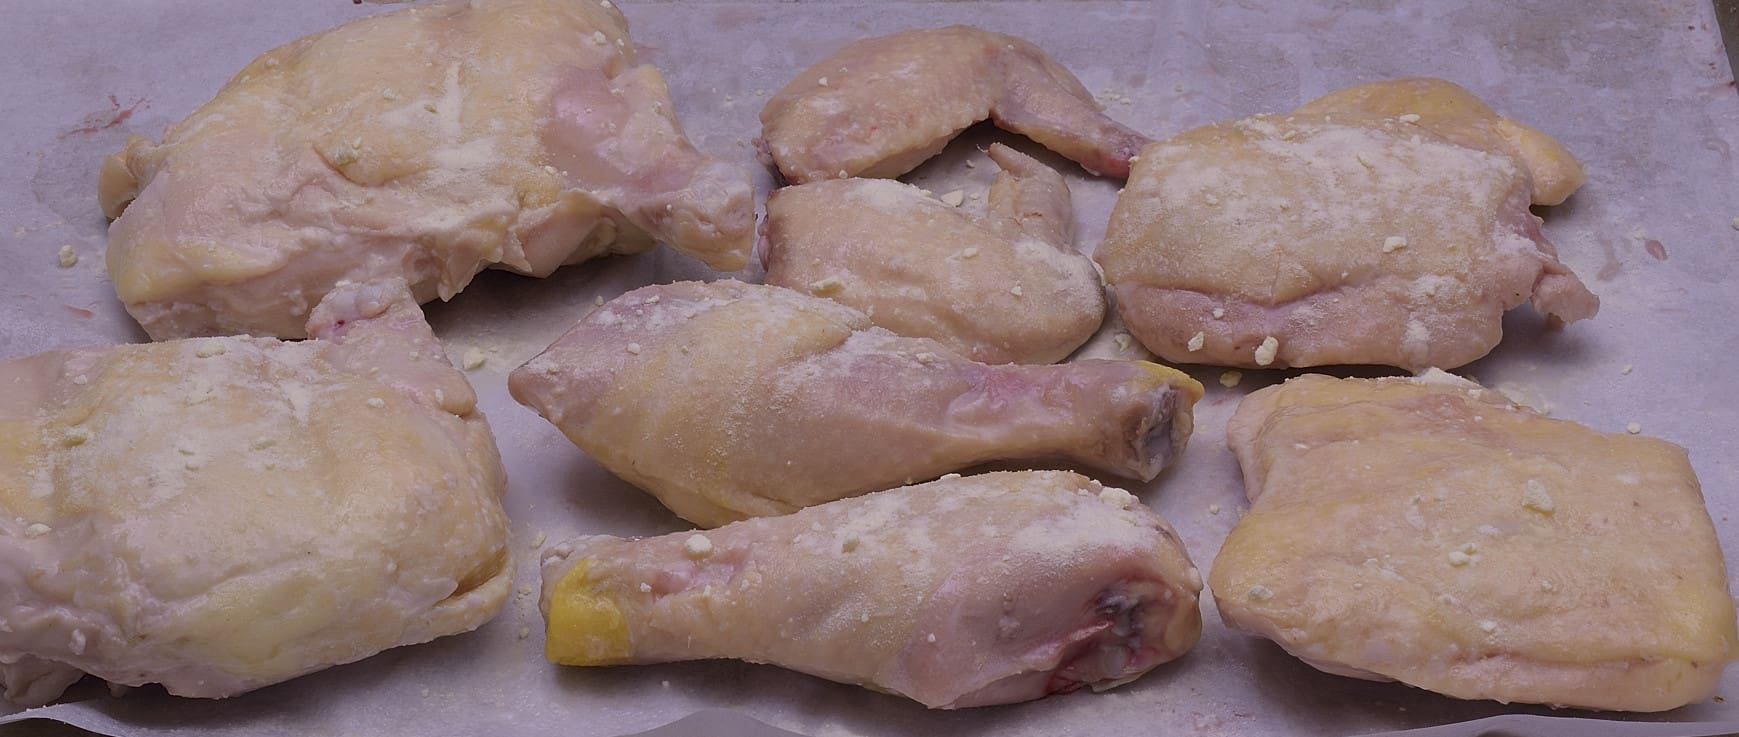
Mist lightly with water to dissolve the powders.

The now moistened surface will cause the seasonings to cling.
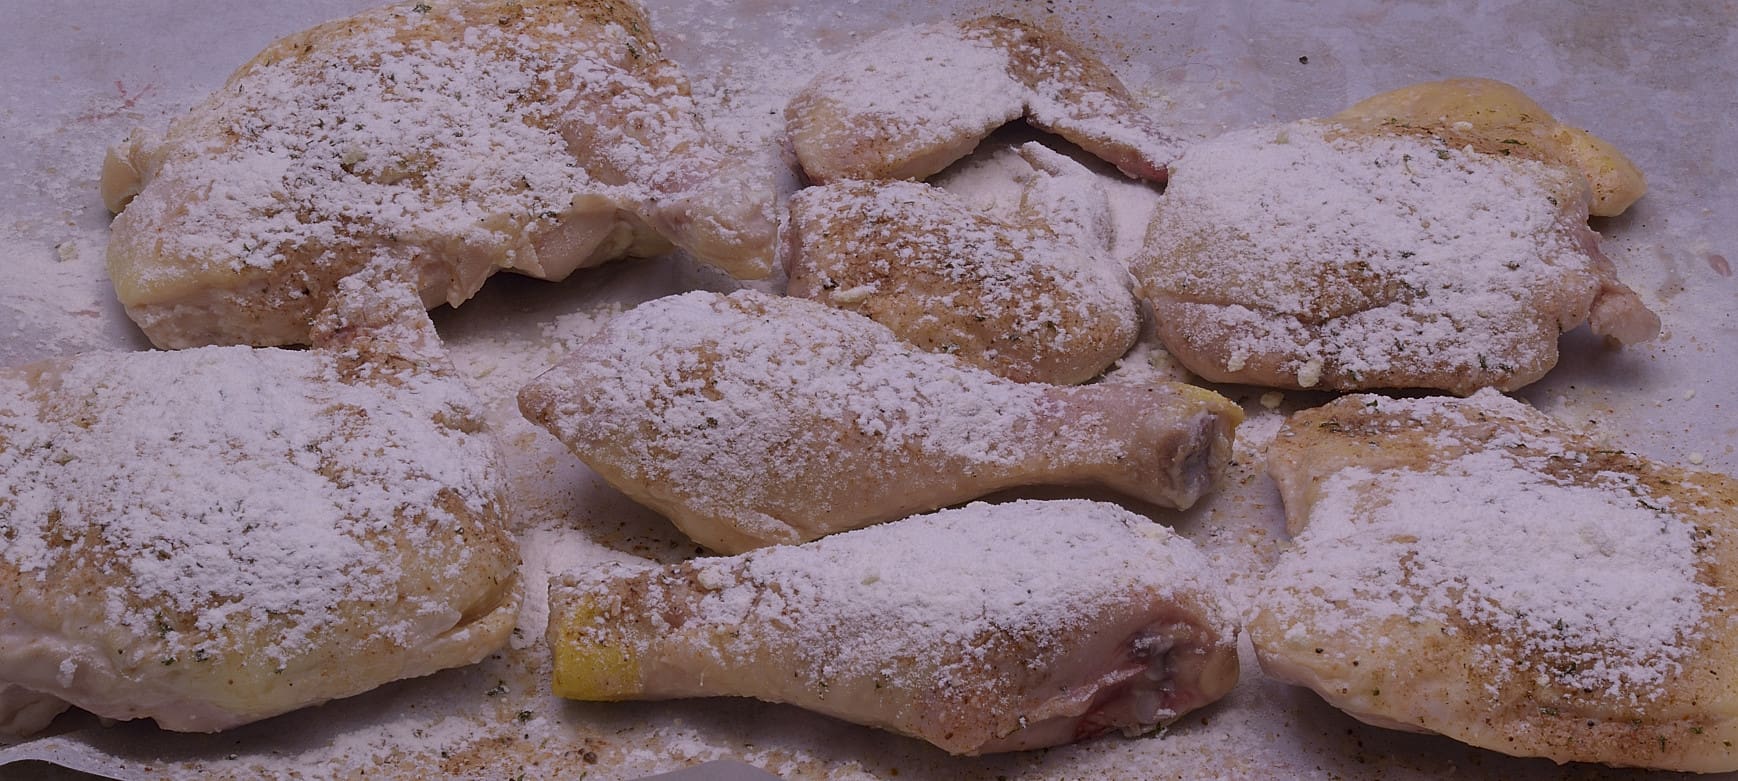
Shake or sift generously with flour. Turn the pieces over and repeat the process. In a few minutes, the surfaces of the chicken will appear somewhat moist. Shake or sift generously with flour again. Turn the pieces of chicken over and repeat the process. A dry surface makes the chicken MUCH easier to handle.
Frying the chicken
The chicken is already safe to consume, so we only need to achieve the desired color and an internal temperature of at least 140 F/60 C. If desired, the chicken can be fried to an internal temperature of 165 F/74 C without compromising the benefit of the sous vide processing. This will give you a more traditional, extra crispy result.
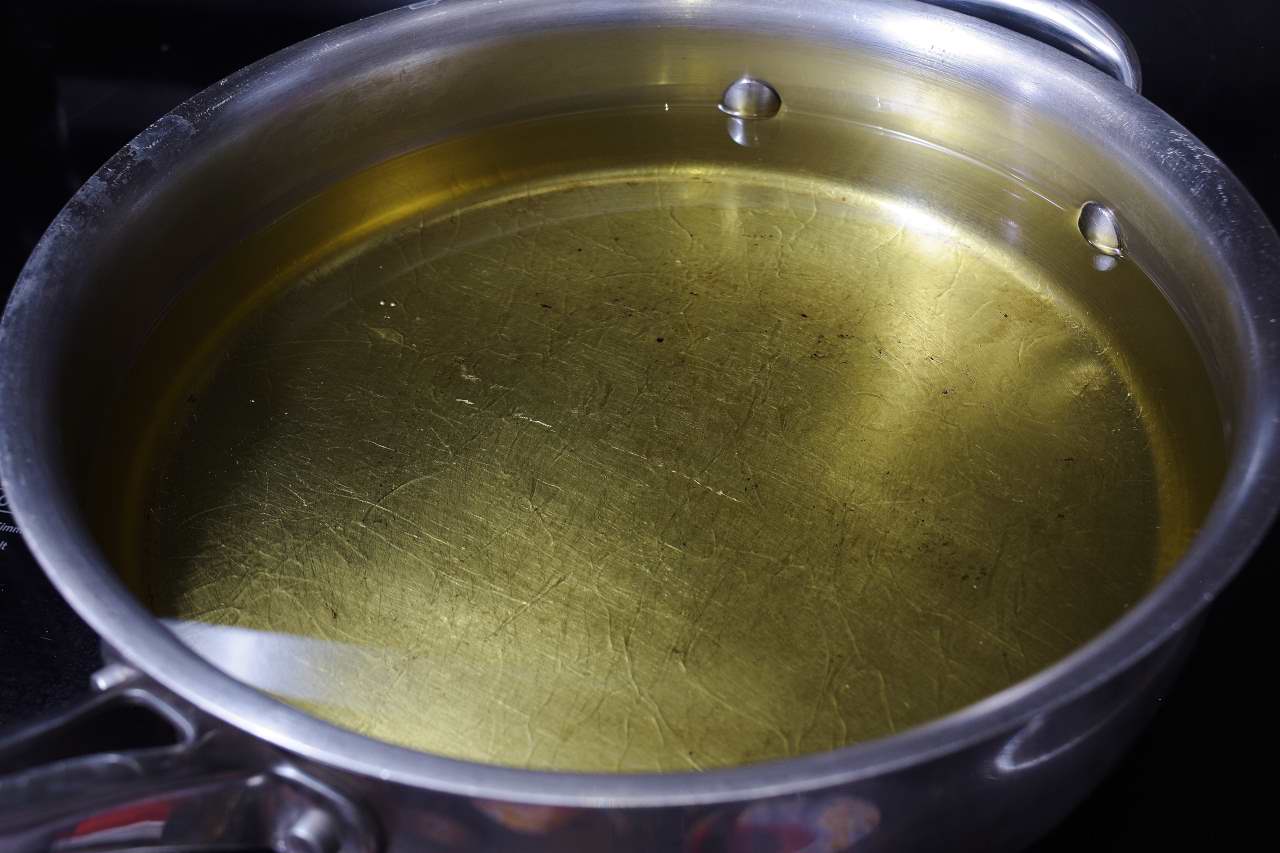
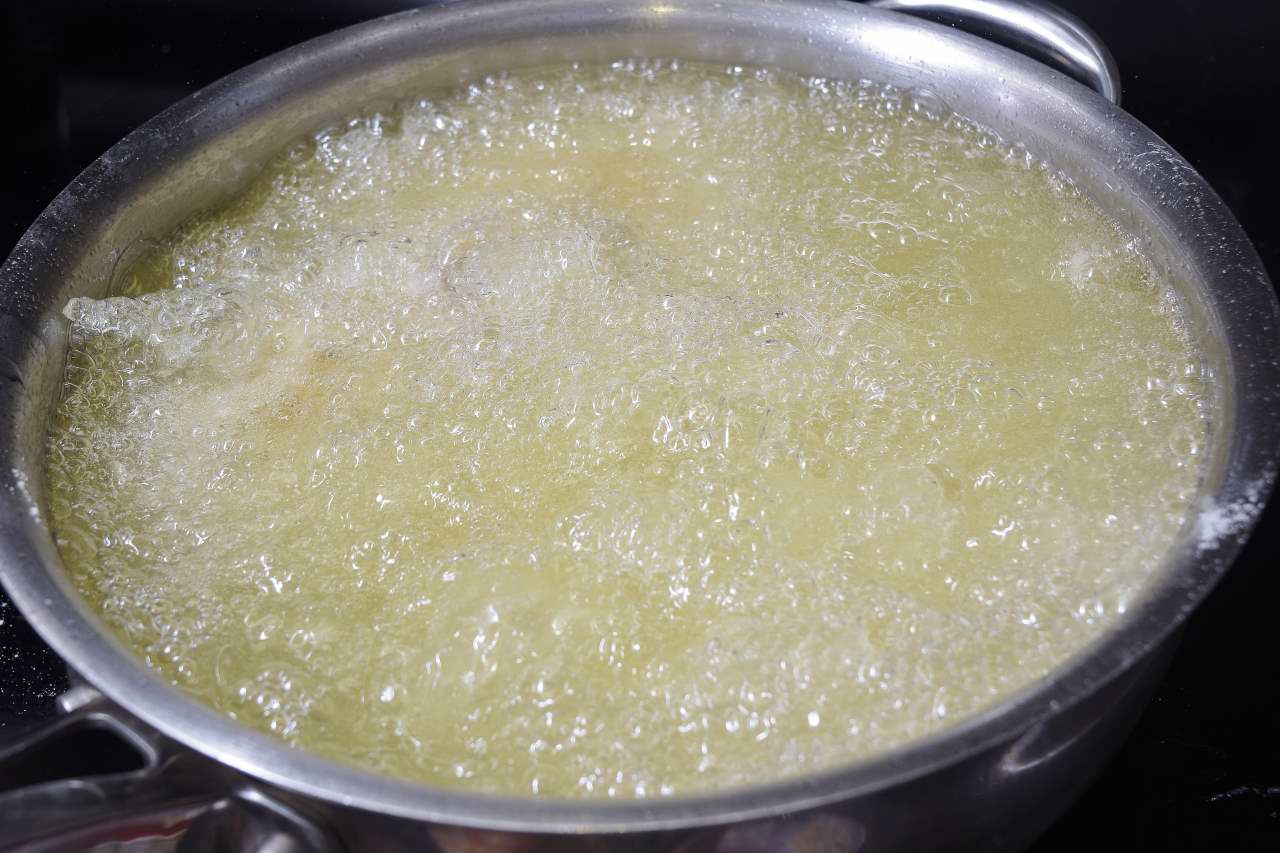
If you use a pan for this, the oil should come no more than half way up the side of the pan. This is very important for reasons of safety. Remember that the chicken will bubble enthusiastically. The chicken also greatly reduces the available volume of the deep fryer or pan.
Cover a cookie sheet/sheet pan with paper towels and set aside
Preheat the oil to 300 F/150 C. Shake off the excess flour from one chicken breast and add to the pan. Do the same with the other breast–make sure you shake off the excess flour so it doesn’t sink to the bottom of the pan and burn. Continue the process with the wings. The chicken must be fully submerged to achieve the desired appearance.
Do not leave the pan unattended. It will not boil over if the directions are closely followed, but if it does, you will see it and hear a hissing sound. Turn off the heat or use a dry towel to move the pan to a cold burner and STAND BACK until the foaming subsides. Do not attempt to take the chicken out of the pan–your skin is more important than the chicken’s!
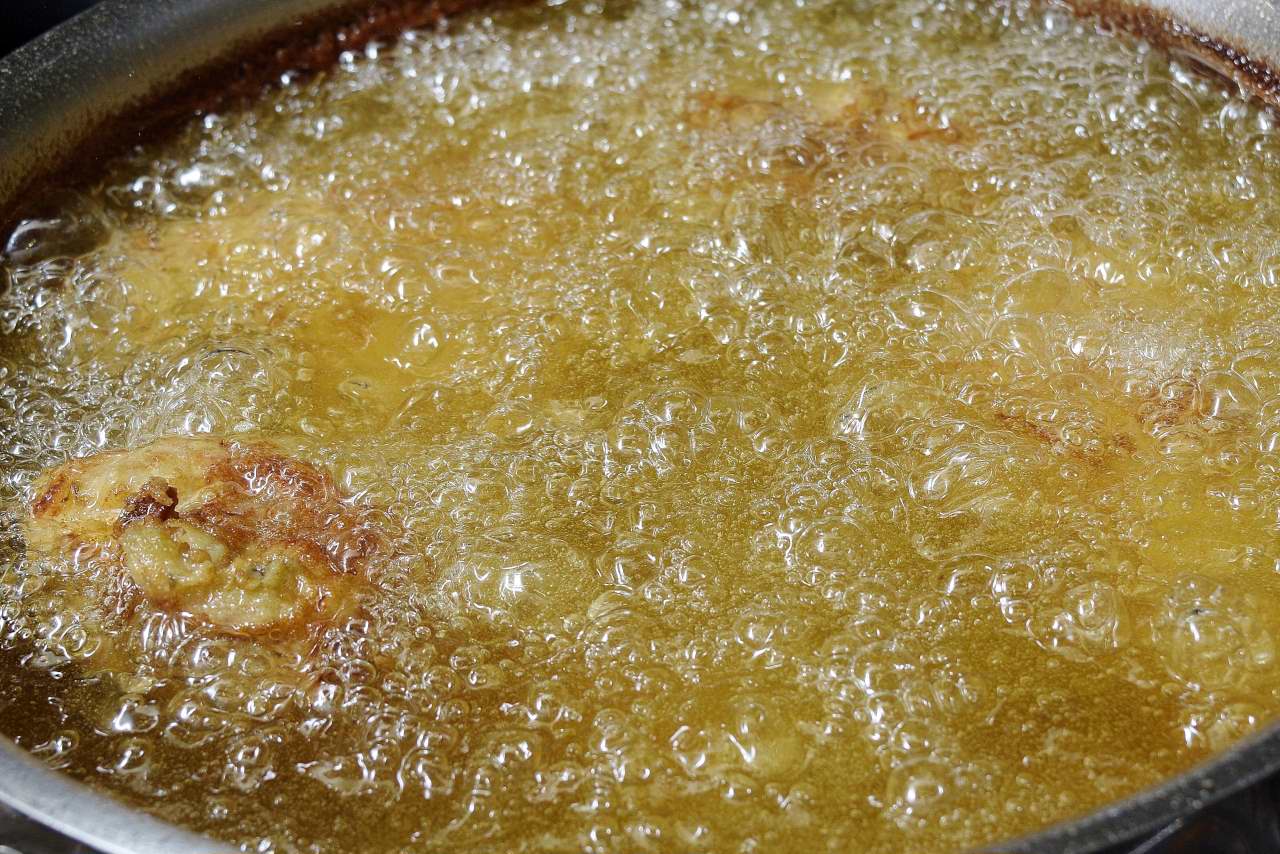
Fry the chicken until it achieves the color you like–you do not have to worry if it is cooked through because sous vide has taken care of that for you. Remove the breasts and wings to the the paper towels to drain. The internal temperature of the chicken continues to rise for a few minutes after being removed from the oil as the thermal energy equalizes. If you follow these instructions the chicken will achieve at least 140 F/60 C internally. If not, you can finish the chicken in an oven set to 350 F/176 C until it does.
Check the temperature of the pan and make sure that it is at least 260 F/125 C and climbing. Increase the heat if necessary. Again, one at a time, add the thighs and legs to the pan and repeat the process. Give the legs and thighs time to drain after you remove them from the pan. Turn off the burner.
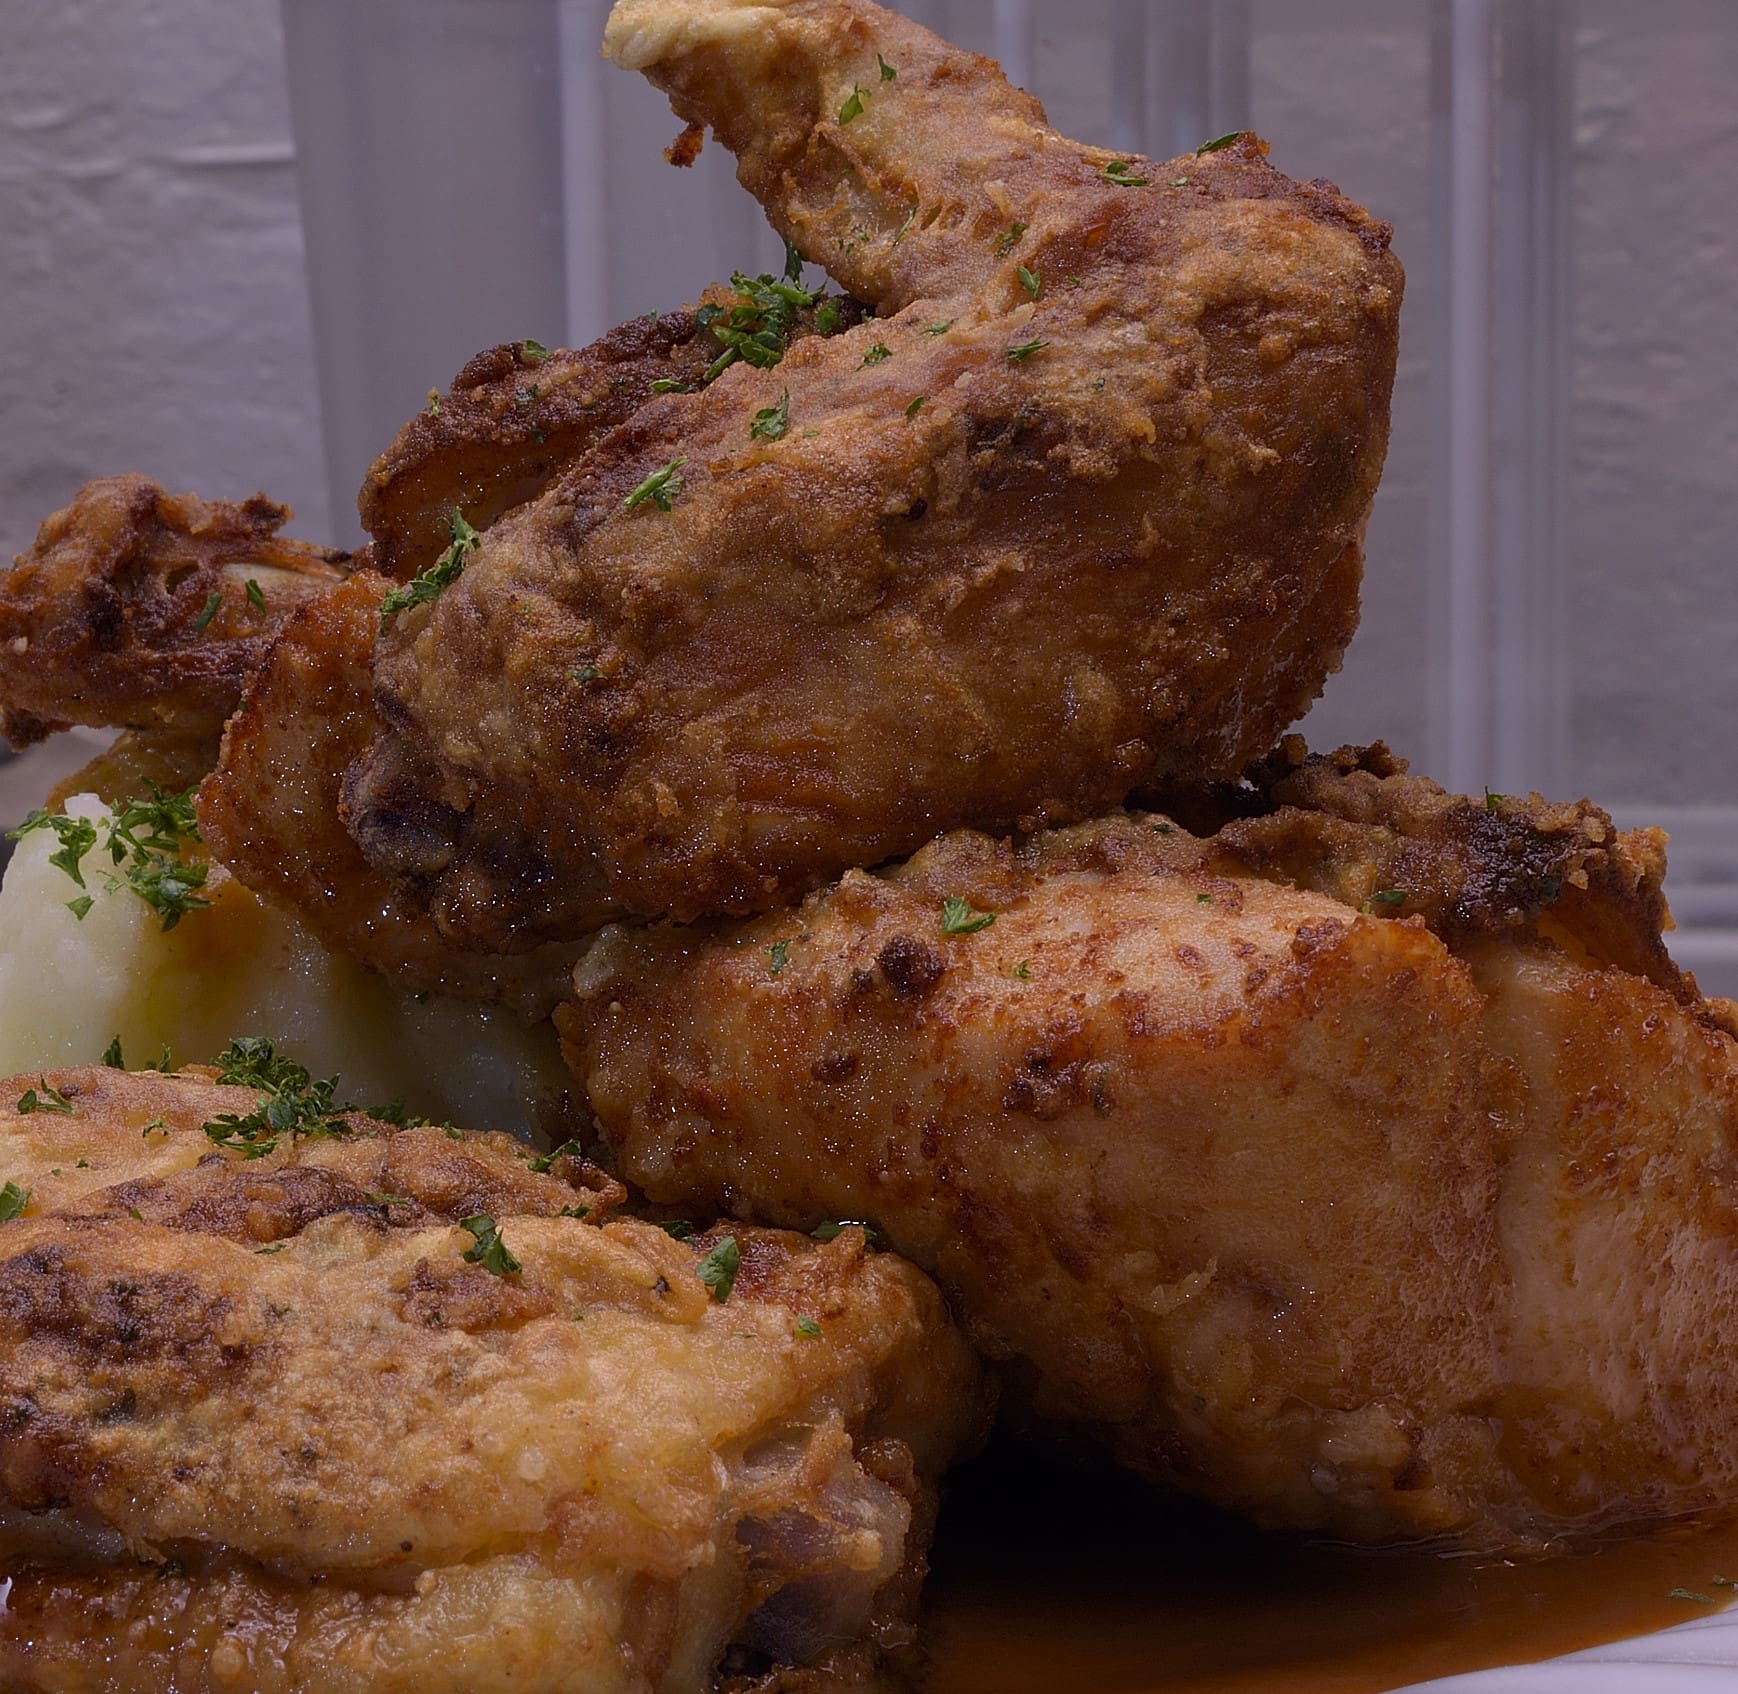
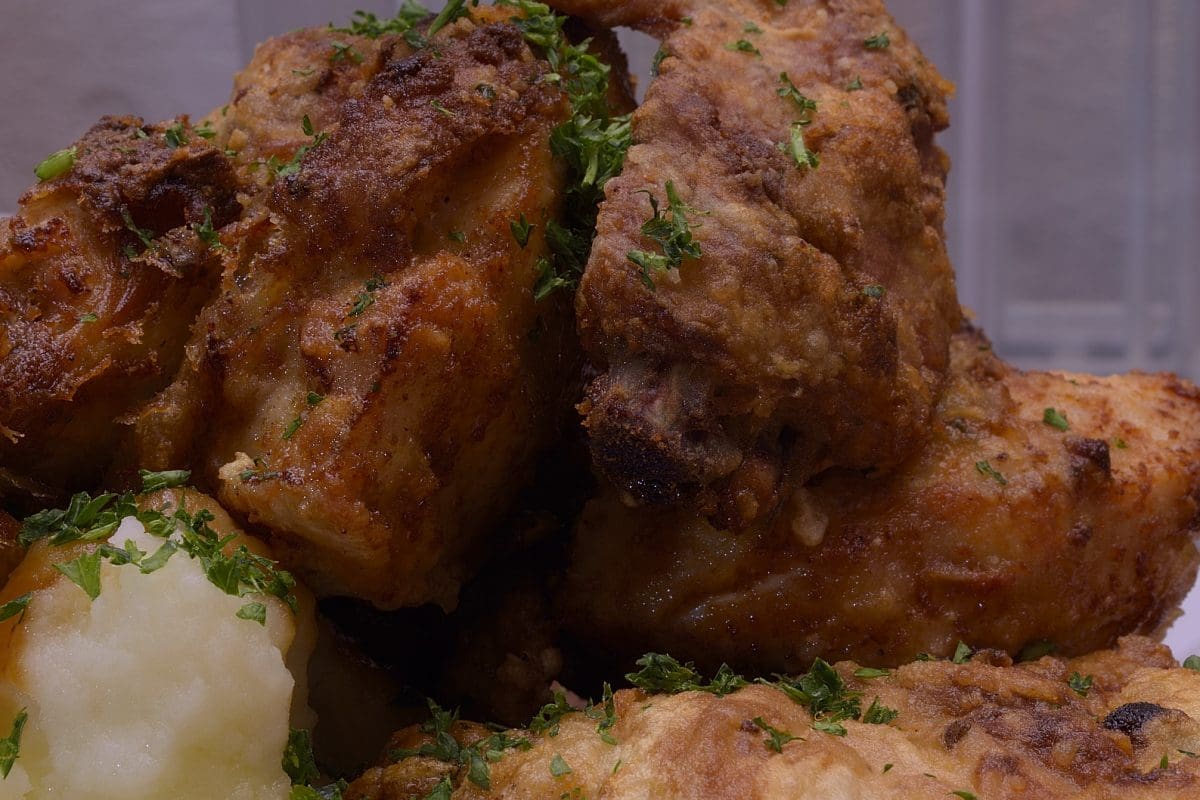
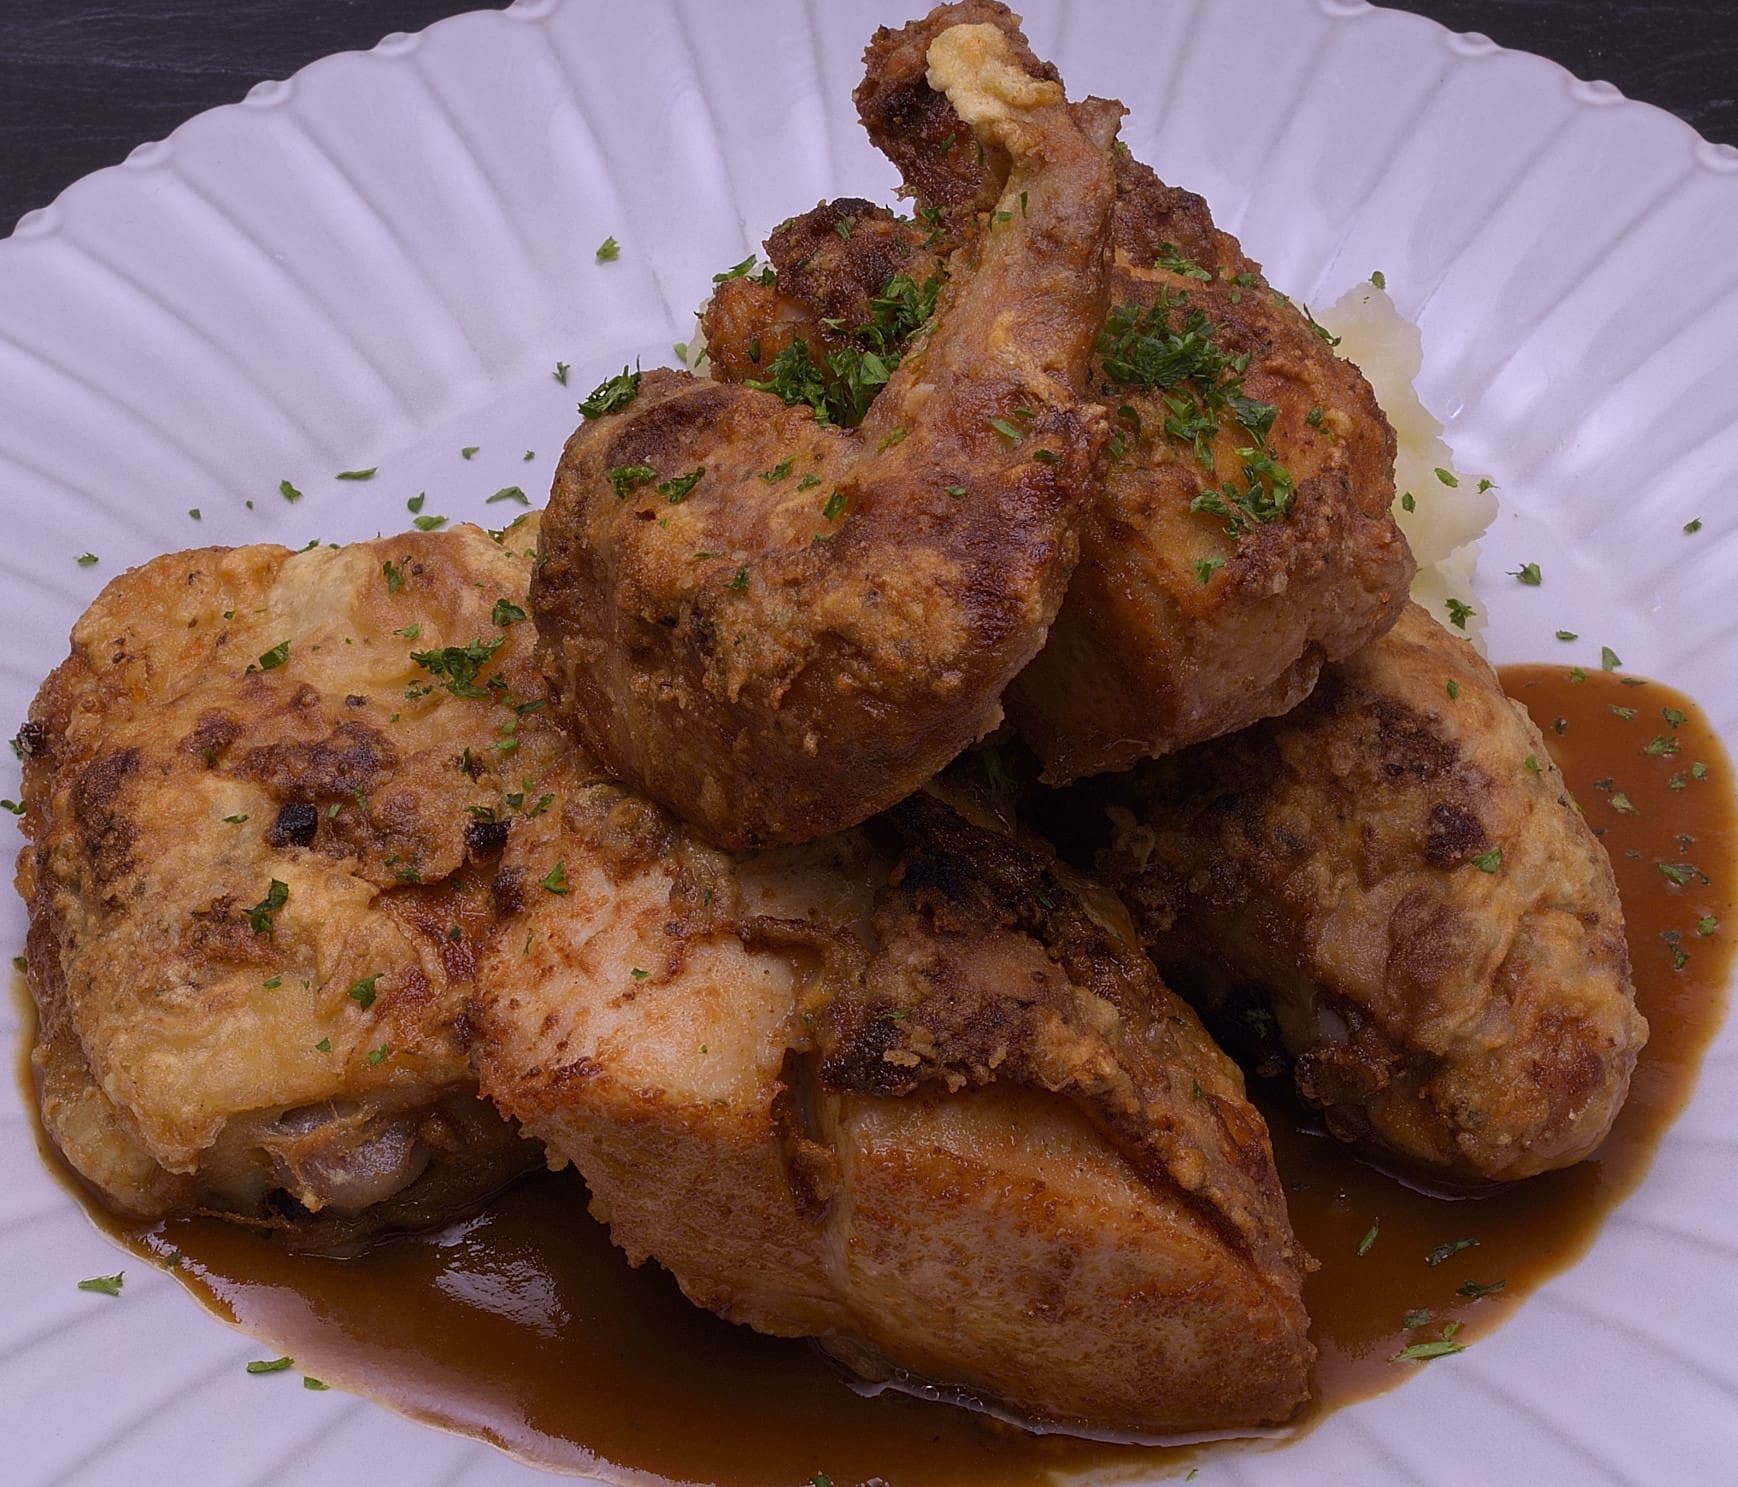
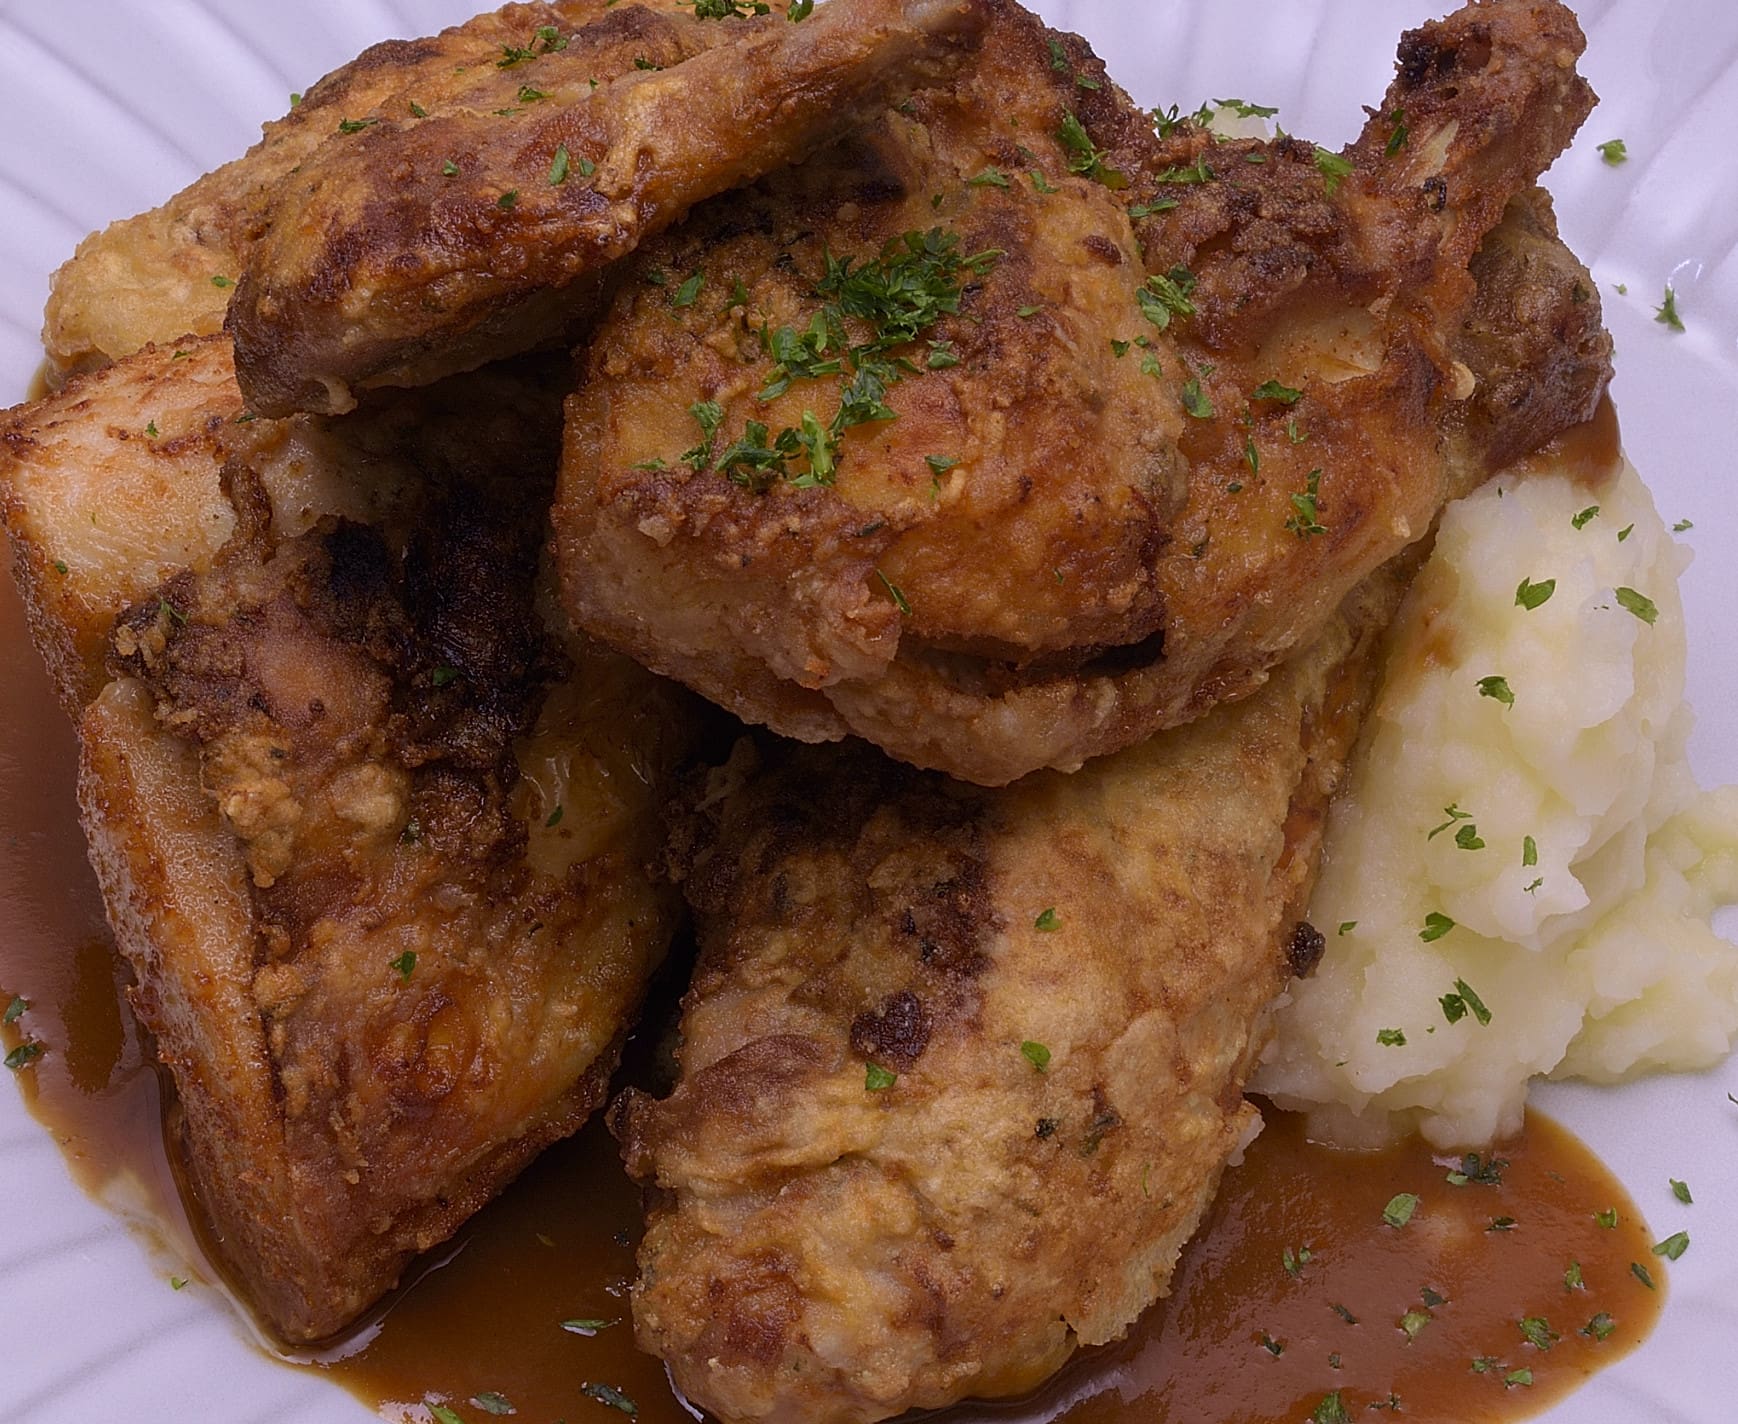
This is what you get.
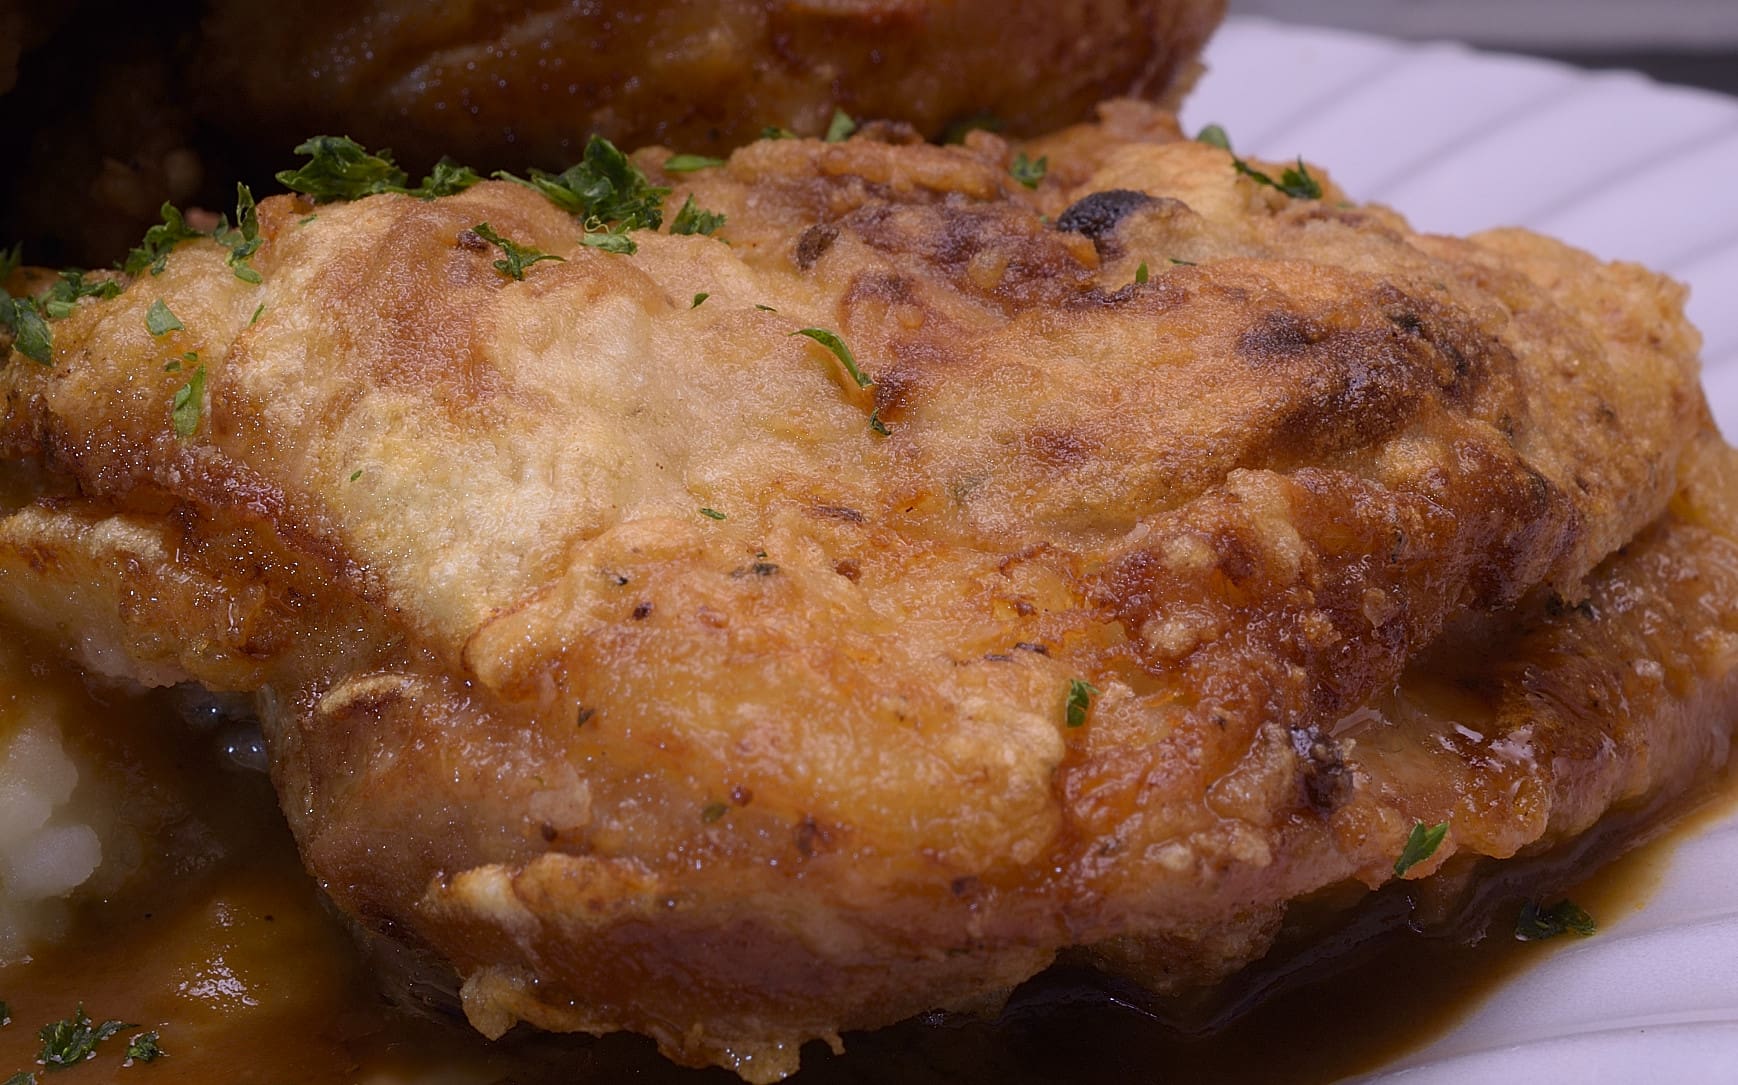
Enjoy your chicken!
Norm King
Make sure to visit us live on Facebook at SVR–Sous Vide Resources; Low Temperature Pasteurization, Sous-B-Q™, | Facebook
.