Serves 6-8
Level of difficulty: 3.25
Procedure:
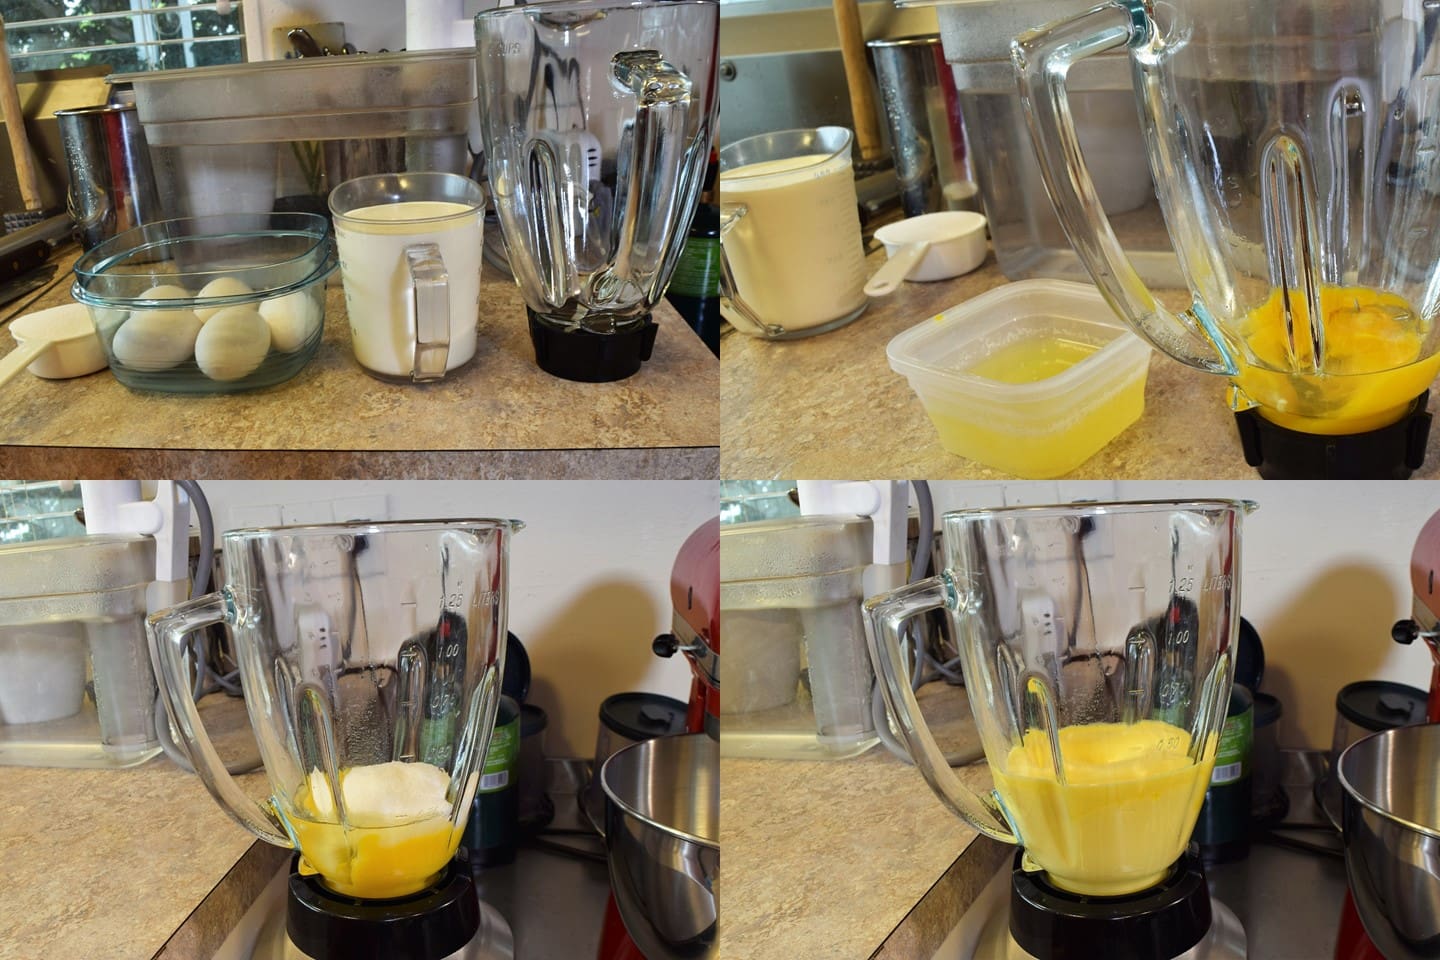
Separate the egg yolks from the whites; reserve the whites. Combine the yolks with the sugar in a blender or with a stick blender. Blend well and you will see the mixture increase in volume as it forms a ribbon. Once it stops climbing the glass, turn off the blender. After removing the mixture, do not clean the blender; put it in the refrigerator with the mixture still in it.
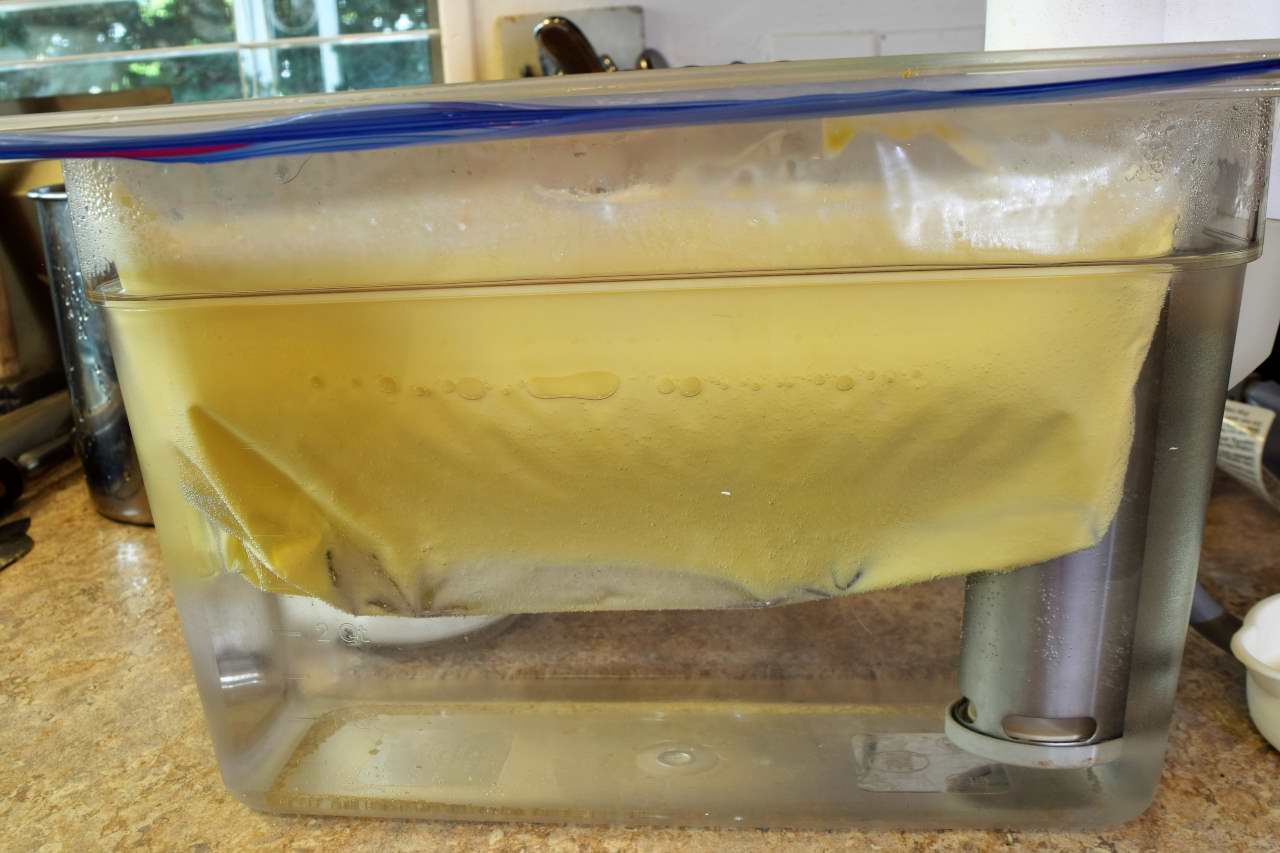
Add the cream and the yolks/sugar mixture to a Ziploc Gallon Freezer bag and tilt it back and forth a few times to jostle the ingredients. The slight agitation of the bath by the immersion circulator is enough to finish the combination process.
Do not attempt to whip the cream with the egg mixture. This can introduce bubbles into your custard. Lower the bag into water heated to
183F/84C
Process in the bath for at least one hour. Upon closer examination, it will not appear to be uniform in texture–this is normal. An extra hour will not damage the custard because the precisely even temperature is below boiling point. If the custard is decanted too early, it can be utilized safely as custard sauce but it will not be thick enough for Crème Brûlée.
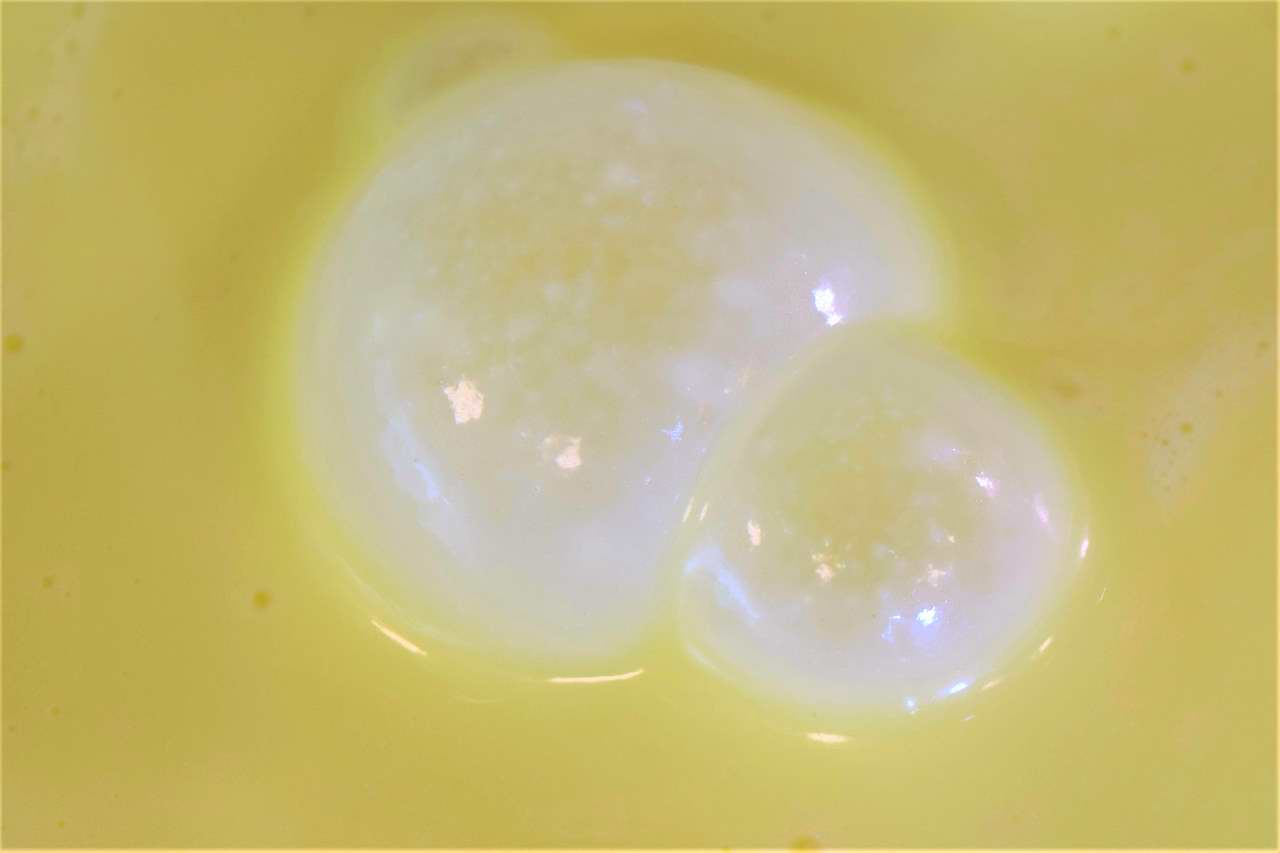
In the bottom right of the slide below, we see the apparent texture of the fully cooked custard. It is not smooth, but it is not “grainy,” either. We will adjust the consistency.

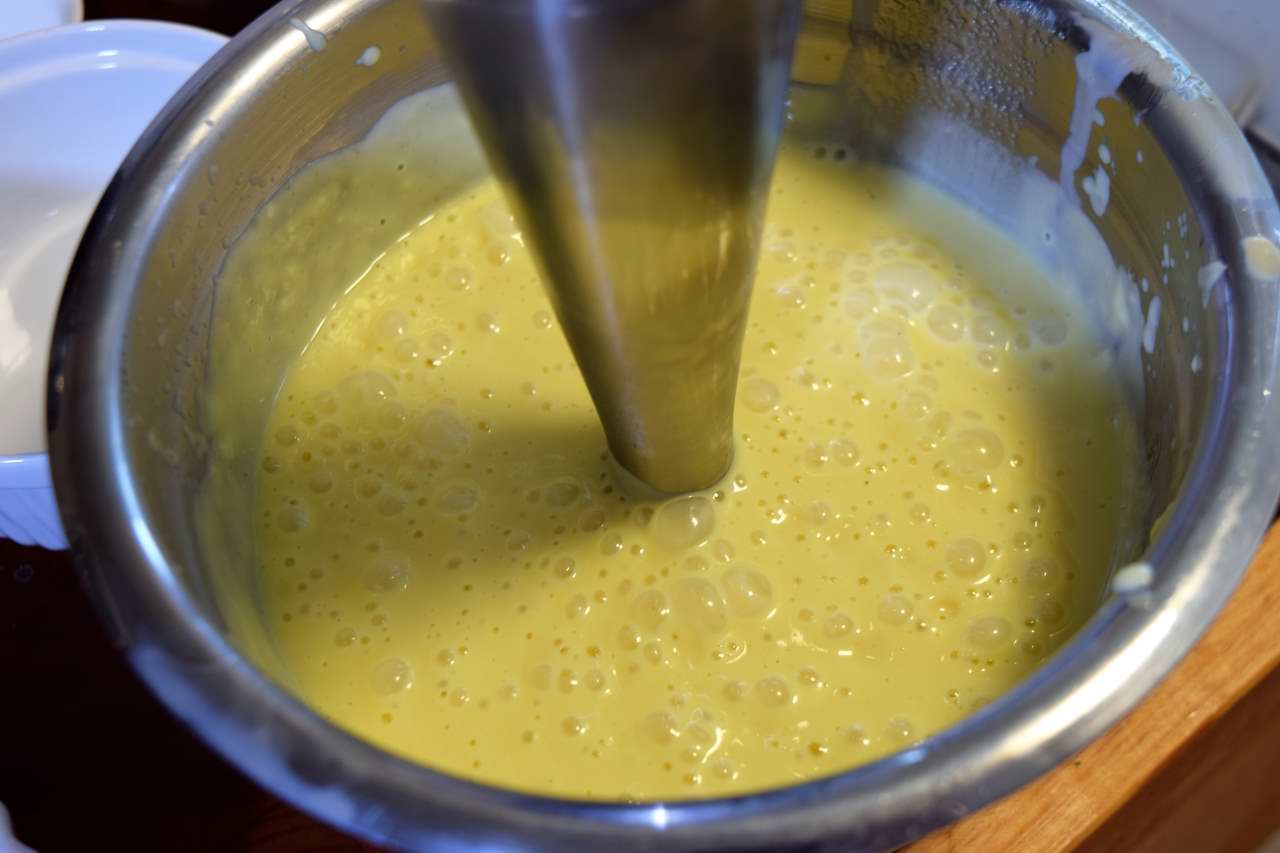
Return the custard to the blender, and pulse for no more than 2-3 seconds. This will be enough but, again, if you process too long you will introduce bubbles into your custard. Add the vanilla at this time–vanilla is very sensitive to heat.
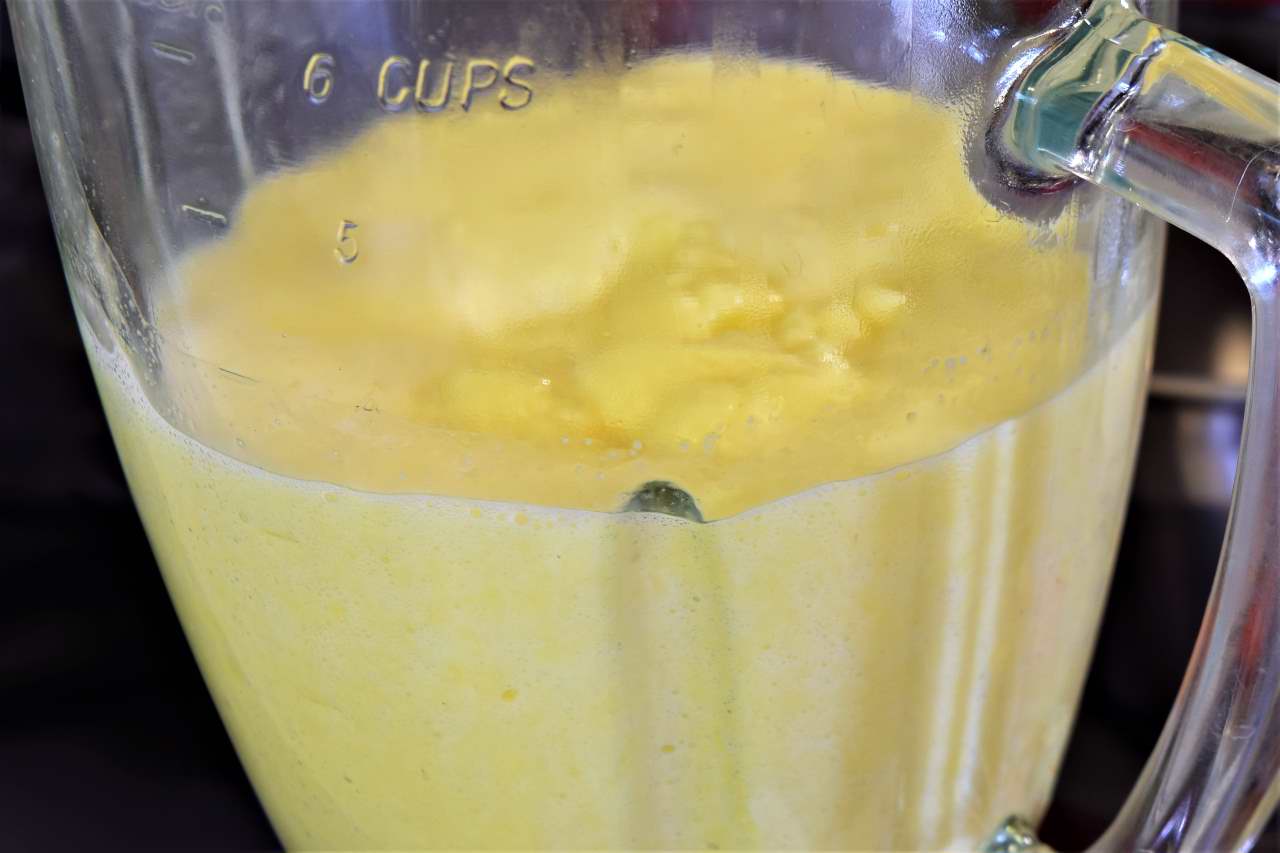
As you pulse the custard, you may see a single bubble rise in the very center–this indicates success!
If you use a stick blender, the same basic principle will apply–no more than 2-3 seconds to homogenize the custard.
Pour the custard into heat proof cups. Don’t be afraid to use different shapes and sizes to accommodate different appetites. I recommend that the custard never be deeper than 2″/5 cm, so that the amount of custard does not exceed the application of the delicious caramel crust!

Give the custards at least 4 hours in the refrigerator to fully set.
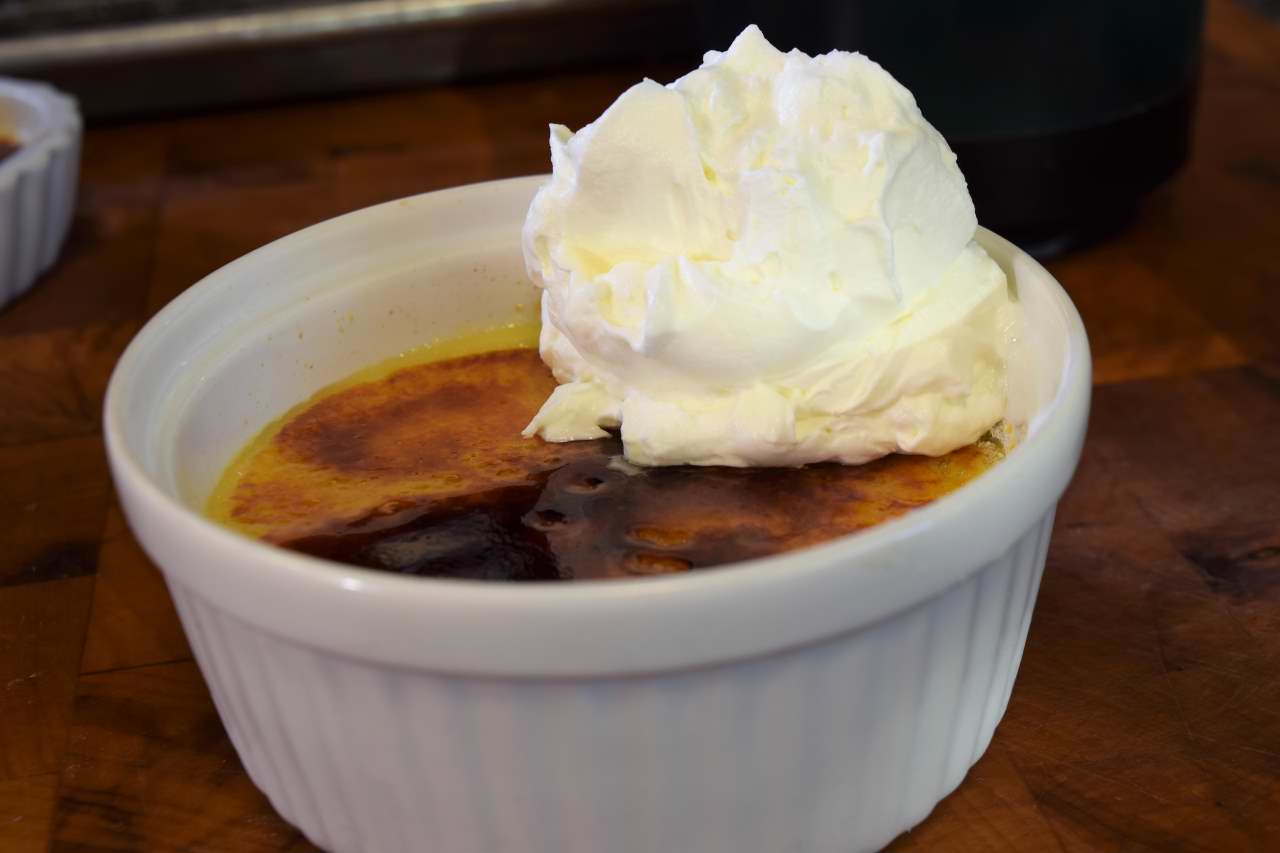
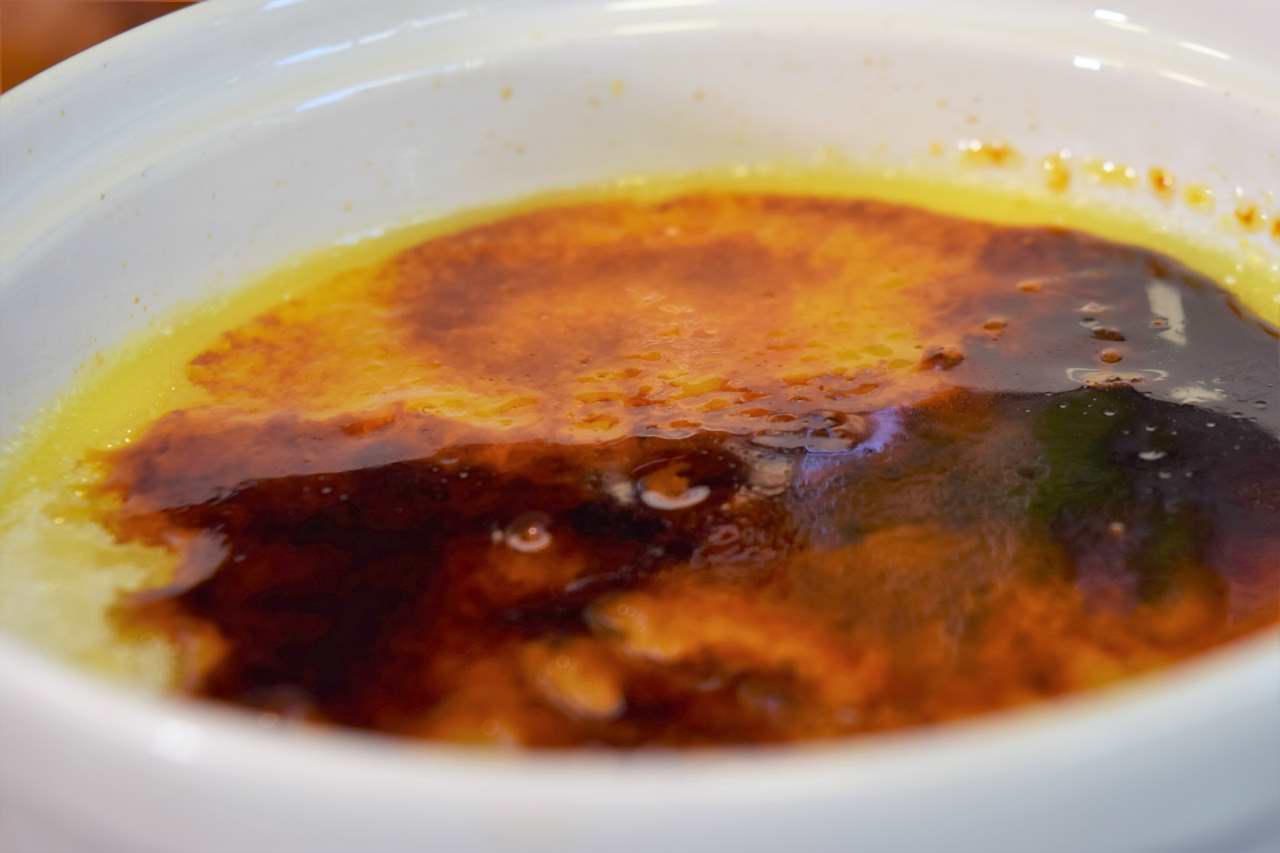
Dust the top of a custard with sugar. Typically, this amounts to about 0.5 oz/15 g. Caramelize the sugar using a propane torch, and be sure to allow it to cool for two minutes before applying the whipped cream.
Apply a generous dollop of whipped cream on the edge of the ramekin.

Tap the crust with the tip of your spoon, and it should crack in two or more pieces.

This is about as good as it gets.

Sous vide is not usually applied to pastries and desserts for a number of reasons that include temperature, shape, and presentation. Even so, in the case of Crème Brûlée, it is well applied!