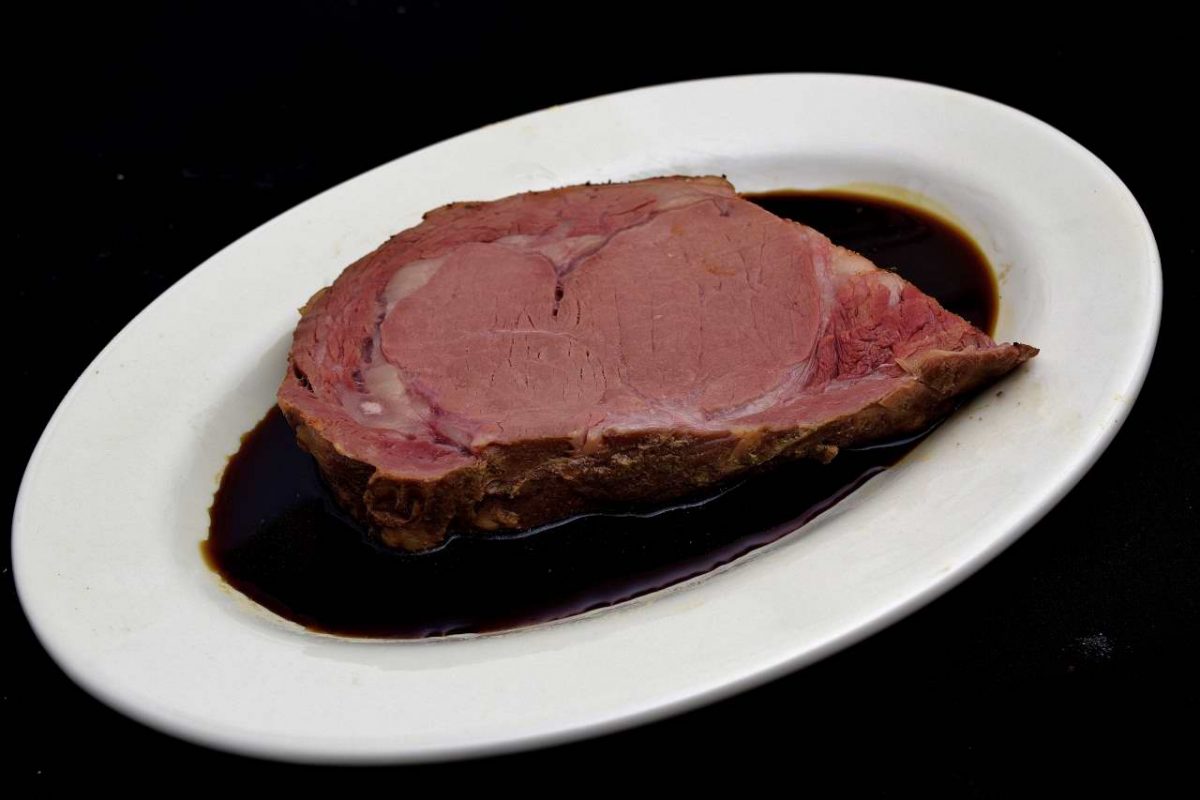
Introduction:
Due to their popularity, rib eye roasts are available in most butcher departments. The bone is usually attached and may be left on during sous vide processing if desired. Because of the resistance of bone to thermal energy, we recommend that processing should be done no cooler than 134 F/56 C in this case. Most chefs remove the bones either before or after cooking. The bones are great for bar-b-q!
A favorable alternative is to purchase an entire beef rib eye roast–boneless or bone-in, and portion it yourself. This also saves money. There is a minimum amount of fat trimming and you can decide whether you want steaks or roasts–they all come from the same cut. Use a simple scale to correlate the size of your roast to the size of your event!

How do you like your Prime Rib?
There is debate as to the exact definition of “rare,” “medium rare,” “au point,” etc. A little practice will help you learn just exactly what temperature achieves your preferred appearance of doneness.
Here are some basic temperature setting guidelines:
Rare: 129 F/54 C.
Medium rare: 135 F/57 C
Medium: 140 F/60 C.
Medium well: 150 F/66 C.
Well done: 165 F/74 C.
When guests in restaurants and hotels specify their preference for appearance of doneness, the chef will add heat to individual orders, hopefully achieving the desired level of doneness. This is usually done by dipping the individual cut in stock or broth, aka “jus.” Exposure to hot liquids can cause the meat to “clinch,” so the jus should NEVER be hotter than 165 F/74 C.
 Procedure:
Level of difficulty: 1.5
After vacuum sealing the roast, preheat the water in your sous vide bath to the temperature that most closely matches your preference. Most chefs try to arrive at an internal temperature of approximately 129 F/53 C. This is much easier to do using sous vide than by conventional methods.
For roasts ranging from 2 lbs/0.9 kilos to 12 lb/5.5 kilos, process the roast for
8-16 hours, as per your convenience and regardless of the size.
Let sous vide timing work for you!
Sous vide has a number of unique characteristics. Cooking time is not determined by weight, but rather by the shortest distance from the surface of the roast to the geometric center.
The rate of collagen conversion in the sous vide range of temperatures is very gradual. The difference in texture and appearance between a roast processed for 8 hours and a roast processed for 16 hours is negligible, if detectable at all. Some people want to start their prime rib in the early morning to serve for dinner that evening, so the 8+ hour interval is convenient for them. Others would rather start it the evening before and sleep in! Both approaches are favorable!
When the time has elapsed, remove the roast from the bath and set on a flat surface with a rim to collect any juices from the bag. Remove from the bag and set it on a clean towel. Harvest the juices and save for later use. This is explained HERE.
Pat the roast dry with a clean towel. Paint with the beaten egg whites and sprinkle the seasoning generously all over the roast (see below). Drizzle 1 oz/25 ml oil over one face of the roast.
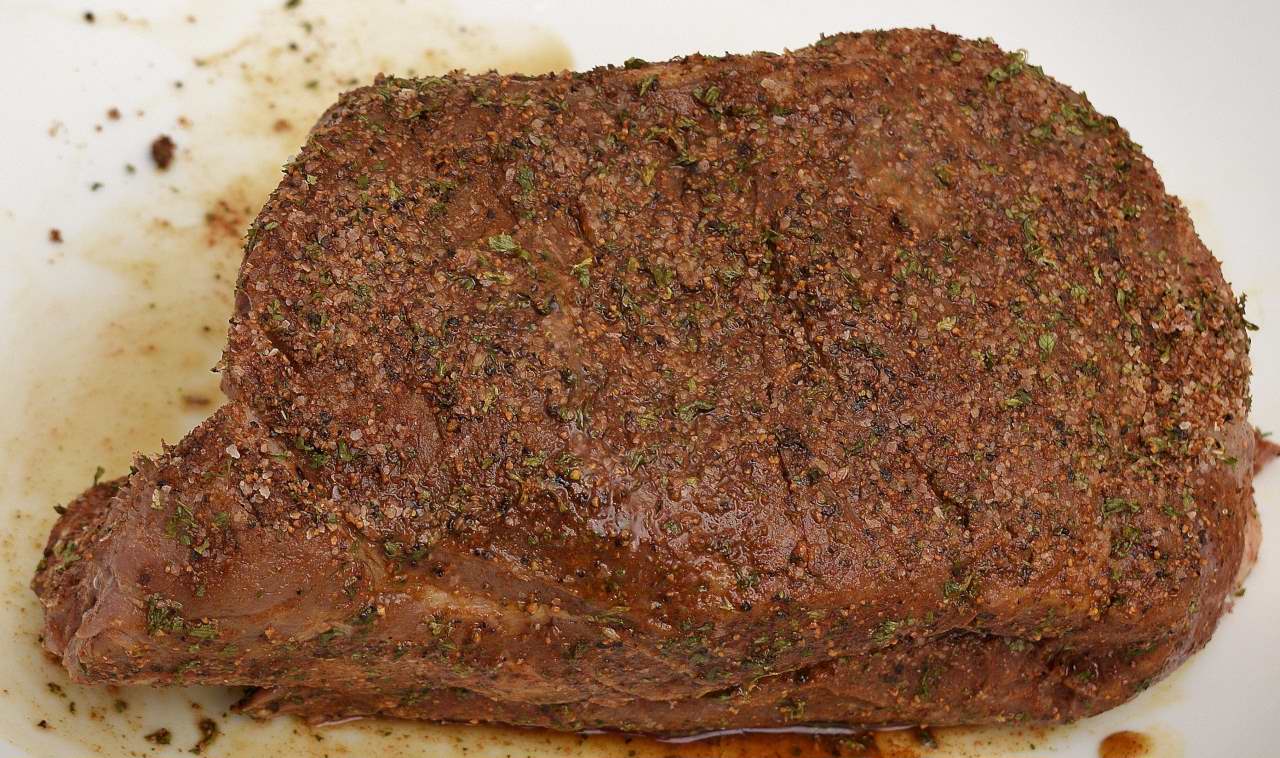
For roasts small enough to fit, heat a large skillet to 275 F/135 C. Add the remaining vegetable oil, put the oiled face of the roast down in the pan and sear on all sides. This process should take no more than five minutes. The roast should like this:
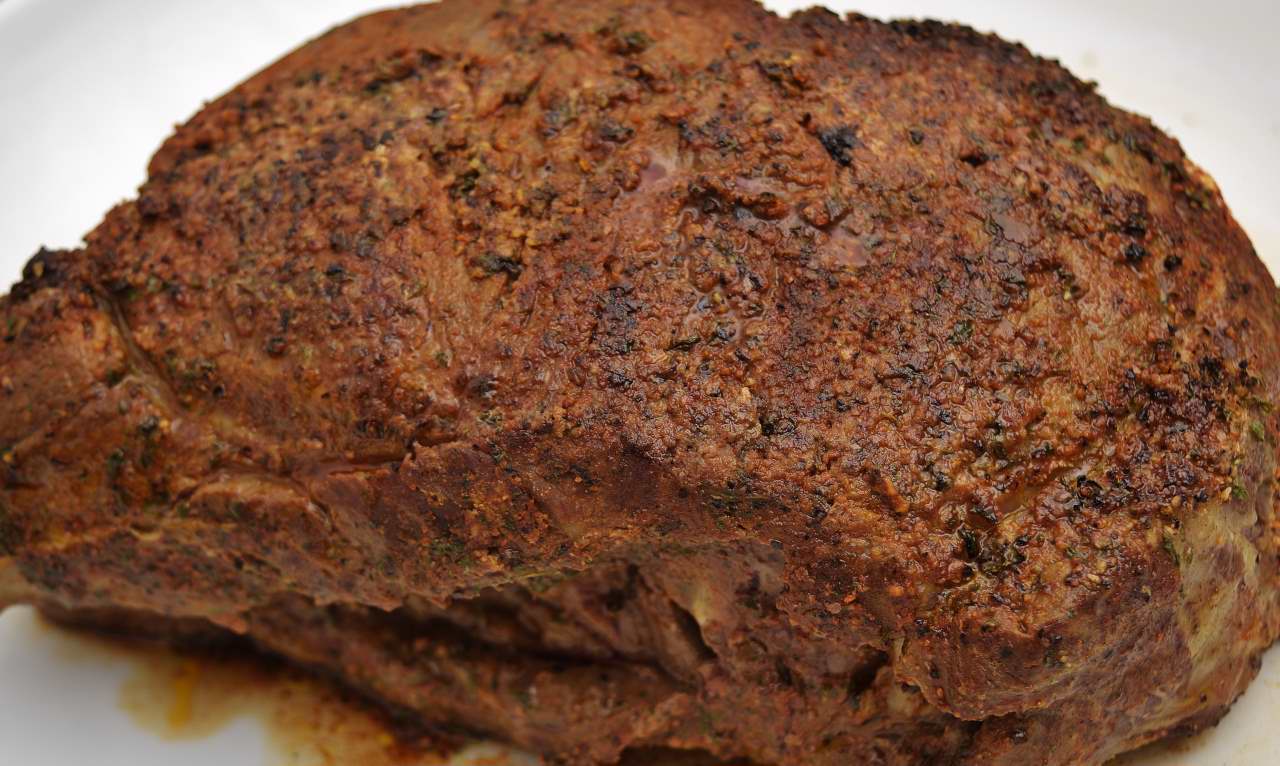
If your roast is too large to fit in the pan, use the oven method. Preheat you oven to 450 F+/230 C+. Drizzle the oil over the meat and roast for no longer than 15 minutes so as not to elevate the internal temperature of the roast. The broiler function of the oven can also be used.
Remove the roast from the pan or oven and let it sit on a flat surface for up to ten minutes. This allows juices to circulate and makes it easier to handle. Never try to carve a roast right out of the pan or oven–this can be very dangerous!
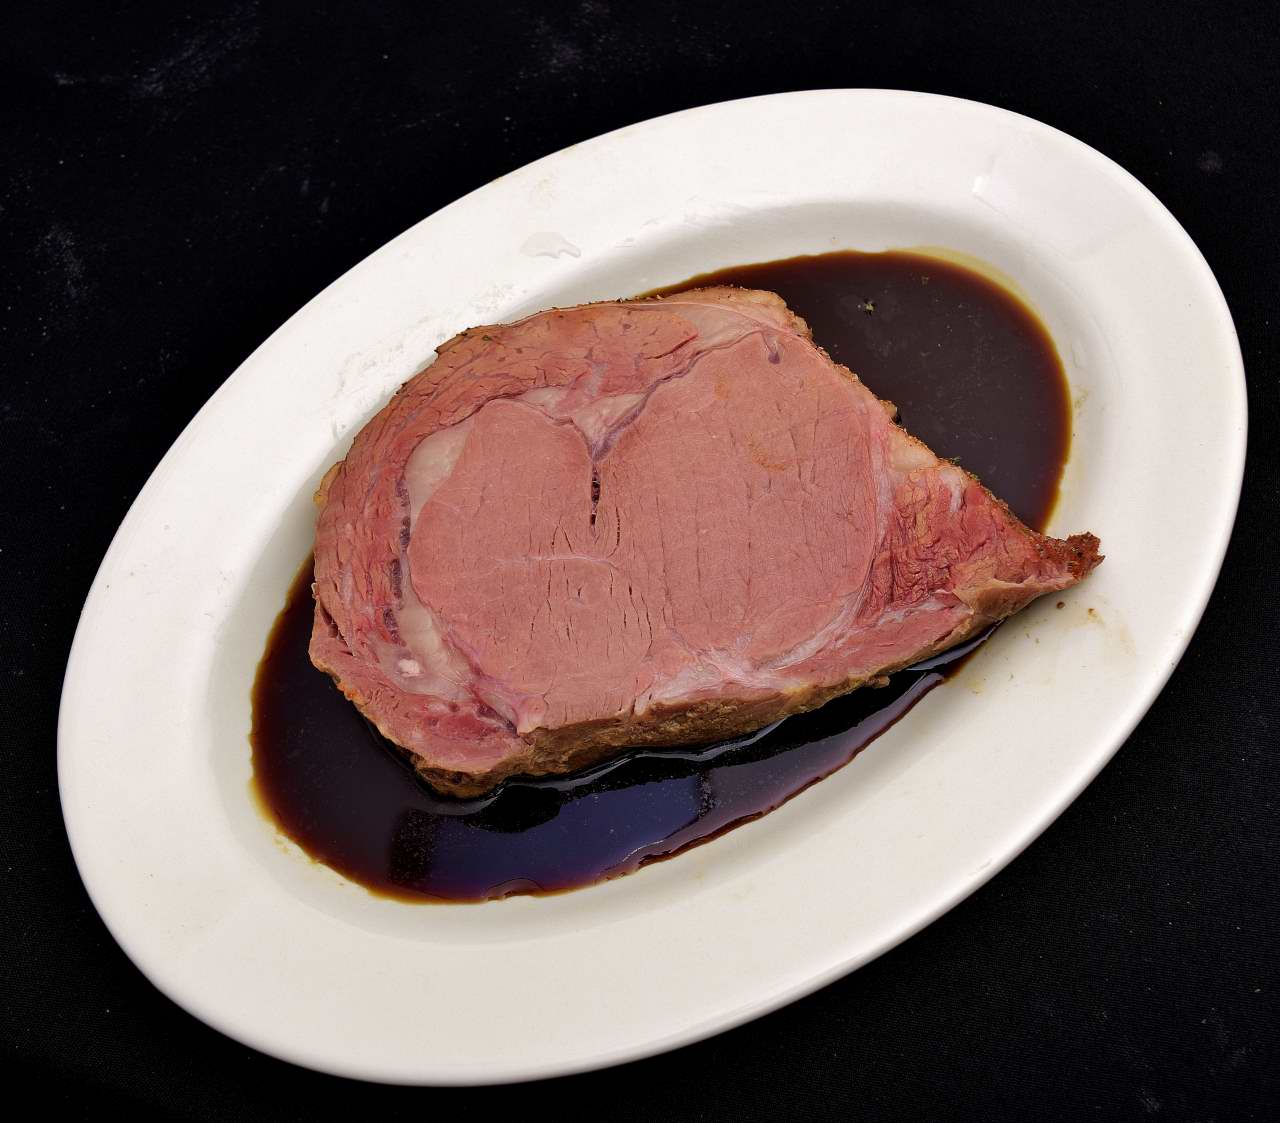
Slice the roast into desired slices. Drizzle some juice around–I usually do not put any on top because it has a tendency to discolor the prime rib.

Note the positioning of the entree on the plate–this is commonly neglected but actually very important. The prime rib should be placed just as it is shown, with that semi-circular area at approximately the 7 o-clock position. This “flap” section is called the spinus dorsalis. It is among the tenderest and most unctuous cuts on a steer or heifer.
The triangular “tail” piece on the right should always be there–on the right! This identifying piece is considered the least desirable section of the cut but is left on because prime rib just doesn’t look right without it! Most diners are full before they even get to it!
The flattest edge, where the roast was originally connected to the bone, should face the diner to make the procession of bites the most pleasing. This is hard to explain, but, believe me, after you execute it, you will notice anywhere that you eat prime rib whether it was done correctly or not.
Baked potatoes and creamed spinach go very well with this dish, but I almost always put them on separate plates.
Although I much prefer the classic simplicity of this dish, some chefs insist on doing more elaborate presentations, more like this:
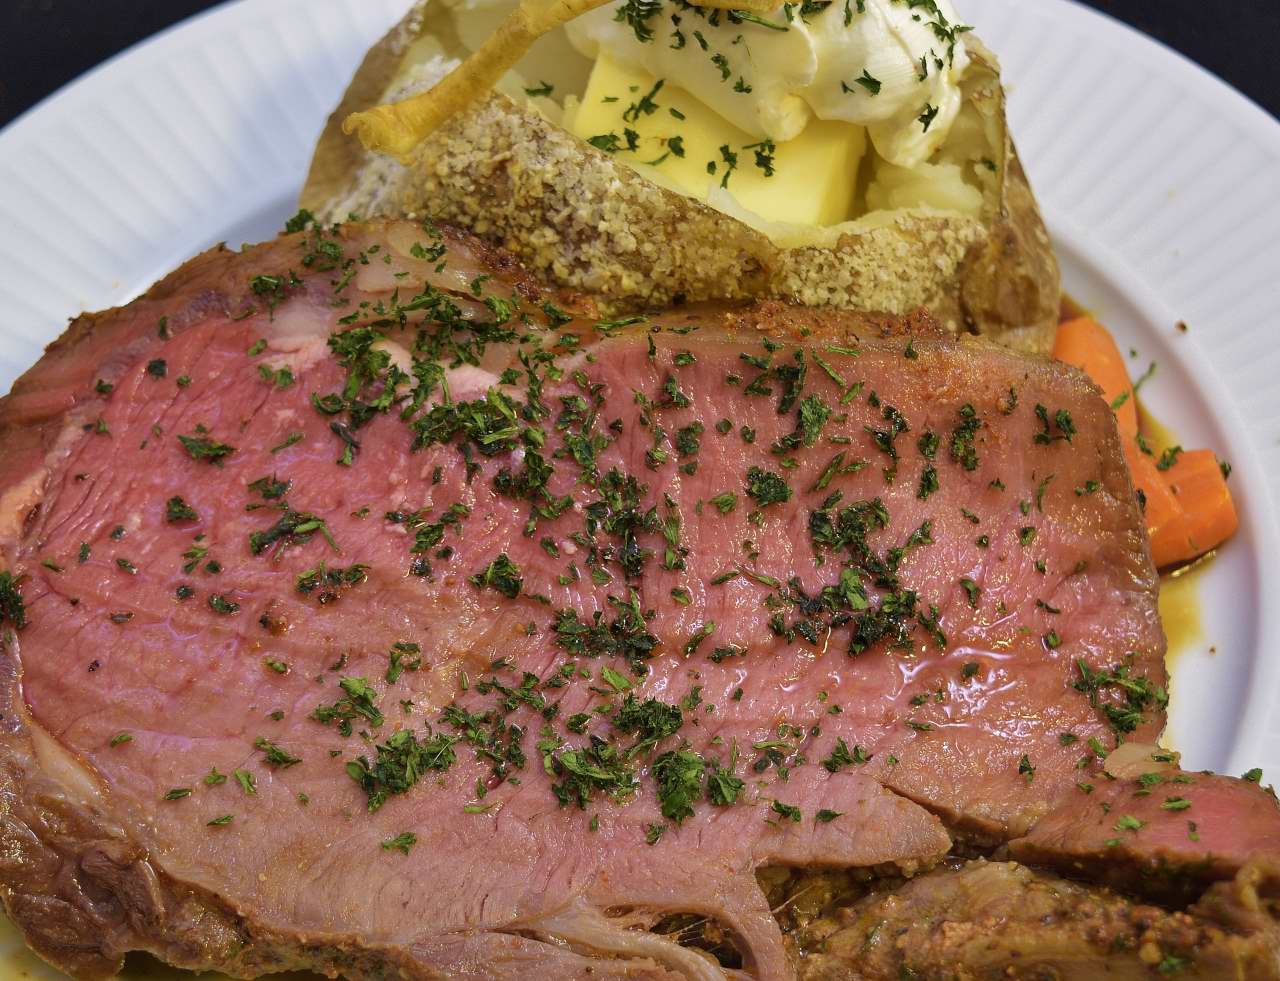
To each his own! It is as hard to get tired of this dish as it is easy to prepare it using sous vide. Note that the appearance of doneness is uniform throughout the roast. This is almost impossible to achieve using traditional methods, but sous vide does it for you!
Norm King
