Many people believe that restaurant style sauces cannot be successfully produced in the home. Chefs have been perpetuating this myth for a long time to preserve their artistic mystique.
Mother sauces and their many variations and applications are succinctly simple and practical–whether produced en masse or for only two people. The pots, burners and ovens used to make sauces in large hotels are no different than those in home kitchens with the exception of their size.
Procedure:
Remove the legs, thighs, and breasts from two chickens or have your butcher do it for you. Seal the carcasses in Ziploc Gallon Freezer bags and remove as much air as possible using the displacement method. It may be necessary to add a little water to the bag in order to get it to sink in the bath. Save the juices to add to the sauce later. Meanwhile, seal, the onions, carrots, and celery in Ziploc bags as well. I usually do them separately, but it is not necessary if you plan to use them all for this particular recipe.
Process the chicken carcasses via sous vide @
183 F/84 C for 6 hours.
Process the vegetables via sous vide @
183 F/84 C for 1 hour.
Once the processing is completed, use iced water to cold shock everything to 70 F/21 C, and then refrigerate @40 F/4 C until you are ready to make your sauce. Remove the carcasses from the bag, and save the juices. If the juices have gelled you can dip the entire bags in hot tap water until the gel melts. Lay the carcasses out on a sheet pan covered with parchment.
Remove the vegetables from the bags and save these juices as well. Spread the vegetables out on the sheet pan as shown. Spray the vegetables and carcasses with Pam or a comparable product. If this is not available (or you don’t use the product), toss the vegetables with a little bit of vegetable oil before spreading them out on the pan.
Note: The application of oil is essential. The thermal conductivity of oil facilitates the Maillard reaction, which will create the dark colors that we are seeking. There is much more to this process than simple caramelization!
Roast the carcasses @
350F/176Cx2.5-3 hours.
This time is approximate, because you must examine the color of the ingredients in order to decide when to move to the next step. The carcasses and vegetables must be very brown–and this will be your only opportunity to achieve this color. It cannot be corrected later. Again, patience is the key. In order to “burn,” the onion peels would actually have to turn BLACK, which takes a long long time at this temperature!
Once you are satisfied that the vegetables and carcasses are brown enough, drizzle the tomato sauce over them. Stirring at this point is awkward and somewhat dangerous so try to distribute the tomato sauce evenly over the entire surface. Continue to roast for approximately 1 Hour. Again, you, the cook, must make the determination if the color is dark enough. Usually, 1 hour is just about right. Add the wine. Continue roasting until the wine has completely evaporated. This may take another hour.
Note: Wine will contribute some tannin and other flavors but it should not determine the color or volume of the final result. If red wine is allowed to provide the volume of a sauce, that sauce will be purple, not brown.

The fate of sauces is determined early in the process, not later. Some adjustments can be made in real time but the importance of these first few steps cannot be overemphasized. Put all of the ingredients in a pot large enough to hold them and 1 gallon/4 L cold water. Bring to a simmer but do not allow the boil to roll. Every aroma that you smell is flavor escaping from the sauce. Simmer the sauce slowly for at least four hours, and remove from heat.
Strain the sauce into another pot.
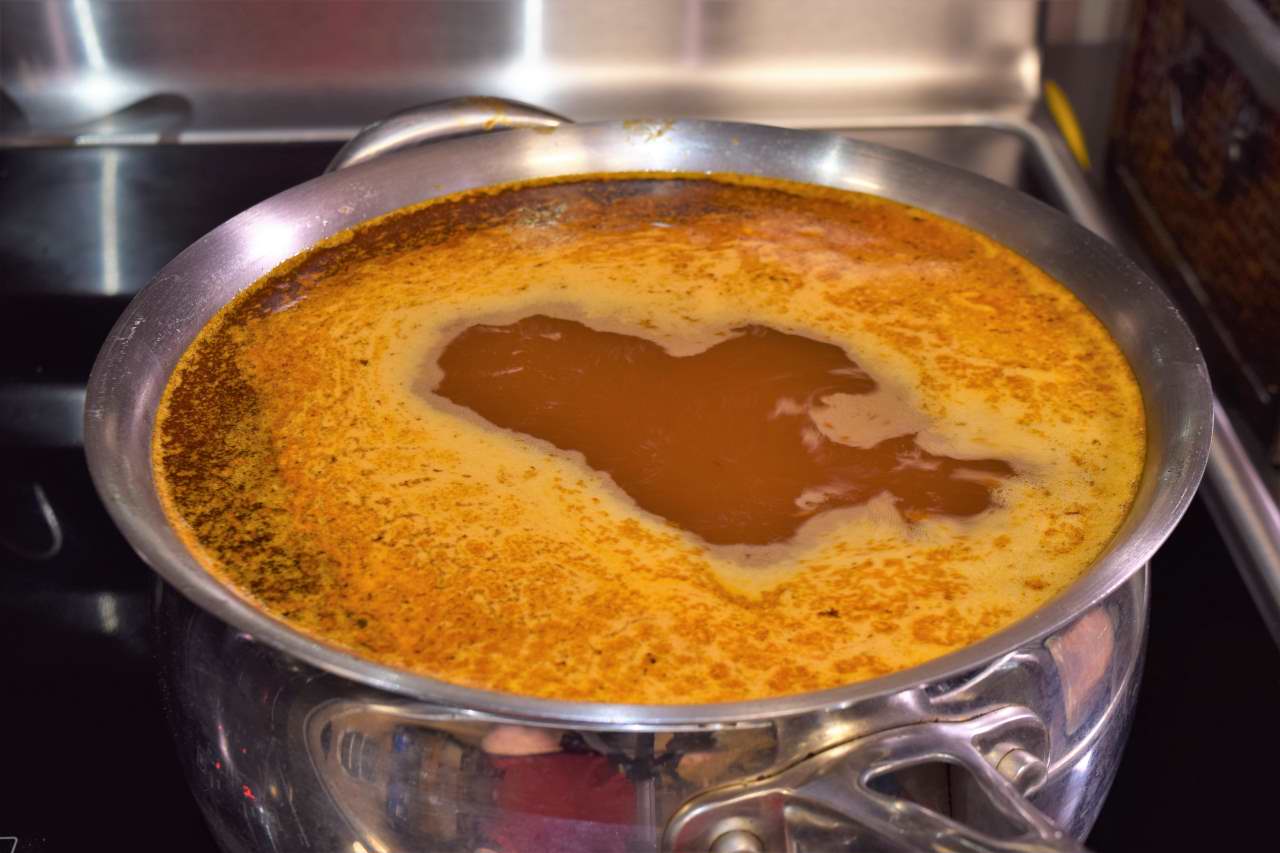
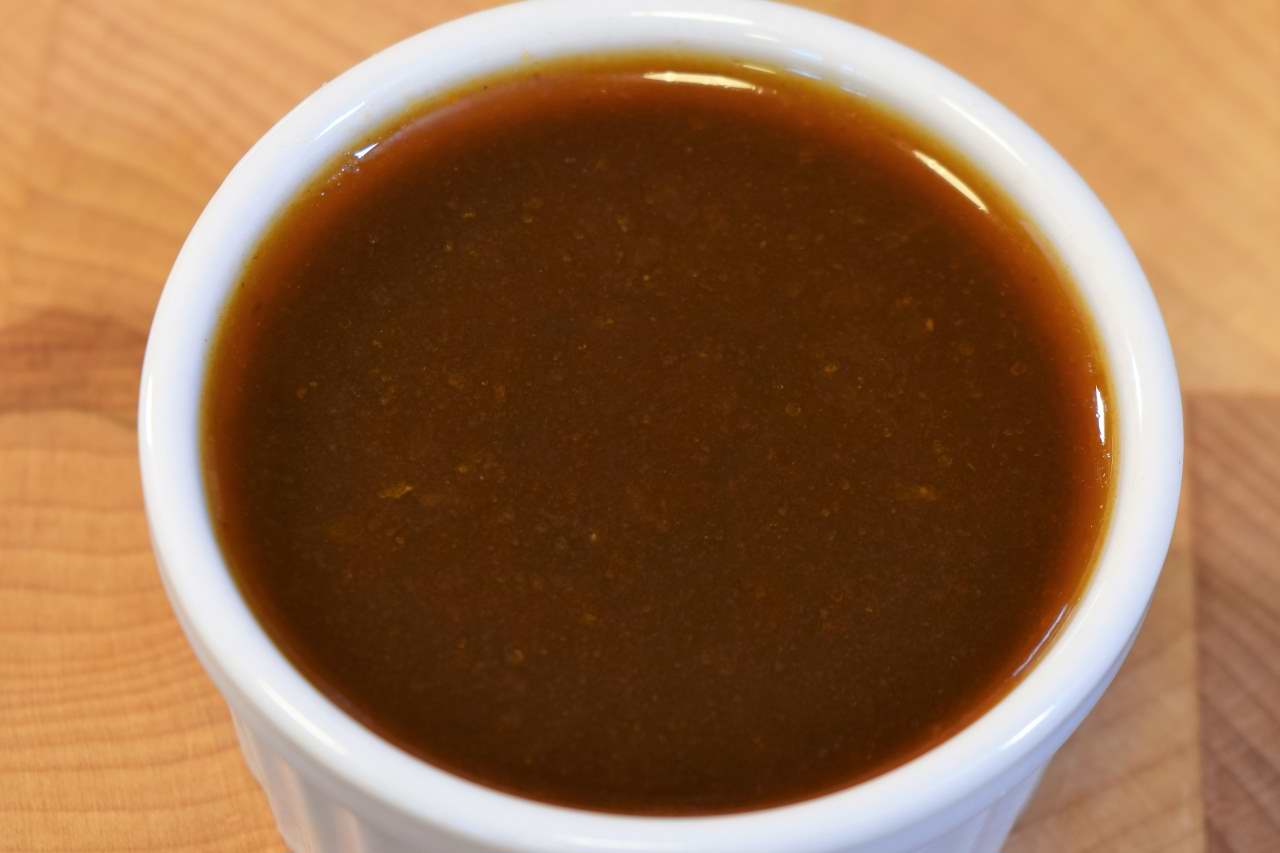
Return to simmer, and reduce until the volume is 1 quart/1 L. This means you end up with about 12% of the original volume. If you taste the demi-glace, you will notice that it does not really require any additional salt. This is because sodium chloride occurs in every living thing, albeit in extremely small amounts.

Refrigerate the demi-glace and utilize it when called for in recipes on this site! Look for more recipes for classic sauces soon, using sous vide to make perfection easier!
What do you do with the juices from the sous vide chicken carcasses and vegetables?
good question–I modified the recipe to answer your question, but, yes, they are incorporated into the stock later.
OMG I can’t wait to do this!!!!
I want to see pics!
Yeah but you’re working around Sous Vide not with it. It really isn’t the tool for this. Since you can’t run food saturated fluids through a SV circulator you’re doing an end run around that by bagging up the components and doing multiple SV runs then confronting the inevitable..that you can’t make stock SV.. so you put the stuff in an oven to roast it to a finish.
There’s a lot of this going on. Sous Vide creme brullee, SV lentils and beans..and so forth. SV has a purpose. It has advantages in some applications. Making stock is not one of them.