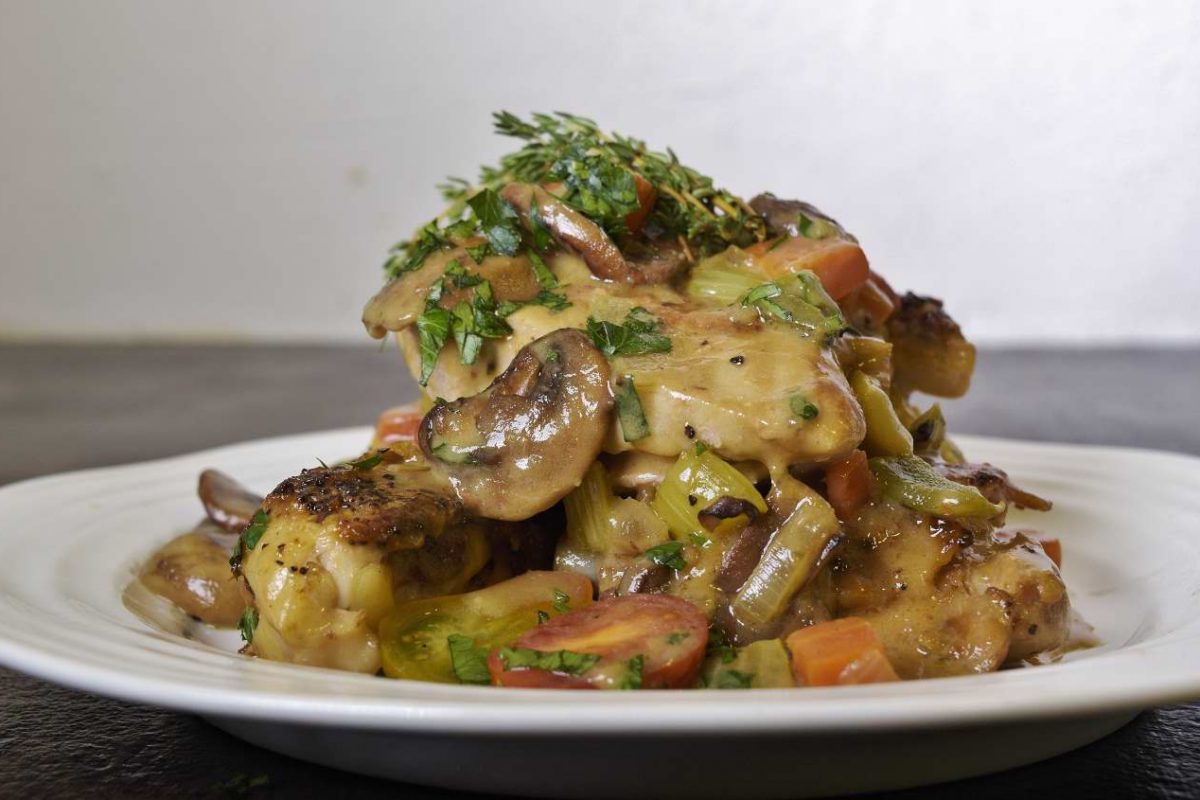
Serves 2-4
Level of Difficulty, 3.50
Procedure:
Preheat the sous vide bath to
135 F/57 C.
Vacuum seal the chicken one piece per bag. Using separate, small bags for individual pieces of the chicken has several benefits. It is easier and faster to shock cold and therefore safer. It is easier to organize and store in the refrigerator. It also gives you the option of using just one or two pieces at a time if that is your preference in a given situation. This protects the sealed/pasteurized state of all the other pouches that you have stored.
Stage the pouches into the bath and process at 135 F/57 C for a minimum of 4 hours. Let sous vide work for you! The processing interval may be extended for up to 8 hours without any detectable difference in quality.
After processing, remove the bags of chicken from the bath and submerge in iced/tap water until they achieve 70 F/21 C. Refrigerate to 40 F/4 C. As long as the bags are not opened, the chicken can be kept refrigerated in this state for at least two weeks.
On the day of service:
Put the pouches of chicken in hot tap water (or a working sous vide bath) for 5 minutes. Cut open a corner of the pouch and pour out the melted gel. You can clarify it later at your convenience. Cut open the pouches and stage the individual pieces on to a sheet pan lined with parchment. Shake or sift flour lightly over both sides of the chicken–just enough to dry the surface. Use a fork to beat the egg whites.

Use clean hands or a pastry brush to coat the surface of the chicken. This will make the flour disappear.
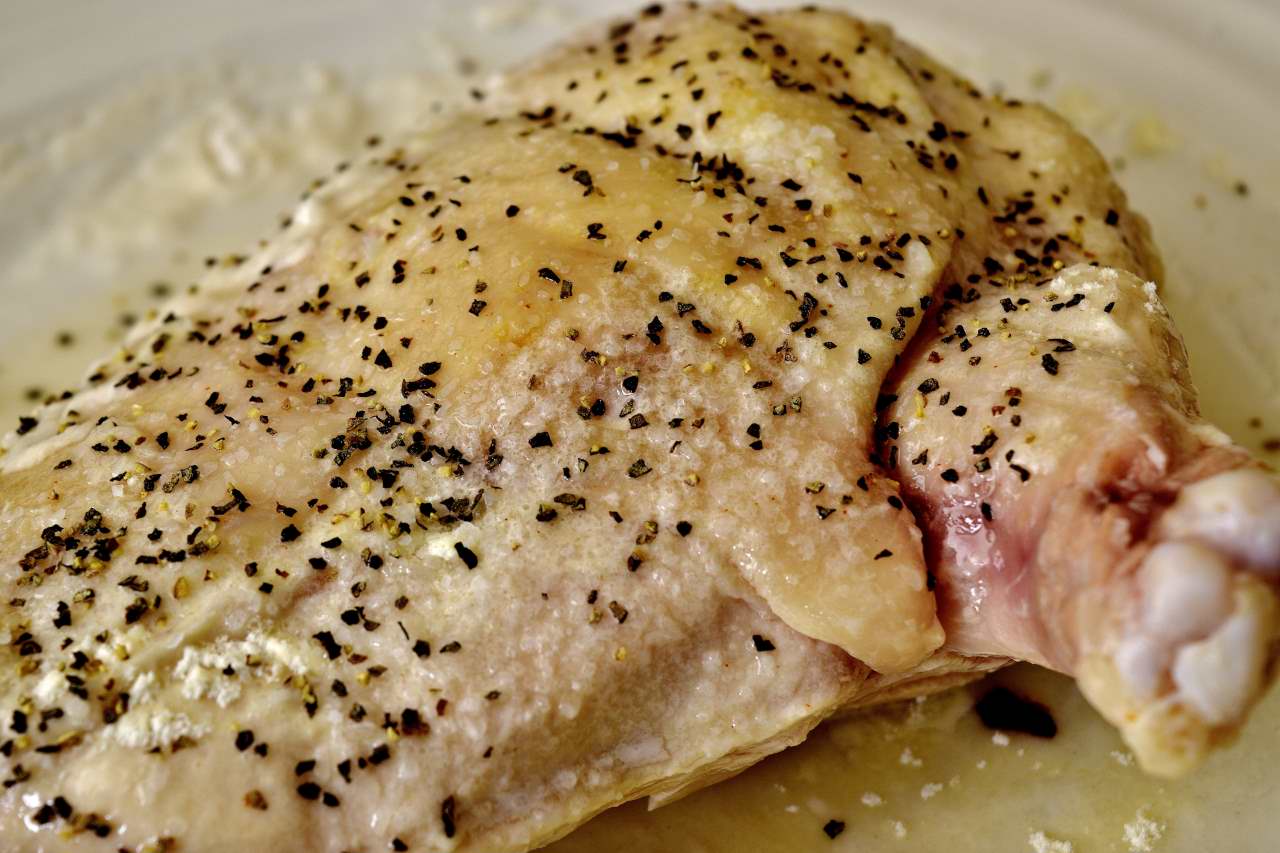 Sprinkle with the salt and black pepper. Set aside to give the coating time to cling.
Cut the carrots and celery to small dice–approximately 0.5″/1.25 cm.
Slice the mushrooms. Cut the sweet peppers to the same size as the carrots and celery. Slice the green onions thin. Set aside.
Make the rice:
Follow the package directions. Typically the ratio is 2 parts water to 1 part rice. When the rice is done, add the butter and the saffron, stir with a fork. Cover and set aside. While the rice cooks:
Heat the skillet until the surface achieves 225 F/107 C. Add enough oil to fully cover the bottom of the pan. The chicken will not absorb oil from the pan. This process REMOVES oil from the chicken. Excess oil will be discarded later.
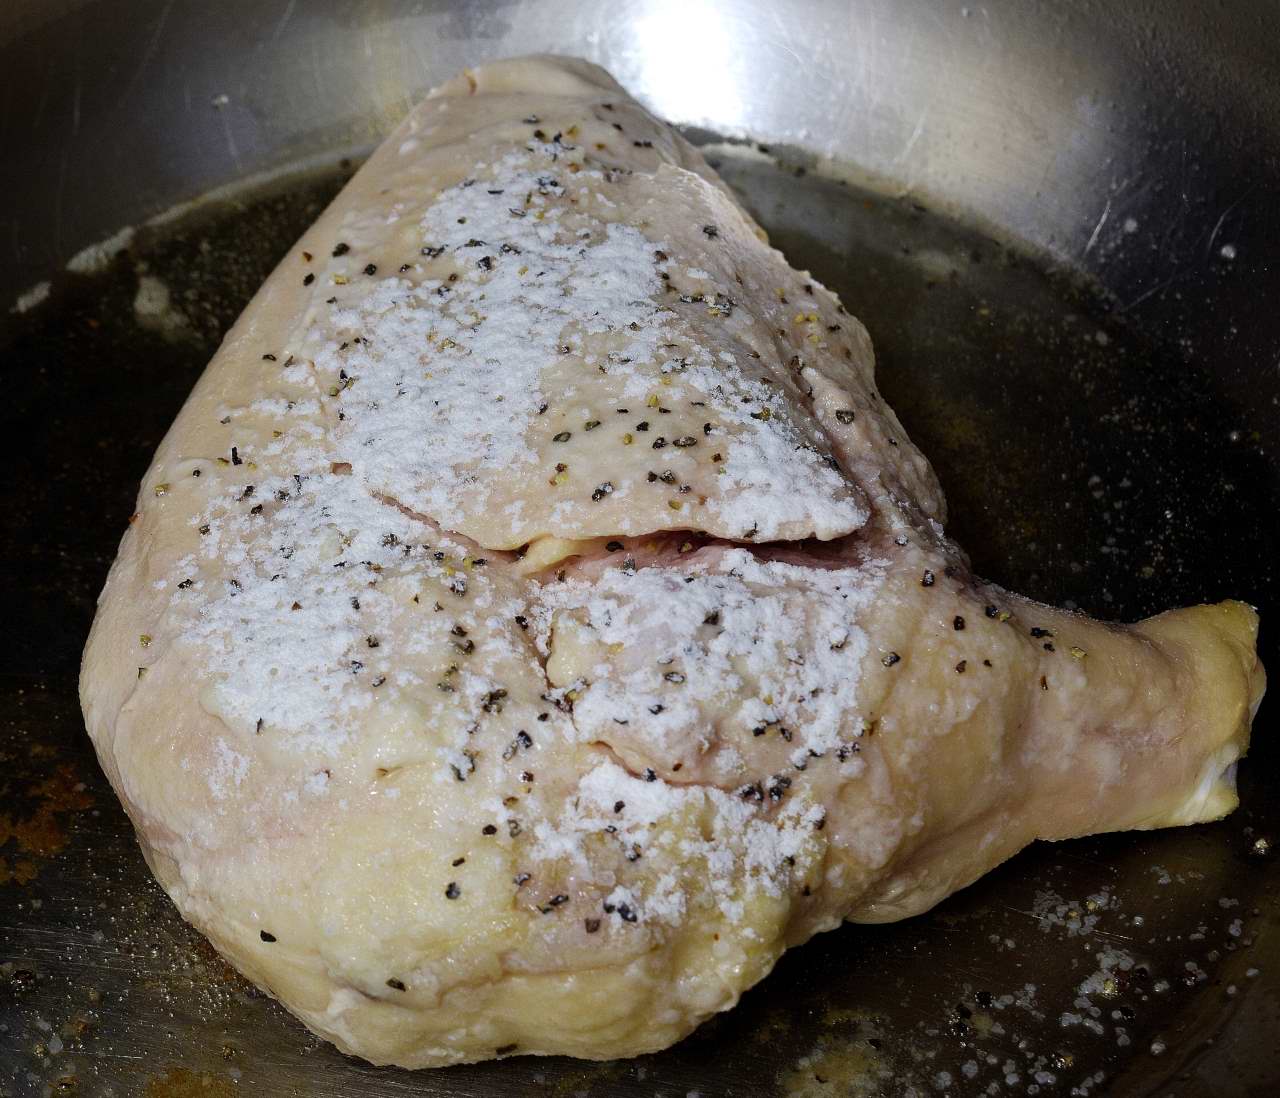
Start adding pieces of chicken to the pan, skin side down. It is better to do one piece at a time than to crowd the pan–leave a little space between each piece. This is not just an intermediate step–if this procedure is rushed or performed casually, it will have a detrimental effect on the visual impression of the dish. It will also detract from the enjoyment when the chicken it arrives at your palate. Real time adjustments are possible for certain steps, but this step cannot be corrected later. Browning the chicken may take half an hour or even more–and it should. Making the sauce and finishing the recipe will only require about fifteen minutes..
Monitor the temperature of the bottom of the pan by listening. Hissing means the pan is too cold. Popping noises mean it is too hot. You want to hear sizzling. Only turning the chicken once yields the best results. Use the tongs to lift it up and check for color–it will not scorch at this temperature.
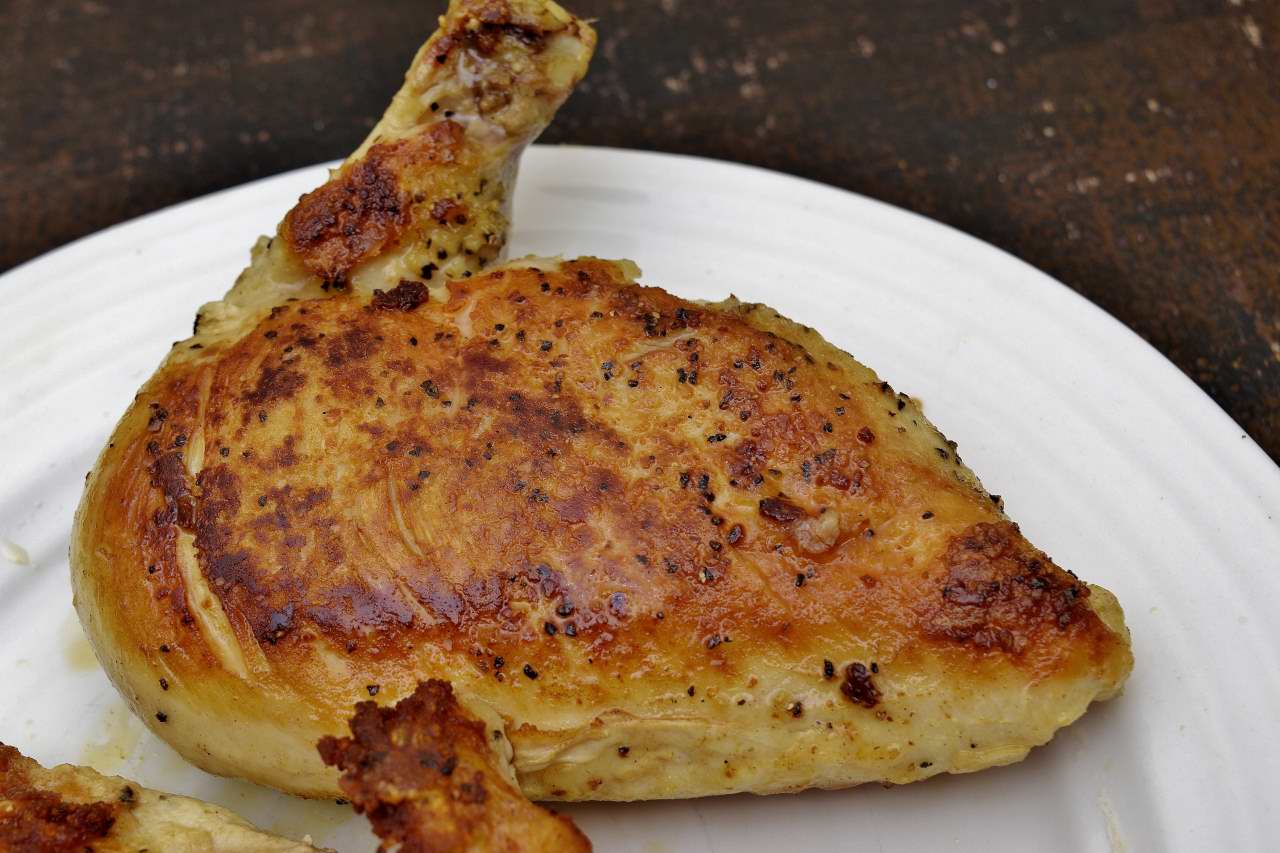
Once the skin side is browned, turn it over and repeat the process on the other side.
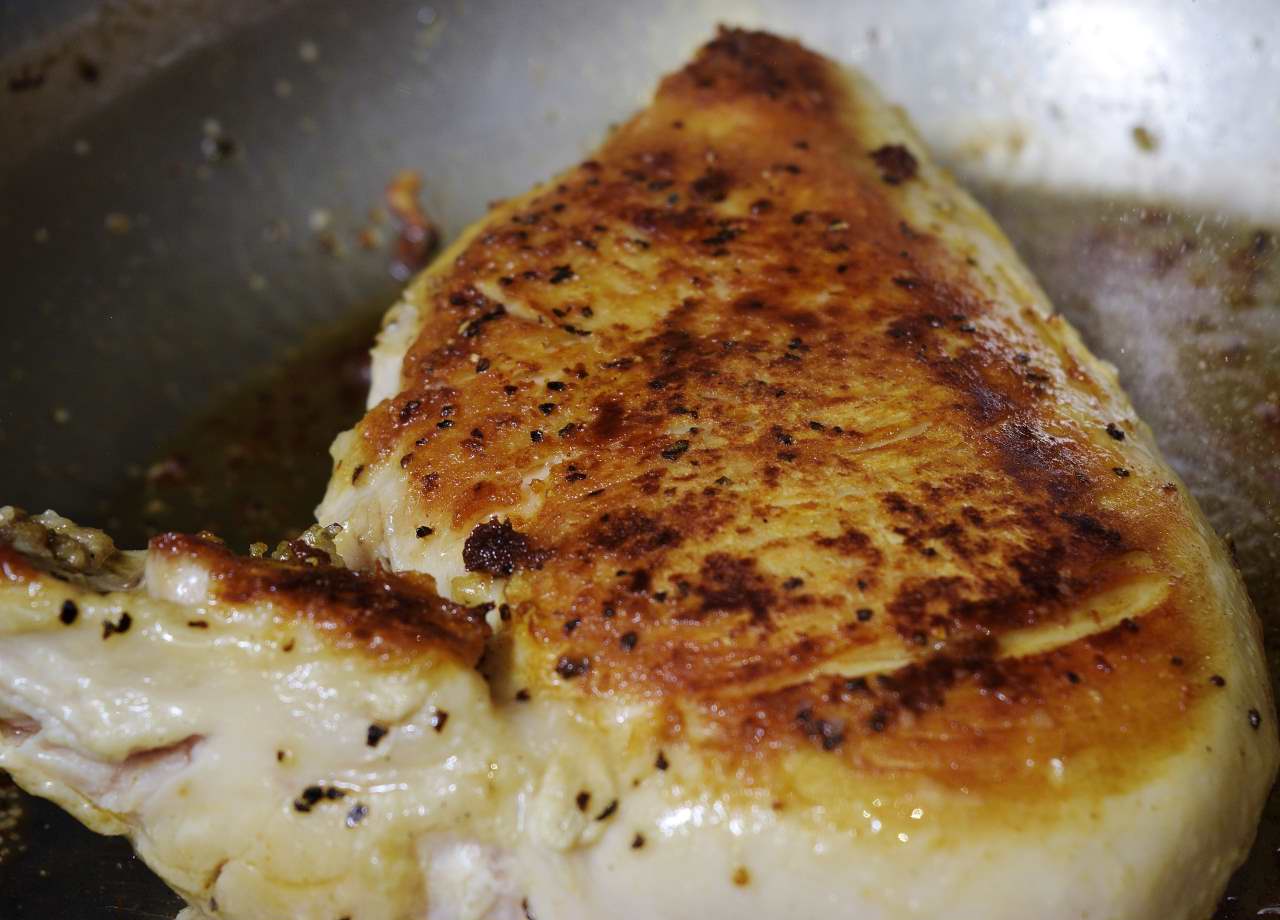
If you brown the chicken in batches and you are concerned that the chicken will cool off, most home ovens have warming settings. Stage the browned chicken there on a sheet pan at 145 F/62 C or thereabouts.
Start the roux and make the sauce:
Remove the excess oil from the pan. The bottom of the pan should be 225 F/107 C. Add 2 oz/60 ml of butter. When it melts, add the 2 measured tablespoons of flour. Stir with a wooden spoon–not a whip. If there is too much flour for the butter to absorb, add a little butter. If the roux seems too wet, add a little bit of flour. Take a little bit of roux out of the pan and set aside in case you need to adjust the thickness of the sauce later.
Add the carrots, celery, and mushrooms to the roux in the pan. Stir only once and after about a minute you will see the celery and onions start to bubble. The mushrooms will wilt. Add the sweet peppers, stir once, and add half of the chicken stock (or water). Stir slowly with the wooden spoon. The sauce will start to thicken and bubble immediately. Add the rest of the stock and return to simmer. Adjust the thickness if necessary using the roux that you set aside. The sauce will need approximately 2 teaspoons salt, but you must be the ultimate judge. Add the cream and turn off the burner. Cover the pan to keep the sauce warm–do not boil again.
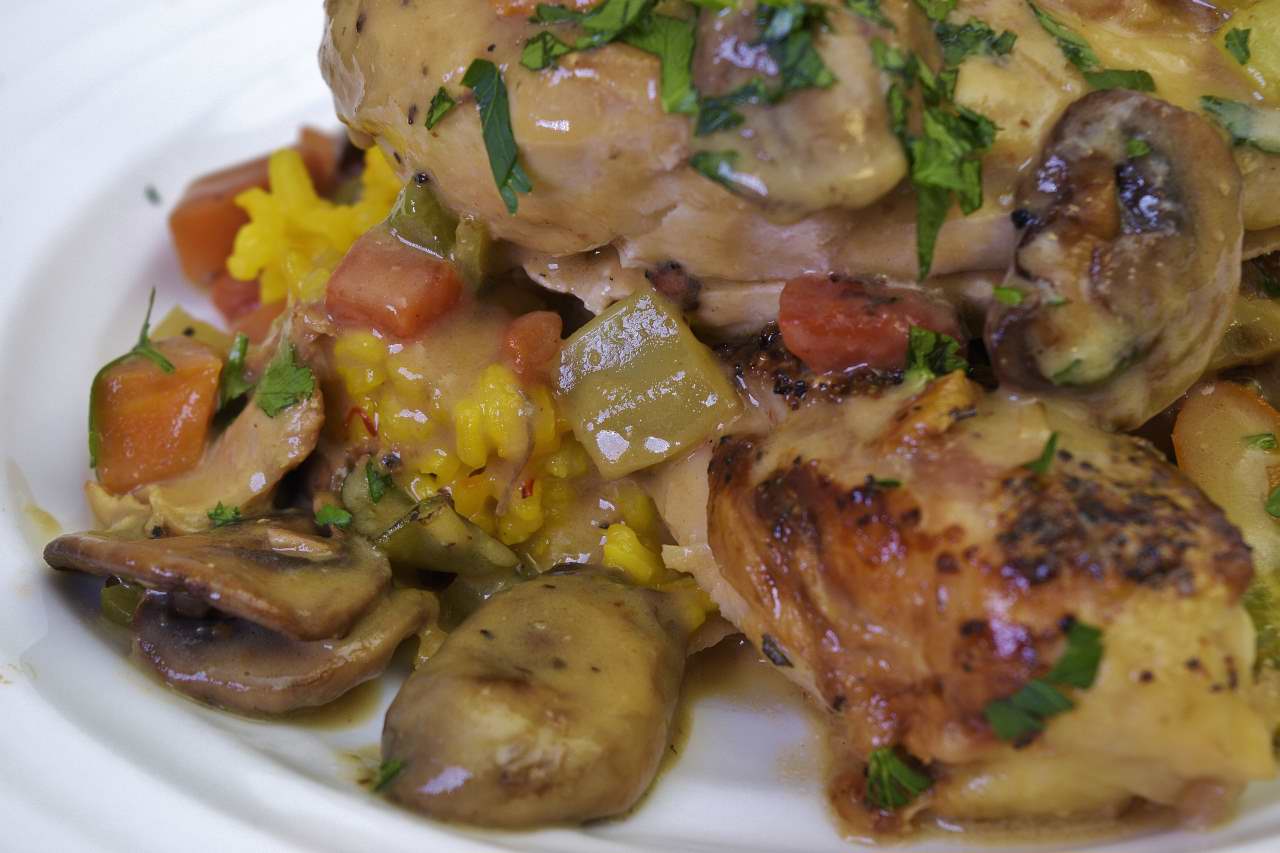 Assembly:
Add the chicken to the pan with the sauce but do not cook any more–this is a common mistake. The chicken is hot. The sauce is hot. Cooking the chicken or the sauce more will not improve either one. Place the saffron rice just off the center of the plate. Arrange or stack the pieces of chicken. Spoon some more of the sauce over and garnish with the cherry tomatoes, chopped parsley and thyme sprig.
