Above: Lipavi C10 container, N10 polycarbonate racks. Lipavi C10L-UNIR lid.
Actual prep time: 30 minutes
Level of difficulty: 2.5
Serves 1
Procedure:
Preheat the sous vide bath to 183 F/84 C.
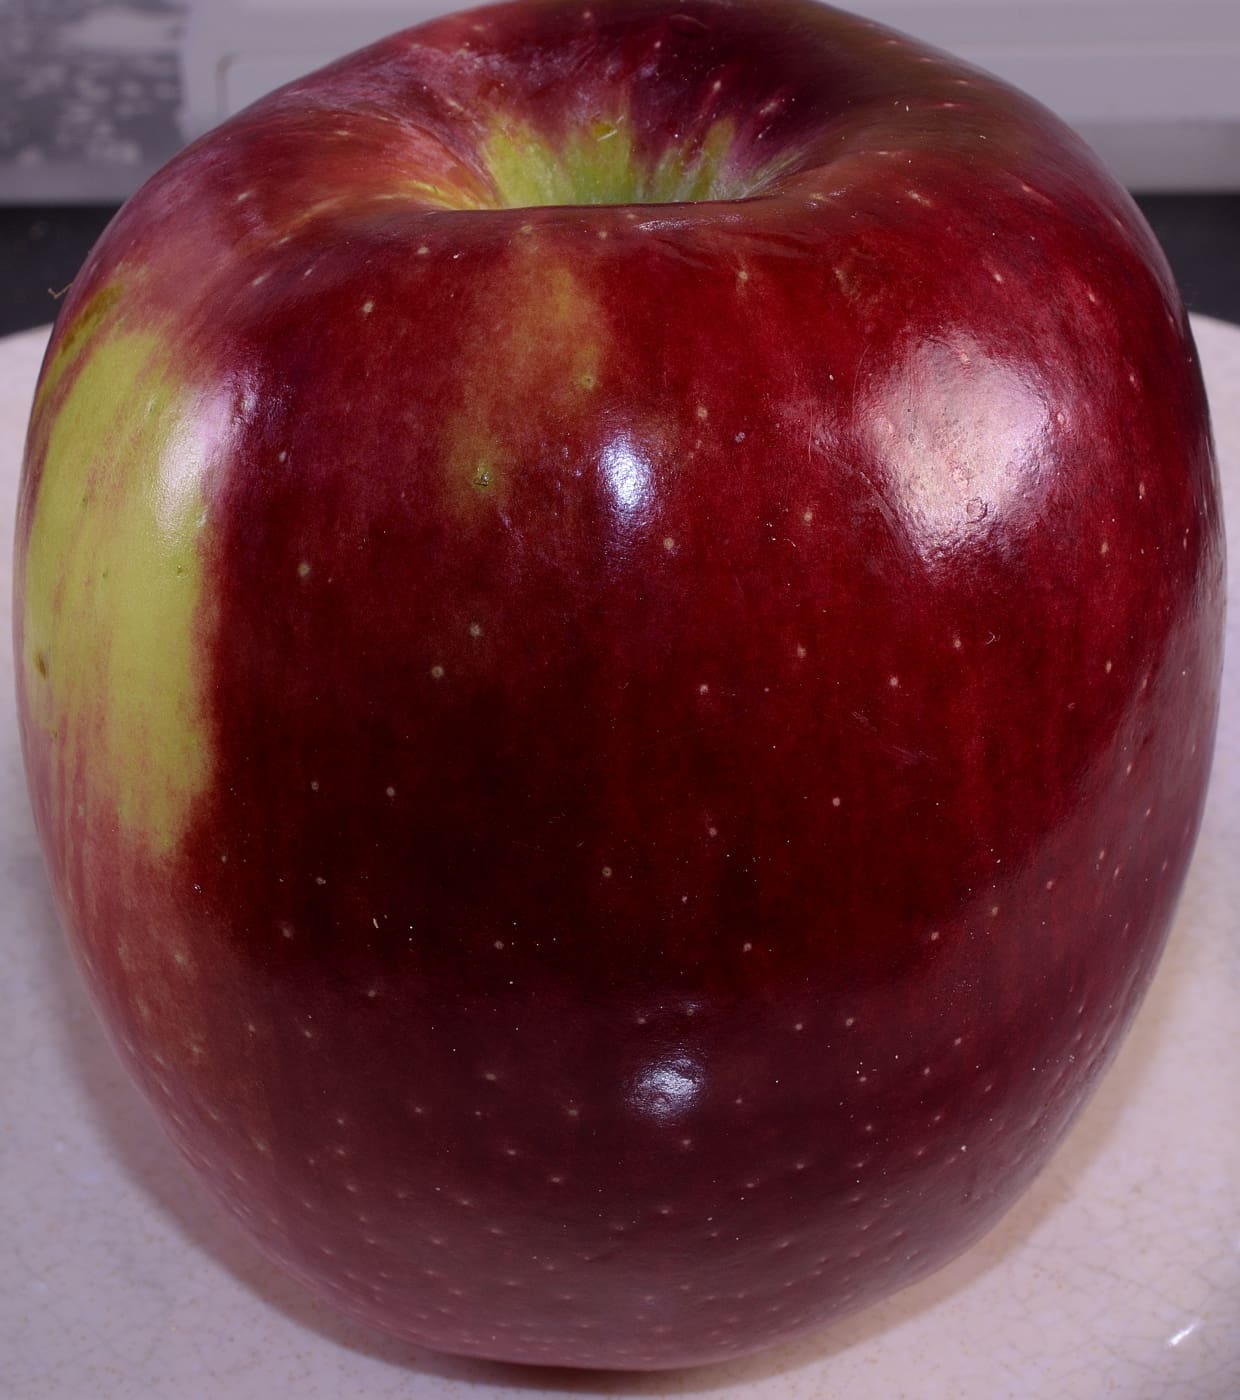
Place the apple on a clean work surface. Measure the corer up against the apple so you can tell how far to insert it.
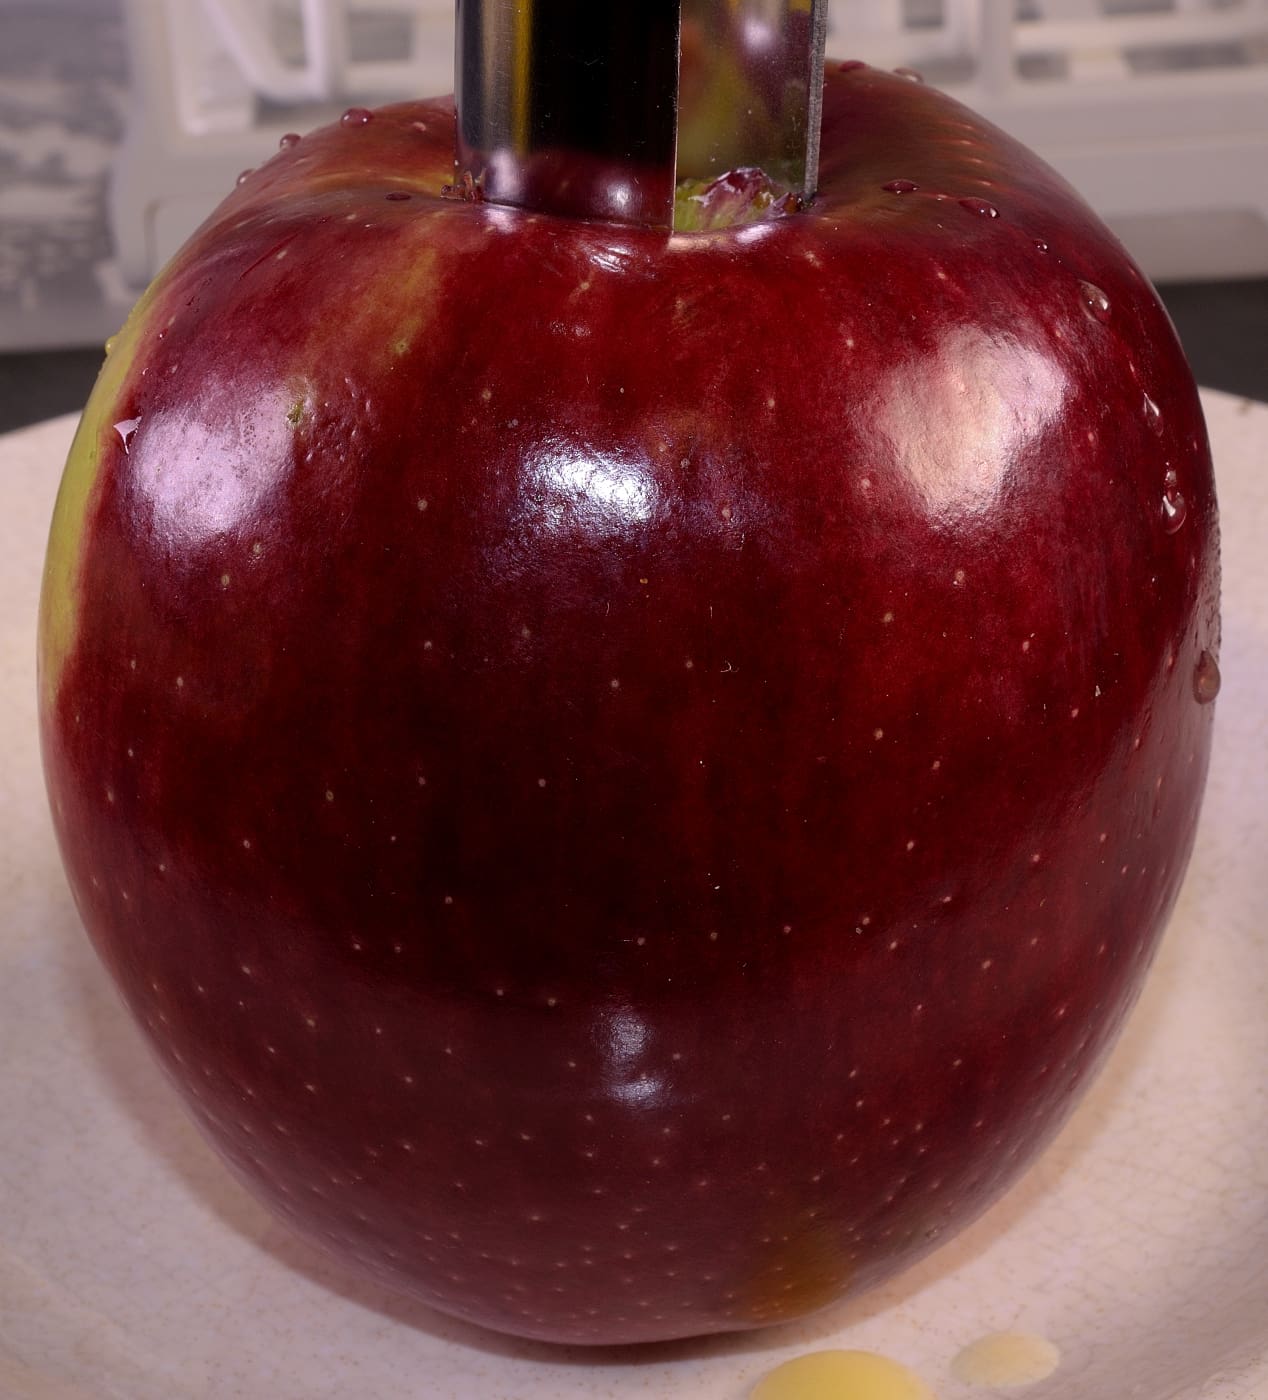
You only want to go about HALF way through.
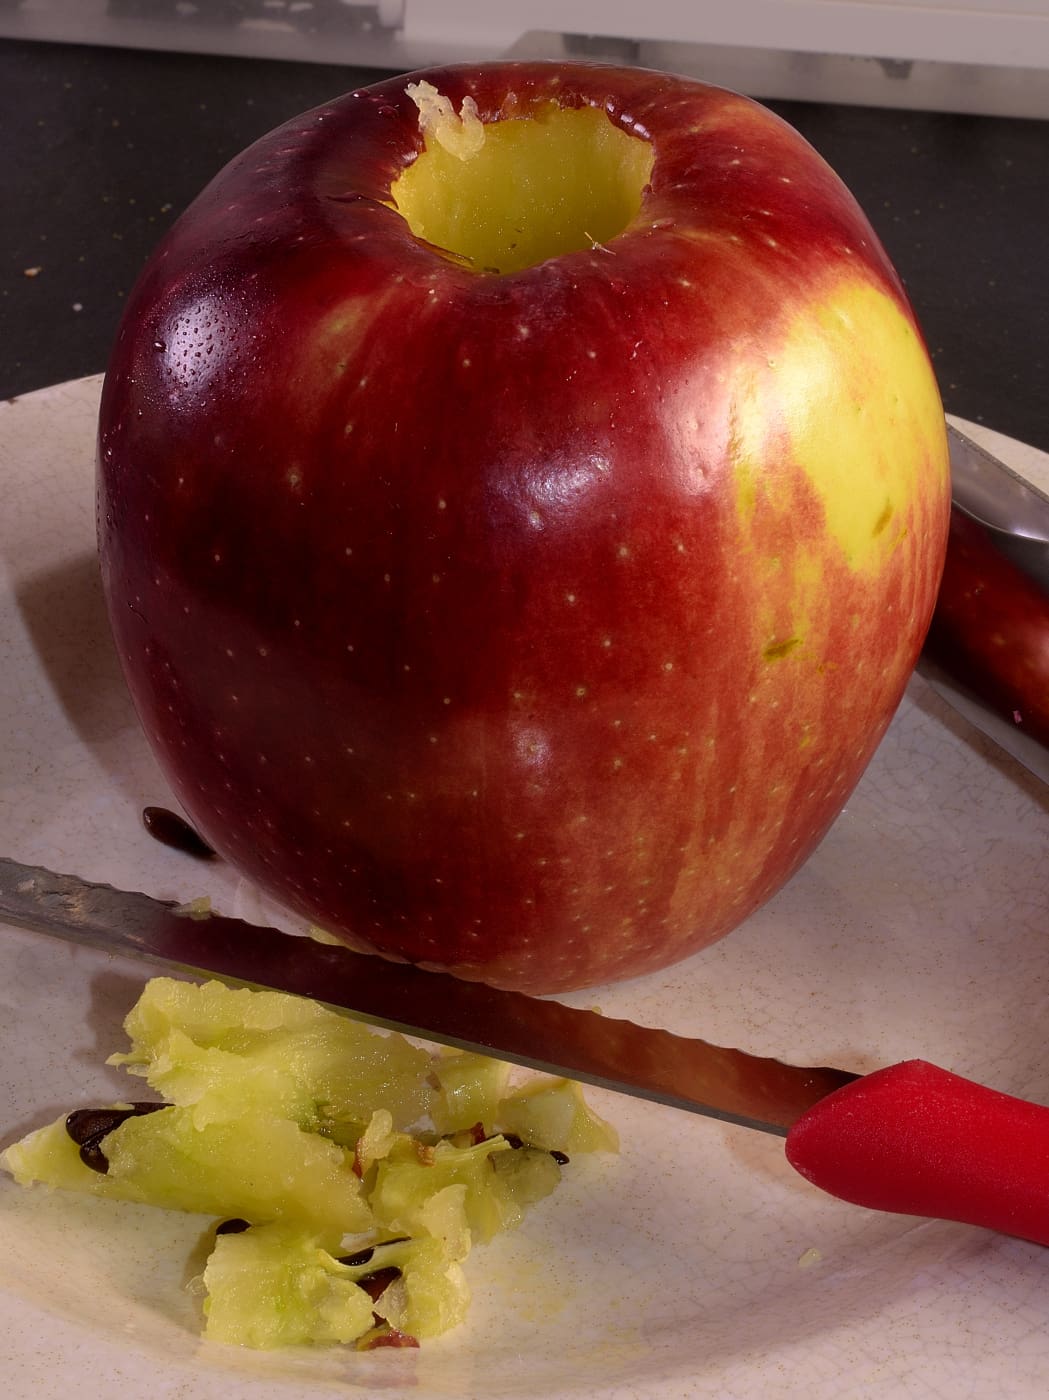
Rock the corer back and forth in the hope that the core will break and come out in one piece, but don’t be disappointed if this does not work. In most cases, a paring knife must be used to carefully dig out the core. Tweezers come in handy too.
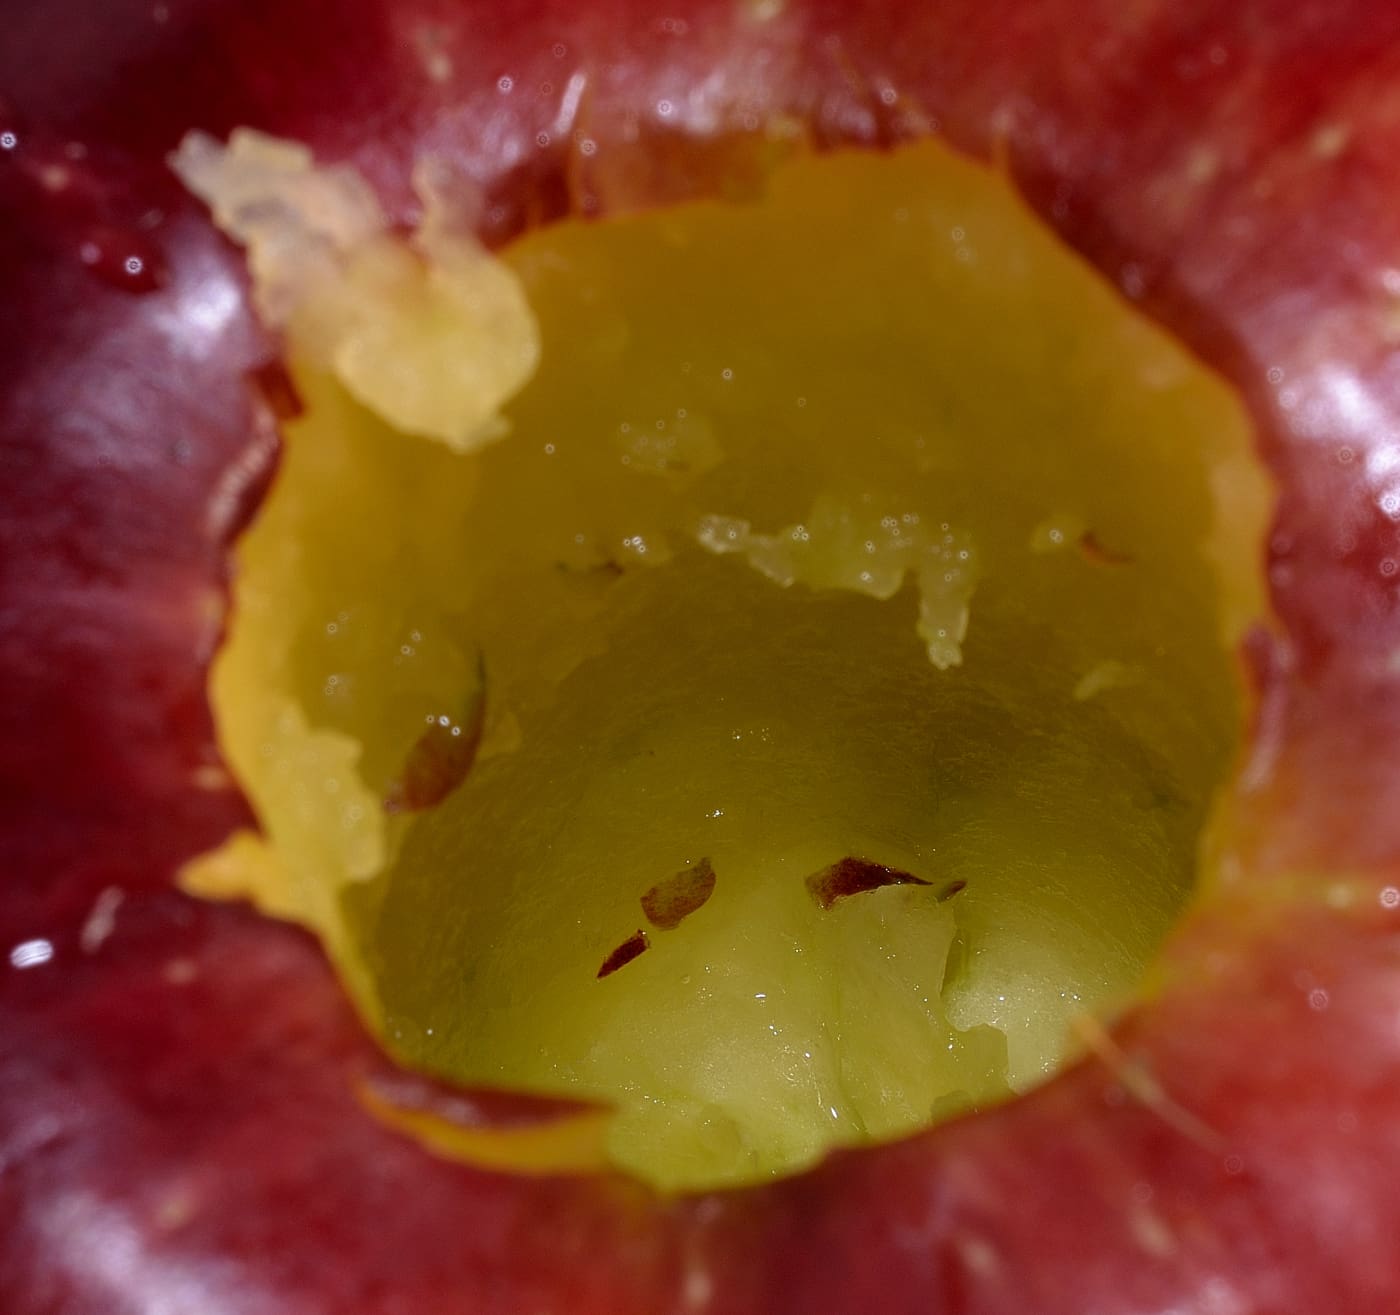
Make sure that all the seeds are removed. Use the paring knife to draw a circular line around the apple’s “waist,” about half way down.
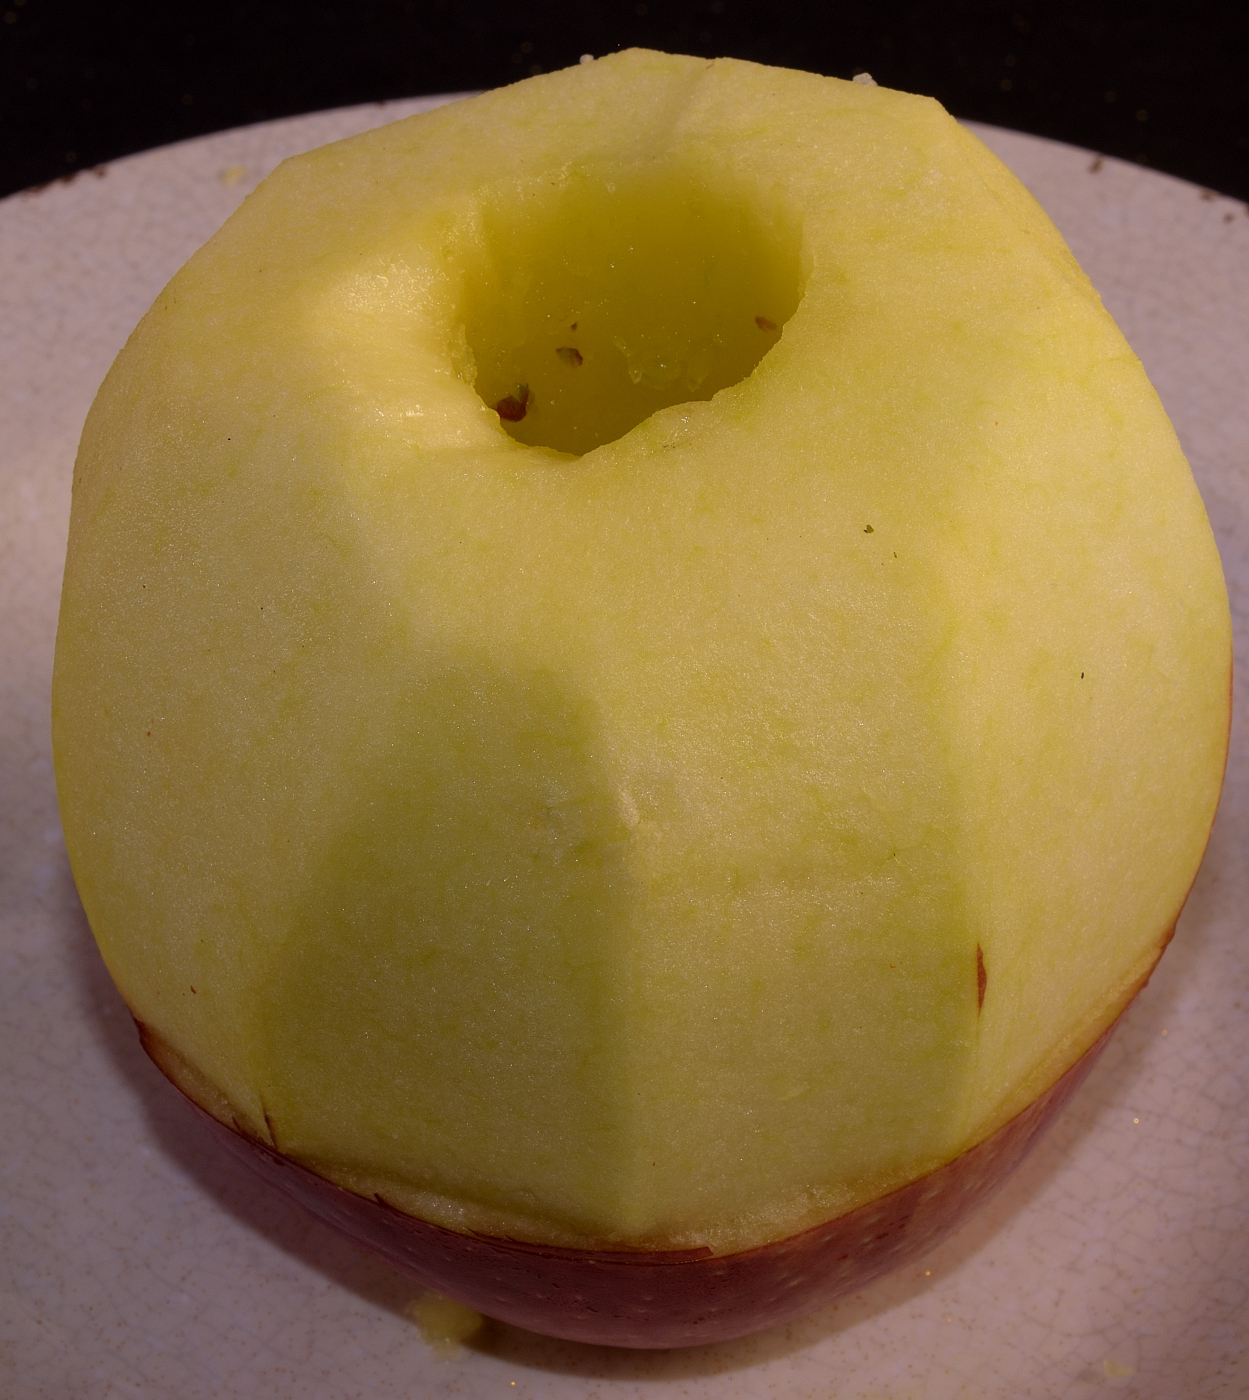
Remove vertical strips of peel in single strokes, starting at the top of the apple and working your way down. Stop at the belt line that you drew. This will create a straight line around the equator. Yes, that’s the way it was described to me so long ago. As we age, the belt line works its way down lower and lower. And so it is with the apple.
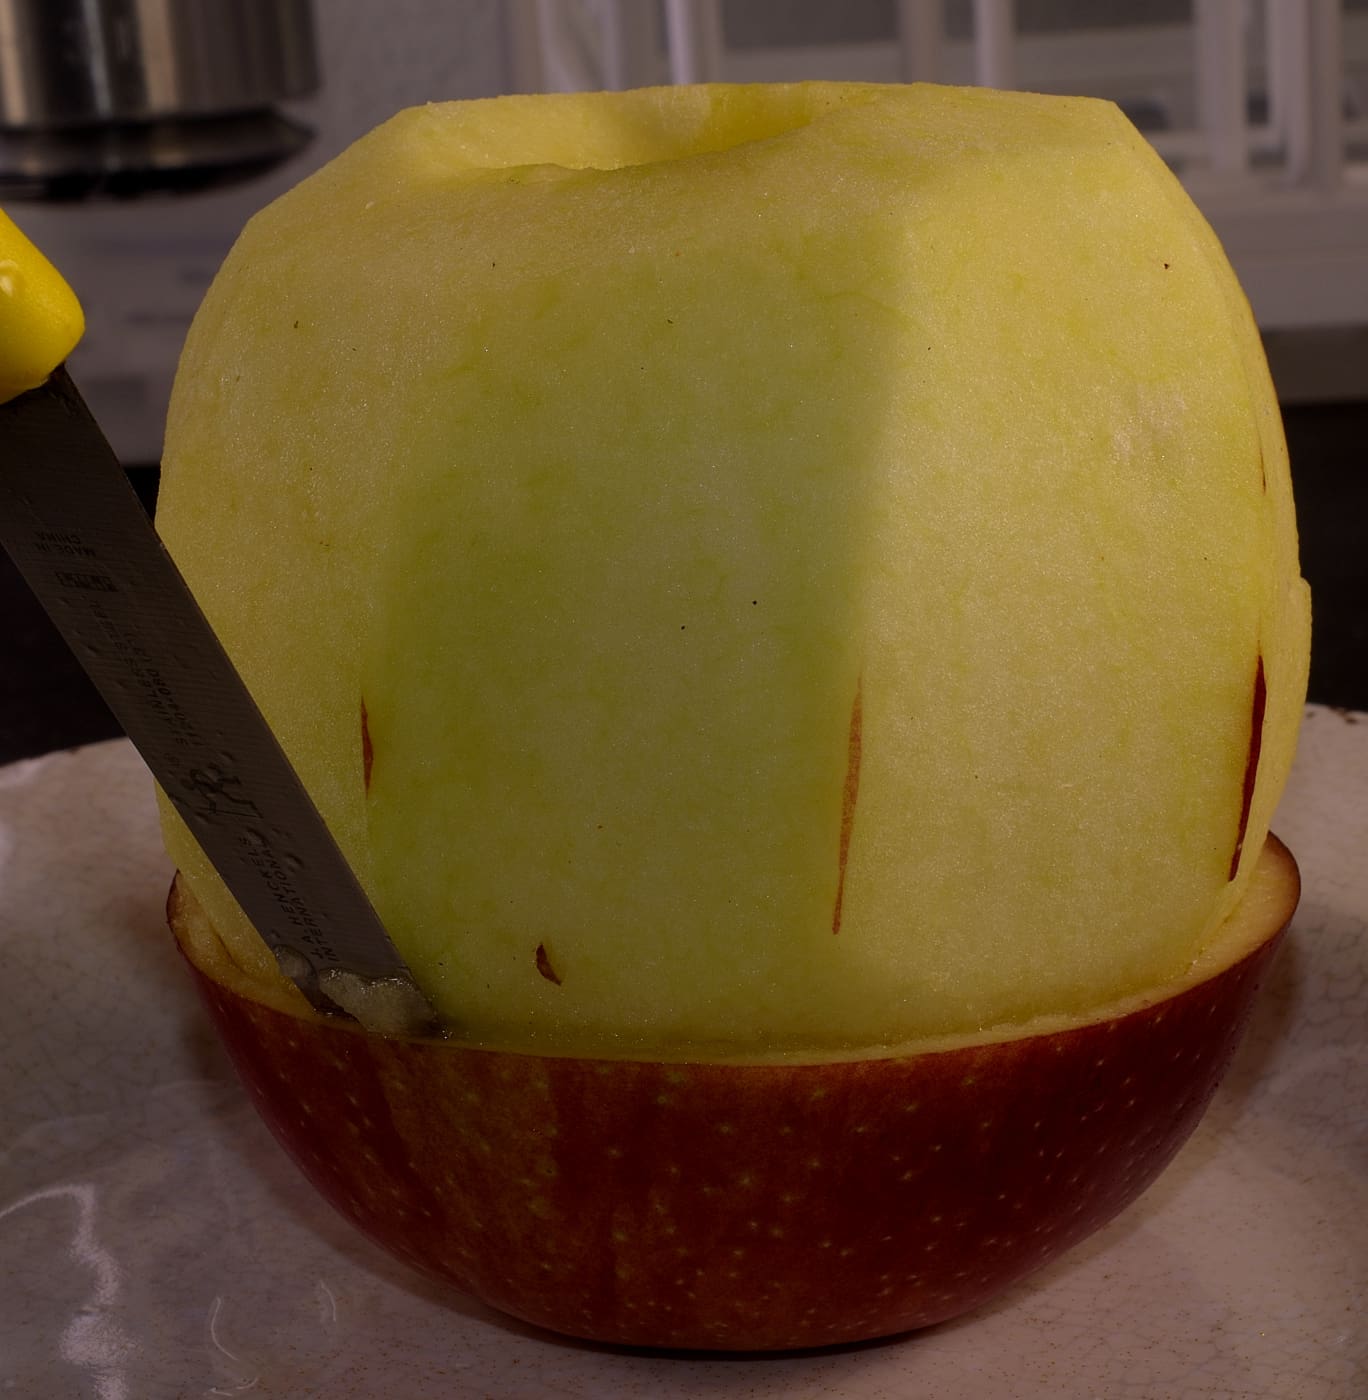
Make a small incision between the peel and the apple–all the way around to create what Chef Wolf called the “moat.” This will eventually serve to catch juices as they run down the side of the apple. Hopefully, anyway. He stipulated that as well.
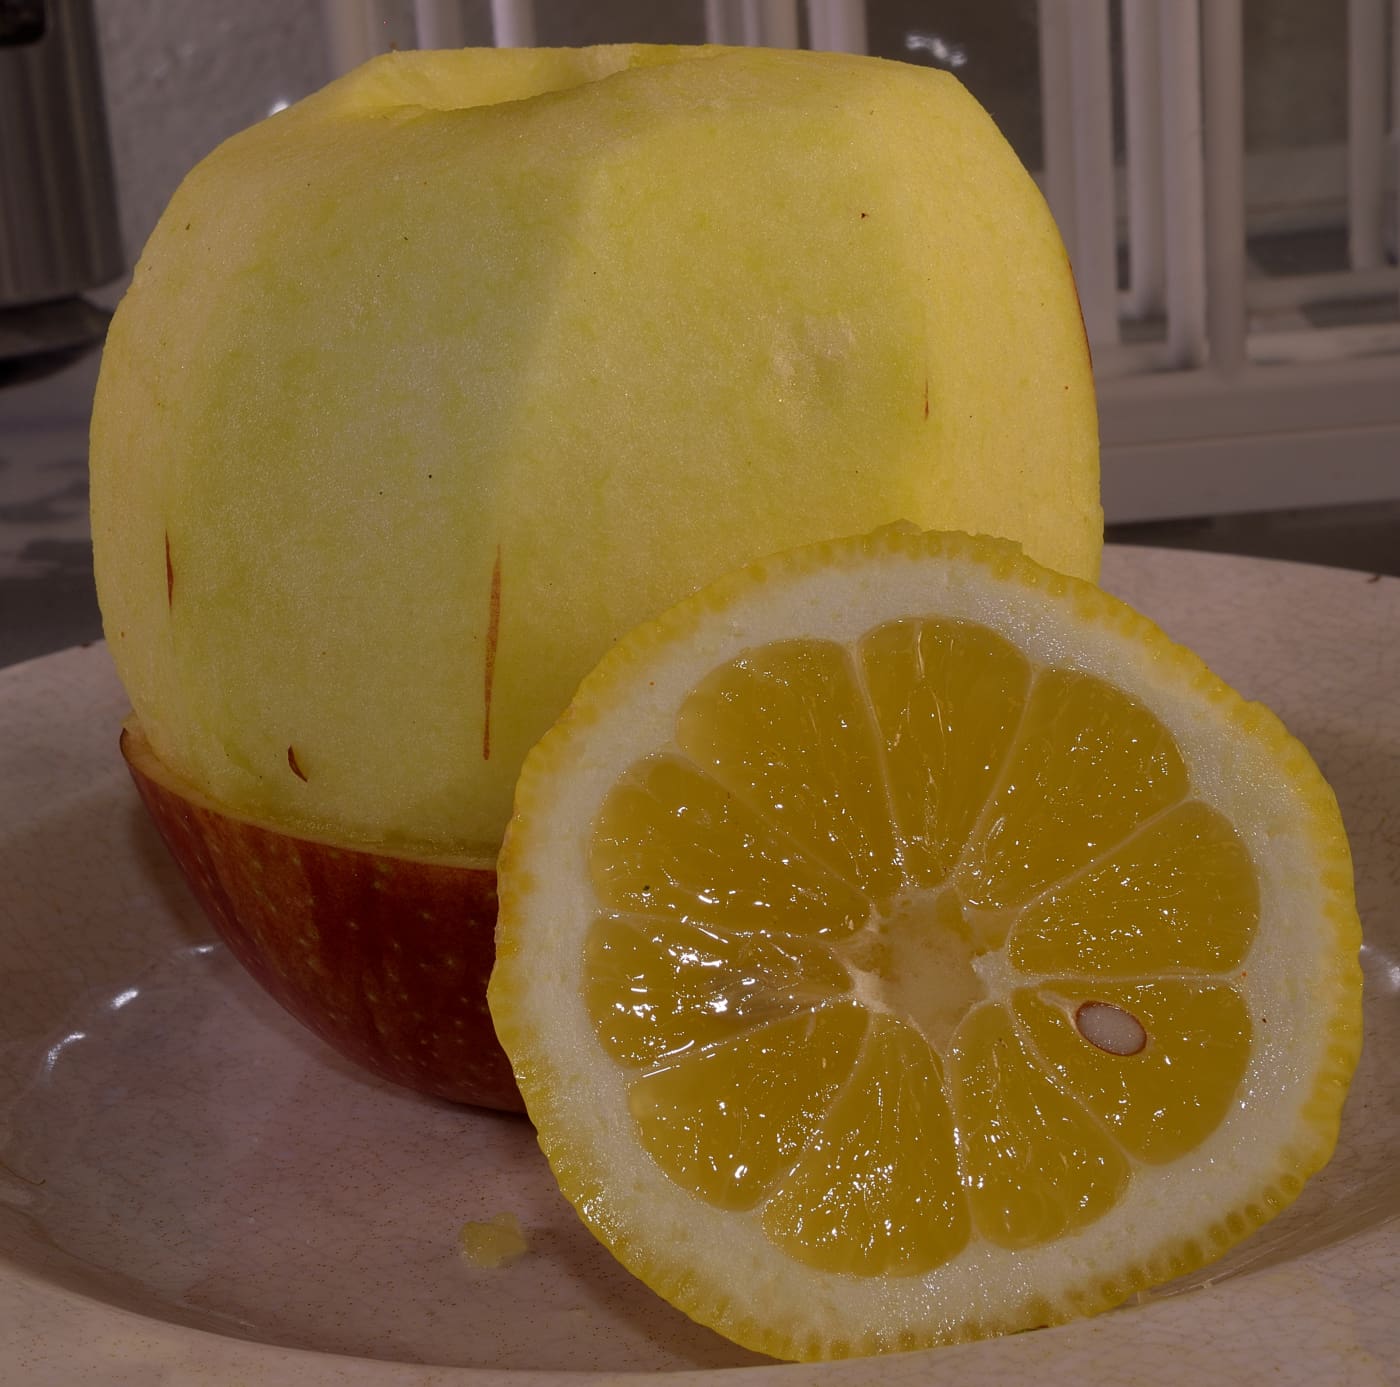
Rub the exposed surface of the apple with lemon to minimize discoloration.
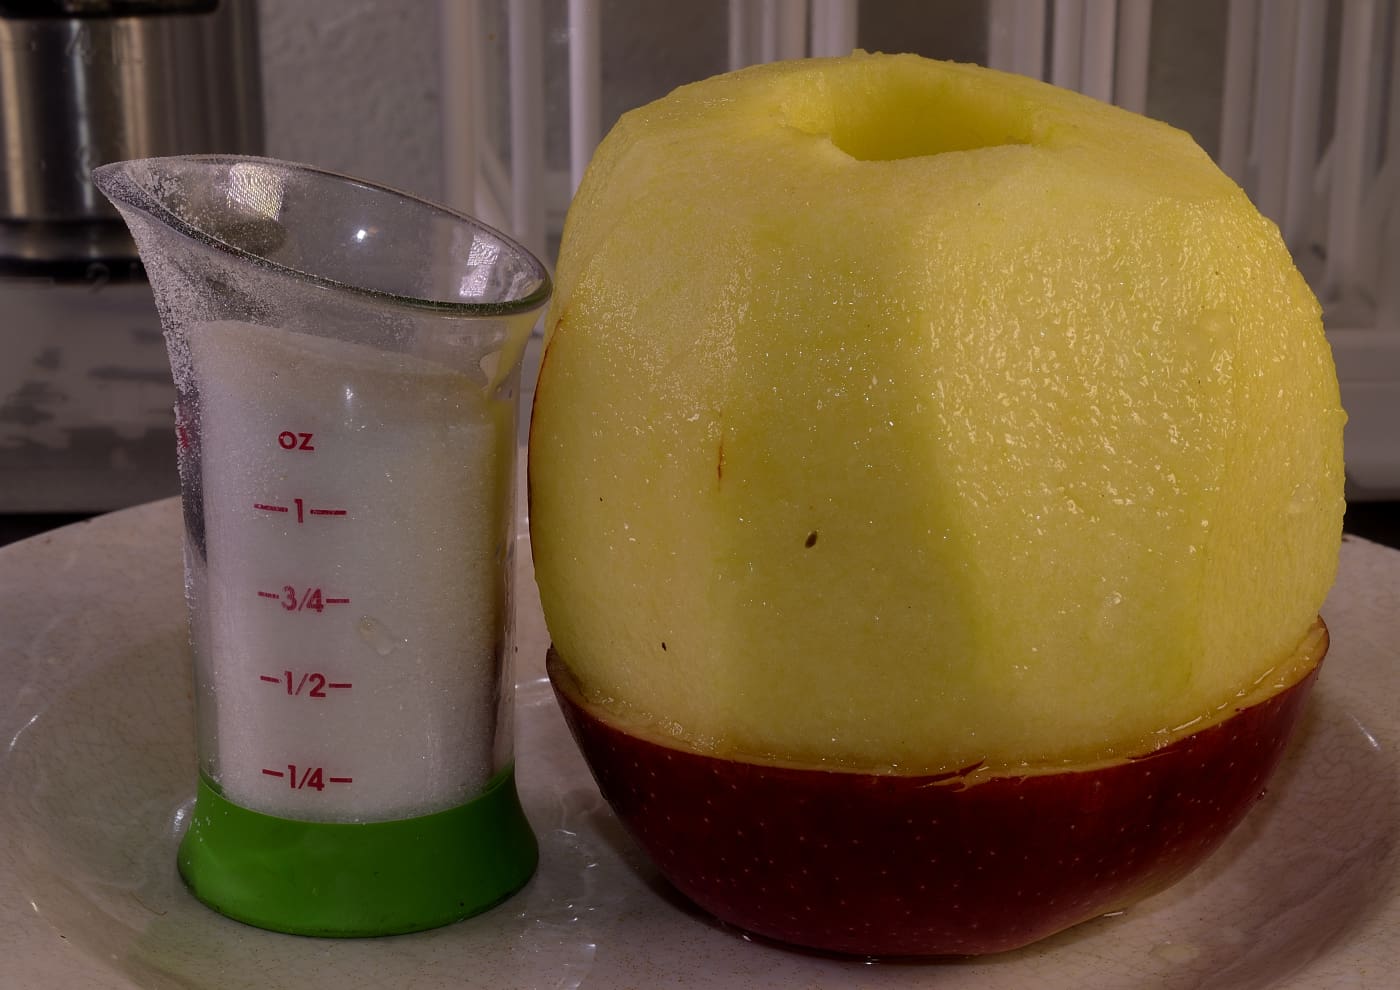
Measure out the sugar into something that will make it easy to fill the cavity.
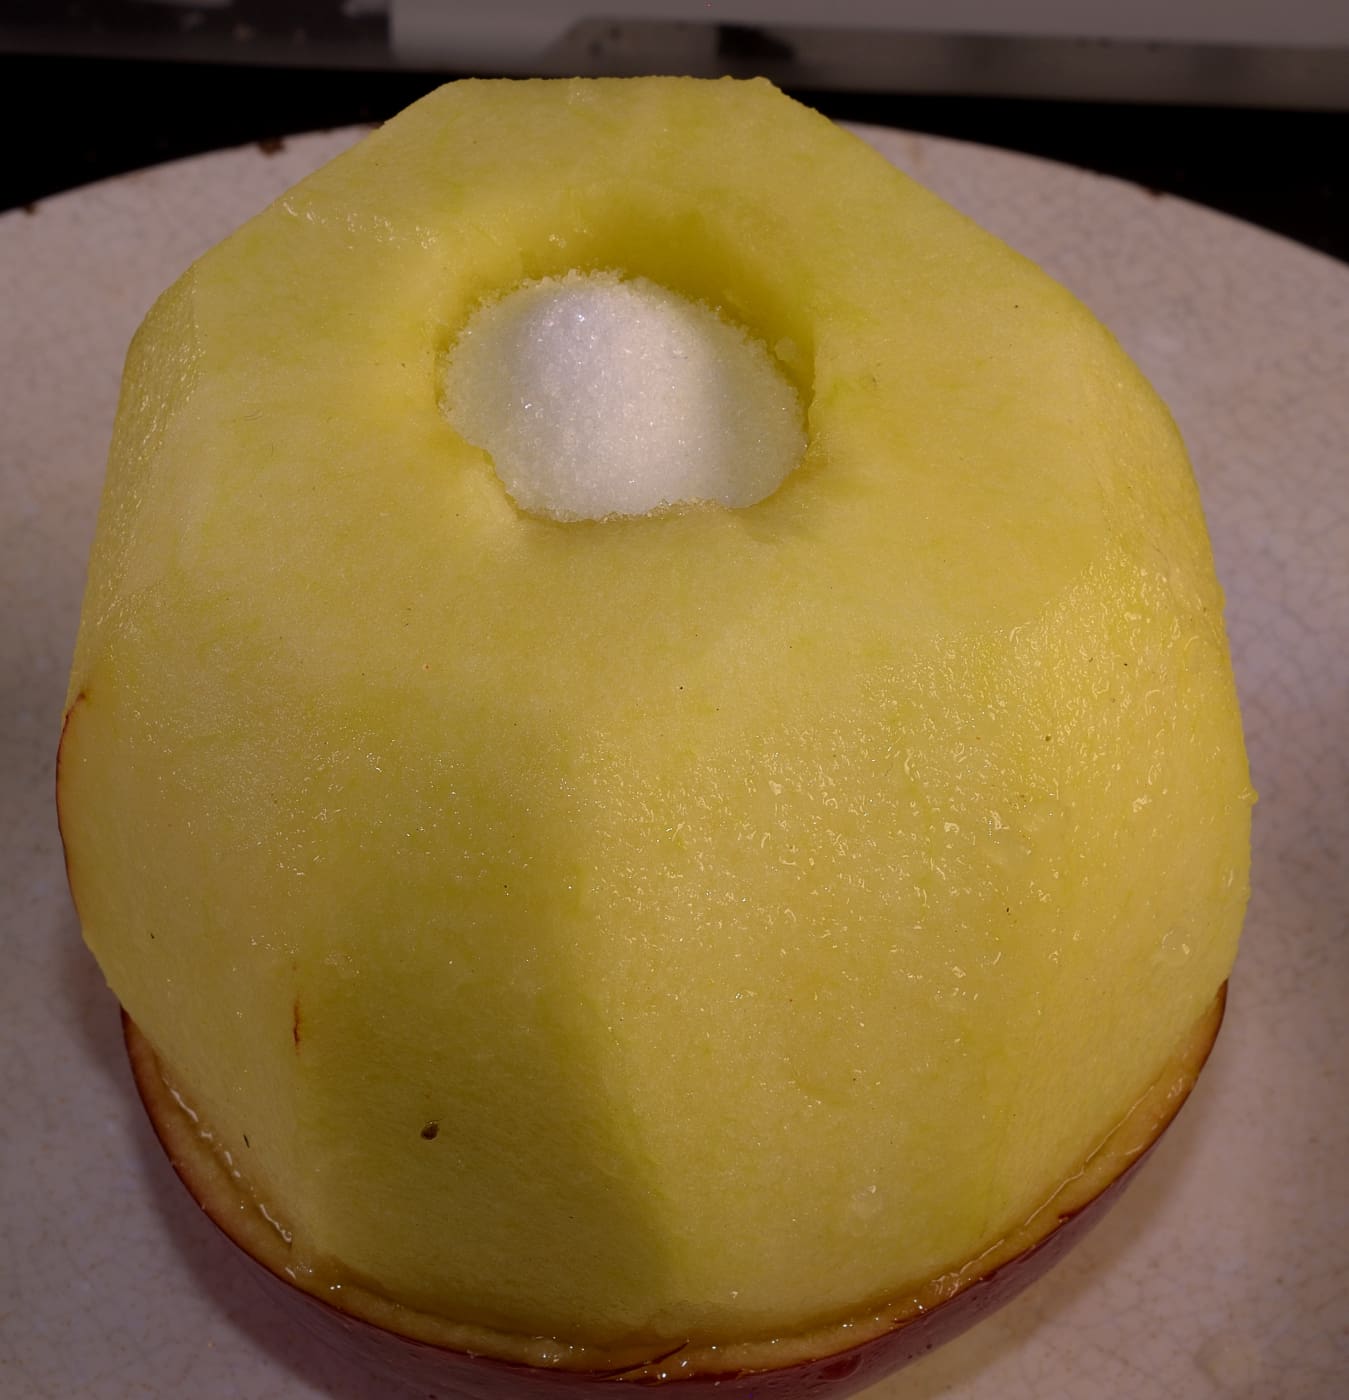
Like so. Put a tiny pinch of kosher salt in there too.

Add a small pat of butter.
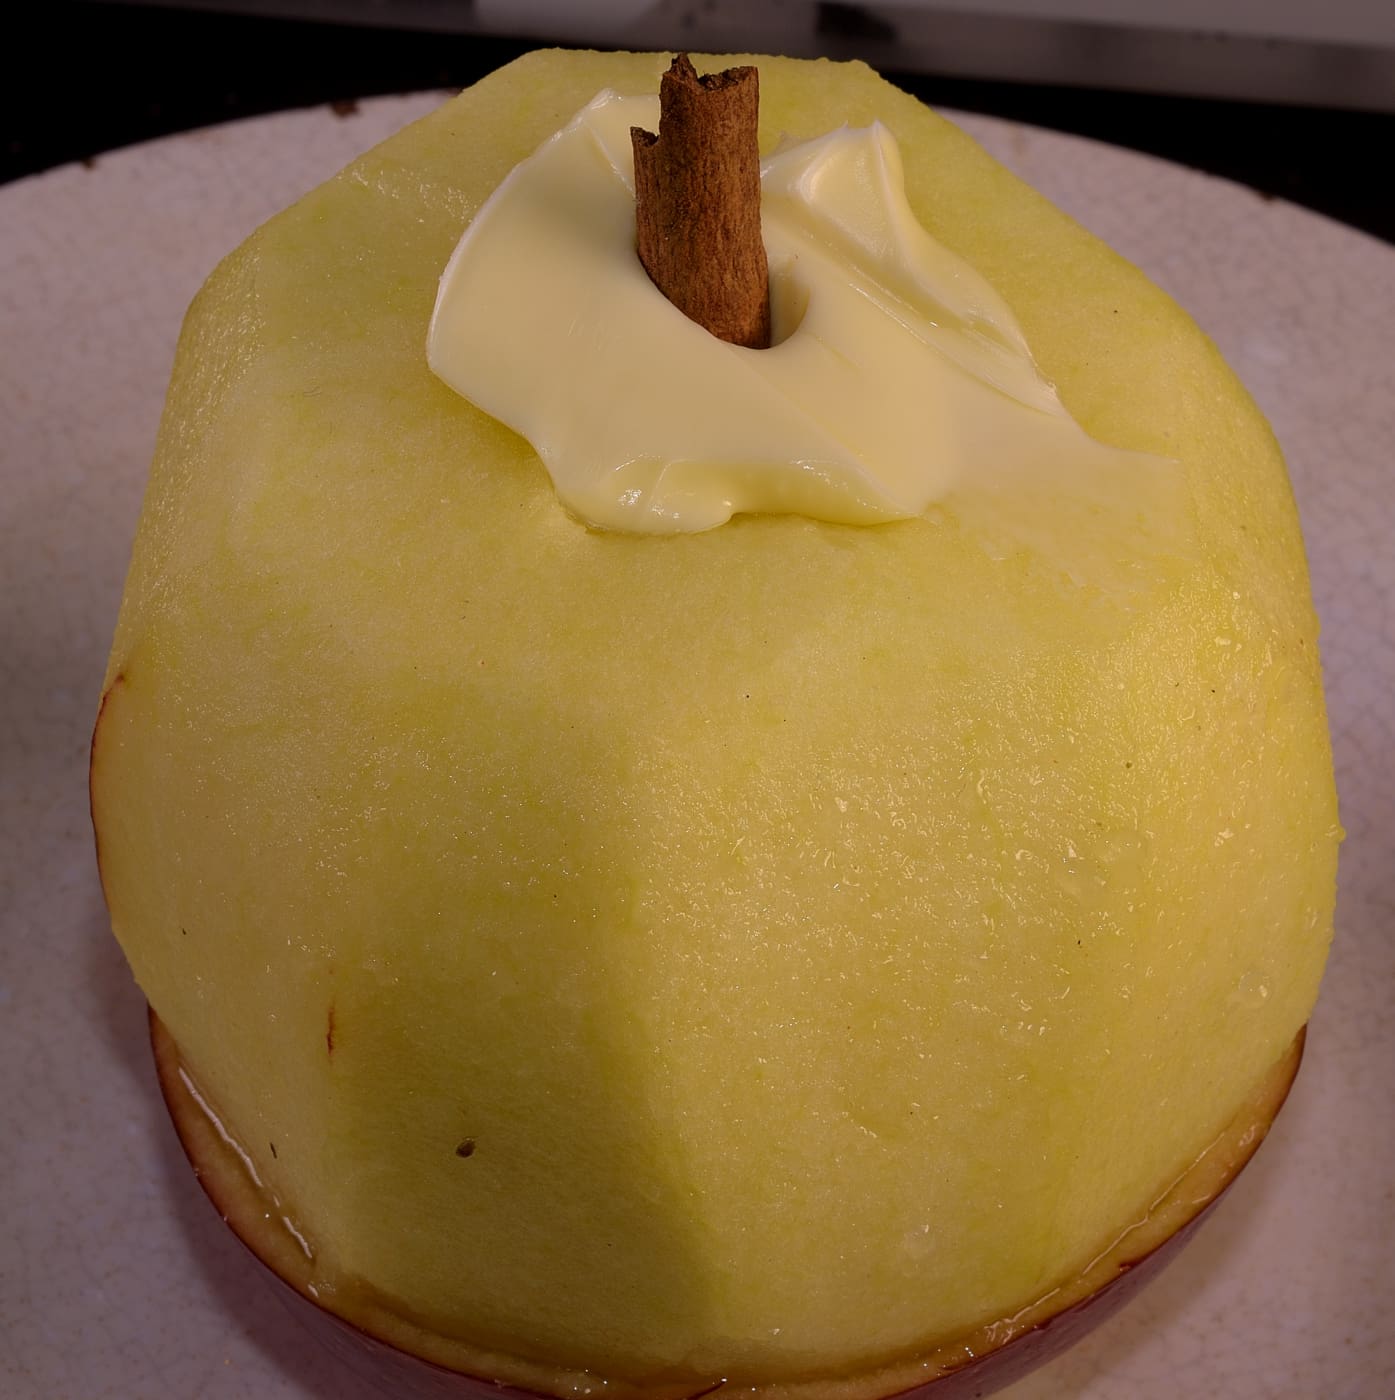
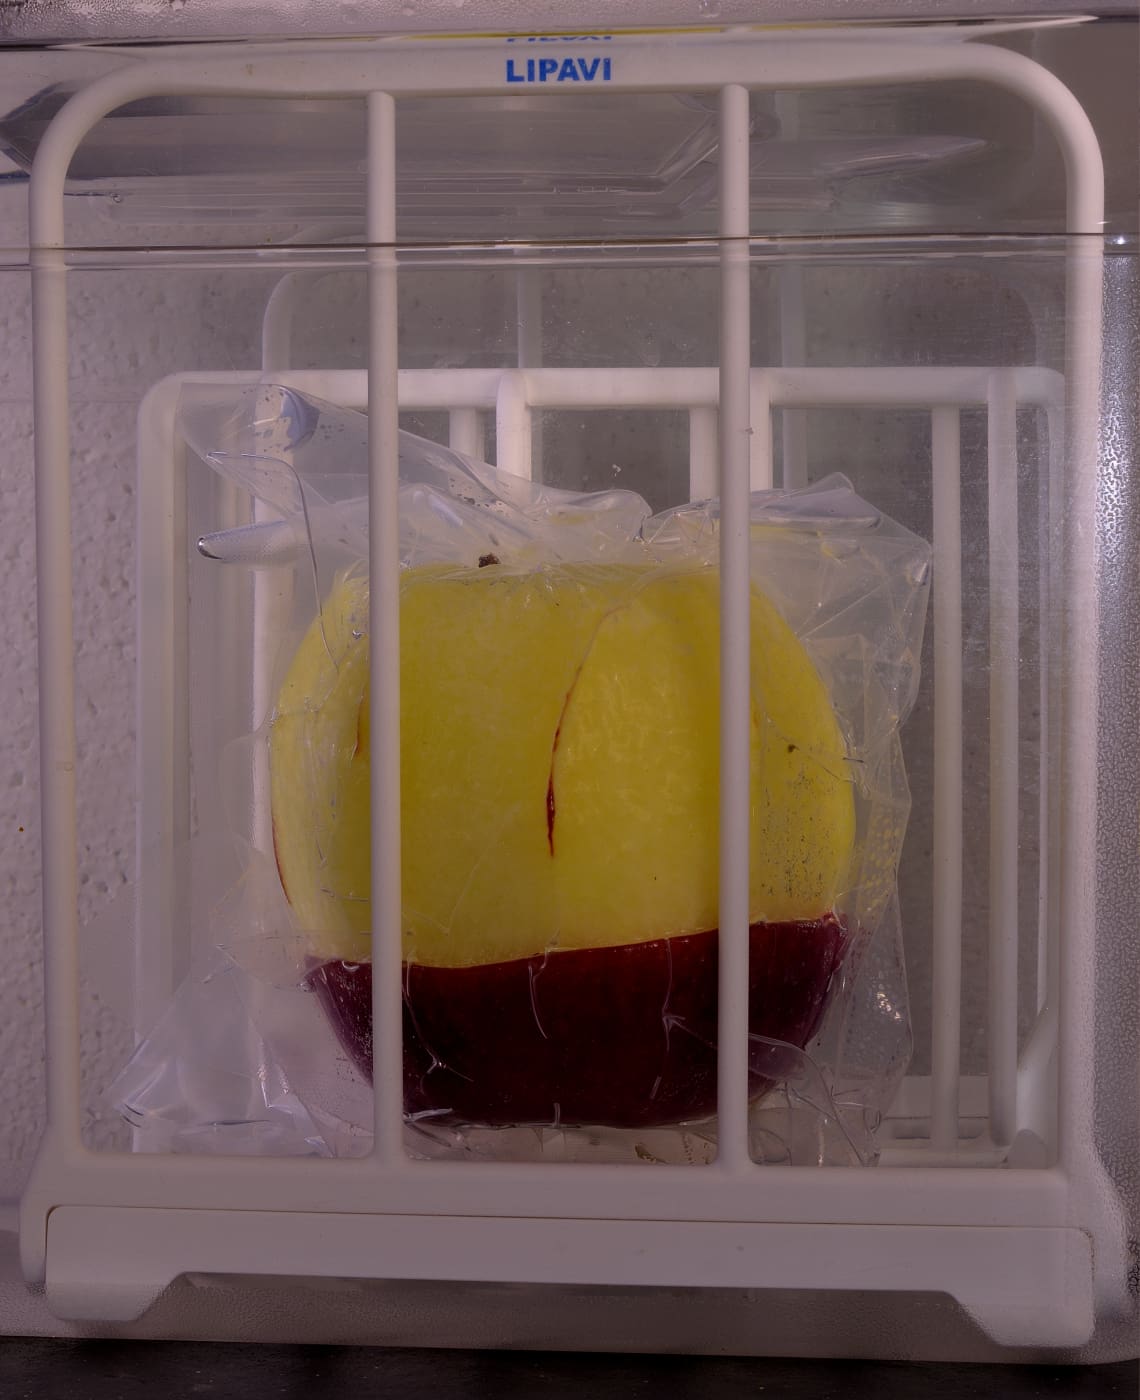
Insert a sliver of cinnamon stick into the butter/sugar. Vacuum seal the apple in a suitable pouch.
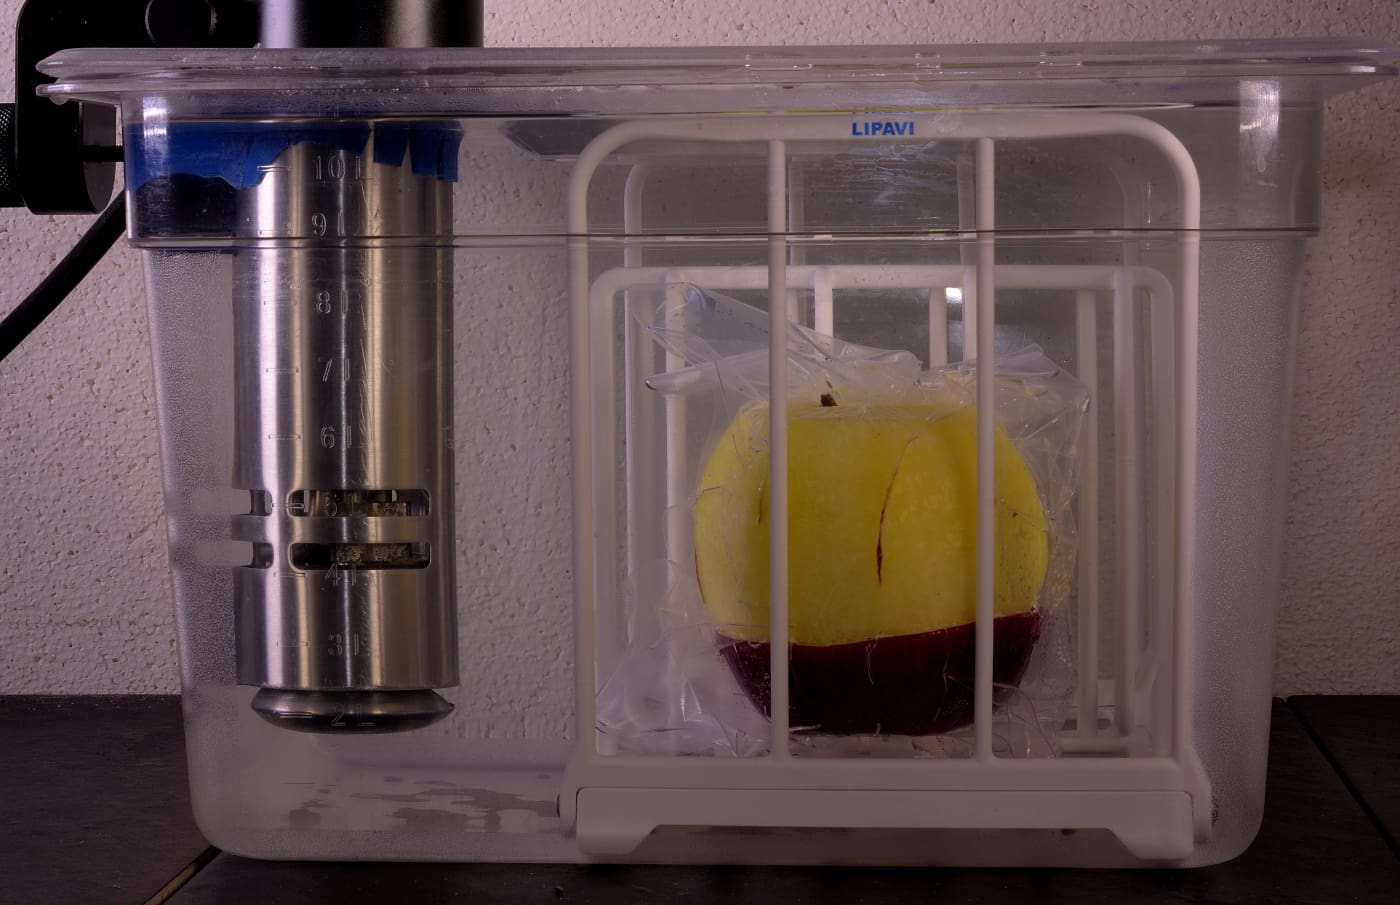
Process for 30 minutes and then reduce the heat to 130 F/55 C. Hold until service and serve warm. If you want to save it for another occasion, shock it cold in iced water until it achieves 70 F/21 C. Refrigerate at 40 F/4 C. To retherm later, just put it in a 165 F/74 C bath for thirty minutes.
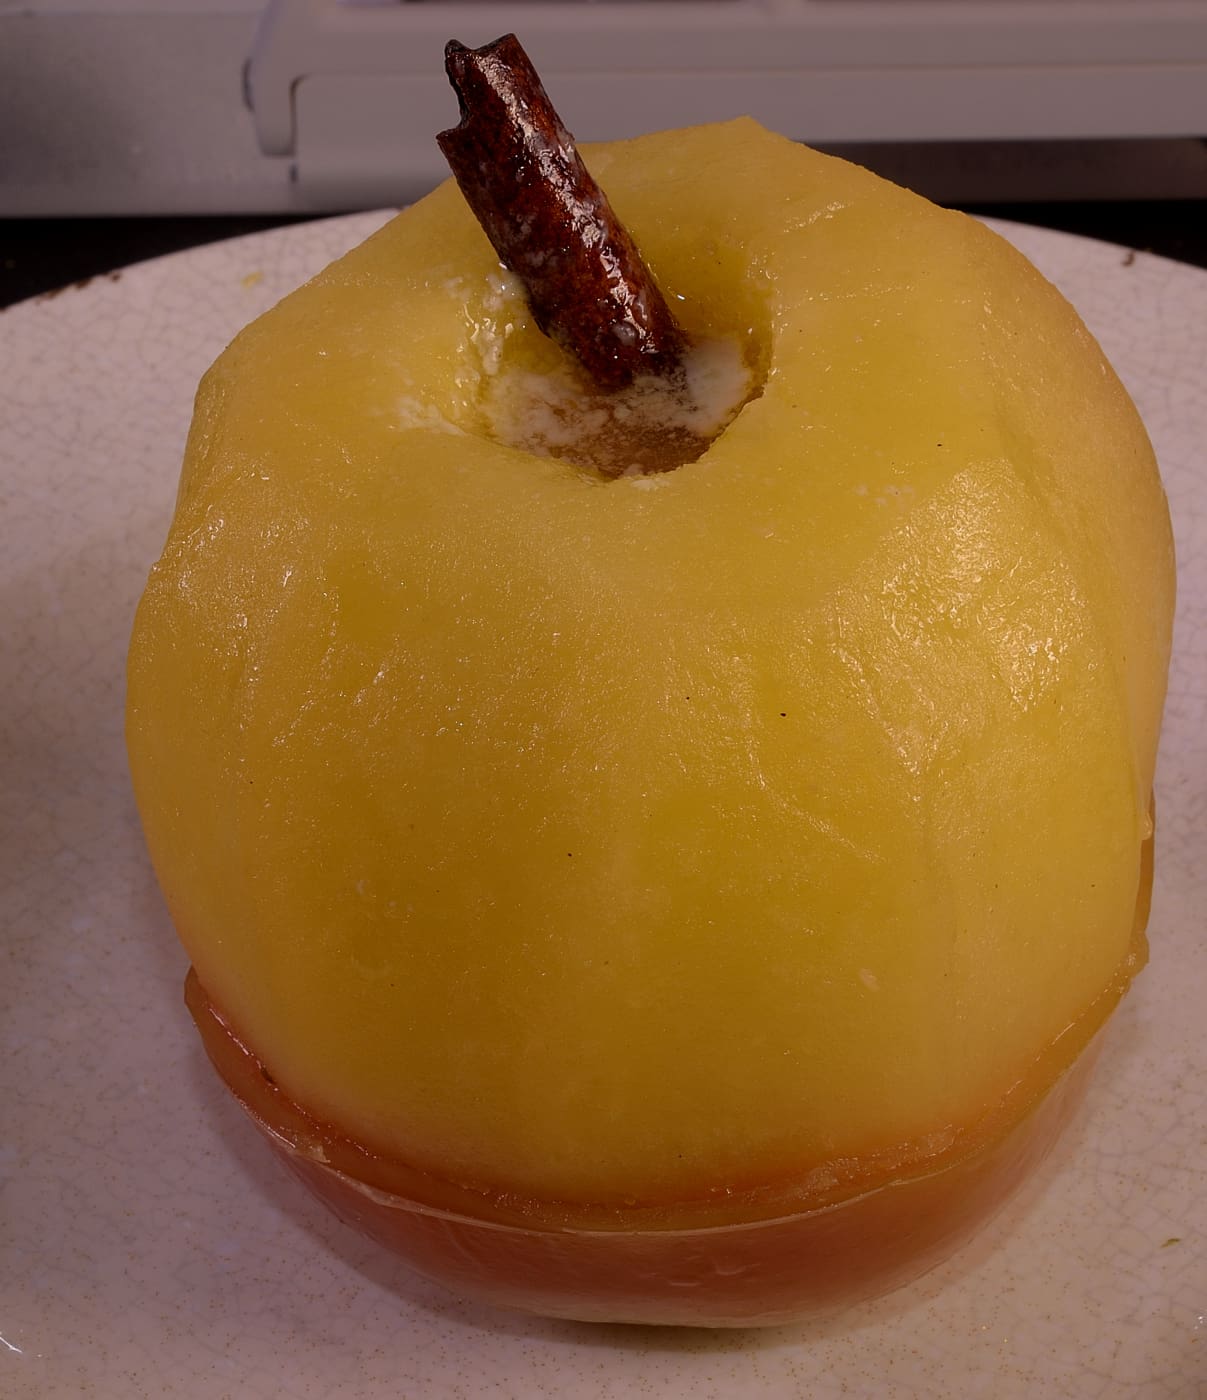
Remove the apple from the bag carefully so as not to spill the contents of the cavity. You can always drizzle it back in.
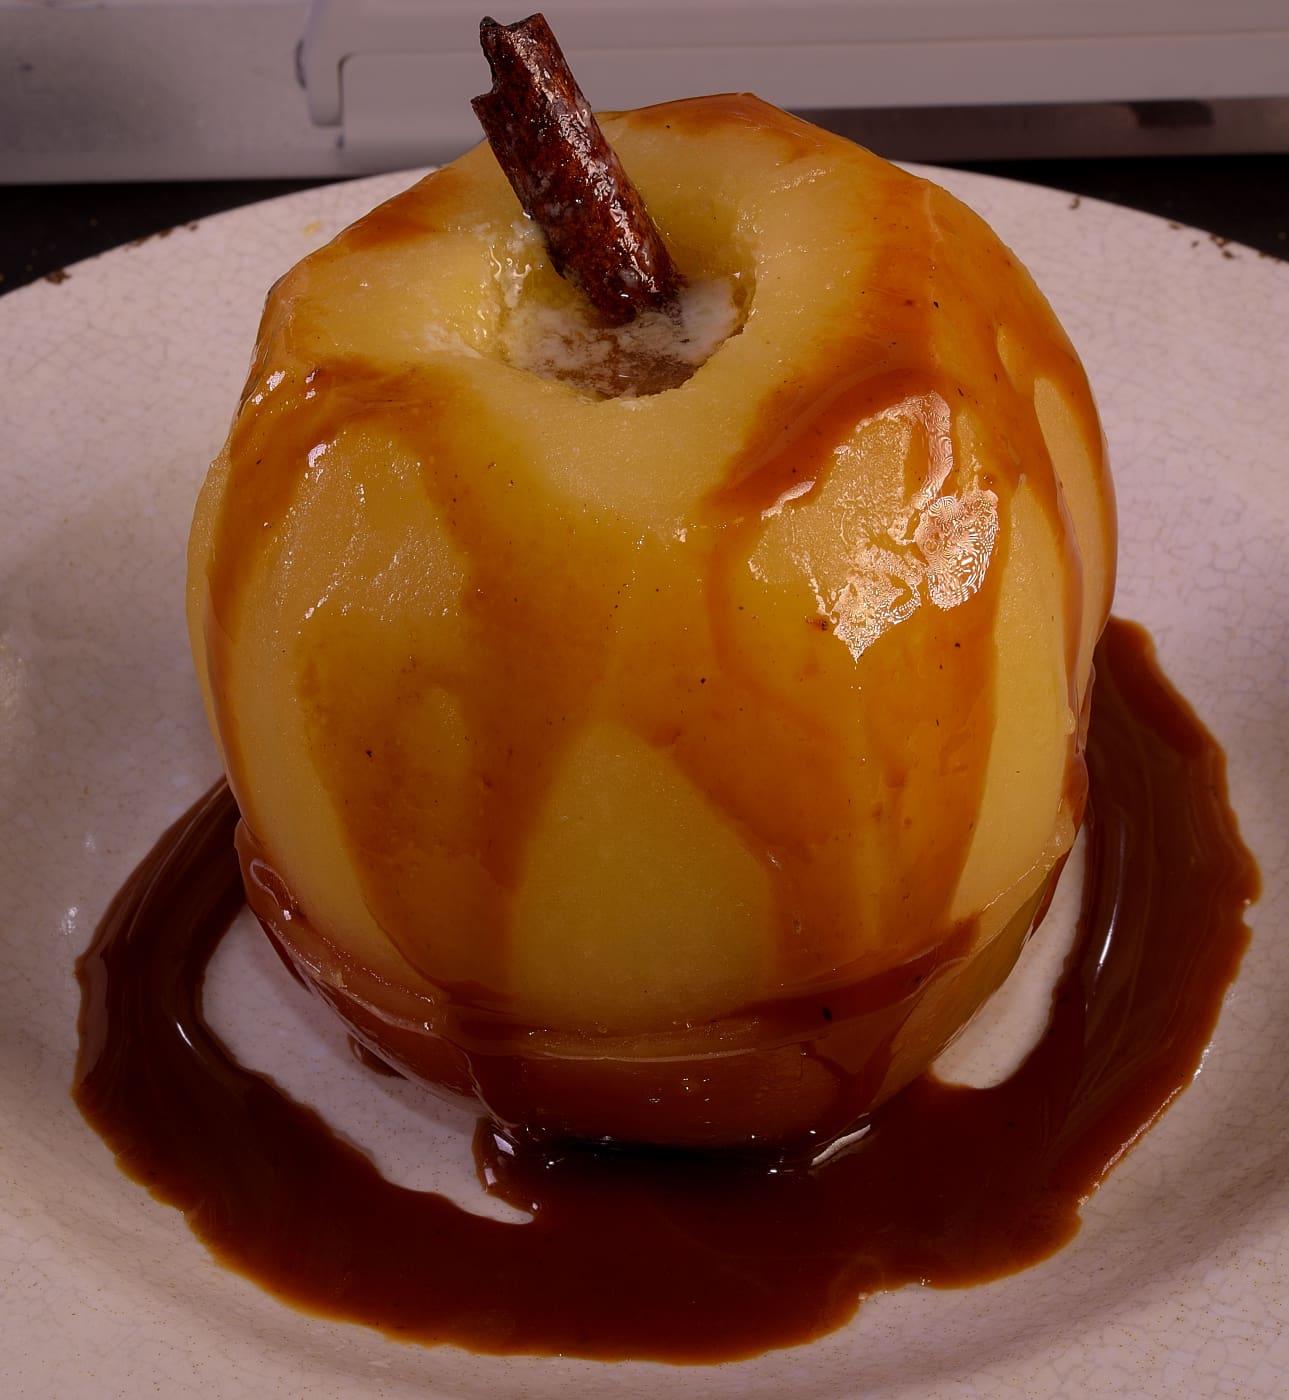
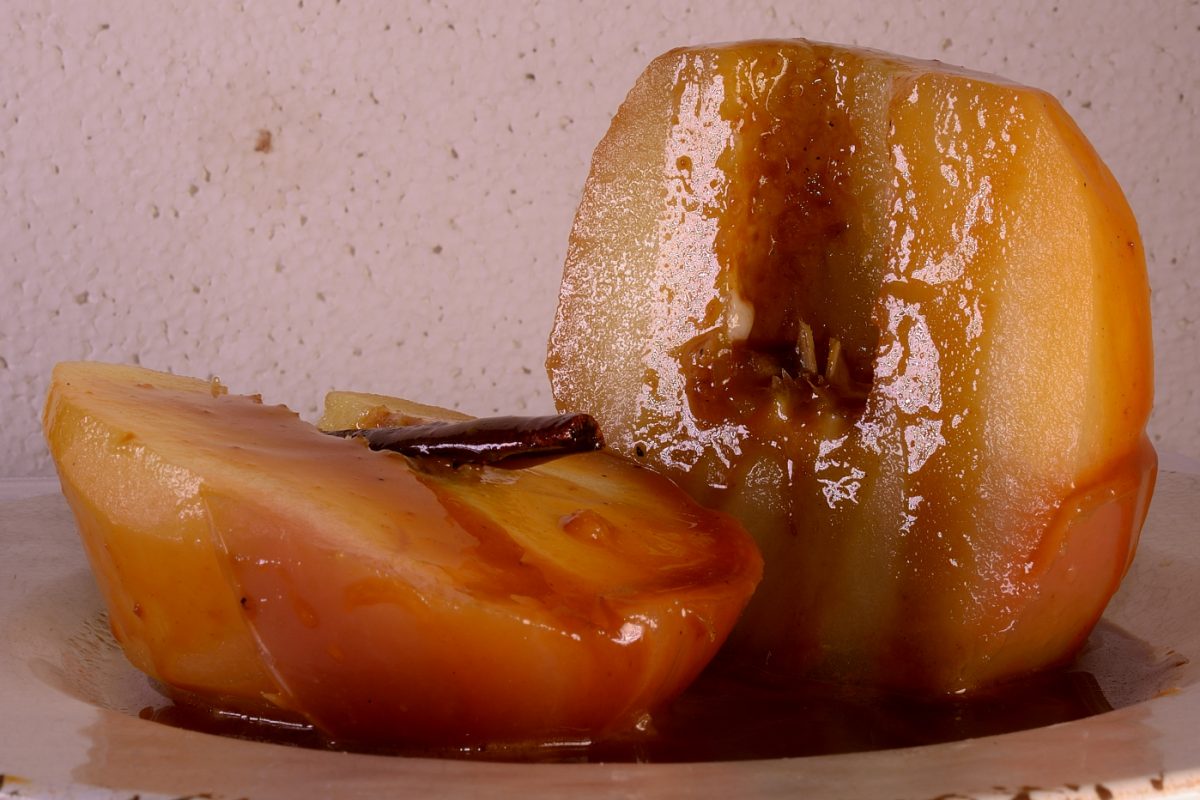
Drizzle with caramel syrup.
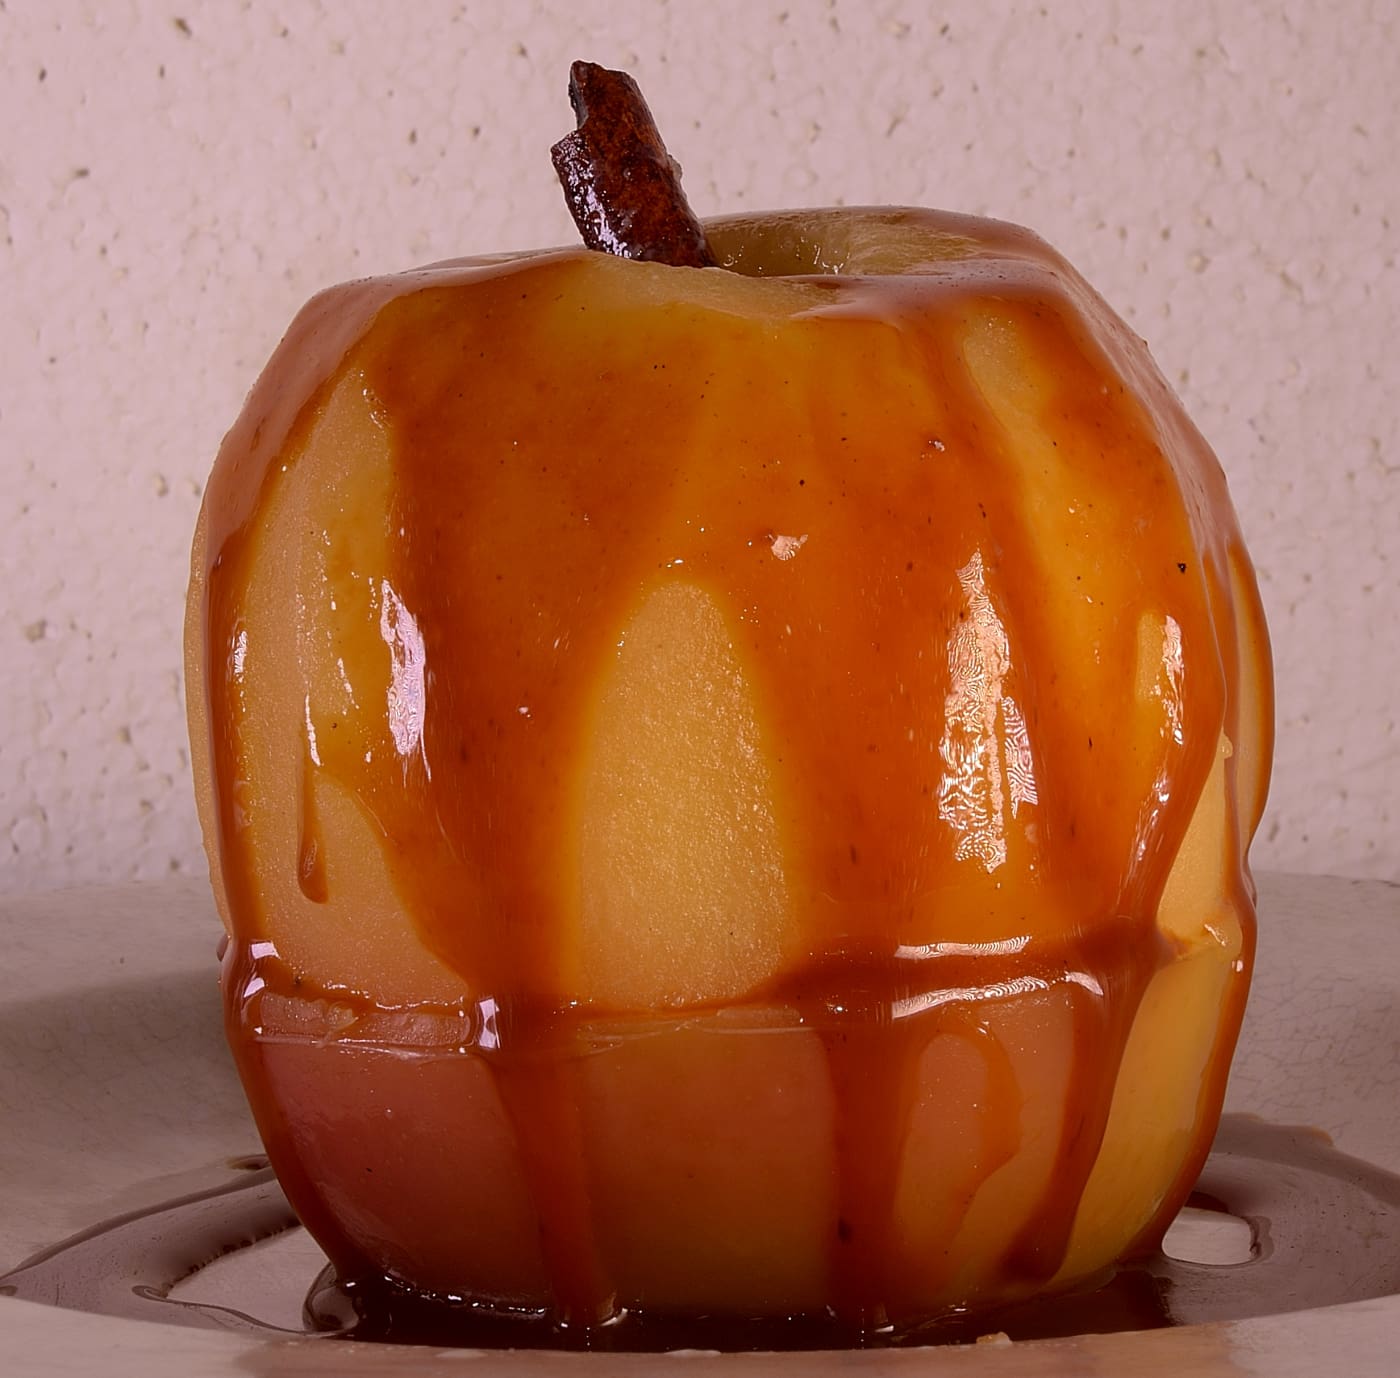
The moat really does catch some sauce.

Like all sous vide items, the appearance of doneness is uniform throughout.
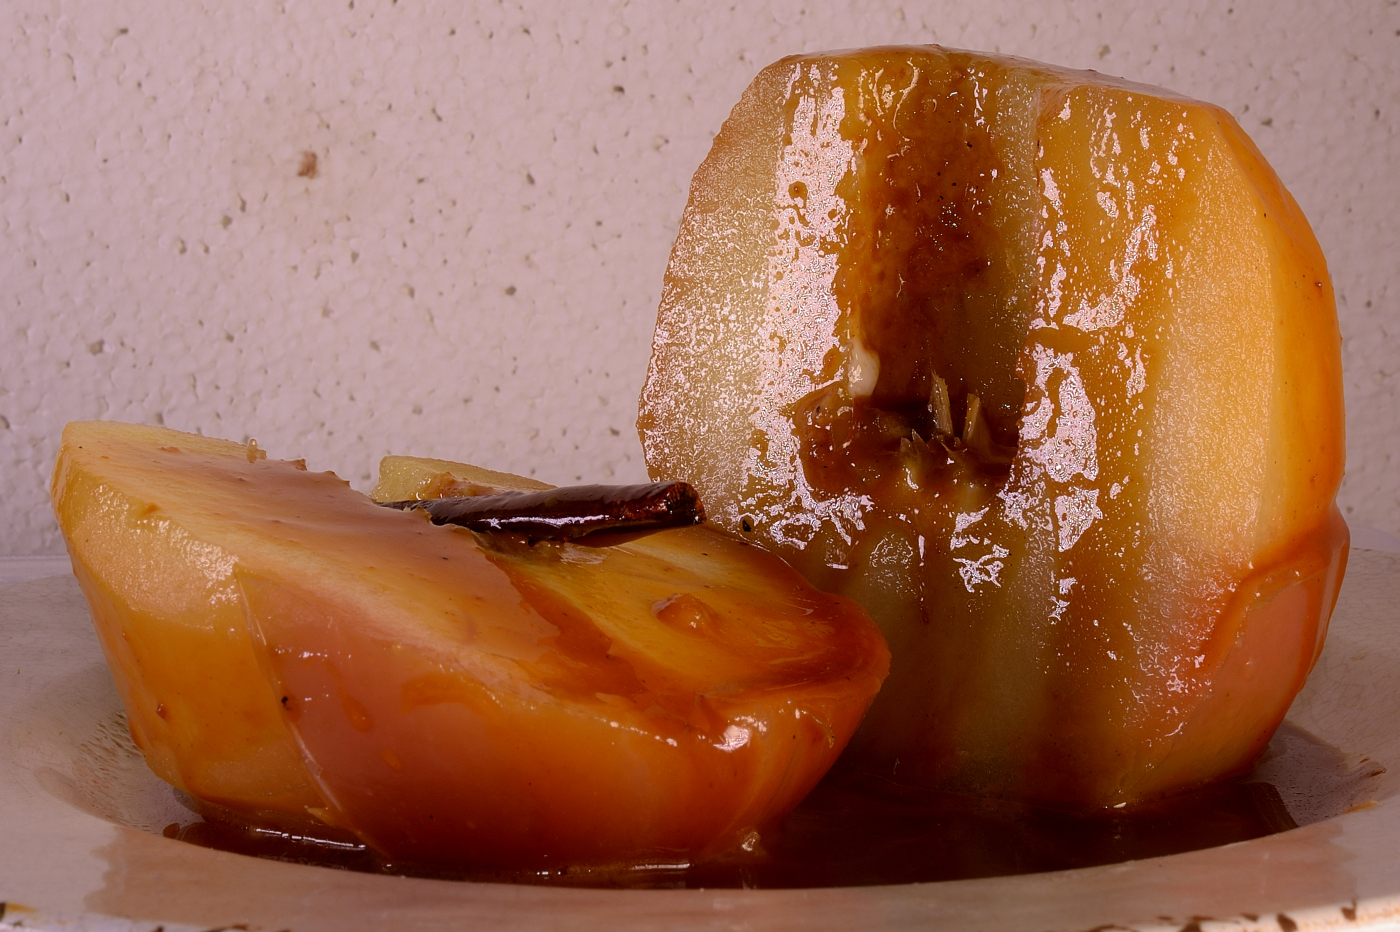
There is no such thing as too much sauce.
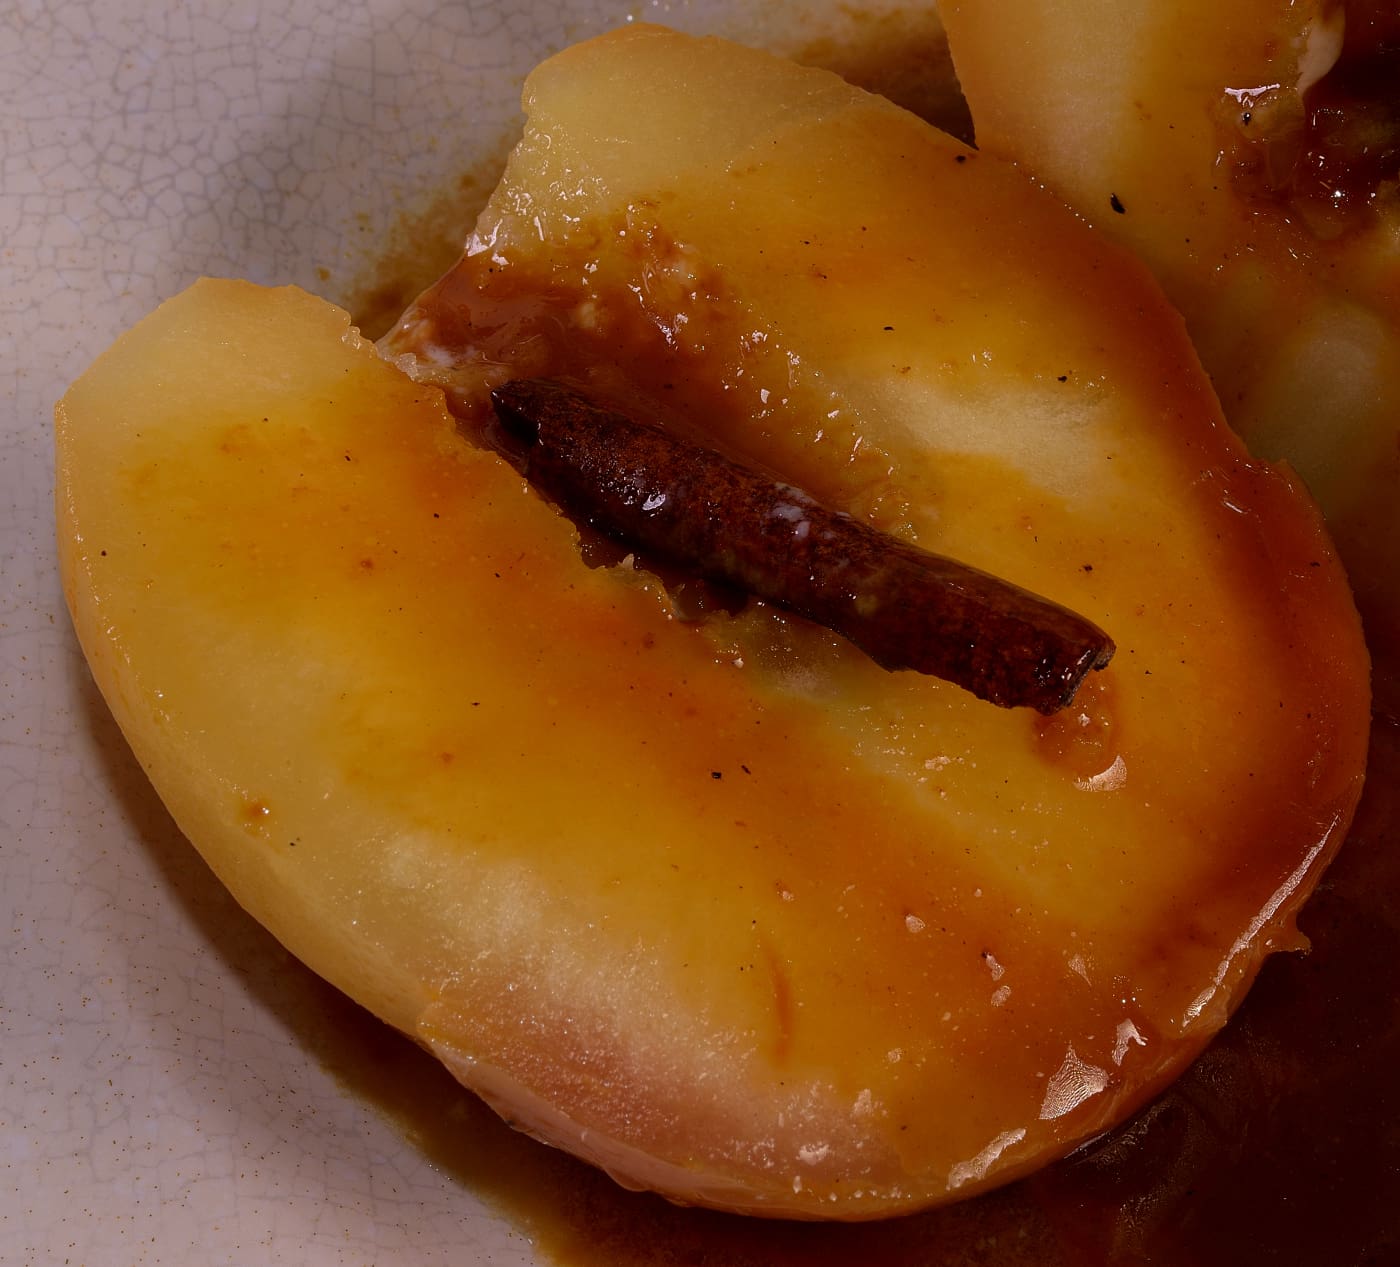
The cinnamon stick brings panache, a certain je ne sais quoi.
Norm
Be sure to visit us on Facebook at SVR–Sous Vide Resources; Low Temperature Pasteurization, Sous-B-Q™, | Facebook